
1. Introduction and Overview
This manual provides essential instructions for the safe and efficient operation, installation, and maintenance of your SOOPYK SOBY530-2 Self-Cleaning Bottom Load Water Cooler Dispenser. This appliance is designed to provide hot, cold, and room temperature water from a 3 or 5-gallon bottle.
Key features include a convenient bottom-loading design, a self-cleaning UV light system, three temperature settings, an empty bottle alert, a nightlight, and a child safety lock for hot water dispensing.

Image: The SOOPYK water cooler dispenser in a home environment, highlighting its sleek design.
2. Safety Instructions
Please read all safety instructions carefully before using the appliance to prevent injury or damage.
- Always place the dispenser on a flat, stable surface.
- Ensure the power cord is not pinched or damaged.
- Do not operate the dispenser if it has been damaged in any way.
- Keep children away from the hot water dispenser spout. The child safety lock must always be engaged when not in use.
- Do not immerse the dispenser, cord, or plug in water or other liquids.
- Unplug the dispenser before cleaning or performing any maintenance.
- This appliance is for indoor use only.
3. Setup
- Unpacking: Carefully remove the dispenser from its packaging. Retain packaging for future transport or storage.
- Placement: Place the dispenser upright on a level, sturdy surface. Ensure there is at least 4 inches of clearance from the back and sides to allow for proper ventilation. Avoid direct sunlight or heat sources.
- Water Bottle Installation:
- Open the lower cabinet door.
- Remove the cap from a new 3 or 5-gallon water bottle.
- Insert the stainless steel wand into the water bottle opening. Ensure the cap on the wand assembly is securely placed on the bottle neck.
- Slide the water bottle into the cabinet.
- Close the cabinet door.

Image: A 5-gallon water bottle being placed into the bottom-loading compartment.
- Power Connection: Plug the dispenser into a grounded electrical outlet.
- Initial Priming: Before turning on the heating or cooling functions, dispense water from all three spouts (hot, room, cold) until water flows steadily. This ensures the tanks are filled and prevents damage to heating elements.
- Activate Heating/Cooling: Locate the power switches on the back of the unit. Turn on the switches for heating and cooling as desired. Allow approximately 15-30 minutes for water to reach optimal temperatures.

Image: Close-up of the ON/OFF switches for heating and cooling on the back of the dispenser.
4. Operating Instructions
Your SOOPYK water cooler offers three temperature options and user-friendly indicators.
- Dispensing Water:
- Place your cup or container under the desired spout.
- For cold or room temperature water, press the corresponding paddle.
- For hot water, first press and hold the child safety lock button (usually located above the hot water spout), then press the hot water paddle. Release both to stop dispensing.
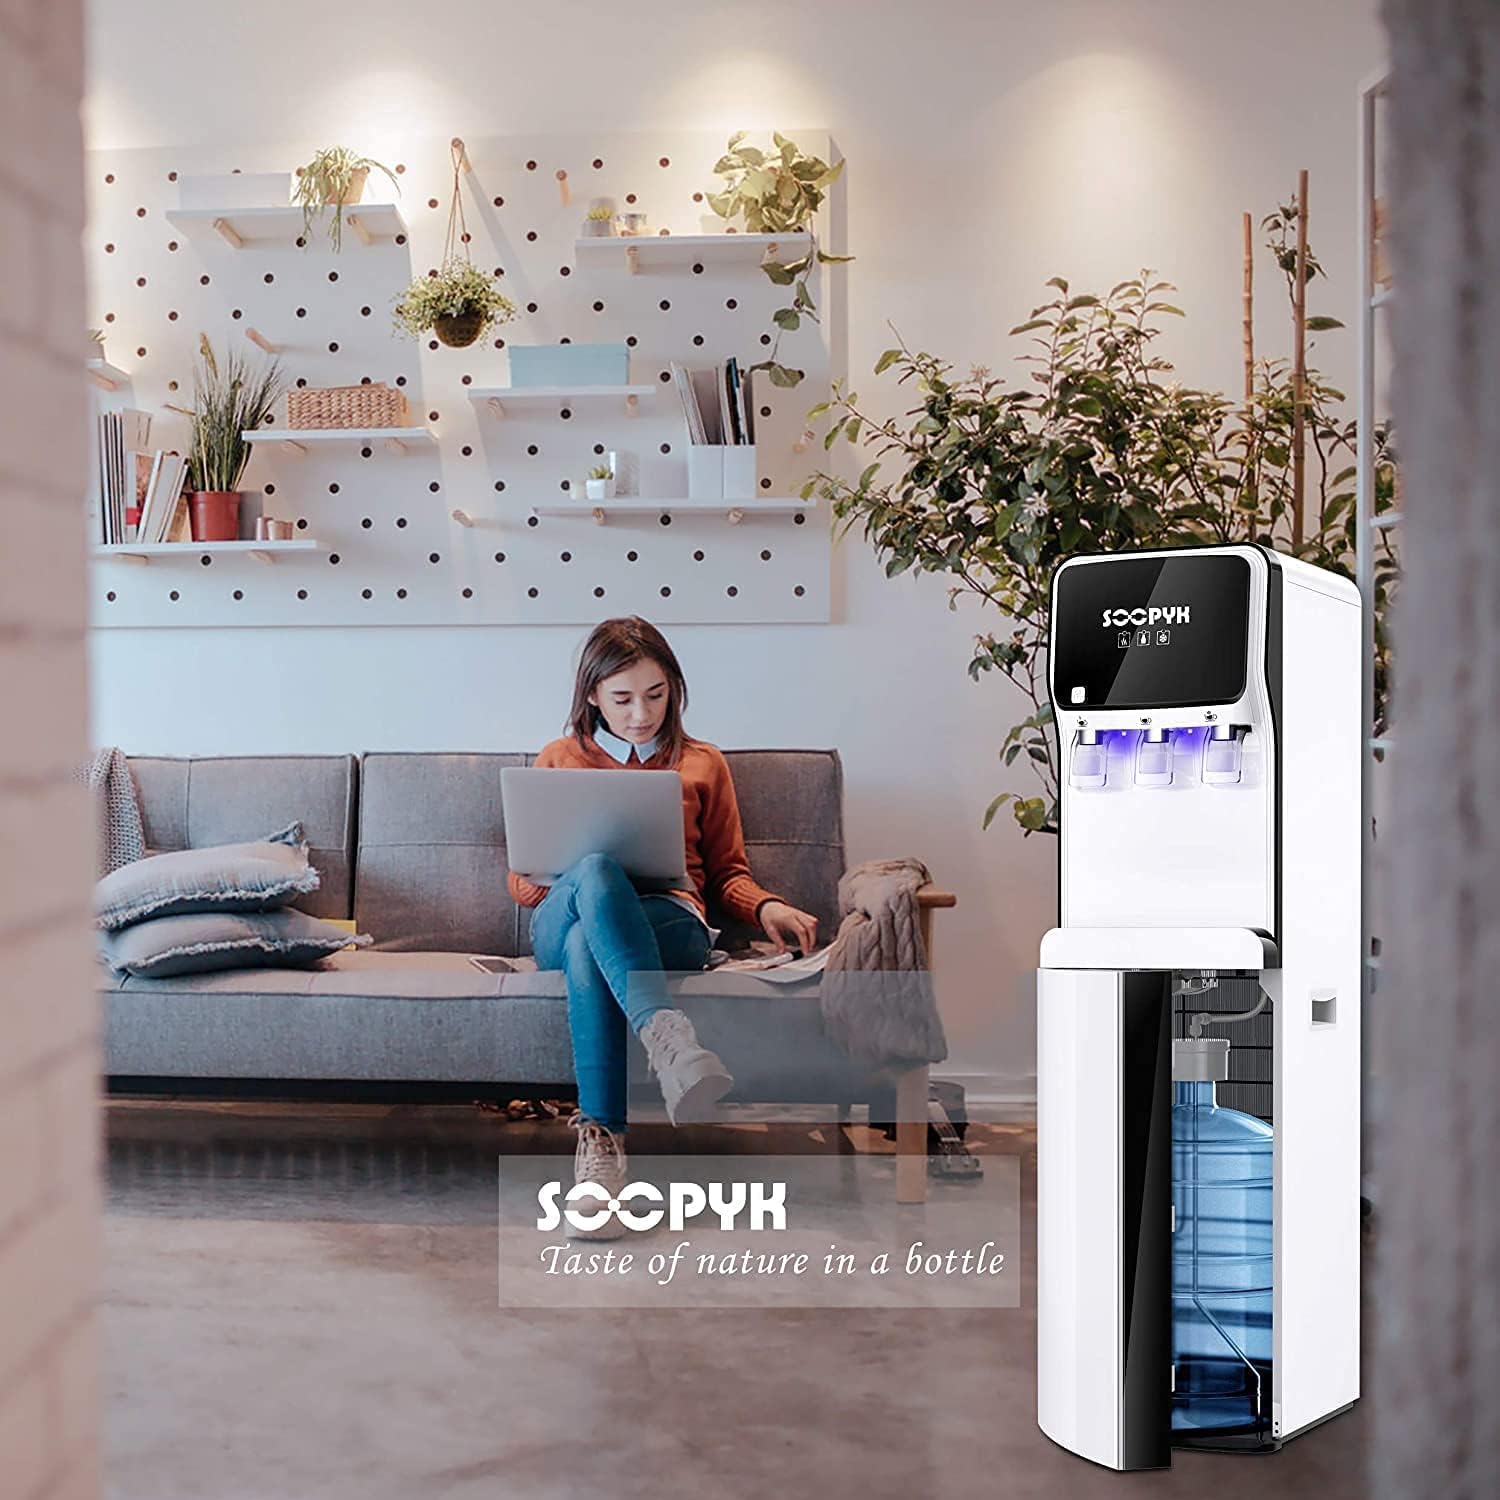
Image: Front panel of the water cooler showing the dispensing paddles and child safety lock.
- LED Indicators: The control panel features LED lights to indicate the status of the dispenser:
- Heating Indicator: Illuminates when the hot water is heating.
- Chilling Indicator: Illuminates when the cold water is chilling.
- Empty Bottle Alert: Illuminates when the water bottle in the lower cabinet is empty and needs replacement.

Image: Close-up of the LED display showing heating, chilling, and empty bottle indicators.
- Nightlight Feature: The dispenser includes a nightlight to illuminate the dispensing area, making it easier to use in low-light conditions and providing visibility for the drip tray.
- Child Safety Lock: The hot water spout is equipped with a child safety lock to prevent accidental dispensing of hot water. Always ensure this lock is engaged.
5. Self-Cleaning Feature
The SOOPYK water cooler incorporates a built-in UV light purification system. This UV light continuously purifies the water to help prevent the growth of harmful substances, ensuring cleaner drinking water. This feature operates automatically as long as the machine is plugged in; there is no specific self-cleaning button or indicator to activate it manually.
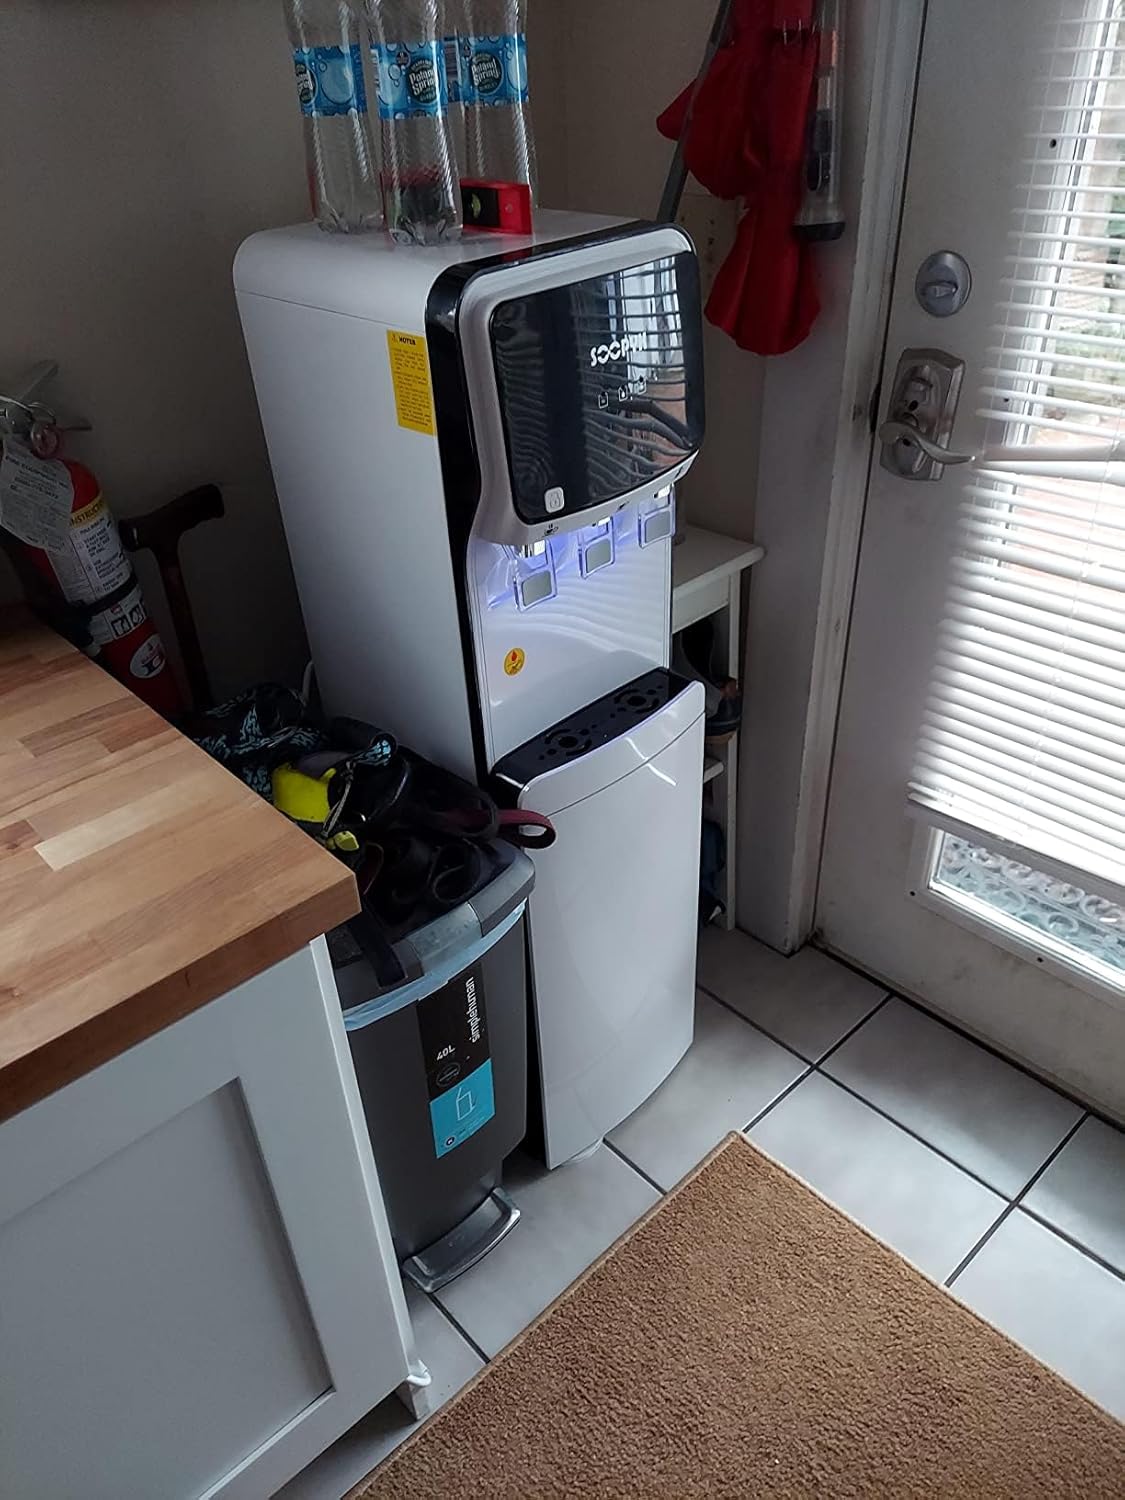
Image: Diagram showing the UV light purification system inside the water cooler.
6. Maintenance
Regular maintenance ensures optimal performance and longevity of your water cooler.
- Cleaning the Drip Tray: The removable drip tray should be emptied and cleaned regularly to prevent overflow and maintain hygiene. Simply slide it out, empty, wash with mild soap and water, rinse thoroughly, and replace.
- Exterior Cleaning: Wipe the exterior surfaces of the dispenser with a soft, damp cloth. Do not use abrasive cleaners or solvents.
- Stainless Steel Wand: The stainless steel wand that goes into the water bottle is designed for durability and hygiene. Ensure it remains clean when changing bottles.
- Internal Cleaning (Professional): For thorough internal cleaning beyond the UV self-cleaning, professional servicing is recommended periodically.
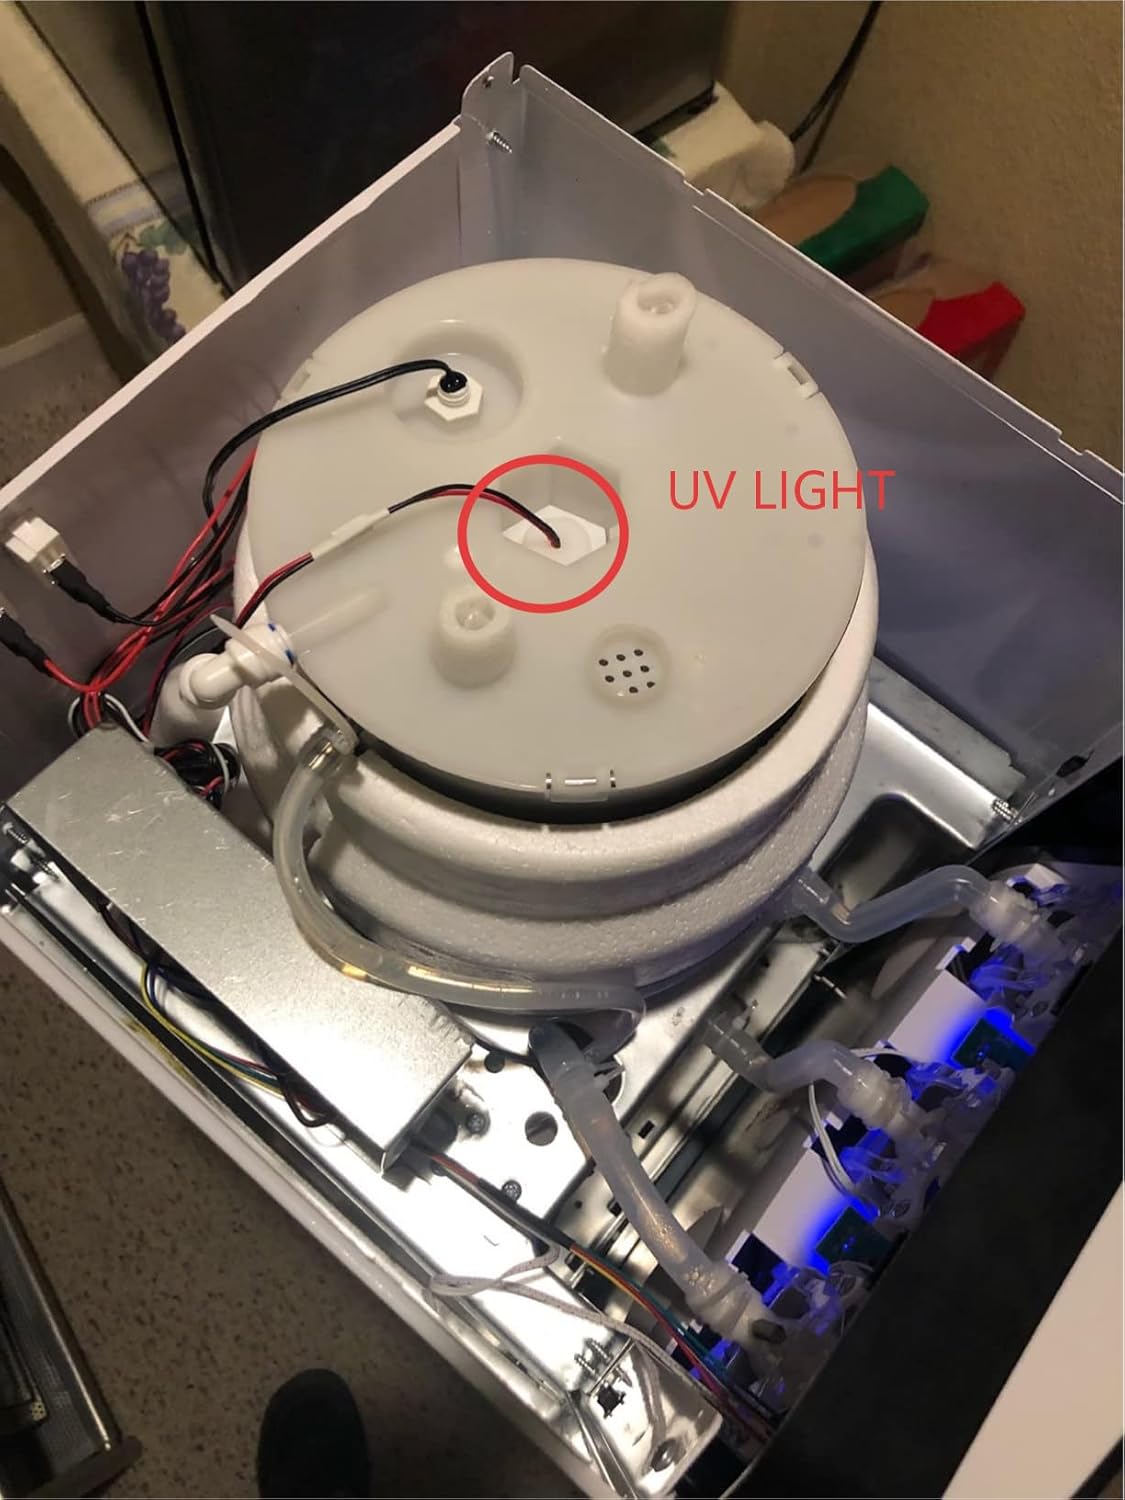
Image: The removable drip tray of the water cooler.
7. Troubleshooting
If you encounter any issues with your water cooler, please refer to the following common problems and solutions:
| Problem | Possible Cause | Solution |
|---|---|---|
| No water dispensed | Empty water bottle; dispenser not primed; pump issue. | Replace water bottle; ensure all spouts are primed; contact support if pump fails. |
| Water not hot/cold enough | Heating/cooling switch off; insufficient time to reach temperature; poor ventilation. | Ensure switches are ON; allow 15-30 mins; check for proper clearance around unit. |
| Hot water not dispensing | Child safety lock not engaged correctly. | Press and hold the child safety lock button simultaneously with the hot water paddle. |
| Water leakage | Improper bottle installation; damaged bottle; loose connections. | Re-seat bottle and wand; check bottle for cracks; inspect connections. |
If the problem persists after attempting these solutions, please contact customer support.
8. Specifications
Detailed technical specifications for the SOOPYK SOBY530-2 water cooler dispenser:
| Feature | Specification |
|---|---|
| Model Number | SOBY530-2 |
| Color | White |
| Material | Stainless Steel |
| Capacity | 3 or 5 Gallons (bottle not included) |
| Product Dimensions (D x W x H) | 12"D x 15"W x 43"H |
| Item Weight | 38 pounds |
| Power Source | Corded Electric (115V~/60Hz) |
| Heating Power | 500W |
| Cooling Power | 85W |
| Heating Temperature | ≥ 194°F |
| Cooling Temperature | ≤ 50°F |
| Hot Water Tank Capacity | 1L |
| Cold Water Tank Capacity | 3L |
| Relative Humidity | ≤ 90% |
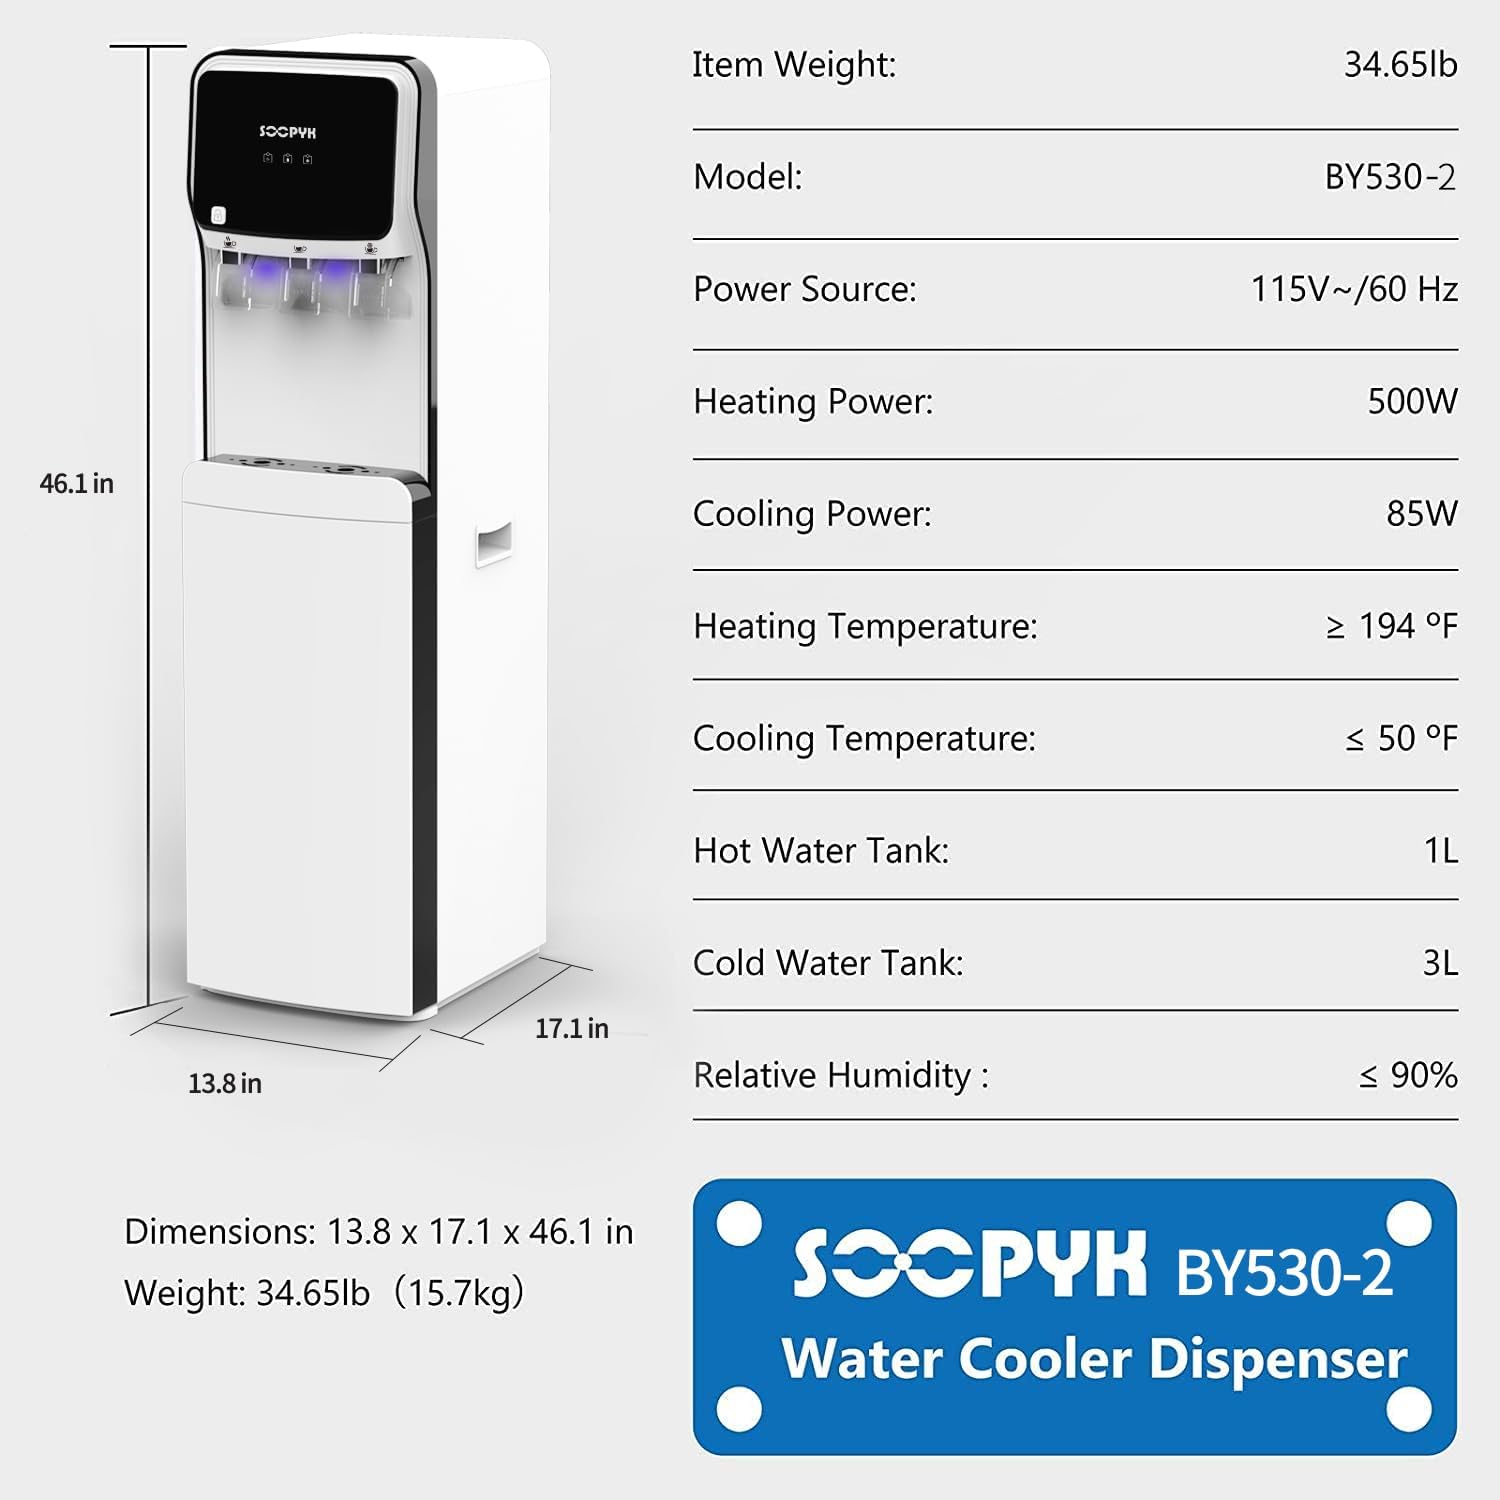
Image: Visual representation of the water cooler's dimensions and specifications.
9. Warranty and Support
Your SOOPYK water cooler dispenser is backed by a 1-year warranty. Additionally, a 30-day return policy is available. For any problems or inquiries regarding your water cooler, please contact SOOPYK customer support.
10. Product Video
Watch the official product video for a visual guide to the SOOPYK water cooler dispenser.
Video: Official product video demonstrating the SOOPYK water cooler dispenser features.

