1. Introduction
Thank you for choosing the Preciva 902D II 750W Hot Air Soldering Station. This 2-in-1 device combines a hot air gun and a soldering iron, offering precise temperature control and energy-saving features for a wide range of soldering and desoldering applications. This manual provides essential information for safe and efficient operation.

Figure 1: Preciva 902D II Hot Air Soldering Station Overview
2. Safety Instructions
Always observe the following safety precautions to prevent injury or damage to the device:
- Electrical Safety: Ensure the power supply matches the device's requirements. Do not operate with wet hands or in damp environments.
- Heat Hazard: The hot air gun and soldering iron reach very high temperatures. Avoid direct contact with skin or flammable materials.
- Ventilation: Use the device in a well-ventilated area to avoid inhaling fumes from soldering.
- Eye Protection: Always wear safety glasses to protect your eyes from solder splashes or fumes.
- Proper Handling: Place the hot air gun in its holder when not in use. Ensure the soldering iron is securely placed in its stand.
- Maintenance: Disconnect power before cleaning or performing maintenance.
3. Package Contents
The Preciva 902D II package includes the following items:
- Preciva 902D II Soldering Station (with integrated hot air gun) x1
- Lead-free solder wire (30g) x1
- Soldering iron tips x5
- Hot air nozzles (5mm, 8mm, 10mm, 12mm) x4
- Soldering iron holder x1

Figure 2: Complete Kit Contents
4. Setup
Follow these steps to set up your soldering station:
- Attach Hot Air Gun Holder: Securely attach the hot air gun holder to the side of the main unit using the provided screws.
- Connect Hot Air Gun: Plug the hot air gun cable into the designated port on the front panel.
- Connect Soldering Iron: Plug the soldering iron cable into its designated port on the front panel.
- Place Soldering Iron Stand: Position the soldering iron stand on a stable, heat-resistant surface near the main unit.
- Connect Power: Ensure the power switch is OFF, then plug the power cord into the station and a grounded electrical outlet.

Figure 3: Control Panel and Connections
5. Operating Instructions
The Preciva 902D II features dual LED screens for real-time temperature display and PID programmable temperature control for stable and accurate operation.
5.1. Power On/Off
Flip the main power switch located on the front panel to turn the unit ON or OFF.
5.2. Hot Air Gun Operation
- Temperature Adjustment: Use the 'Air gun temp up/down' keys to set the desired temperature between 100°C and 480°C. The dual LED screen will show the set and actual temperatures.
- Airflow Adjustment: Use the 'Air flow knob' to adjust the airflow intensity.
- Auto Sleep Function: The hot air gun automatically enters sleep mode when placed in its holder, cooling down to 100°C (212°F). It reactivates immediately when picked up.

Figure 4: Hot Air Gun Auto Function
5.3. Soldering Iron Operation
- Temperature Adjustment: Use the 'Iron temp up/down' keys to set the desired temperature between 200°C and 480°C. The dual LED screen will show the set and actual temperatures.
- Quick Heating: The soldering iron features a rapid-heating ceramic core, reaching working temperature quickly.
- Auto Standby: The soldering iron automatically enters standby mode after 10 minutes of inactivity and fully sleeps after 30 minutes, extending the lifespan of the heating element and tips.
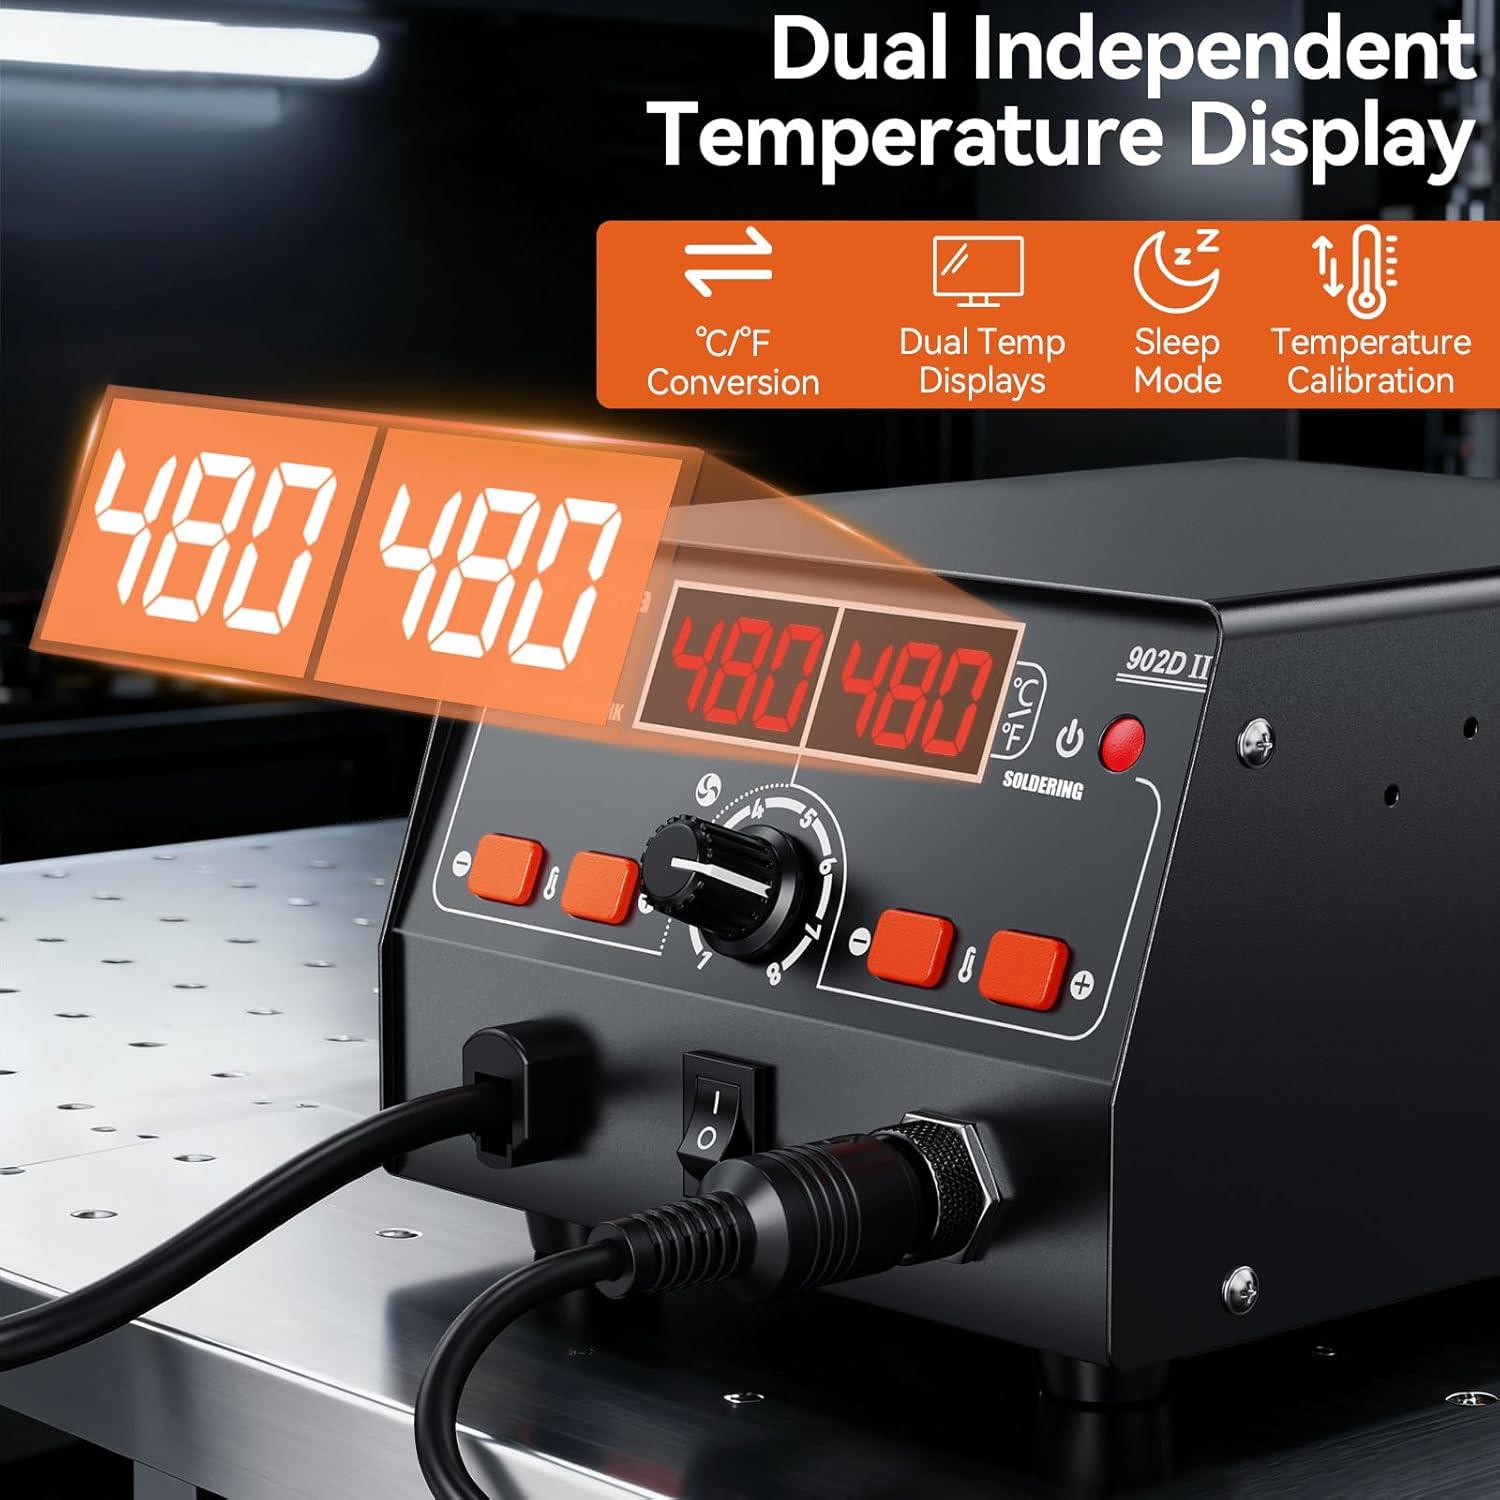
Figure 5: Dual Temperature Displays
6. Maintenance
Regular maintenance ensures optimal performance and extends the lifespan of your soldering station:
- Soldering Tip Cleaning: Always clean the soldering tip using the wet sponge in the stand before and after each use.
- Tip Tinning: After cleaning, tin the tip with a small amount of solder to prevent oxidation and prolong its life.
- Nozzle Cleaning: Periodically clean hot air nozzles to ensure unobstructed airflow.
- General Cleaning: Keep the main unit and tools clean and free from dust and debris. Use a soft, dry cloth.
- Tip Replacement: Replace worn or damaged soldering tips and hot air nozzles as needed.
7. Troubleshooting
If you encounter issues with your Preciva 902D II, consider the following:
- No Power: Check the power cord connection and the main power switch. Ensure the outlet is functional.
- No Heat/Incorrect Temperature: Verify that the hot air gun and soldering iron are properly connected to the main unit. Check temperature settings on the LED display.
- Poor Soldering Performance: Ensure soldering tips are clean and properly tinned. Replace tips if they are heavily oxidized or worn.
- Hot Air Gun Not Working: Check if the hot air gun is correctly seated in its holder (if applicable for auto-start feature) and that its switch is on.
For persistent issues, please contact customer support.
8. Specifications
| Feature | Specification |
|---|---|
| Model Number | 902D II |
| Power (Wattage) | 750 watts |
| Hot Air Gun Temperature Range | 100°C - 480°C |
| Soldering Iron Temperature Range | 200°C - 480°C |
| Display Type | LED |
| Item Weight | 1.72 Kilograms |
| Package Dimensions | 28.4 x 22.2 x 11.4 cm |
| Power Source Type | AC |
9. Warranty and Support
The Preciva 902D II Soldering Station comes with a manufacturer's warranty. For warranty details, technical support, or any product-related inquiries, please refer to the documentation included with your product or contact Preciva customer service directly. Keep your purchase receipt as proof of purchase.


