
1. Introduction
The Retevis RB666S is a user-friendly, rechargeable two-way radio designed for clear and reliable communication. It is ideal for family activities, hiking, camping, and other outdoor adventures. This manual provides detailed instructions on how to set up, operate, and maintain your RB666S walkie talkie.

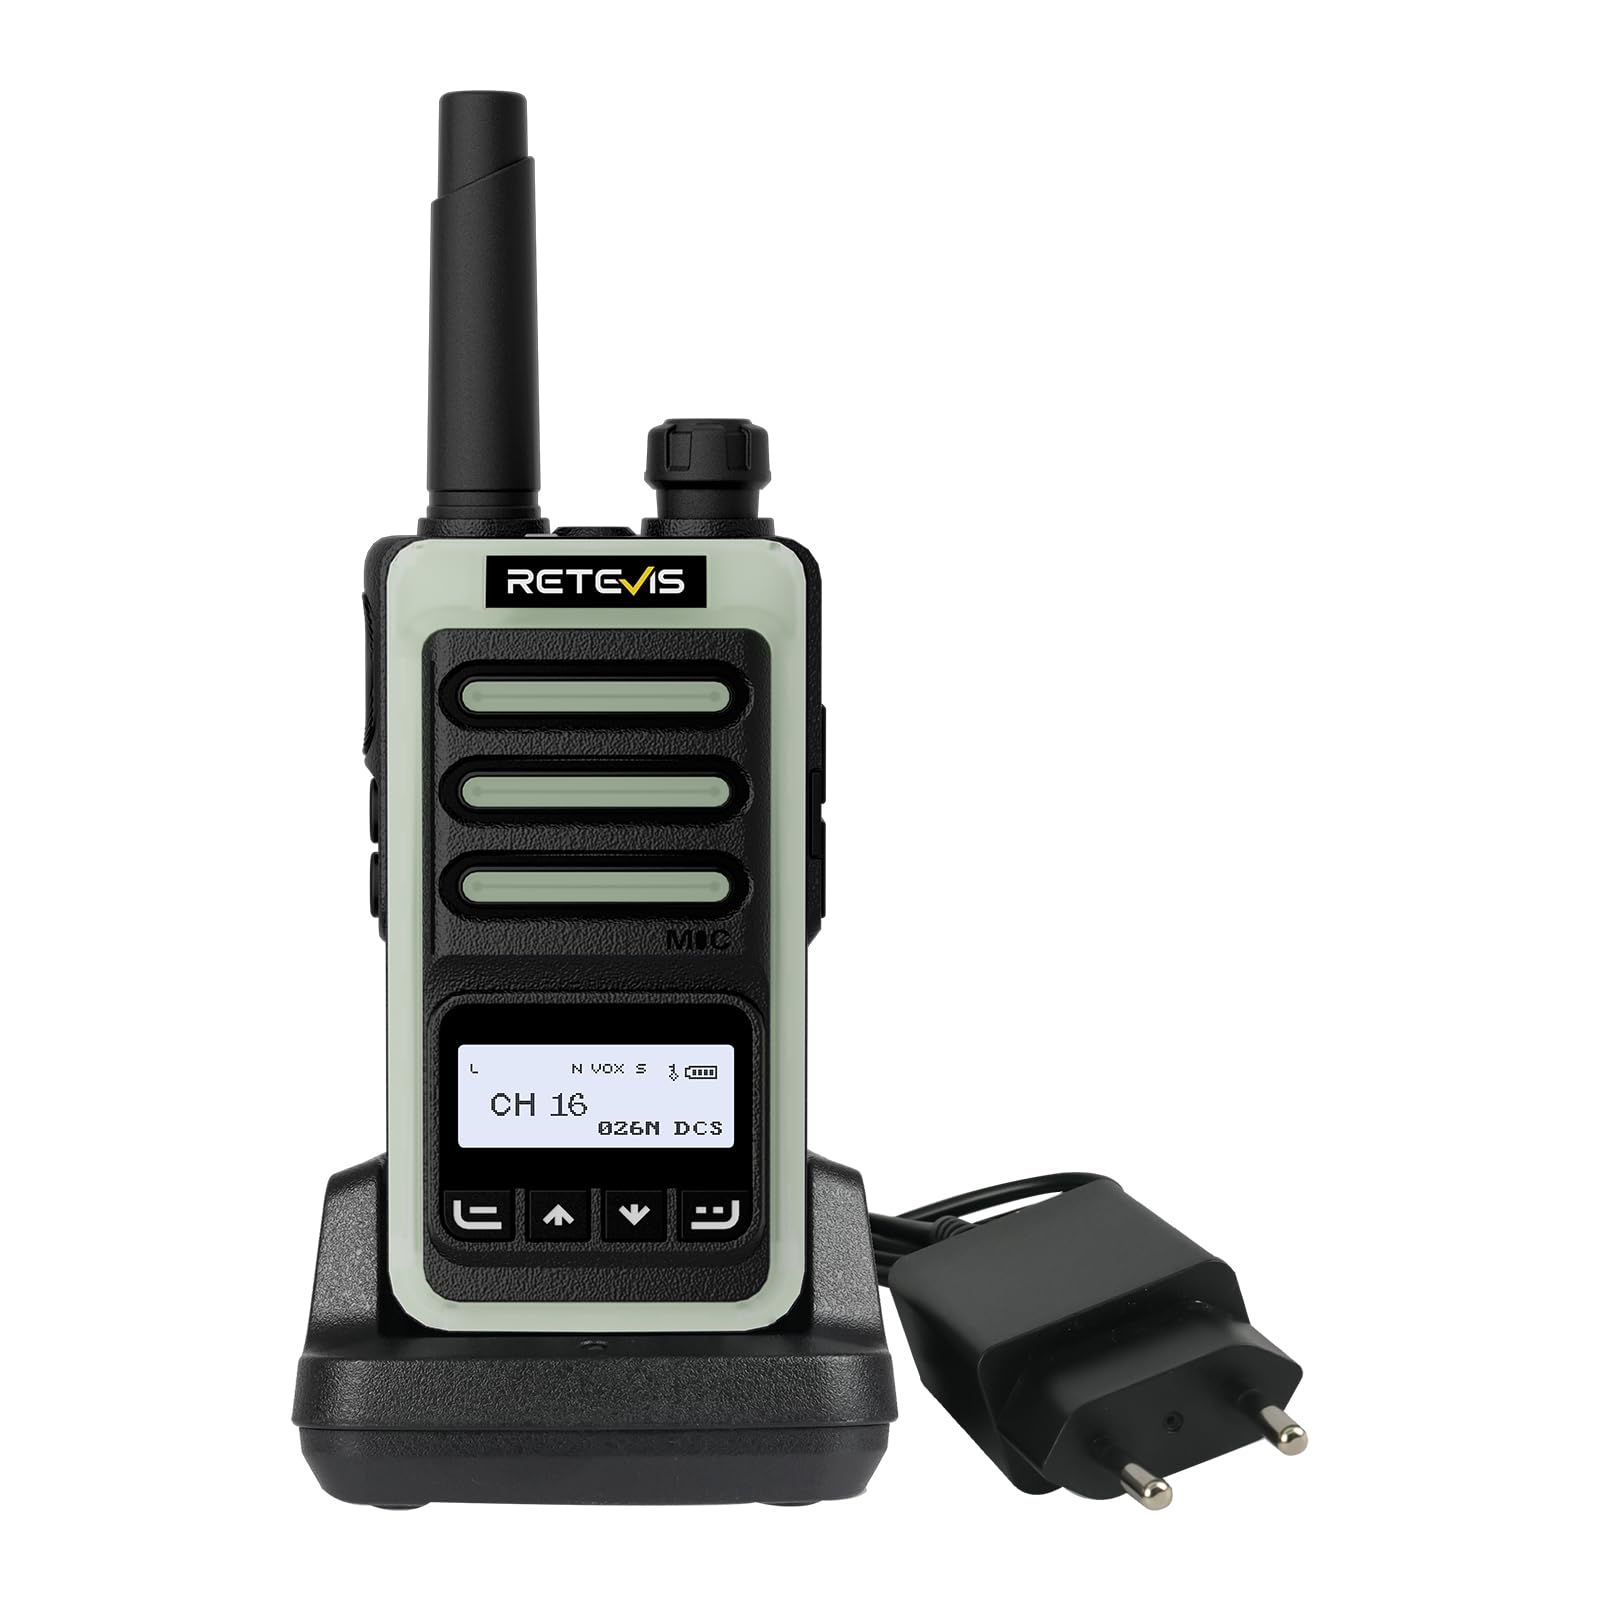
The Retevis RB666S walkie talkie is designed for easy communication during outdoor activities.
2. Package Contents
Please check the package carefully to ensure all items are present:
- 1 x RB666S Walkie Talkie
- 1 x Battery
- 1 x Charging Cradle
- 1 x Type-C Charging Cable
- 1 x Adapter
- 1 x Belt Clip
- 1 x Lanyard
- 1 x User Manual

All components included in the RB666S package.
3. Product Overview
3.1 Components
Familiarize yourself with the main components of your RB666S walkie talkie:

Detailed view of the RB666S walkie talkie components.
- On/Off/Volume Knob: Rotate to power on/off and adjust volume.
- Flashlight: Integrated LED light.
- Charging Port: Type-C port for direct charging.
- Indicator Light: Shows status (e.g., transmitting, receiving, charging).
- PTT (Push-to-Talk) Button: Press and hold to transmit your voice.
- Side Button 1: Multi-function button, typically for emergency alarm.
- Side Button 2: Multi-function button, typically for flashlight activation.
- MIC: Microphone for voice input.
- Display Screen: 1.3-inch LCD for channel, battery, and signal information.
- Menu Button: Accesses menu options.
- Up/Channel+ Button: Navigates up or changes channel.
- Down/Channel- Button: Navigates down or changes channel.
- Back Button: Returns to previous screen or exits menu.
4. Setup
4.1 Installing the Battery
- Ensure the walkie talkie is powered off.
- Locate the battery compartment cover on the back of the unit.
- Slide the cover down and remove it.
- Insert the battery, aligning the contacts correctly.
- Replace the battery compartment cover and slide it up until it clicks into place.
4.2 Attaching the Belt Clip and Lanyard
- Attach the belt clip to the designated slot on the back of the radio for convenient carrying.
- Thread the lanyard through the loop on the top or side of the radio for added security.
5. Charging the Device
Before first use, fully charge the battery. The RB666S offers two convenient charging methods:
5.1 Using the Charging Cradle
- Connect the adapter to the charging cradle and plug it into a power outlet.
- Place the walkie talkie into the charging cradle. Ensure the charging contacts align.
- The indicator light on the radio or cradle will show the charging status (e.g., red for charging, green for fully charged).
5.2 Using the Type-C Cable
- Connect the Type-C charging cable to the charging port on the side of the walkie talkie.
- Plug the other end of the cable into a compatible USB power source (e.g., wall adapter, car charger, power bank, PC).
- The indicator light will show the charging status.
A full charge takes approximately 1 hour, providing over 14 hours of autonomy and over 46 hours of standby time.
Fast charging in 1 hour using the cradle.

Versatile Type-C charging options.
6. Basic Operation
6.1 Power On/Off and Volume Adjustment
- To power on, rotate the On/Off/Volume knob clockwise until you hear a click.
- To power off, rotate the knob counter-clockwise until you hear a click.
- Adjust the volume by rotating the same knob.
6.2 LCD Screen Display
The 1.3-inch LCD screen provides essential information at a glance:
- Channel Number: Indicates the current communication channel.
- Battery Level: Shows the remaining battery charge.
- Signal Strength: Displays the strength of the received signal.

Clear 1.3-inch LCD screen for essential information.
6.3 Selecting a Channel
Use the Up/Channel+ and Down/Channel- buttons to select your desired communication channel. Ensure all radios in your group are on the same channel.
6.4 Transmitting and Receiving
- To transmit, press and hold the PTT (Push-to-Talk) button. Speak clearly into the microphone. The indicator light will typically glow red.
- To receive, release the PTT button. The indicator light will typically glow green when a signal is received.

Intuitive 4-button layout for easy control.
7. Advanced Features
7.1 Clear Sound Quality
The RB666S is engineered to provide clear audio, ensuring every word is heard distinctly, even in noisy outdoor environments like windy trails or busy campsites.

Enjoy clear sound quality for effective communication.
7.2 VOX Function (Voice Operated Exchange)
The VOX function allows for hands-free transmission. When activated, the radio will automatically transmit when it detects your voice, eliminating the need to press the PTT button.

Hands-free communication with VOX function.
7.3 One-Touch Pairing
Simplify connecting with other compatible radios using the one-touch pairing feature. Refer to the specific instructions for pairing in the full manual if available.

Effortless connection with one-touch pairing.
7.4 CTCSS/DCS (Continuous Tone-Coded Squelch System / Digital Coded Squelch)
Utilize CTCSS/DCS codes to filter out unwanted signals and ensure more private communication within your group. This feature helps to reduce interference from other users on the same channel.

Enhanced privacy with CTCSS/DCS codes.
7.5 LED Flashlight
The integrated LED flashlight provides illumination for navigating in low-light conditions. Briefly press Side Button 2 to activate or deactivate the flashlight.

Illuminate your path with the built-in LED flashlight.
7.6 Fluorescent Design
The RB666S features a fluorescent design, making it highly visible and easy to locate in low-light outdoor environments, enhancing safety during nighttime activities.

High visibility in low light with fluorescent design.
7.7 Emergency Alarm
For added safety, the RB666S includes an emergency alarm function. Long-press Side Button 1 to activate the alarm, alerting others to your situation.

Activate the emergency alarm for enhanced safety.
7.8 Channel Lock / Keypad Lock
To prevent accidental channel changes or button presses, you can activate the channel lock or keypad lock feature. This ensures stable communication, especially during active use like climbing or cycling.

Maintain stable communication with channel lock.
8. Maintenance
- Cleaning: Use a soft, damp cloth to clean the radio's exterior. Do not use harsh chemicals or abrasive cleaners.
- Storage: Store the walkie talkie in a cool, dry place away from direct sunlight and extreme temperatures. Remove the battery if storing for extended periods.
- Battery Care: Avoid fully discharging the battery frequently. Recharge regularly to prolong battery life.
- Avoid Water: While designed for outdoor use, avoid submerging the radio in water unless specified as waterproof.
9. Troubleshooting
| Problem | Possible Cause | Solution |
|---|---|---|
| Radio does not power on | Battery is low or not installed correctly. | Charge the battery or re-install it correctly. |
| Cannot transmit or receive | Incorrect channel selected; out of range; battery low. | Ensure correct channel; move closer to other radios; charge battery. |
| Poor audio quality | Volume too low; interference; microphone/speaker obstructed. | Adjust volume; move away from interference sources; check microphone/speaker. |
| Keypad is unresponsive | Keypad lock is activated. | Deactivate keypad lock (refer to specific instructions in the full manual). |
10. Specifications
- Brand: Retevis
- Model Number: RB666S
- Number of Channels: 16
- Battery: 1 x 12V (included)
- Voltage: 7.4 Volts
- Product Dimensions (D x W x H): 2.5 x 5.3 x 9.5 cm (0.98 x 2.09 x 3.74 inches)
- Display: 1.3-inch LCD Screen
- Charging: Type-C Fast Charging, Charging Cradle
- Special Features: LED Flashlight, Fluorescent Design, Emergency Alarm, VOX, CTCSS/DCS, Channel Lock
11. Warranty and Support
11.1 Warranty Information
Retevis offers a 2-year warranty for the radio body and a 1-year warranty for accessories. We also provide a 30-day no-reason return policy. Beyond the warranty period, maintenance services are available, with buyers responsible for associated costs.
11.2 Customer Support
For any questions, issues, or support needs, please contact us through Amazon. We are committed to responding to your inquiries within 12 hours.
11.3 Safety Information
For important safety guidelines, please refer to the official safety information document: Safety Information (PDF)


