
1. Introduction
Thank you for choosing the WECOOL 3-Channel 4K Ultra HD Dash Cam. This manual provides detailed instructions for the installation, operation, and maintenance of your device. Please read it thoroughly before use to ensure proper functionality and to save for future reference.

Image: The WECOOL 3-Channel 4K Ultra HD Dash Cam system, showing the main unit, interior camera, rear camera, and a 64GB SD card, along with a smartphone displaying live footage.
1.1 Package Contents
Verify that all items listed below are included in your package:
- 1 x 4K Dash Cam (Main Unit)
- 1 x 1080P Rear Camera
- 1 x 11.5ft Power Supply Cable with Car Charger
- 1 x 11.5ft Rear Camera Cable
- 1 x 64GB MicroSD Card
- 1 x Suction Cup Bracket
- 1 x 3M Adhesive Mount
- 1 x Installation Assistant Kit (includes tools and cable clips)
- 1 x User Manual

Image: Contents of the WECOOL 3-Channel Dash Cam package, showing the main dash cam, rear camera, power cable, rear camera cable, 64GB SD card, suction cup mount, 3M adhesive mount, and installation tools.
1.2 Product Overview
Familiarize yourself with the main components and controls of your dash cam:

Image: Detailed view of the dash cam's buttons and ports, including the SD card slot, reset button, rearview camera interface, Type-C port, power button, navigation buttons, menu, and microphone.
- SD Card Slot: Insert the MicroSD card here.
- Reset Button: Used to reset the device if it becomes unresponsive.
- Rearview Camera Interface: Connects the rear camera cable.
- Type-C Port: For power connection.
- Power On/Off Button: Press and hold to power on/off.
- Up/Down Buttons: Navigate menu options.
- Menu Button: Access settings and options.
- OK/Confirm Button: Confirm selections.
- MIC: Built-in microphone for audio recording.
- Adjustable Camera Angle: The interior camera can be adjusted.
2. Setup and Installation
Follow these steps for proper installation of your WECOOL Dash Cam.
2.1 Inserting the MicroSD Card
- Ensure the dash cam is powered off.
- Insert the provided 64GB MicroSD card into the SD card slot until it clicks into place.
- To remove, gently push the card until it pops out.
2.2 Mounting the Front Dash Cam
Choose between the suction cup bracket or the 3M adhesive mount.
- Clean the desired area on your windshield thoroughly.
- Attach the chosen mount to the dash cam.
- For the suction cup, press firmly against the windshield and flip the lever to secure.
- For the 3M adhesive mount, peel off the protective film and firmly press the mount onto the windshield for at least 30 seconds. Allow 24 hours for the adhesive to fully bond before attaching the dash cam.
- Adjust the front camera angle to ensure a clear view of the road ahead.

Image: Visual guide for easy installation, demonstrating the placement of the main dash cam on the windshield and the routing of the rear camera cable along the vehicle's interior.
2.3 Installing the Rear Camera
- Connect the 11.5ft rear camera cable to the main dash cam's rearview camera interface.
- Route the cable neatly along the headliner, down the A-pillar, and along the door sills to the rear of the vehicle. Use the provided installation assistant kit and cable clips to secure the cable.
- Clean the desired area on your rear windshield.
- Peel off the adhesive film from the rear camera and firmly stick it to the rear windshield.
- Connect the rear camera cable to the rear camera.
Video: An official WECOOL video demonstrating the installation process of the 3-channel dash cam, including cable routing and camera placement.
2.4 Power Connection
- Plug the 11.5ft power supply cable into the Type-C port on the dash cam.
- Insert the car charger end into your vehicle's 12V power outlet (cigarette lighter socket).
- The dash cam will automatically power on and begin recording when your vehicle starts.
3. Operating Instructions
3.1 Basic Recording
The WECOOL Dash Cam features synchronized three-channel recording: a 4K Ultra HD front camera, a 1080P Full HD interior camera, and a 1080P Full HD rear camera. Once powered on, the device automatically begins continuous loop recording.

Image: Three simultaneous views from the dash cam: front (4K), interior (1080P), and rear (1080P), demonstrating comprehensive coverage.
3.2 G-Sensor Emergency Lock
The built-in G-sensor automatically detects sudden impacts or collisions. When triggered, it locks the current video footage to a protected folder on the MicroSD card, preventing it from being overwritten by loop recording. This ensures critical evidence is preserved.

Image: Illustration of the G-Sensor activating during a collision, automatically locking the video footage to prevent overwriting.
3.3 Loop Recording
The loop recording feature ensures continuous recording. When the MicroSD card is full, the dash cam automatically overwrites the oldest unlocked video files. Locked files (from G-sensor events) are protected and will not be overwritten.

Image: The dash cam displaying the loop recording function, indicating that older files are replaced by new ones, while also showing the included 64GB SD card and a laptop connected for data transfer.
3.4 5GHz WiFi & App Control
The dash cam features built-in 5GHz WiFi for faster data transfer and seamless app control. Download the dedicated app to your smartphone to:
- Preview live video footage.
- Download recorded videos to your phone (up to 8MB/s transfer speed).
- Adjust camera settings.
- Share travel highlights directly to social media.
Note: The effective WiFi range is approximately 3-5 meters.

Image: A smartphone screen showing the dash cam app interface, with options for settings, playback, downloading, and sharing videos, highlighting the 5GHz WiFi for faster transfers.
3.5 24/7 Parking Surveillance
When your vehicle is parked, the dash cam can continuously monitor its surroundings for theft or vandalism, providing 24/7 security. This feature requires a separately purchased Type-C hardwiring kit for continuous power supply.

Image: Visual representation of 24-hour parking monitoring, showing a car under surveillance and icons for anti-theft and continuous recording. A note indicates that a hardwiring kit is required.
3.6 Superior Night Vision with WDR Technology
Equipped with an F1.6 aperture, 6 high-performance glass lenses, and Wide Dynamic Range (WDR) technology, this dash cam optimizes recording in low-light conditions. WDR balances bright and dark areas, resulting in clear, high-contrast footage even at night.
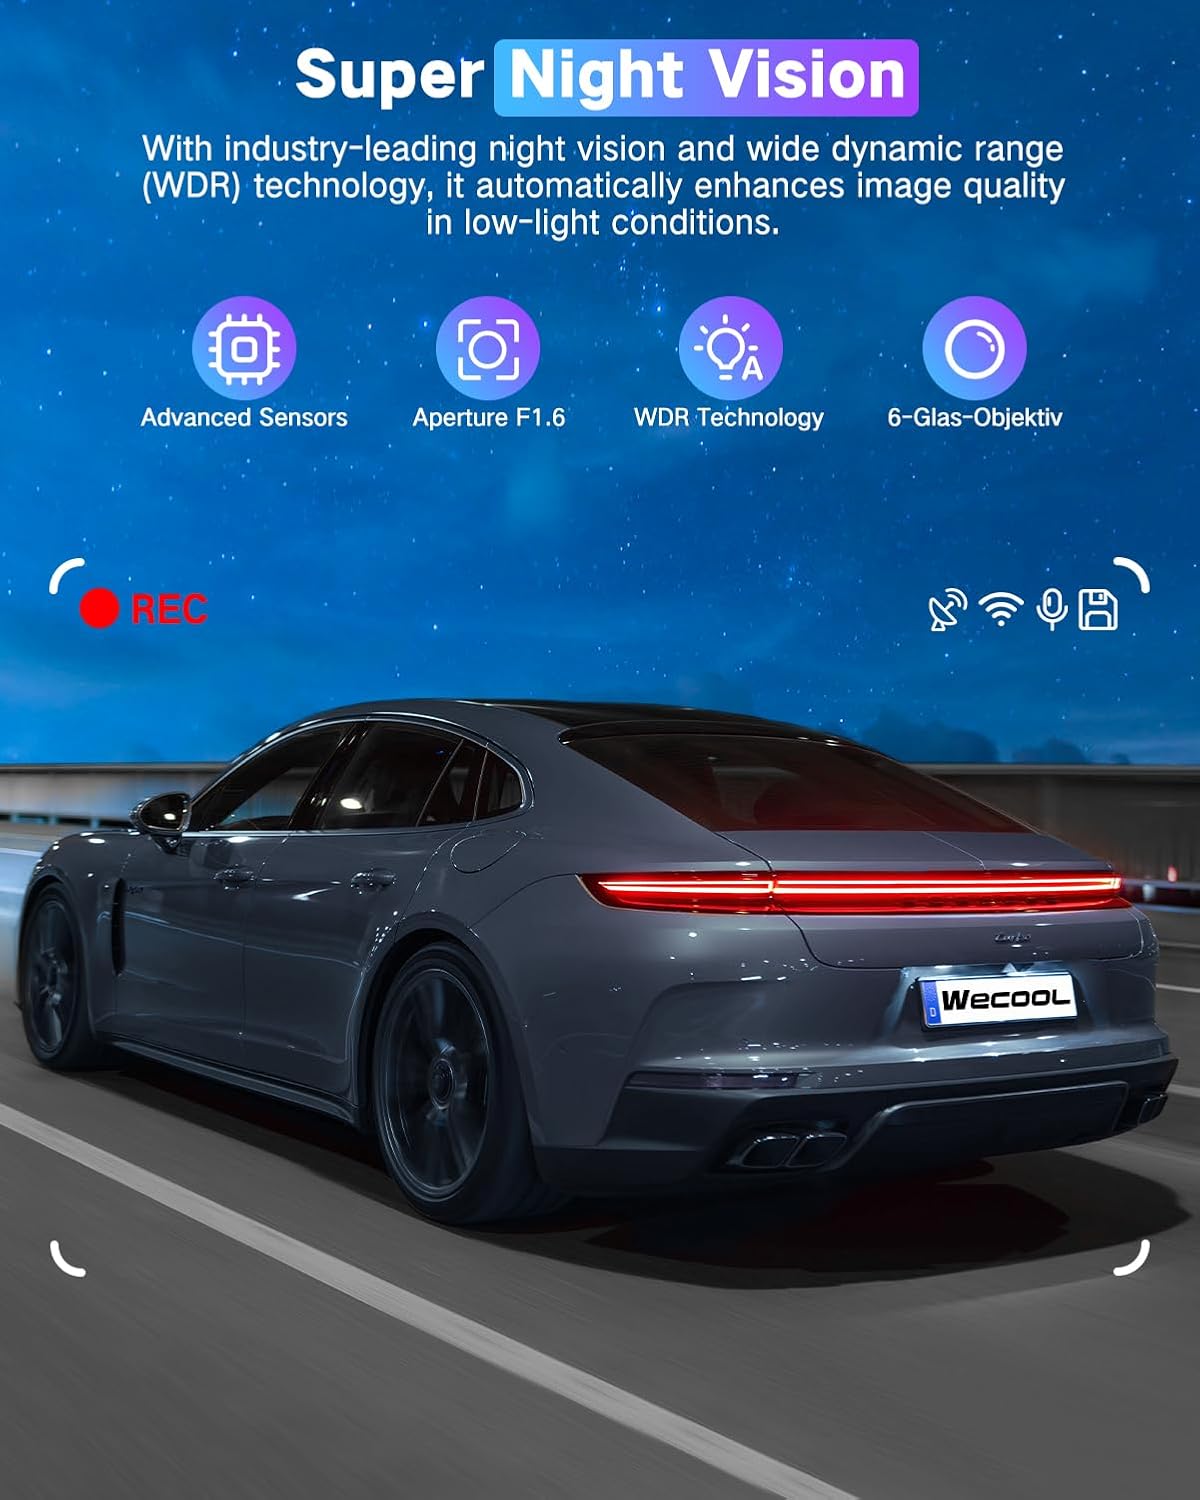
Image: A car driving at night, demonstrating the effectiveness of Super Night Vision with WDR Technology for clear footage in low-light environments.
3.7 470° Ultra-Wide Angle All-Round Protection
The dash cam provides extensive coverage with a 170° ultra-wide front lens, a 150° wide-angle rear lens, and a 150° interior wide-angle lens. This combined 470° field of view minimizes blind spots and captures comprehensive details around and within your vehicle.

Image: A diagram illustrating the 470° panoramic wide-angle coverage, combining the 170° front, 150° interior, and 150° rear camera views.
4. Maintenance
4.1 SD Card Management
- Formatting: It is recommended to format the MicroSD card regularly (e.g., once a month) to maintain optimal performance and prevent data corruption. This can usually be done through the dash cam's menu settings.
- Capacity: The included 64GB card is sufficient for many users, but the dash cam supports cards up to 256GB for extended recording time.
4.2 Cleaning
- Gently wipe the camera lenses with a soft, lint-free cloth to ensure clear video quality. Avoid abrasive materials or harsh chemicals.
- Clean the dash cam body with a dry or slightly damp cloth.
4.3 Temperature Tolerance
The dash cam is designed to withstand extreme temperatures from -4°F (-20°C) to 158°F (70°C), ensuring reliable performance in various climates. Its high-strength aluminum alloy housing aids in heat dissipation.

Image: The dash cam operating reliably in both extreme heat (desert, 70°C) and extreme cold (snowy mountains, -15°C), demonstrating its robust temperature tolerance.
5. Troubleshooting
If you encounter any issues with your dash cam, refer to the following common problems and solutions:
- Dash Cam Not Powering On:
- Ensure the power cable is securely connected to both the dash cam and the car's 12V power outlet.
- Check if the car charger is working by testing it with another device.
- Verify your vehicle's 12V power outlet is active (some vehicles require the ignition to be on).
- Recording Issues (e.g., not recording, corrupted files):
- Format the MicroSD card through the dash cam's settings.
- Ensure the MicroSD card is a high-speed Class 10 or U3 card.
- Try a different MicroSD card to rule out card malfunction.
- Check if loop recording is enabled and set correctly.
- Wi-Fi Connection Problems:
- Ensure you are within the effective range (3-5 meters) of the dash cam.
- Restart both the dash cam and your smartphone.
- Reinstall the companion app on your smartphone.
- Poor Video Quality:
- Clean the camera lenses with a soft cloth.
- Ensure the protective film has been removed from the lenses.
- Check video resolution settings in the dash cam menu.
- Adjust exposure settings if videos appear too dark or too bright.
- Parking Monitor Not Working:
- Confirm that a Type-C hardwiring kit is installed and correctly connected to provide continuous power.
- Check parking mode settings in the dash cam menu.
6. Specifications
| Feature | Specification |
|---|---|
| Model Name | Wecool Dash cam BS001 |
| Video Capture Resolution | Front: 4K, Interior: 1080P, Rear: 1080P |
| Field Of View | Front: 170 Degrees, Interior: 150 Degrees, Rear: 150 Degrees (Total 470°) |
| Connectivity Technology | USB, Wi-Fi (5GHz), Wireless |
| Special Features | 470° Ultra-Wide Angle, 5GHz WiFi, G-Sensor, Loop Recording, Night Vision with WDR, 24H Parking Monitor (requires hardwiring kit) |
| Mounting Type | Windshield Mount (Suction Cup & 3M Adhesive) |
| Included Components | 4K Dash Cam, 1080P Rear Camera, Power Supply Cable with Car Charger, Rear Camera Cable, 64GB Card, Suction Cup Bracket, 3M Adhesive Mount, Installation Assistant Kit |
| Product Dimensions | 3.94 x 2.76 x 1.38 inches |
| Item Weight | 1.15 pounds |
| Color | Matte Black |
| Temperature Tolerance | -4°F (-20°C) to 158°F (70°C) |
7. Warranty and Support
For warranty information, technical support, or any inquiries regarding your WECOOL Dash Cam, please refer to the contact information provided in your product packaging or visit the official WECOOL website. Keep your purchase receipt for warranty claims.