
Introduction
This manual provides essential information for the safe and efficient operation, maintenance, and care of your Kuvings Nutri Blender PRO 2.0. Please read all instructions carefully before first use and retain this manual for future reference.
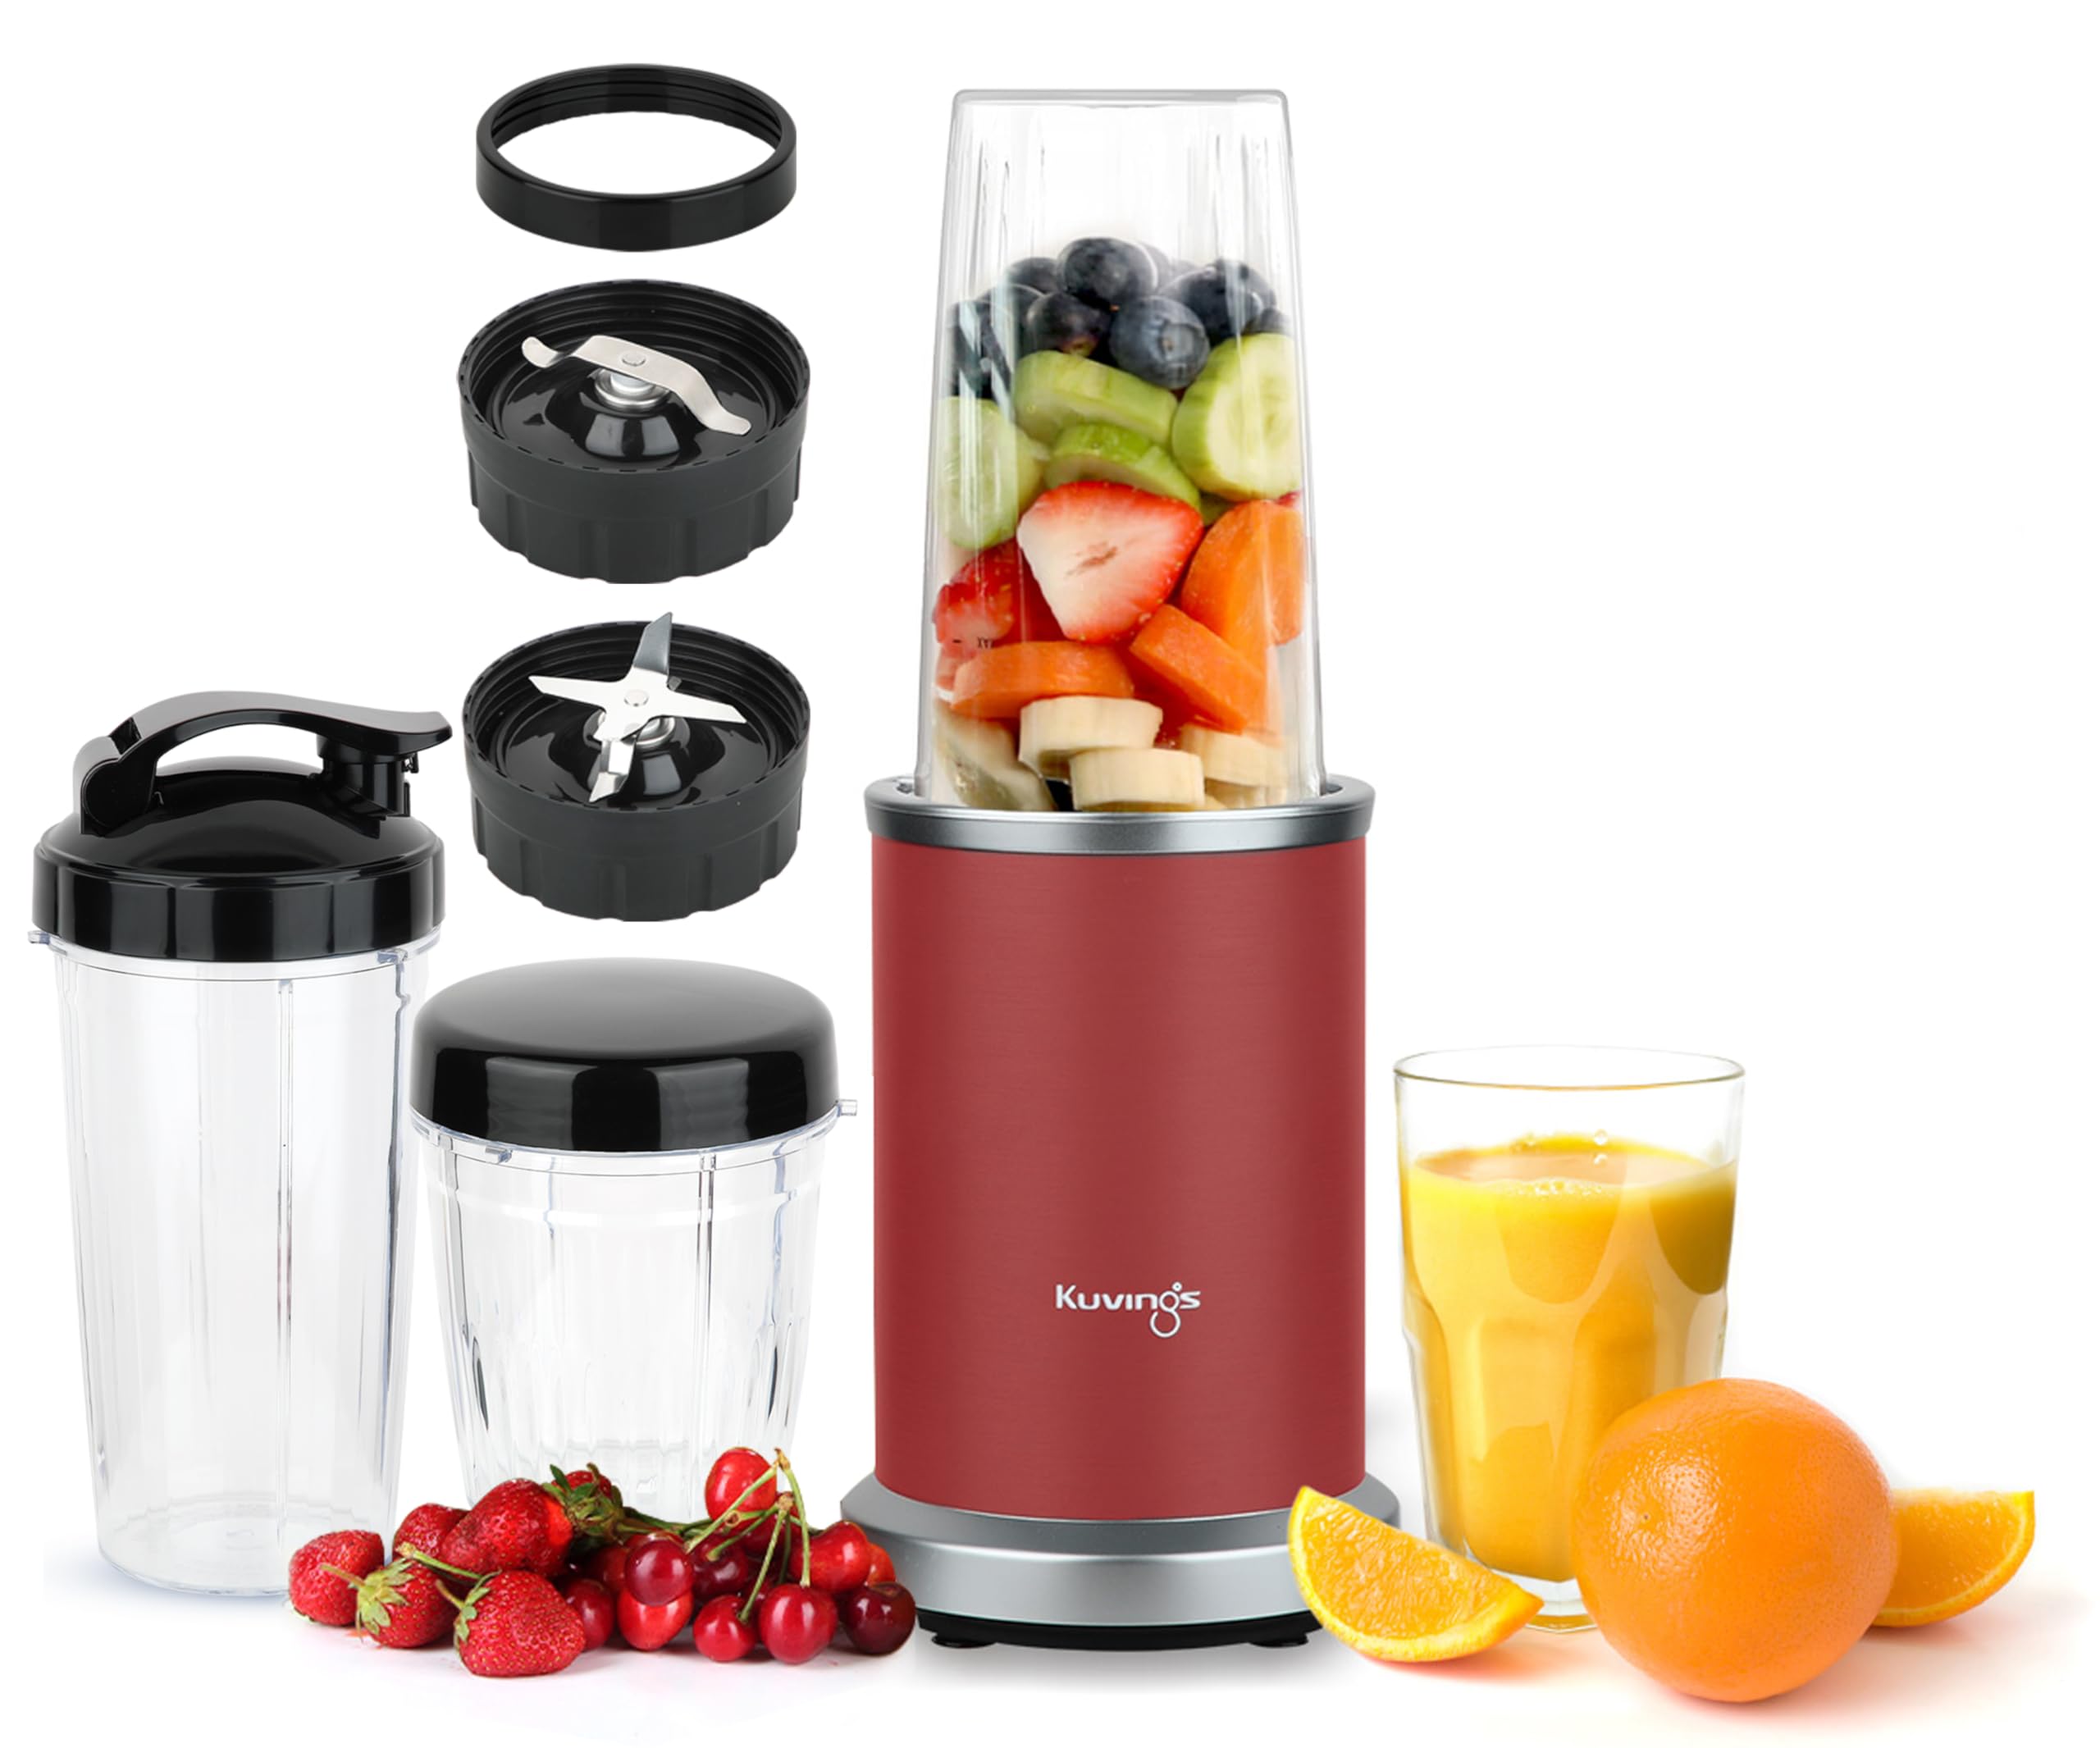
Image: Kuvings Nutri Blender PRO 2.0 in Ferrari Red color, assembled and ready for use.
Important Safety Instructions
WARNING: To reduce the risk of fire, electric shock, or injury, always follow basic safety precautions.
- Read all instructions before using the appliance.
- Do not immerse the motor base in water or other liquids.
- Unplug from outlet when not in use, before assembling or disassembling parts, and before cleaning.
- Avoid contact with moving parts.
- Do not operate any appliance with a damaged cord or plug, or after the appliance malfunctions or has been dropped or damaged in any manner.
- The use of attachments not recommended or sold by the manufacturer may cause fire, electric shock, or injury.
- Do not use outdoors.
- Do not let cord hang over edge of table or counter.
- Do not place on or near a hot gas or electric burner, or in a heated oven.
- Always operate the blender on a flat, stable surface.
- Do not run the blender for more than 60 seconds continuously. Exceeding this limit can lead to motor overheating and potential damage, voiding the warranty.

Image: A warning indicating not to run the blender for more than 60 seconds at a time to prevent motor damage.
Components Overview
Your Kuvings Nutri Blender PRO 2.0 includes the following parts:
- 1000 Watts Powerful Blender Base: The main motor unit.
- Wet Blending Blade: For smoothies, sauces, chutneys, and other liquid-based preparations.
- Dry Grinding Blade: For coffee beans, dry coconut, spices, and other dry ingredients.
- Tall Jar: A larger blending container.
- Short Jar: A smaller blending container.
- Sports On-The-Go Lid: For convenient portability of blended drinks.
- Lip Ring: For comfortable drinking directly from the jar.
- Solid Lid: For storage of blended contents.

Image: Close-up view of the two included blade types: a dry grinding blade and a wet blending blade, along with examples of their uses.
Setup and Assembly
- Place the blender base on a clean, dry, and stable surface.
- Select the appropriate blade assembly (Wet Blending Blade or Dry Grinding Blade) for your ingredients.
- Fill the desired jar (Tall or Short) with your ingredients. Do not overfill beyond the MAX line.
- Screw the selected blade assembly onto the open end of the jar until securely tightened.
- Invert the jar and place it onto the motor base, aligning the tabs on the jar with the slots on the base.
- Twist the jar clockwise to lock it into place. The blender will not operate unless the jar is properly locked.
- Plug the power cord into a suitable electrical outlet.
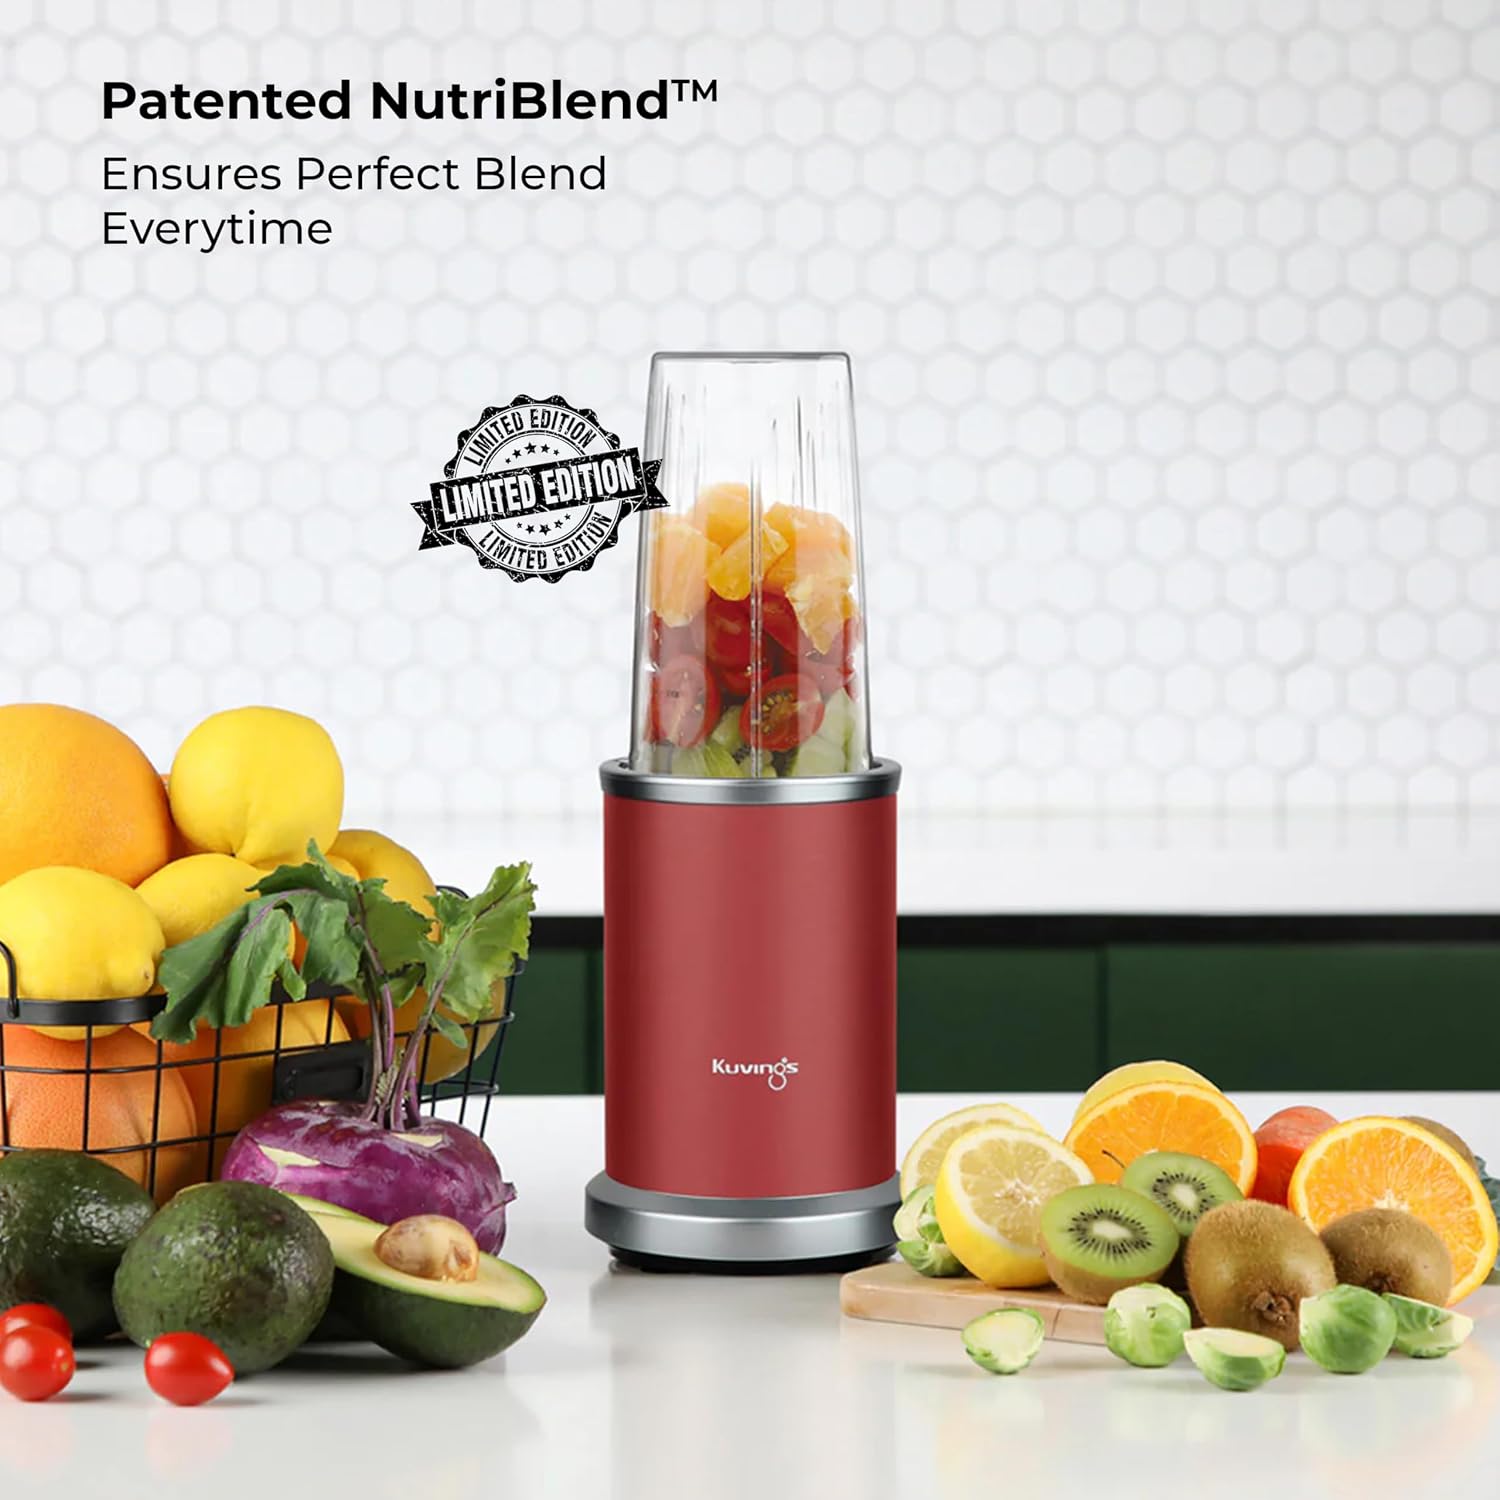
Image: The Kuvings Nutri Blender PRO 2.0 filled with fresh fruits, demonstrating its readiness for blending.
Operating Instructions
The Kuvings Nutri Blender PRO 2.0 features a powerful 1000W motor and NutriBlend Technology for efficient processing.
- Ensure the blender is properly assembled and plugged in.
- Press down on the jar to activate the blending cycle. For continuous blending, twist the jar further clockwise until it locks into the "ON" position.
- Blend ingredients to your desired consistency. Remember the 60-second continuous operation limit. If more blending is needed, allow the motor to rest for a few minutes before resuming.
- To stop blending, release pressure from the jar or twist it counter-clockwise to the "OFF" position.
- Unplug the blender from the power outlet.
- Carefully remove the jar from the base by twisting it counter-clockwise.
- Unscrew the blade assembly from the jar.
- Attach the Sports On-The-Go Lid or Solid Lid for storage or transport, or the Lip Ring for immediate consumption.
Recommended Uses:
- Wet Blending Blade: Smoothies, protein shakes, purees, sauces, chutneys, idli/dosa batter, milkshakes, frappuccinos, and crushing ice.
- Dry Grinding Blade: Coffee beans, dry coconut, spices (masalas), nuts, and seeds.

Image: The Kuvings Nutri Blender PRO 2.0 in operation, blending fruits, with a glass of freshly prepared juice nearby.
Cleaning and Maintenance
Proper cleaning and maintenance ensure the longevity and optimal performance of your blender.
- Always unplug the appliance before cleaning.
- Separate all parts: jars, blade assemblies, lids, and lip ring.
- Jars and Lids: Wash with warm, soapy water. Rinse thoroughly and dry. The jars are not dishwasher safe.
- Blade Assemblies: Carefully rinse the blades under running water immediately after use. Use a brush to remove any food residue. Exercise extreme caution as blades are sharp. Do not immerse the blade assembly in water for extended periods.
- Motor Base: Wipe the motor base with a damp cloth. Never immerse the motor base in water or any other liquid.
- Ensure all parts are completely dry before reassembling or storing.
Troubleshooting
If you encounter issues with your Kuvings Nutri Blender PRO 2.0, refer to the following common solutions:
- Blender does not turn on:
- Ensure the power cord is securely plugged into a working electrical outlet.
- Verify that the jar is correctly assembled and locked onto the motor base. The blender has a safety interlock feature.
- Motor stops during operation:
- The blender may have overheated due to continuous operation for too long or processing overly thick mixtures. Unplug the unit and let it cool down for at least 15-20 minutes before attempting to use it again.
- Check if the jar is overloaded. Reduce the amount of ingredients.
- Ingredients are not blending smoothly:
- Add more liquid if blending thick ingredients.
- Ensure the correct blade (wet or dry) is being used for the type of ingredients.
- Pulse the blender a few times to dislodge ingredients from the blades.
If problems persist, please contact Kuvings customer support.
Specifications
| Brand | Kuvings |
| Model | Nutri Blender Pro 2.0 |
| Color | Ferrari Red |
| Power Source | Corded Electric |
| Wattage | 1000 Watts |
| Voltage | 240 Volts |
| Capacity | 700 Milliliters (Tall Jar) |
| Product Dimensions (D x W x H) | 13.5D x 13.5W x 37.5H Centimeters |
| Item Weight | 2.4 Kilograms |
| Material | BPA Free Tritan Jars, Copper Wound AC Motor, Metal Body |
| Blade Material | Stainless Steel (Blending Blade & Grinding Blade) |
| Control Type | Manual |
| Dishwasher Safe | No |
Warranty Information
The Kuvings Nutri Blender PRO 2.0 comes with an industry-leading 7-Year Warranty on the motor.
This warranty covers manufacturing defects in the motor under normal household use. Please refer to the full warranty terms and conditions provided with your purchase for detailed information on coverage and exclusions.
To avail extended support, register your product on the official Kuvings website.
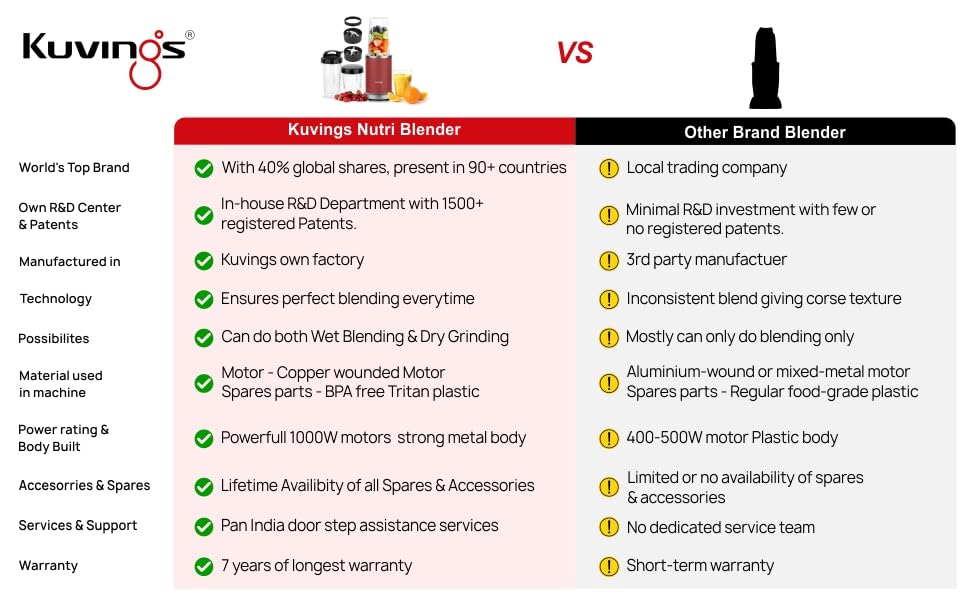
Image: Warranty details showing 5 years standard motor warranty plus an additional 2 years upon product registration.
Customer Support
Kuvings India is committed to providing excellent customer service. For any queries, assistance, demonstration, free installation, or service requirements, please contact our dedicated support team.
Toll-Free Number: 1800 102 2239
(Monday to Saturday, 10 AM to 6 PM)
With over 90+ dedicated offices across India, Kuvings provides prompt, door-step service.

Image: Map showing Kuvings India office locations and contact details for support services.
Virtual Demo
Scan the QR code or click the link below for a free guided virtual demo of Kuvings products:

Image: QR code for accessing a free guided virtual demonstration of Kuvings products.