
1. Introduction
Thank you for choosing the CHICIRIS Small Camera. This compact and lightweight camera is designed for ease of use, making it ideal for students and everyday recording. It features 1080P video resolution and 12MP image resolution, ensuring clear capture of your moments. Please read this manual carefully to understand the camera's functions and ensure proper operation.
2. Package Contents
Upon unpacking, please verify that all the following items are included:
- 1 x CHICIRIS Small Camera (White)
- 1 x Lanyard
- 1 x Hook
- 1 x USB Charging Cable
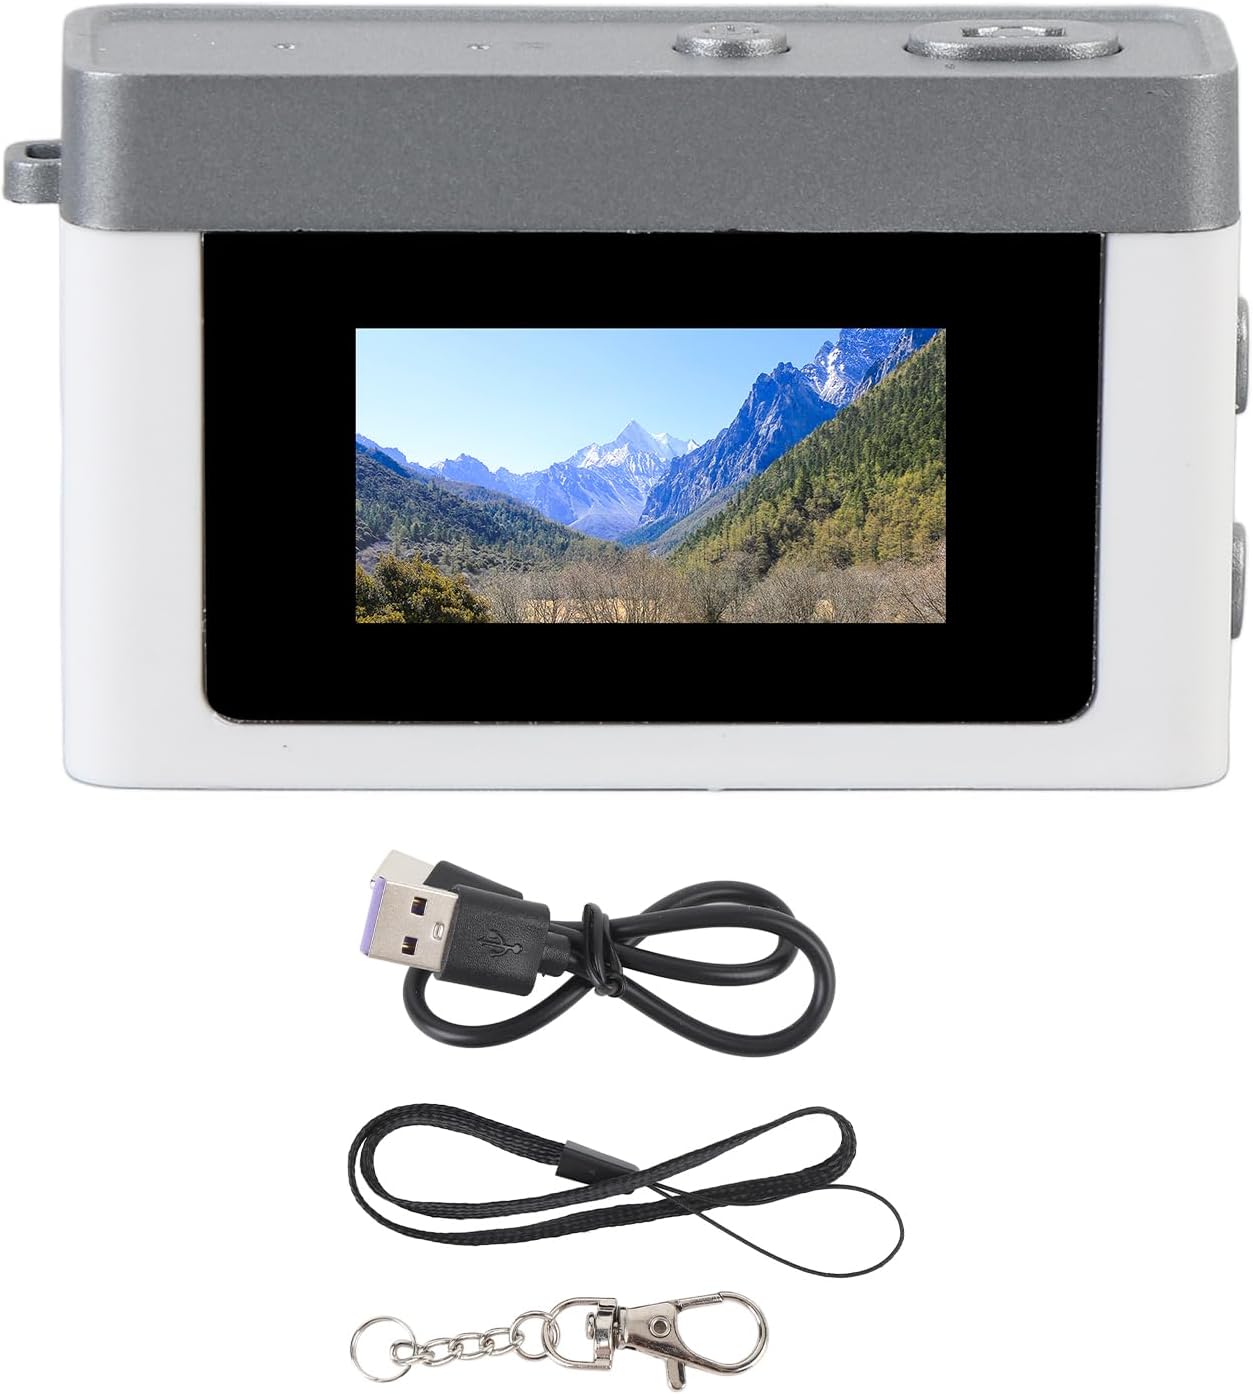
Image: The CHICIRIS Small Camera in white, displayed alongside its included USB charging cable, black lanyard, and metal hook. The camera's screen shows a mountain landscape.
3. Product Specifications
| Feature | Specification |
|---|---|
| Item Type | Campus Camera |
| Material | ABS |
| Screen Size | 0.96 inch |
| Maximum Video Resolution | 1080P |
| Maximum Image Resolution | 12MP |
| Battery Type | 180mAh (Built-in) |
| Memory Card | Not included (Requires external memory card) |
| Camera Size | Approx. 4.5 x 3 x 1.5 cm (1.8 x 1.2 x 0.6 in) |
| Weight | Approx. 18 g (0.6 oz) |

Image: A diagram illustrating the compact dimensions of the CHICIRIS Small Camera, measuring approximately 4.5cm in length, 3cm in height, and 1.5cm in depth.
4. Product Overview
The CHICIRIS Small Camera is designed for portability and ease of use. Its miniature size allows for discreet recording and convenient carrying.

Image: A hand gently holding the CHICIRIS Small Camera, emphasizing its remarkably compact and lightweight design.

Image: Two views of the camera: the front shows the lens and 'CCD' label, while the back displays the 0.96-inch screen with a landscape image.

Image: A top-down perspective of the camera, highlighting the control buttons located on the top panel and the display screen.

Image: A close-up view of the camera's 0.96-inch screen, clearly displaying a vibrant mountain and forest landscape.

Image: The CHICIRIS camera positioned to capture a dandelion, demonstrating its capability to accurately focus on objects and record fine details.

Image: A demonstration of the camera's macro function, featuring a golden retriever dog in focus with an inset close-up of its mouth, highlighting detailed capture.

Image: The camera is shown with three circular icons below it, representing key features: aperture control, image gallery, and 1080P video resolution capability.
5. Setup
5.1 Charging the Camera
- Connect the small end of the provided USB charging cable to the camera's charging port.
- Connect the standard USB end of the cable to a USB power adapter (not included) or a computer's USB port.
- Allow the camera to charge fully before first use. The charging indicator light (if present) will typically change color or turn off when charging is complete.
5.2 Inserting a Memory Card
The camera requires an external memory card (not included) to store photos and videos.
- Locate the memory card slot on the camera.
- Gently insert a compatible memory card into the slot until it clicks into place. Ensure the card is inserted in the correct orientation.
- To remove, gently press the card inward until it springs out.
6. Operating Instructions
6.1 Powering On/Off
- To Power On: Press and hold the Power button (usually located on the top or side) for a few seconds until the screen illuminates.
- To Power Off: Press and hold the Power button again until the screen turns off.
6.2 Taking Photos
- Ensure the camera is powered on and a memory card is inserted.
- Point the camera at your desired subject.
- Press the Shutter button (typically a dedicated button on the top) once to take a photo. The screen may briefly flash or display a confirmation.
6.3 Recording Videos
- Ensure the camera is powered on and a memory card is inserted.
- Locate the Mode button (if available) and switch to video recording mode, or press the dedicated Video Record button.
- Press the Record button once to start recording. A timer or indicator will usually appear on the screen.
- Press the Record button again to stop recording.
6.4 Viewing Photos and Videos
- Switch the camera to playback mode (if available, via a Mode button).
- Use the navigation buttons (if available) to scroll through your captured photos and videos.
- To view on a computer, connect the camera via USB or insert the memory card directly into a card reader.
7. Maintenance
- Cleaning: Use a soft, dry cloth to clean the camera body. For the lens and screen, use a specialized lens cleaning cloth. Avoid abrasive materials or harsh chemicals.
- Storage: Store the camera in a cool, dry place away from direct sunlight and extreme temperatures.
- Battery Care: To prolong battery life, avoid fully discharging the battery frequently. Charge the camera regularly, even if not in use for extended periods.
- Memory Card: Periodically back up your photos and videos to a computer or cloud storage. Format the memory card in the camera occasionally to maintain optimal performance.
8. Troubleshooting
Camera does not power on:
- Ensure the battery is charged. Connect the camera to a power source and allow it to charge for at least 30 minutes.
- Press and hold the Power button firmly for several seconds.
Cannot take photos/record videos:
- Check if a memory card is properly inserted.
- Ensure the memory card has sufficient free space. Delete unnecessary files or insert a new card.
- Verify the camera is in the correct mode (photo or video).
Images/Videos are blurry:
- Ensure the lens is clean and free from smudges.
- Hold the camera steady while capturing.
- Ensure adequate lighting for your subject.
Camera is unresponsive:
- Try performing a soft reset by powering off and then on again.
- If the issue persists, allow the battery to fully discharge and then recharge it.
9. Warranty and Support
CHICIRIS products are manufactured with quality and performance in mind. For specific warranty information, please refer to the documentation provided at the time of purchase or contact your retailer. For technical support or further assistance, please reach out to the CHICIRIS customer service team through the contact information provided on the product packaging or the official CHICIRIS website.