
1. Important Safety Information
Please read all instructions carefully before using the UMAY Recumbent Exercise Bike. Retain this manual for future reference.
- Consult your physician before starting any exercise program.
- Keep children and pets away from the equipment during use.
- Place the exercise bike on a flat, stable surface. Ensure adequate space around the bike.
- Inspect the bike for loose or damaged parts before each use. Do not use if any parts are compromised.
- Wear appropriate exercise attire and footwear.
- Do not exceed the maximum user weight of 330 lbs (150 kg).
- Stop exercising immediately if you feel faint, dizzy, or experience pain.
2. Product Overview
The UMAY Recumbent Exercise Bike CBR70 is designed for comfortable and effective indoor cardio workouts. It features a magnetic resistance system, an adjustable seat, and an LCD monitor to track your progress.

Figure 2.1: UMAY Recumbent Exercise Bike CBR70 - Overall View
3. Setup and Assembly
The UMAY Recumbent Exercise Bike CBR70 is 85% pre-assembled for a quick setup, typically taking about 30 minutes. All necessary tools are included.
3.1 Unpacking
- Carefully remove all components from the packaging.
- Verify that all parts listed in the included assembly instructions are present.
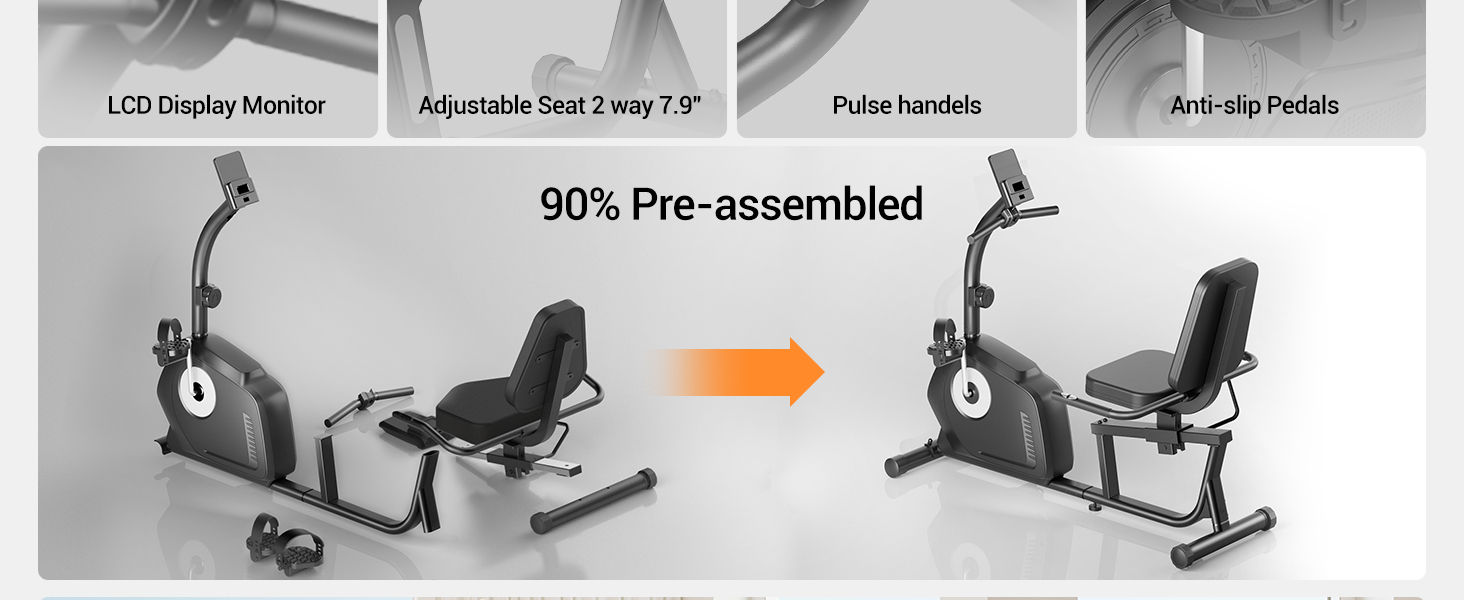
Figure 3.1: Visual guide for quick assembly.
3.2 Assembly Steps
- Attach the front and rear stabilizers to the main frame using the provided bolts and tools.
- Connect the pedal arms to the flywheel mechanism. Ensure pedals are securely fastened.
- Mount the seat and backrest onto the seat rail.
- Install the handlebar post and connect the tension control cable and heart rate monitor wires.
- Attach the LCD monitor to the handlebar post.
- Ensure all connections are tight and secure before first use.
Video 3.1: Official UMAY Exercise Bike assembly and feature overview.
4. Operating Instructions
4.1 Adjusting Resistance
The bike features 16 levels of magnetic resistance. To adjust the resistance:
- Locate the tension control knob on the main frame, below the handlebars.
- Turn the knob clockwise to increase resistance (higher numbers for more challenging workouts).
- Turn the knob counter-clockwise to decrease resistance (lower numbers for easier pedaling).

Figure 4.1: Resistance tension control dial with 16 levels.
4.2 Adjusting the Seat
The 2-way adjustable seat accommodates riders from 4'8" to 6'5" and offers a 7.9-inch adjustment range. The backrest also features 3 vertical levels for support.
- To adjust the seat position, pull the lever located on the side of the seat rail.
- Slide the seat forward or backward to achieve a comfortable leg extension while pedaling.
- Release the lever to lock the seat in place.
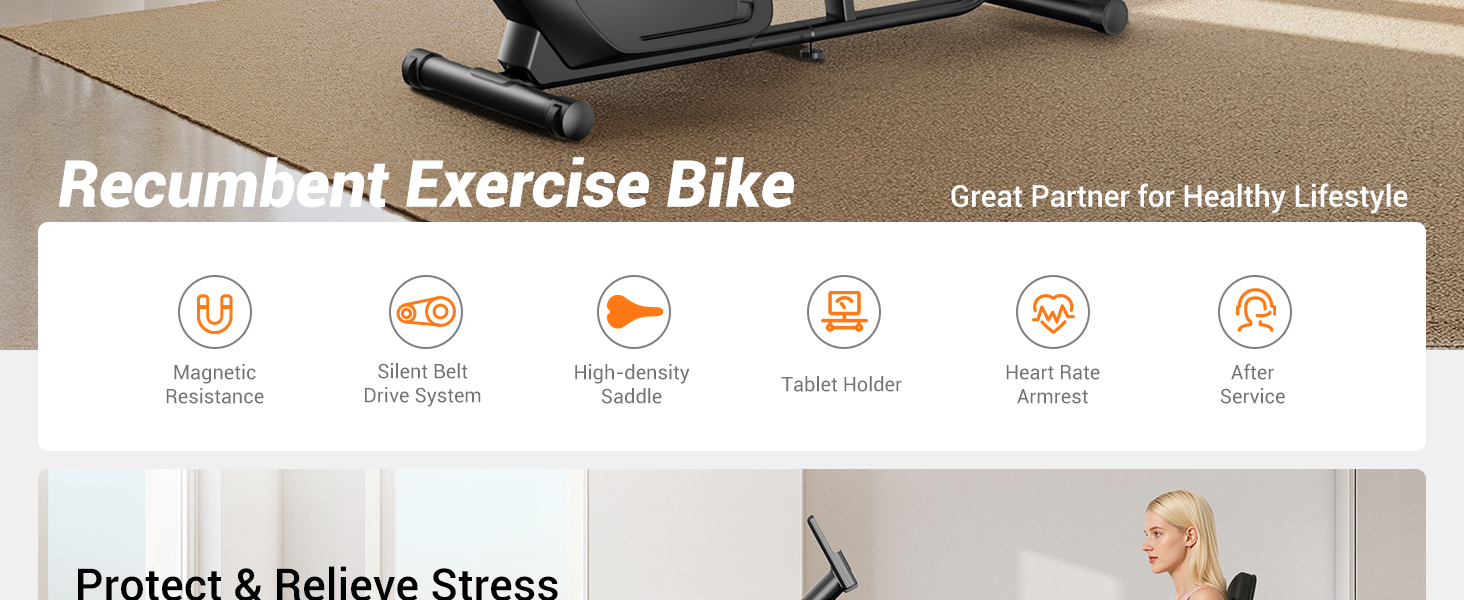
Figure 4.2: Seat adjustment lever for optimal legroom.
4.3 Using the LCD Monitor
The built-in LCD monitor tracks your workout data. It requires batteries (not included).
- Press the MODE button to cycle through different display functions: Time, Speed, Distance, Odometer, Calories, and Heart Rate.
- To measure your heart rate, place both hands on the pulse sensors located on the handlebars. The monitor will display your heart rate in beats per minute (BPM).
- The monitor also includes a holder for smartphones and tablets, allowing you to view media or follow workout programs.

Figure 4.3: LCD monitor displaying workout metrics with integrated tablet holder.
4.4 Foot Straps
The widened pedals come with adjustable foot straps to secure your feet during exercise, enhancing safety and pedaling efficiency.
- Place your feet onto the pedals.
- Adjust the straps to ensure a snug fit over your shoes.
5. Maintenance
Regular maintenance ensures the longevity and safe operation of your exercise bike.
- Cleaning: Wipe down the bike with a damp cloth after each use to remove sweat and dust. Avoid abrasive cleaners.
- Inspection: Periodically check all bolts, nuts, and moving parts for tightness and wear. Tighten any loose fasteners.
- Lubrication: No specific lubrication is required for the magnetic belt-driven system.
- Storage: Store the bike in a dry, cool place away from direct sunlight and moisture. The front transport wheels allow for easy movement.
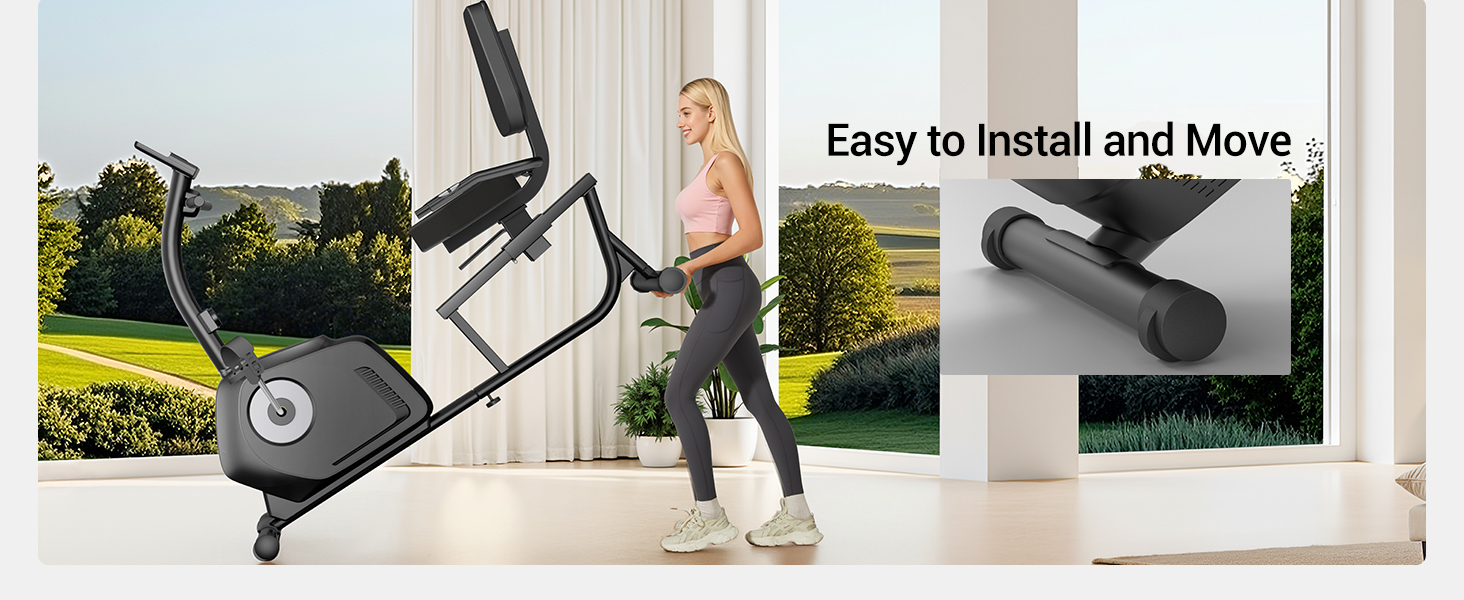
Figure 5.1: Transport wheels for easy relocation.
6. Troubleshooting
| Problem | Possible Cause | Solution |
|---|---|---|
| LCD monitor not displaying data. | Batteries are dead or incorrectly installed. Loose connection. | Replace batteries. Check all wire connections to the monitor. |
| No resistance or inconsistent resistance. | Tension control cable is loose or disconnected. | Check the connection of the tension control cable to the resistance mechanism and the knob. |
| Squeaking or grinding noise during use. | Loose bolts or components. | Inspect all assembly points and tighten any loose bolts. |
| Heart rate monitor not working. | Hands not properly placed on sensors. Loose sensor wires. | Ensure firm contact with both sensors. Check sensor wire connections. |
7. Specifications
| Feature | Detail |
|---|---|
| Brand | UMAY |
| Model Name | CBR70 |
| Resistance Mechanism | Magnetic |
| Number of Resistance Levels | 16 |
| Maximum Weight Recommendation | 330 Pounds |
| Product Dimensions (LxWxH) | 53.3"D x 26.3"W x 48.3"H |
| Item Weight | 55.1 Pounds |
| Material | Alloy Steel |
| Power Source | Battery Powered (for LCD monitor) |
| Special Features | Adjustable Seat, LCD Display, Adjustable Footstrap, Quick Assembly |
8. Warranty and Support
UMAY offers comprehensive customer support for its products.
- Return Policy: This product is eligible for a 30-day return policy (refund/replacement).
- Service: For any issues related to shipping damage, accessories, product usage, installation, or maintenance, please contact UMAY customer service for customized solutions.