
1. Introduction
The SDRGEEK DP-666 is a high-performance full-band DSP radio designed for enthusiasts and casual listeners alike. Based on the NXP TEF6686 chip, it utilizes DSP tuner and Software-Defined Radio (SDR) signal processing technology to provide excellent reception across FM, LW, MW, and SW bands. This manual provides essential information for setting up, operating, and maintaining your DP-666 radio.
2. Package Contents
Please verify that all items listed below are included in your package:
- DP-666 Radio Unit
- SMA Telescopic Antenna
- Stylus
- TYPE-C Data Cable
- Storage Bag
- Doughnut Antenna
3. Product Overview
The DP-666 radio features a compact design with a 2.8-inch IPS touch screen and intuitive controls. Below are key components and features:

Figure 3.1: Front view of the DP-666 radio, highlighting its full-band DSP capabilities and display.
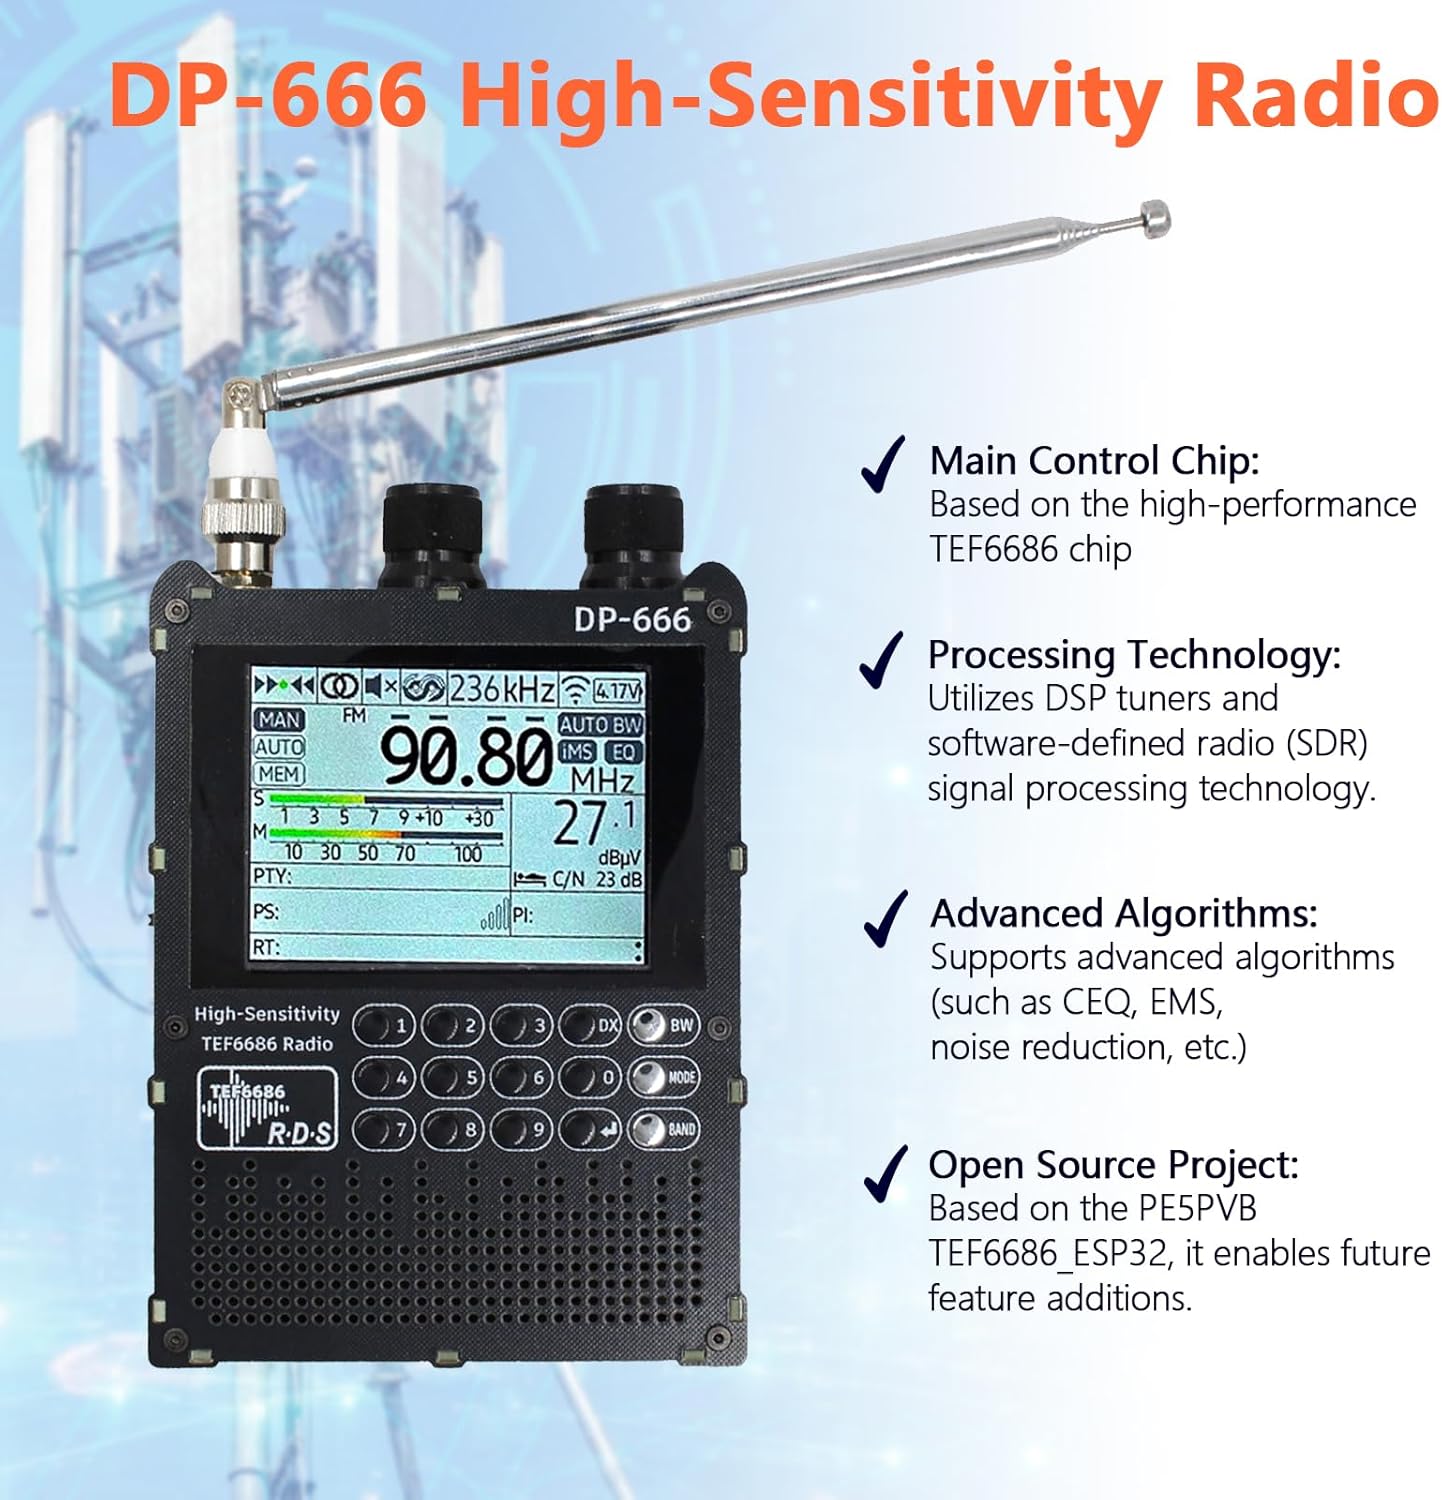
Figure 3.2: Key features of the DP-666 radio, including the TEF6686 chip, DSP/SDR technology, advanced algorithms, and its open-source foundation.

Figure 3.3: Side view detailing the full-band external antenna connector (standard SMA female), standard 3.5mm audio connector output, and the external ESP32 BOOT button for firmware upgrades.

Figure 3.4: Close-up of the radio's interface, showing the 2.8-inch IPS color touch LCD screen, numeric keypad for quick frequency input, and the dual-diaphragm large-cavity speaker.
4. Setup
4.1. Charging the Battery
The DP-666 radio is equipped with a built-in 5000mAh rechargeable battery. Before initial use, fully charge the device.
- Connect the supplied TYPE-C data cable to the radio's TYPE-C port.
- Connect the other end of the cable to a compatible USB power adapter (not included) or a computer's USB port.
- The charging indicator on the screen will show the charging status. A full charge provides approximately 15 hours of working time.
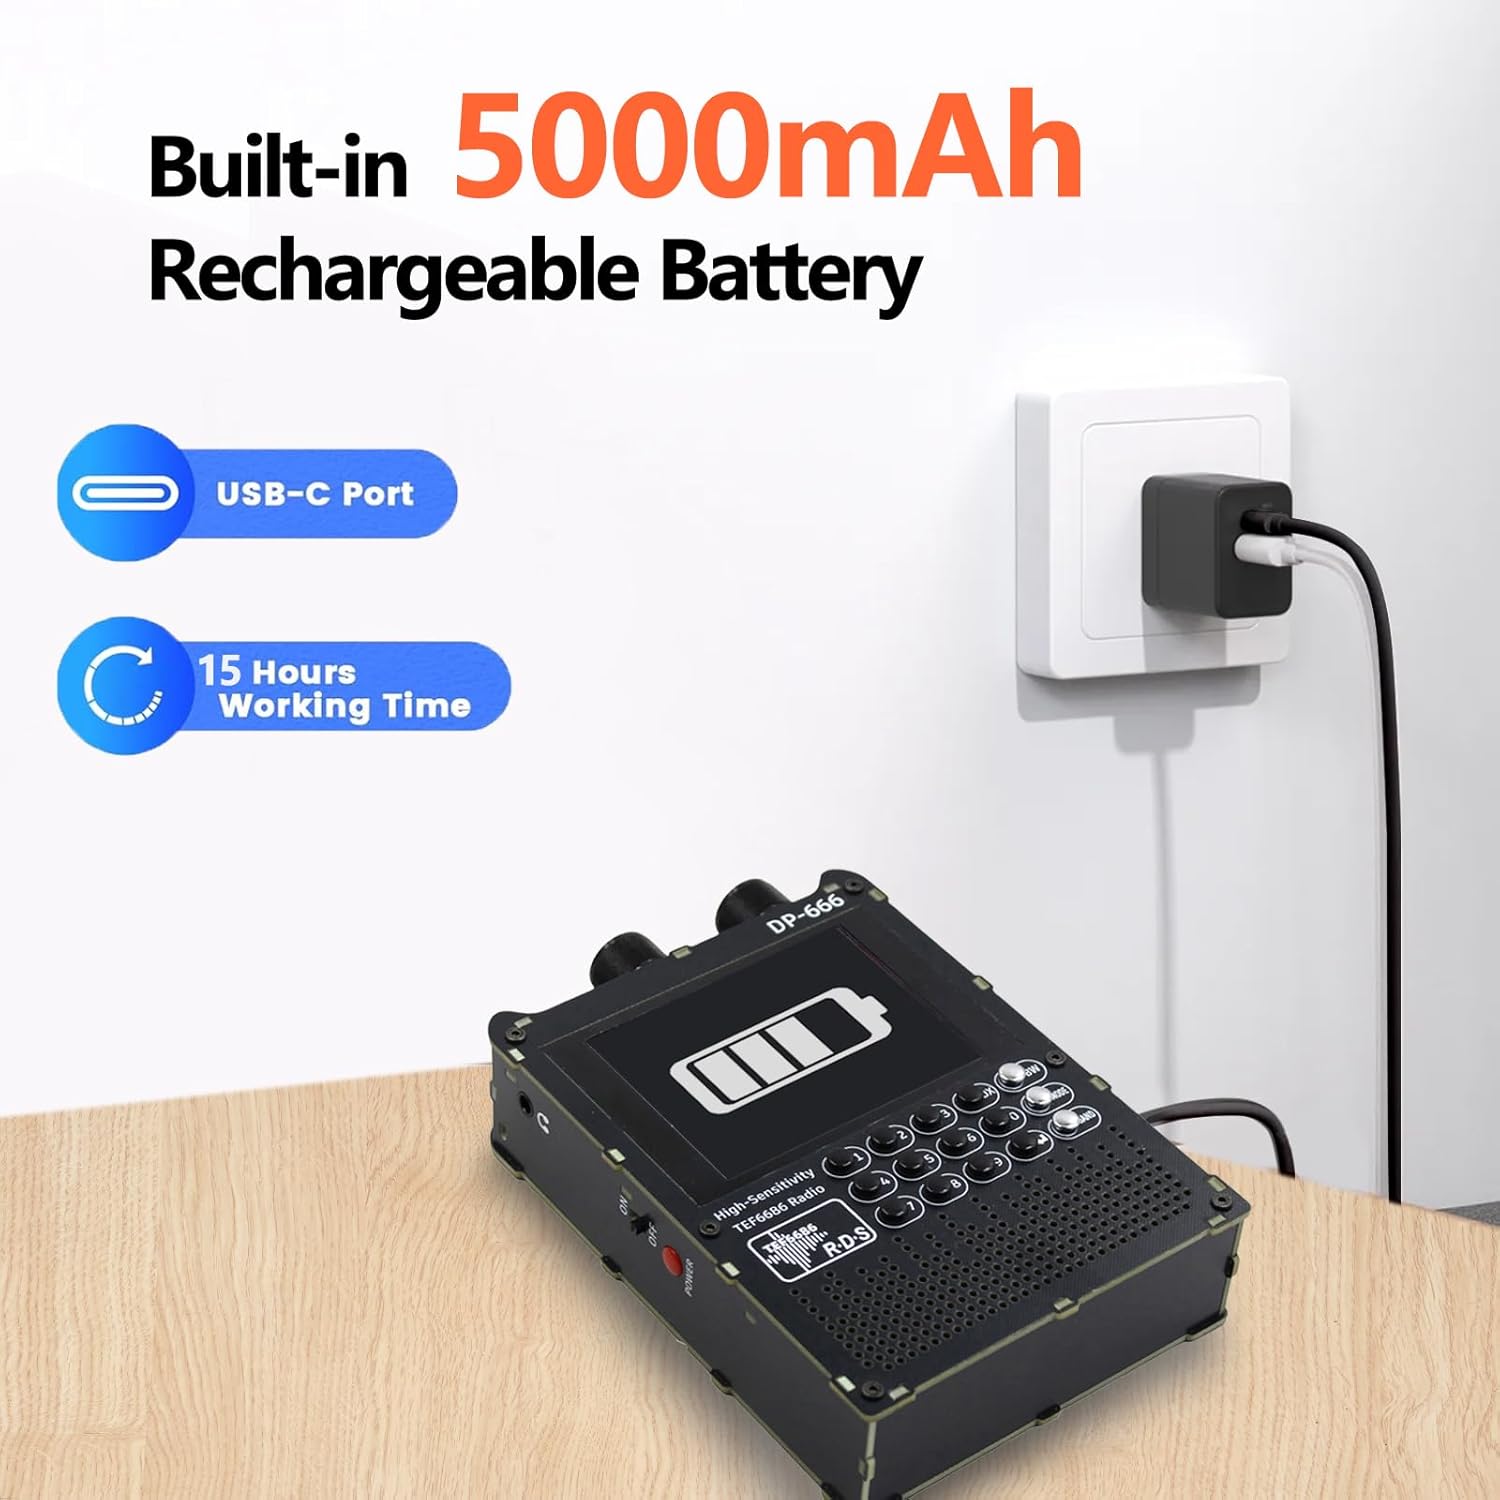
Figure 4.1: The DP-666 radio being charged via its USB-C port, emphasizing its 5000mAh battery capacity.
4.2. Antenna Connection
For optimal reception, connect the appropriate antenna.
- Telescopic Antenna: Screw the SMA telescopic antenna into the SMA connector on the top of the radio. Extend it fully for better reception, especially for FM and shortwave.
- Doughnut Antenna: For enhanced reception, particularly on specific bands, connect the doughnut antenna to the SMA connector. Position it for best signal strength.

Figure 4.2: All included accessories for the DP-666 radio, including both the telescopic and doughnut antennas.
5. Operating Instructions
5.1. Power On/Off
Press and hold the power button located on the side of the radio to turn the device on or off.
5.2. Frequency Tuning and Band Selection
The DP-666 offers multiple ways to tune into stations and select bands:
- Touch Screen: Use the 2.8-inch IPS touch screen to navigate menus, select bands (FM/LW/MW/SW), and fine-tune frequencies.
- Numeric Keypad: Directly input desired frequencies using the numeric keypad on the front panel for quick access.
- Tuning Knobs: Use the rotary knobs on the top of the radio for continuous frequency adjustment.
- Automatic/Manual Scanning: The radio supports automatic and manual scanning functions to find available stations. Refer to the on-screen menu for these options.
5.3. RDS Information Display
For FM stations that broadcast RDS (Radio Data System) information, the DP-666 can display details such as station name, program type, and other relevant data on its screen.
5.4. Headphone Output
Connect standard 3.5mm headphones to the headphone jack for private listening. The radio's internal speaker will be muted when headphones are connected.
5.5. Advanced Features
The DP-666 incorporates advanced algorithms for enhanced listening:
- Noise Reduction: Improves audio clarity, especially in challenging reception conditions.
- Mute Function: Temporarily silences the audio output.
- Multi-language Support: The user interface can be set to various languages.
- Battery Voltage Display: Monitor the current battery level directly on the screen.
6. Maintenance
6.1. Cleaning
Wipe the radio with a soft, dry cloth. Do not use liquid cleaners or abrasive materials, as they may damage the finish or internal components.
6.2. Storage
When not in use for extended periods, store the radio in a cool, dry place, away from direct sunlight and extreme temperatures. It is recommended to partially charge the battery every few months to maintain its health.
6.3. Battery Care
To prolong battery life, avoid fully discharging the battery frequently. Charge the radio when the battery indicator is low.
7. Troubleshooting
If you encounter issues with your DP-666 radio, refer to the following common problems and solutions:
| Problem | Possible Cause | Solution |
|---|---|---|
| No power | Battery discharged; Power button not pressed correctly | Charge the battery fully; Press and hold the power button until the screen illuminates. |
| Poor reception (AM/SW) | Antenna not extended/connected; Interference; Weak signal area | Ensure the telescopic antenna is fully extended or the doughnut antenna is properly connected and positioned. Move away from electronic devices that may cause interference. Try tuning to stronger stations or using an external antenna. |
| Screen unresponsive | Temporary software glitch; Screen protector issue | Restart the radio. Ensure the stylus or finger is making proper contact. If a screen protector is used, ensure it is not interfering with touch sensitivity. |
| No audio | Volume too low; Headphones connected; Mute function active | Increase volume; Disconnect headphones if using the speaker; Deactivate mute function. |
8. Specifications
Below are the technical specifications for the SDRGEEK DP-666 radio:
- Model Number: DP-666
- Main Control Chip: NXP TEF6686
- Display: 2.8-inch IPS Touch LCD Screen
- Radio Bands: FM, LW, MW, SW (Full Band DSP)
- Battery: 5000mAh Rechargeable
- Charging Port: USB Type-C
- Audio Output: 3.5mm Headphone Jack, Dual-diaphragm Large-cavity Speaker
- Connectivity: USB (for charging and firmware upgrade)
- Product Dimensions: 5.4"L x 2.9"W x 0.9"H
- Item Weight: 0.7 Pounds
- Enclosure Material: Plastic
- Special Features: RDS Information Display, Numeric Keypad, ESP32 BOOT button (external), Firmware Upgradable, Noise Reduction, Multi-language support.
9. Firmware Upgrade
The DP-666 radio is built on the PE5PVB open-source project TEF6686_ESP32, allowing for future firmware enhancements and additions. Firmware upgrades can be performed via the TYPE-C port.
- Visit the official SDRGEEK support website or the PE5PVB open-source project page for the latest firmware and detailed upgrade instructions.
- Download the appropriate firmware file to your computer.
- Connect the radio to your computer using the TYPE-C data cable.
- Follow the specific instructions provided with the firmware for entering bootloader mode (often involving pressing the external ESP32 BOOT button) and flashing the new firmware.
Note: Firmware updates carry a risk of errors if not performed correctly. Users should understand the process and potential implications before attempting an upgrade.
10. Warranty and Support
The SDRGEEK DP-666 radio comes with a 1-year manufacturer's warranty, covering defects in materials and workmanship under normal use. For warranty claims, technical support, or further assistance, please contact SDRGEEK customer service through their official website or the retailer where the product was purchased.
Please retain your proof of purchase for warranty service.
