
webeauty F9E
webeauty Hair Dryer Brush 8-in-1 Dual Voltage Hot Air Styler Instruction Manual
Model: F9E
Introduction
Thank you for choosing the webeauty Hair Dryer Brush 8-in-1 Dual Voltage Hot Air Styler. This versatile styling tool is designed to simplify your hair care routine by combining multiple functions into one device. With its high-speed motor, ionic and ceramic technology, and various attachments, you can achieve salon-quality results at home or while traveling. Please read this manual thoroughly before use to ensure safe and optimal performance.
Important Safety Information
- Keep out of reach of children.
- Do not use near water.
- Be cautious of overheating.
- Do not use while bathing.
- The ALCI plug automatically shuts off power in case of leakage or abnormal current. With built-in Test and Reset buttons, it prevents electric shock and ensures safe use—even in bathrooms—protecting you and your family.
Package Contents
Your webeauty Hair Dryer Brush 8-in-1 Dual Voltage Hot Air Styler includes the following components:
- Main Styler Unit (Wind-Combed Body)
- Left Auto-Wrap Curler
- Right Auto-Wrap Curler
- Hair Straightener Attachment
- Smoothing Brush
- Volumizing Brush
- Hair Diffuser
- Fast Dryer Nozzle
- Protective Hard Case
- Heat-Resistant Glove (if included)


Setup and Attachment Installation
- Connecting an Attachment: Align the desired styling attachment with the main styler unit. Gently push the attachment onto the unit until you hear a click, indicating it is securely locked in place.
- Removing an Attachment: To remove an attachment, press the release button located on the main styler unit (often near the attachment point). While holding the button, gently twist and pull the attachment off. Ensure the unit is cool before changing attachments to prevent burns.
Operating Instructions
General Operation
- Power On/Off: Plug the device into a suitable electrical outlet. Press the power button to turn the styler on or off.
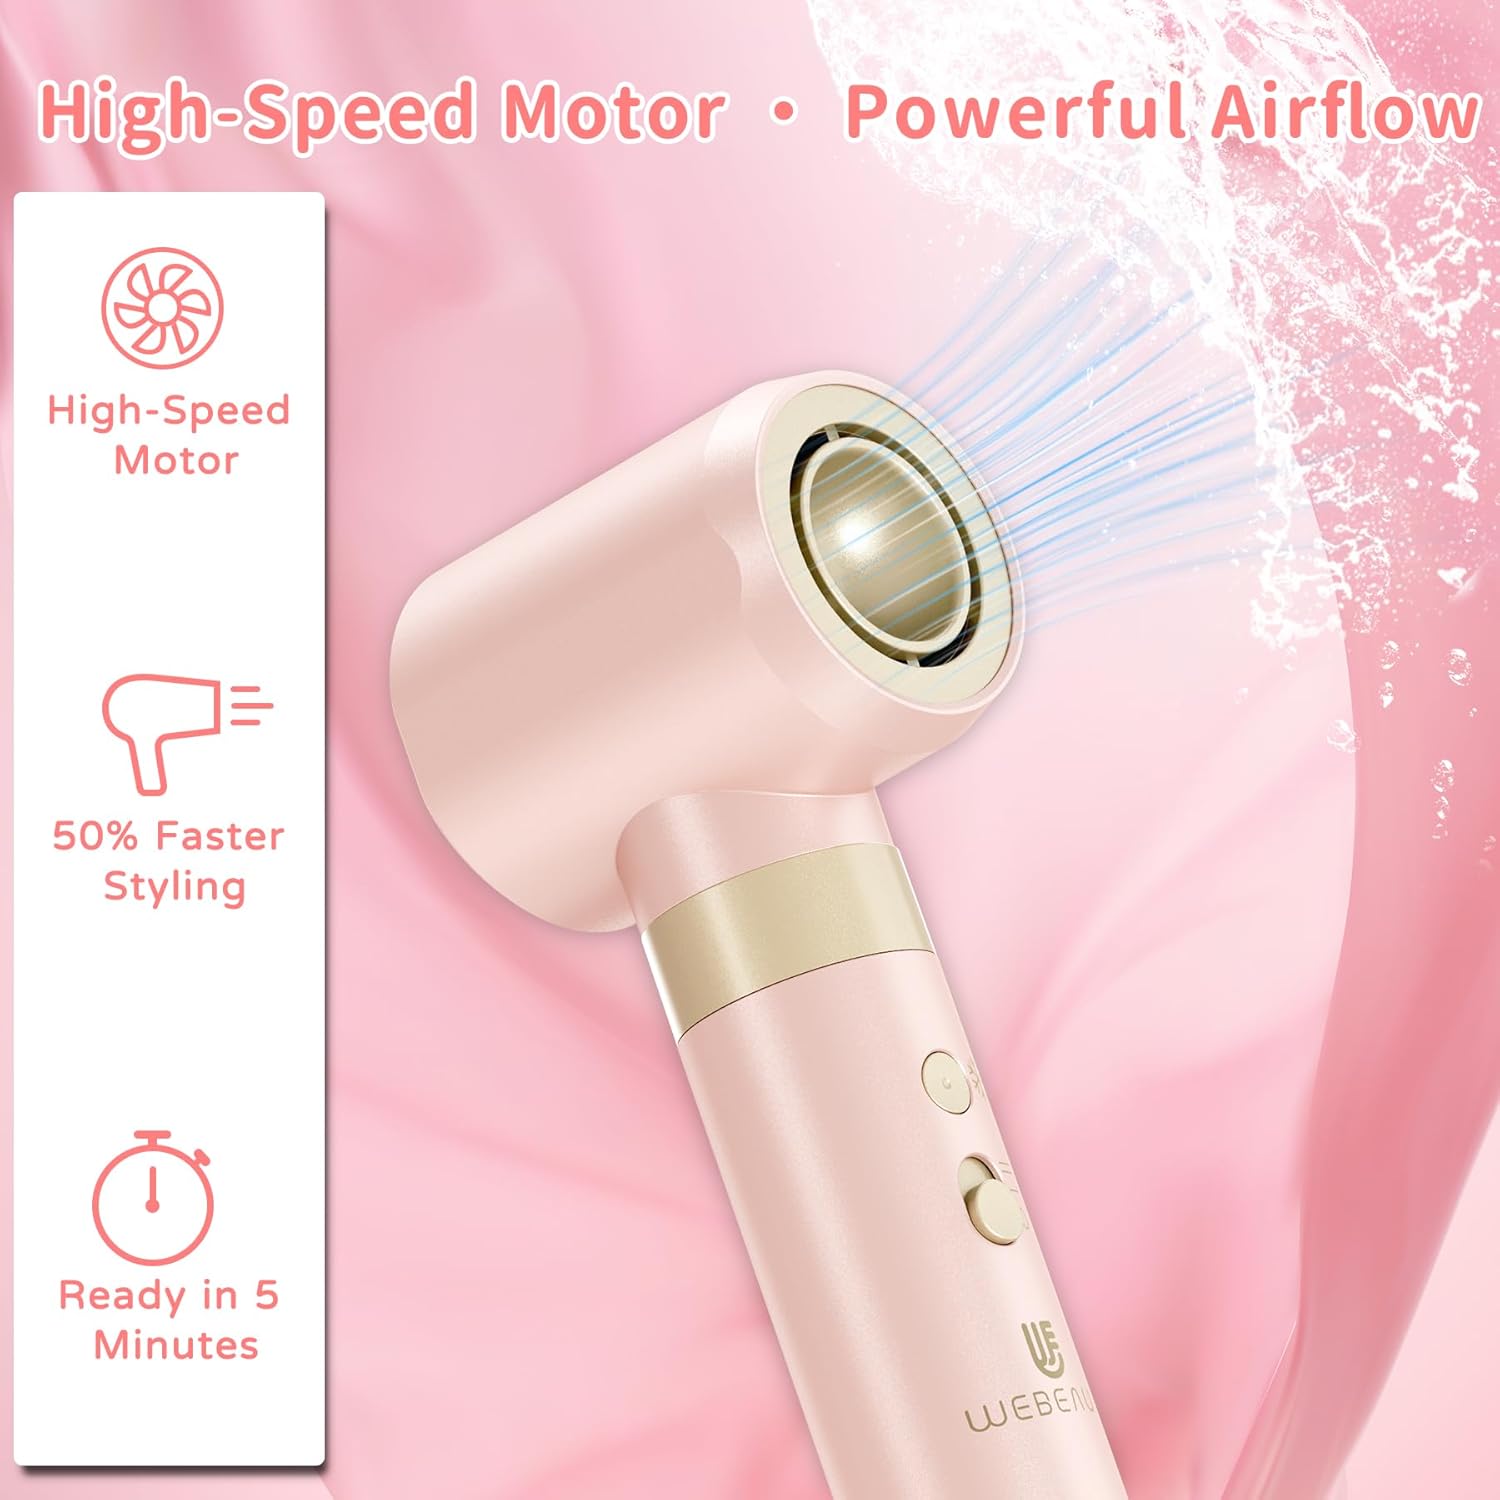
- Heat and Speed Settings: The styler features 3 heat and speed settings. Use the control buttons on the main unit to select the desired temperature and airflow level.
- Low Heat/Speed: For fine or damaged hair.
- Medium Heat/Speed: For normal hair.
- High Heat/Speed: For thick or curly hair.
- Cool Air Option: Activate the cool air setting to set your style and lock in curls for long-lasting results.


Using Specific Attachments
1. Fast Dryer Nozzle
Use this attachment for quick drying of wet hair before styling with other tools. It provides powerful airflow for efficient drying without excessive heat damage.

2. Smoothing Brush
This brush is designed to smooth hair and reduce frizz, leaving it sleek and shiny. Use on damp, towel-dried hair for best results. Brush downwards from roots to ends.
3. Volumizing Brush
The volumizing brush adds body and lift to your hair. Use it by lifting sections of hair at the roots and brushing outwards, or by rolling sections around the brush for soft waves.
4. Hair Straightener Attachment
For sleek, straight hair, attach the hair straightener. Ensure hair is dry before use. Pass sections of hair between the plates from roots to ends. The powerful airflow straightens as it dries, while negative ions lock in moisture and reduce static.
5. Auto-Wrap Curlers (Left & Right)
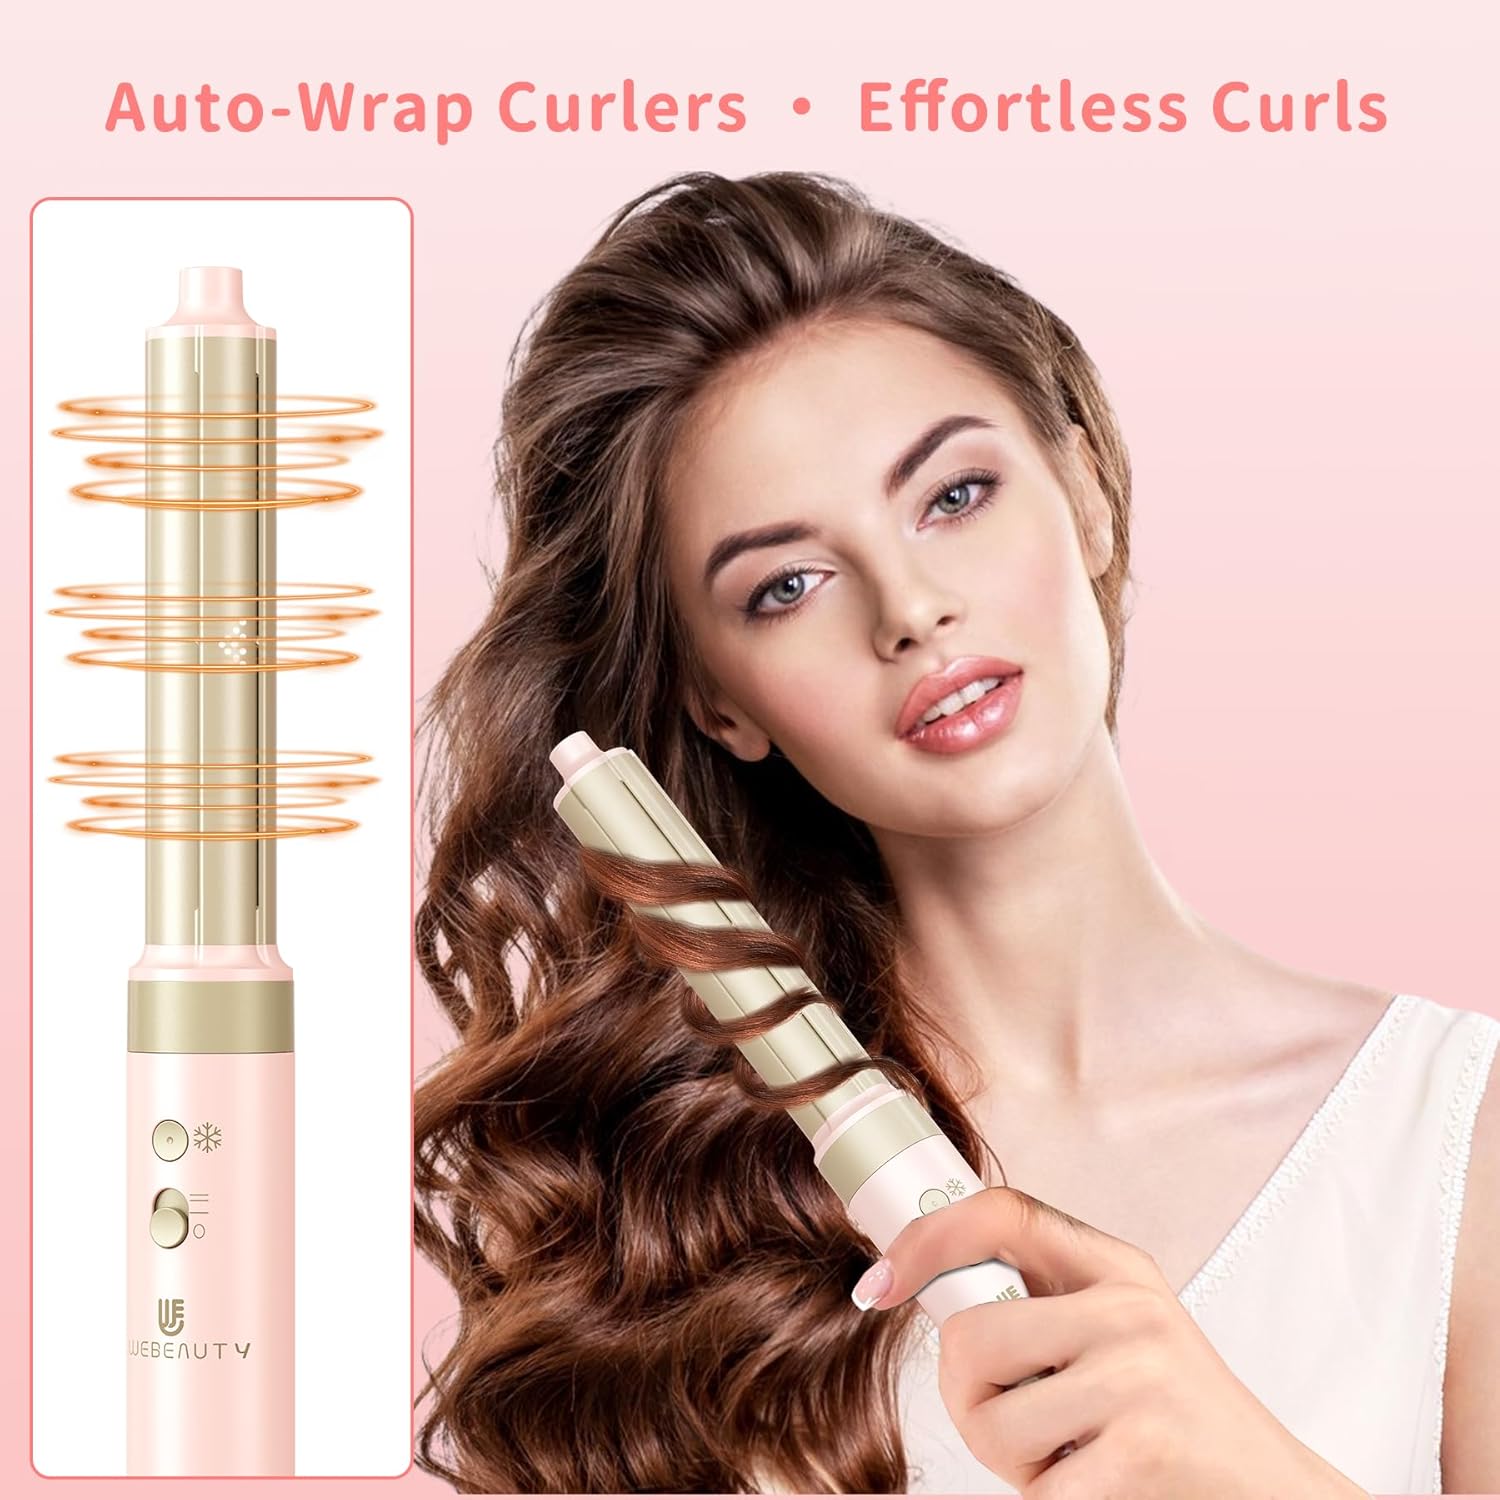
These innovative curlers use airflow to automatically wrap hair around the barrel, creating effortless curls. Use the "Left" curler for curls on the left side of your head and the "Right" curler for curls on the right side, ensuring the airflow directs hair away from your face. Hold the curler near the ends of a hair section, and the air will draw the hair around the barrel. Hold until dry, then use the cool shot to set.
6. Hair Diffuser
The diffuser attachment is ideal for defining curls and adding volume to wavy or curly hair while reducing frizz. It spreads high-speed airflow evenly, protecting natural curl patterns.
Features and Technology
- 110,000 RPM Motor: Provides powerful, fast-drying airflow, significantly reducing drying time.
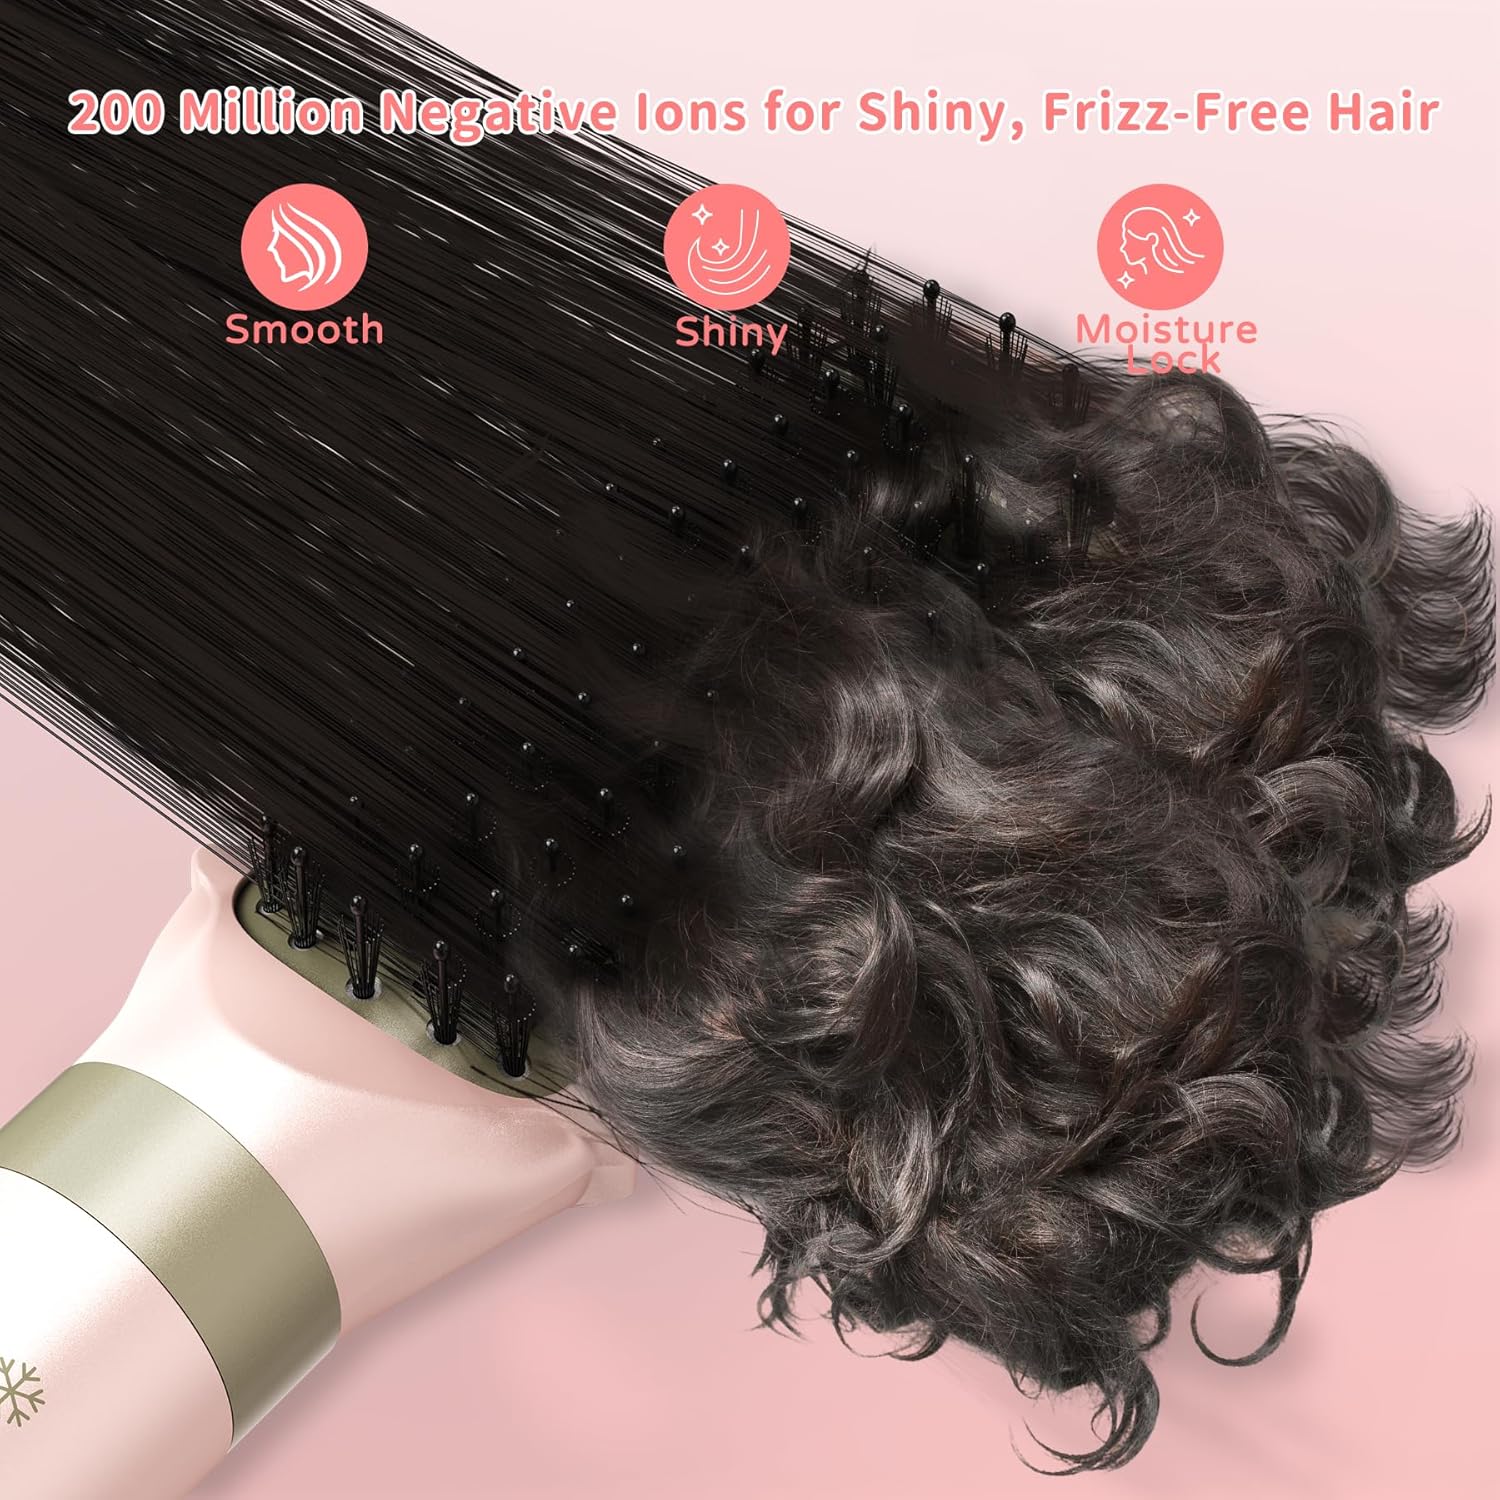
- Ionic + Ceramic Technology: Releases millions of negative ions to reduce frizz and static, while the ceramic-coated barrel ensures even heat distribution, minimizing heat damage and promoting shiny, smooth results.
- 360° Rotating Cord: Prevents tangling and allows for flexible styling from any angle.
- Dual Voltage (100-240V): Compatible for worldwide use without a converter, making it travel-friendly.
Maintenance and Care
- Cleaning: Ensure the styler is unplugged and completely cool before cleaning. Wipe the main unit and attachments with a soft, damp cloth. Do not use abrasive cleaners or immerse the unit in water.
- Storage: Store the styler and its attachments in the provided protective hard case in a cool, dry place.
Troubleshooting
| Problem | Possible Cause | Solution |
|---|---|---|
| Device does not turn on. | Not properly plugged in; ALCI plug tripped. | Ensure the plug is fully inserted into the outlet. Press the "Reset" button on the ALCI plug. |
| Attachments are difficult to connect/remove. | Incorrect alignment; release button not pressed. | Align the attachment correctly and ensure the release button is pressed when removing. |
| Hair is not styling effectively. | Incorrect heat/speed setting; hair too wet/dry. | Adjust heat/speed settings according to hair type. Ensure hair is damp (not soaking wet) for most styling, or dry for straightening/curling. |
Specifications
| Feature | Detail |
|---|---|
| Model Number | F9E |
| Output Power | AC 100–240V, 50/60Hz |
| Rated Power | 1400W (±10% tolerance) |
| Temperature Range | 104°F–212°F |
| Motor Speed | 110,000 RPM |
| Product Dimensions | 11.81 x 2.36 x 2.36 inches |
| Item Weight | 3.3 Pounds |
| Material | Glass (likely referring to ceramic coating or internal components) |
Warranty and Support
webeauty offers a 100-Day Quality Guaranteed policy, which includes a 100-Day Free Replacement. This commitment ensures customer satisfaction and provides peace of mind regarding the product's quality and performance.
For further assistance or inquiries, please refer to the contact information provided in your product packaging or visit the official webeauty website.
Legal Disclaimer
Statements regarding dietary supplements have not been evaluated by the FDA and are not intended to diagnose, treat, cure, or prevent any disease or health condition.
Ask a question about this manual
Ask about setup, troubleshooting, compatibility, parts, safety, or missing instructions. Manuals+ will review the question and use this page’s manual context to help answer it.