1. Product Overview
The ASUS Prime MR120 ARGB Fan Black Triple Pack provides high-performance cooling for desktop computers. Featuring an extra-thick 28mm frame, these fans are designed for efficient airflow and quiet operation. Each fan includes 20 Addressable RGB LEDs with dual-sided frame lighting, offering customizable aesthetics through Aura Sync compatibility. PWM control allows for precise fan speed adjustment to match system cooling demands.

Image: Three ASUS Prime MR120 ARGB fans showcasing their customizable lighting effects.
Key Features:
- Extra-thick 28mm Fan Frame: Provides enhanced cooling performance.
- Quiet Operation: Operates at up to 21 dB(A).
- 20 Addressable RGB LEDs: Circular design illuminates the system.
- Dual-sided Frame Lighting: Ensures seamless and vivid lighting aesthetics.
- PWM Control: Fan speed up to 1600 RPM for optimal cooling.
- Aura Sync Compatibility: Enables coordinated lighting effects with other hardware.
2. Package Contents
Verify that all components are present in your package:
- 3 x ASUS Prime MR120 ARGB Fans
- Mounting Screws
- PWM Fan Splitter Cable (if included in pack)
- ARGB Splitter Cable (if included in pack)
3. Setup and Installation
Follow these steps to install your ASUS Prime MR120 ARGB fans into your computer chassis or radiator.
3.1 Safety Precautions
- Ensure your computer is powered off and unplugged from the wall outlet before installation.
- Discharge any static electricity by touching a grounded metal object.
- Handle components carefully to avoid damage.
3.2 Physical Installation
- Identify the desired mounting locations for the fans (e.g., chassis fan mounts, radiator).
- Position the fan(s) in the desired orientation. Note that these fans are available in standard and reverse orientations.
- Secure each fan using the provided mounting screws. Ensure they are tightened sufficiently but do not overtighten.

Image: The 28mm extra-thick fan frame, designed for optimal cooling performance.
3.3 Cable Connections
- PWM Connection: Connect the 4-pin PWM cable from each fan to an available 4-pin fan header on your motherboard. If installing multiple fans, use the provided PWM splitter cable to connect them to a single motherboard header, ensuring sufficient power delivery.
- ARGB Connection: Connect the 3-pin ARGB cable from each fan to an available 3-pin Addressable RGB header (5V-D-G) on your motherboard. Use the provided ARGB splitter cable if connecting multiple fans to a single header. Ensure the connector is aligned correctly to avoid damage.

Image: Illustration of standard and reverse blade fan orientations, allowing for flexible airflow direction in PC builds.
4. Operating Instructions
Once installed, the fans will operate based on your system's configuration.
4.1 Fan Speed Control (PWM)
The 4-pin PWM connection allows your motherboard to dynamically control the fan speed based on CPU or system temperatures. This ensures optimal cooling performance while minimizing noise. You can configure fan curves through your motherboard's BIOS/UEFI settings or dedicated software utilities provided by your motherboard manufacturer.
4.2 ARGB Lighting Control (Aura Sync)
The Addressable RGB LEDs can be controlled via ASUS Aura Sync software or compatible motherboard RGB software. This allows for synchronization of lighting effects across various compatible components in your system. Ensure Aura Sync software is installed and updated on your system to access full customization options.

Image: A detailed view of the fan's internal structure, showing the placement of 20 Addressable RGB LEDs for vibrant illumination.
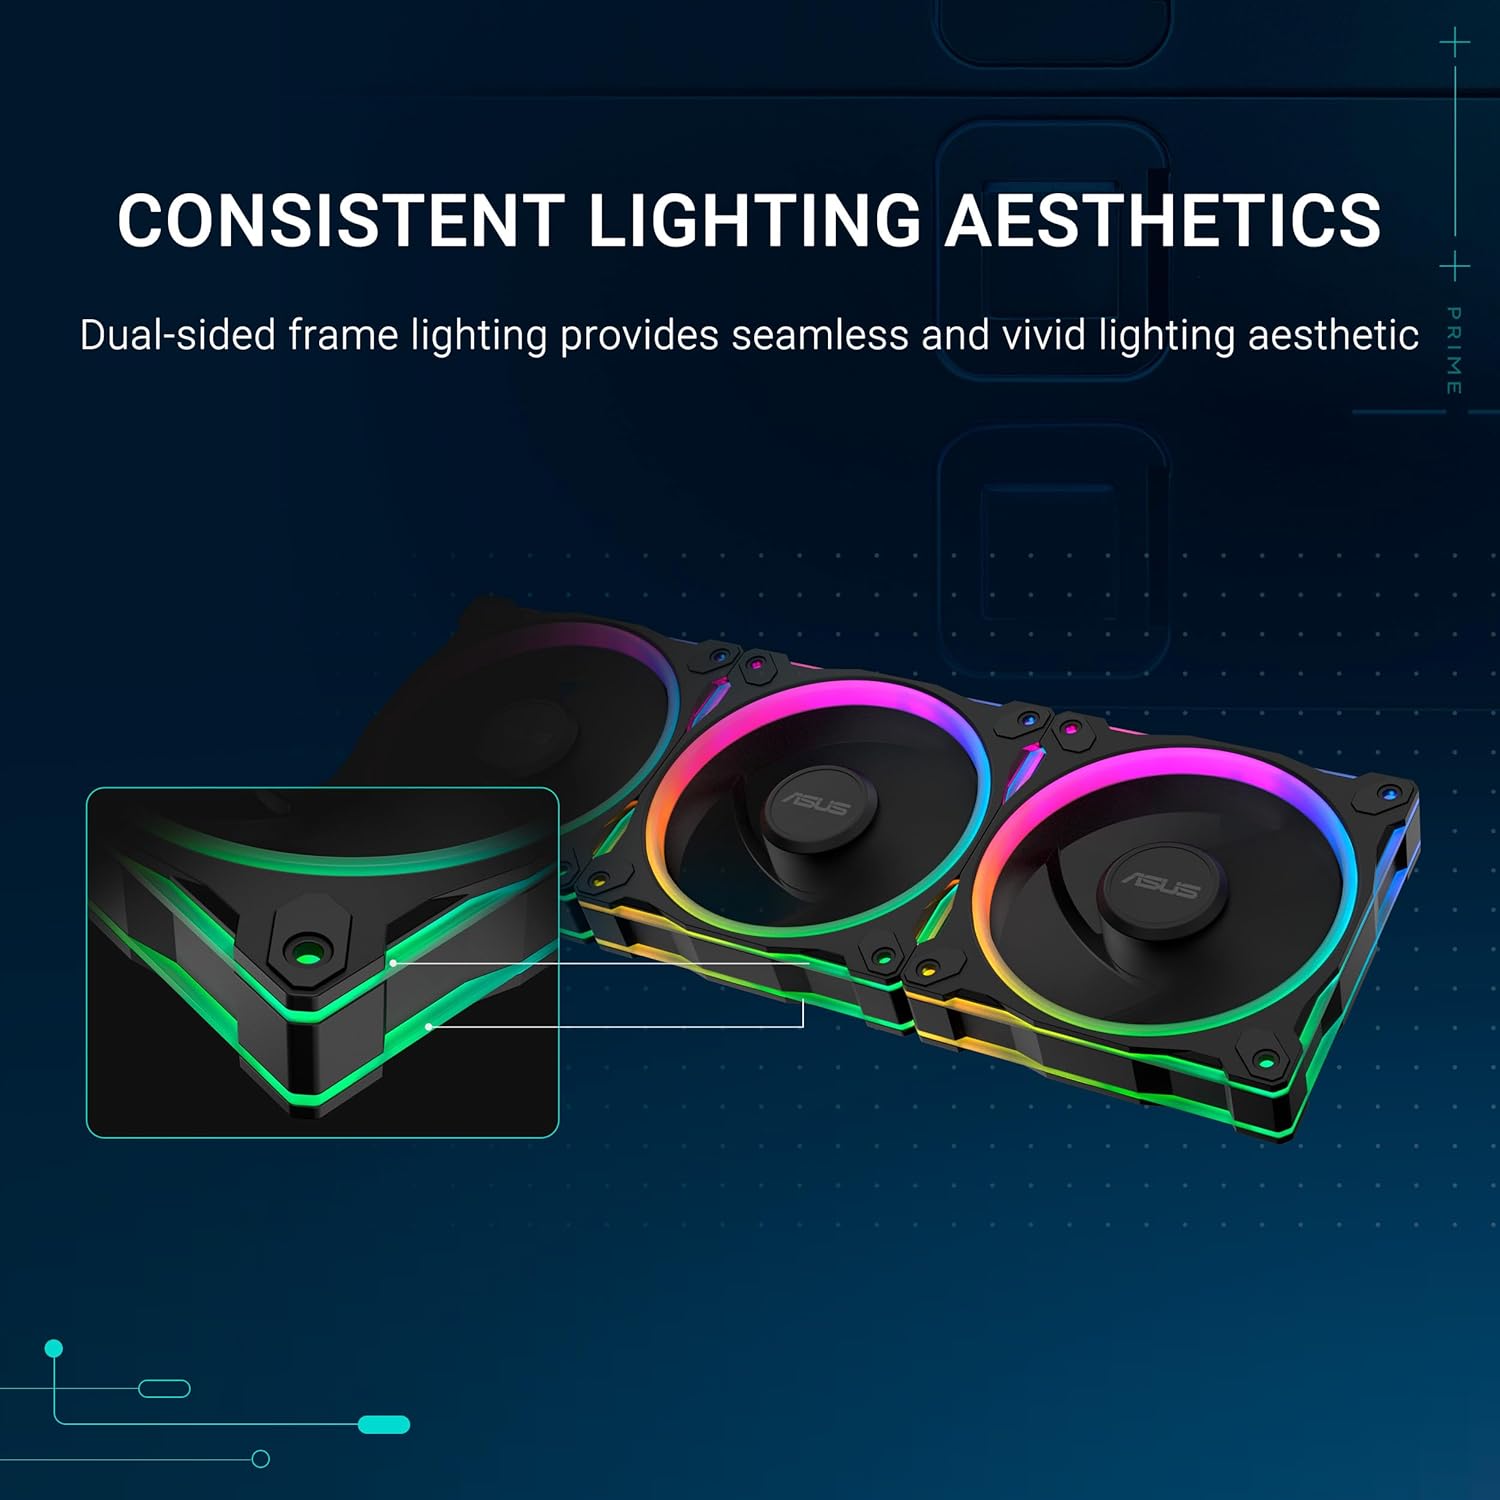
Image: Multiple fans illustrating the consistent and vivid lighting aesthetic provided by dual-sided frame illumination.
5. Maintenance
Regular maintenance helps ensure optimal performance and longevity of your fans.
5.1 Cleaning
- Periodically inspect fans for dust accumulation on blades and frames.
- Power off and unplug your computer before cleaning.
- Use compressed air to gently remove dust from the fan blades and motor housing.
- For stubborn dirt, use a soft, dry cloth. Avoid using liquid cleaners directly on the fan.
5.2 General Care
- Ensure cables are not obstructing fan blades.
- Avoid placing objects near the fan intake or exhaust that could impede airflow.
6. Troubleshooting
If you encounter issues with your fans, refer to the following common troubleshooting steps.
6.1 Fan Not Spinning
- Check if the 4-pin PWM cable is securely connected to the motherboard fan header.
- Verify that the fan header is enabled in your motherboard's BIOS/UEFI settings.
- Ensure the power supply is functioning correctly.
- Test the fan on a different fan header or with a known working fan to rule out a faulty fan or header.
6.2 ARGB Lighting Not Working
- Confirm the 3-pin ARGB cable is correctly connected to a 5V-D-G header on your motherboard. Ensure correct pin alignment.
- Check if ASUS Aura Sync software or your motherboard's RGB control software is installed and updated.
- Verify that the ARGB header is enabled in your motherboard's BIOS/UEFI.
- Ensure no conflicting RGB software is running.
6.3 Excessive Noise
- Check for any cables or obstructions touching the fan blades.
- Ensure mounting screws are securely tightened to prevent vibrations.
- Clean any dust accumulation on the fan blades.
- Adjust fan speed curves in BIOS/UEFI or software to reduce RPM at lower temperatures.
7. Specifications
Detailed technical specifications for the ASUS Prime MR120 ARGB Fan.

Image: Key performance metrics of the ASUS Prime MR120 ARGB fan, including airflow, noise level, fan speed, and static pressure.
| Feature | Specification |
|---|---|
| Model Number | PRIME MR120 FAN ARGB BLACK 3IN1 |
| Dimensions | 4.72"L x 1.1"W x 4.72"H (120mm x 28mm x 120mm) |
| Power Connector Type | 4-pin PWM, 3-pin ARGB (5V-D-G) |
| Voltage | 12 Volts |
| Wattage | 2.16 watts |
| Cooling Method | Fan |
| Noise Level | 21 Decibels (dB(A)) |
| Maximum Rotational Speed | 1600 RPM |
| Material | Silicone (for mounting) |
| Compatible Devices | Desktop |
8. Warranty and Support
ASUS products are manufactured to high quality standards. For warranty information, please refer to the warranty card included with your product or visit the official ASUS support website.
8.1 Technical Support
For technical assistance, driver downloads, or further product information, please visit the official ASUS support website: www.asus.com/support/
8.2 Important Notice (Proposition 65 Warning)
WARNING: This product can expose you to chemicals, including lead, which is known to the State of California to cause cancer and birth defects or other reproductive harm. For more information go to www.P65Warnings.ca.gov.


