
1. Introduction
Welcome to the world of custom guitar building! This instruction manual provides a step-by-step guide for assembling your STRICH DIY Electric Guitar Kit, ST Style. Designed for enthusiasts and beginners alike, this kit allows you to construct a high-quality electric guitar with a mahogany body, maple neck, and versatile SSS pickups. Follow these instructions carefully to ensure a successful and enjoyable building experience.
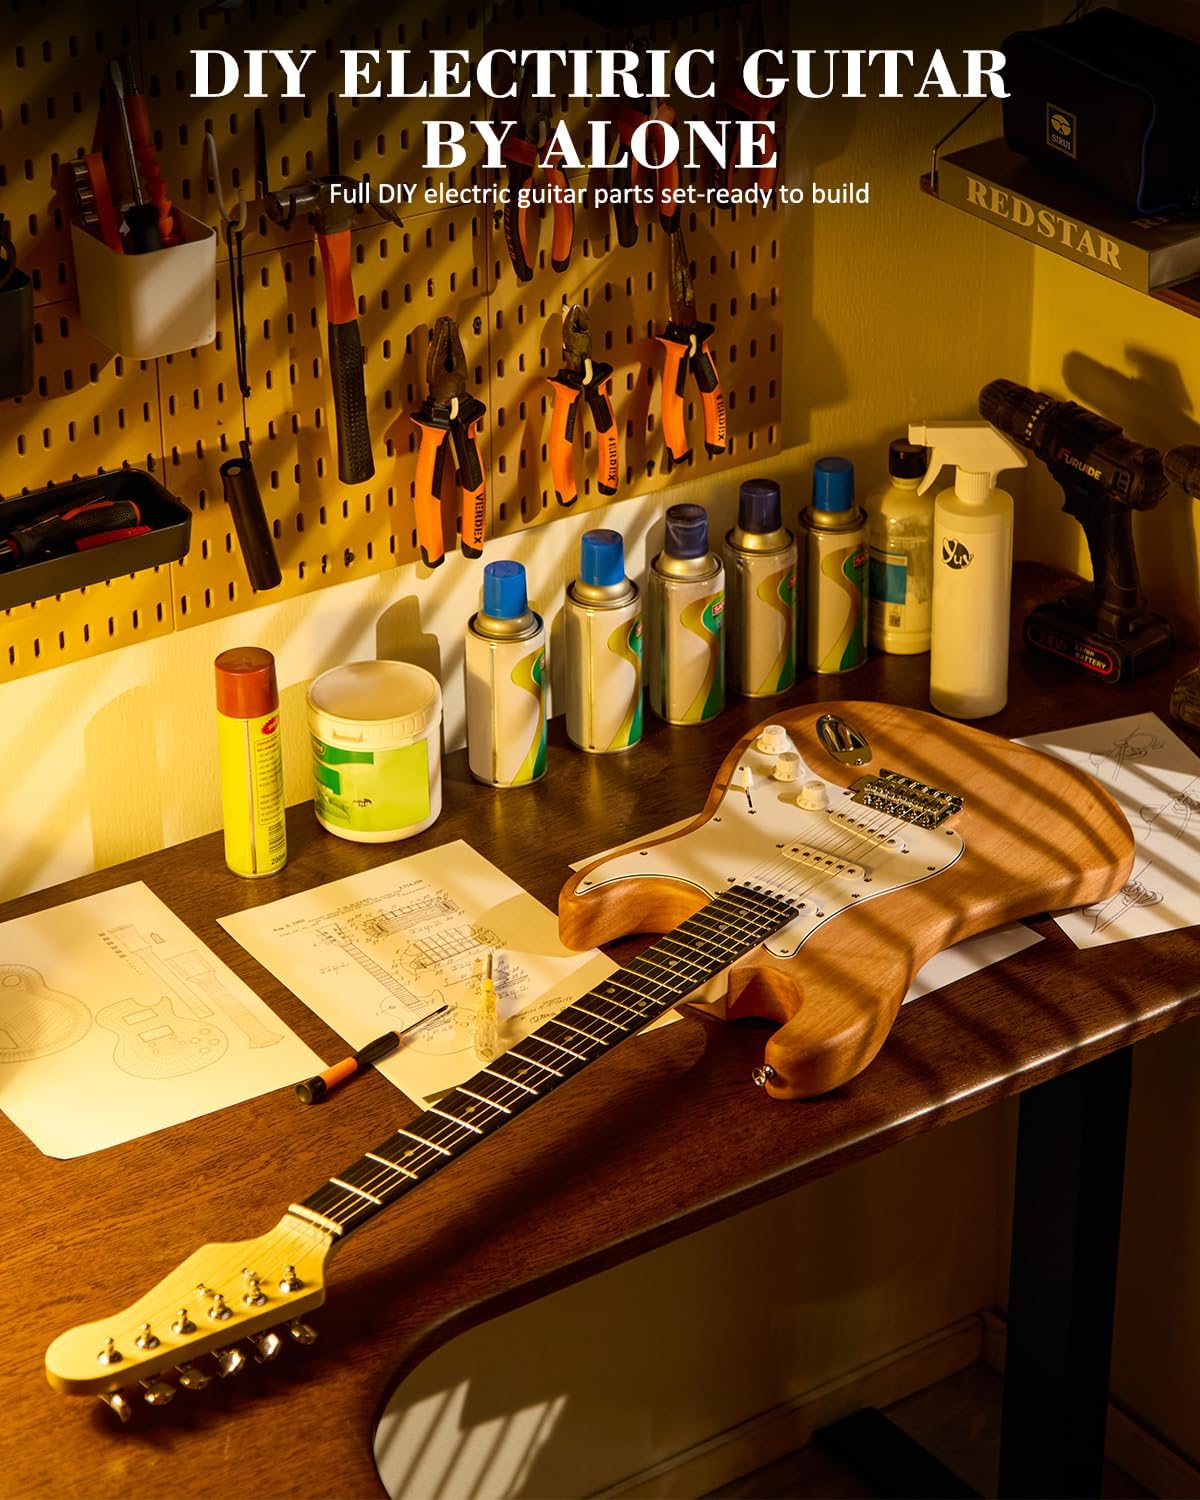
Image: A fully assembled STRICH ST-style DIY electric guitar kit, showcasing its natural wood finish, surrounded by various tools on a workbench, ready for use.
2. Package Contents
Your STRICH DIY Electric Guitar Kit includes all necessary components for assembly. Please verify that all parts listed below are present before beginning the assembly process.

Image: All individual components of the STRICH DIY Electric Guitar Kit, including the guitar body, neck, strings, bridge, pickups, tuning pegs, and various tools, neatly laid out on a wooden surface.
- Guitar Body (Mahogany, ST Style)
- Maple Neck with HPL Fingerboard and Headstock
- SSS Pickups (pre-wired on pickguard)
- Bridge Assembly
- Tuning Pegs (6 pieces)
- Neck Plate and Screws
- Output Jack Assembly
- Control Knobs (Volume, Tone)
- Pickup Selector Switch
- Guitar Strings (6 pieces)
- Strap Buttons
- Allen Wrenches (for truss rod and bridge adjustment)
- String Winder
- Guitar Cable
- User Manual
- All necessary screws and hardware
3. Assembly Instructions
This section guides you through the assembly of your DIY electric guitar. Refer to the accompanying video for visual assistance.
3.1. Headstock Assembly
Install the tuning pegs onto the headstock. Ensure the washers and nuts are placed correctly and tightened securely using the provided wrench. The headstock is pre-drilled for easy installation.

Image: A close-up view of the maple headstock, highlighting the precision 15:1 tuning pegs and the HPL fingerboard, emphasizing the quality of the components.
3.2. Guitar Body Preparation
The mahogany body comes polished and clear-coated, reducing the need for extensive finishing work. The SSS pickups are pre-installed on the pickguard. If you plan to paint the guitar body, first remove the white protective panel and reinstall it after the paint has dried. Connect the output jack to the pre-wired pickguard assembly.

Image: A detailed view of the solid mahogany guitar body, showcasing the pre-assembled pickguard with SSS pickups and control knobs, ready for further assembly.
3.3. Bridge Installation
Install the bridge assembly onto the guitar body. Ensure the screws are tightened sequentially to secure the bridge firmly. Attach the springs to the back of the bridge and secure them in the body cavity. Finally, install the back plate cover.
3.4. Neck Attachment
Carefully align the maple neck with the neck pocket on the guitar body. Ensure there is no gap between the neck and the body for optimal playability and tone. Secure the neck using the neck plate and the provided screws. It is recommended to use an electric screwdriver for tightening these screws.

Image: A hand using a screwdriver to attach the neck plate to the guitar body, securing the maple neck in place.
3.5. String Installation
Thread the guitar strings through the bridge and into the tuning pegs on the headstock. Use the string winder to tighten the strings. Install the string retainers on the headstock for the 1st and 2nd strings.
4. Tuning and Setup
After installing the strings, tune your guitar to standard E, A, D, G, B, E. You may use a guitar tuning software or a physical tuner. During the first tuning, it is normal for the pitch to be unstable due to the stress on the strings. Adjust the strings 3-4 times to maintain a stable pitch. Perform a basic setup to ensure comfortable playability and proper intonation. This may involve adjusting the truss rod (using the provided Allen wrench) and bridge saddles.
5. Maintenance
Regular maintenance will prolong the life and playability of your guitar. Wipe down the guitar body and neck with a soft, dry cloth after each use. Periodically check the tightness of all screws and hardware. Replace strings as needed to maintain optimal tone and intonation. Store your guitar in a stable environment to prevent wood warping.
6. Troubleshooting
- Buzzing Strings: Check the neck relief using the truss rod. Adjust the bridge saddle height if necessary. Ensure frets are level.
- No Sound/Weak Sound: Verify all quick-connect wiring is secure. Check the output jack connection. Ensure the guitar cable is functioning correctly.
- Poor Tuning Stability: Ensure tuning pegs are tightened. Stretch new strings thoroughly. Check the nut slots for proper string seating.
- Intonation Issues: Adjust individual bridge saddles to match the octave at the 12th fret.
7. Specifications
| Brand | STRICH |
| Model | ST Style |
| Body Material | Mahogany (Poplar Wood) |
| Neck Material | Maple |
| Fretboard Material | Technical Wood (HPL) |
| Pickup Configuration | SSS (Single-Single-Single) |
| Hand Orientation | Right |
| String Material | Nickel Steel |
8. Warranty and Support
STRICH provides a standard manufacturer's warranty for this DIY Electric Guitar Kit. For detailed warranty information, technical support, or assistance with any part of your kit, please refer to the contact information provided in the included user manual or visit the official STRICH website. Ensure you retain your proof of purchase for warranty claims.