
1. Introduction
This manual provides essential information for the HP 17.3-inch Touchscreen Laptop, model 17-cp3602nr. It covers initial setup, basic operation, maintenance guidelines, and troubleshooting tips to ensure optimal performance and longevity of your device. Please read this manual thoroughly before using your laptop.
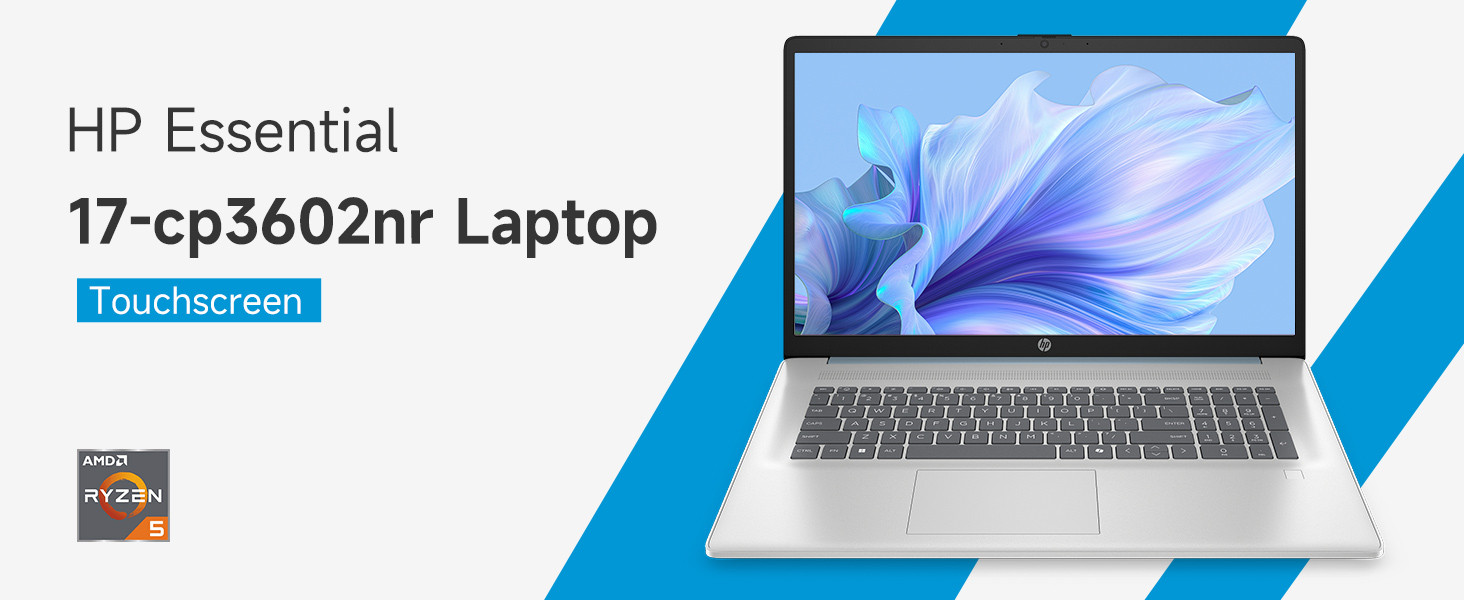
Image: Overview of the HP 17.3-inch Touchscreen Laptop highlighting its main features.
2. Setup
2.1 Unboxing and Initial Inspection
Carefully remove your laptop and all accessories from the packaging. Verify that all components are present:
- HP 17.3-inch Touchscreen Laptop
- Power Adapter and Power Cord
- Documentation (Quick Start Guide, Warranty Information)
Inspect the laptop for any physical damage. If any damage is found or components are missing, contact your retailer or HP support immediately.
2.2 Connecting the Power Adapter
Connect the power adapter to the laptop's AC smart pin port and then plug the power cord into a wall outlet. The laptop can be used while charging, but it is recommended to fully charge the battery before first use.
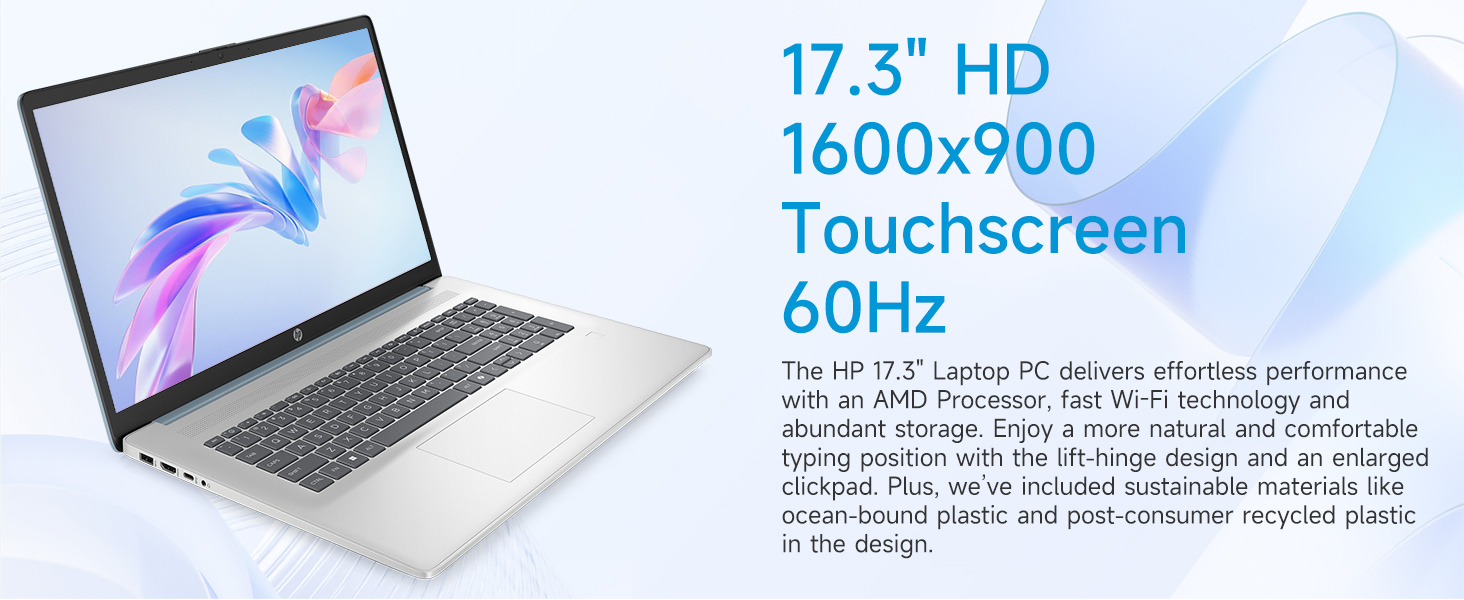
Image: Laptop ports and their locations, including the AC smart pin.
2.3 Initial Power On and Windows 11 Setup
Press the power button to turn on the laptop. Follow the on-screen instructions to complete the Windows 11 Home setup process. This includes:
- Selecting your region and keyboard layout.
- Connecting to a Wi-Fi network (Wi-Fi 6 supported).
- Signing in with or creating a Microsoft account.
- Setting up a PIN or password.
- Configuring privacy settings.
2.4 Fingerprint Reader Setup
During the Windows 11 setup or later via Windows Settings, you can configure the integrated fingerprint reader for secure login. Follow the prompts to register your fingerprints.
3. Operating Your Laptop
3.1 Basic Navigation
Your HP laptop features a 17.3-inch HD+ (1600 x 900) touchscreen display, a touchpad, and a full-size keyboard for navigation.
- Touchscreen: Use gestures similar to a smartphone or tablet for direct interaction with the display.
- Touchpad: Supports multi-touch gestures for scrolling, zooming, and more.
- Keyboard: Includes a numeric keypad for efficient data entry.
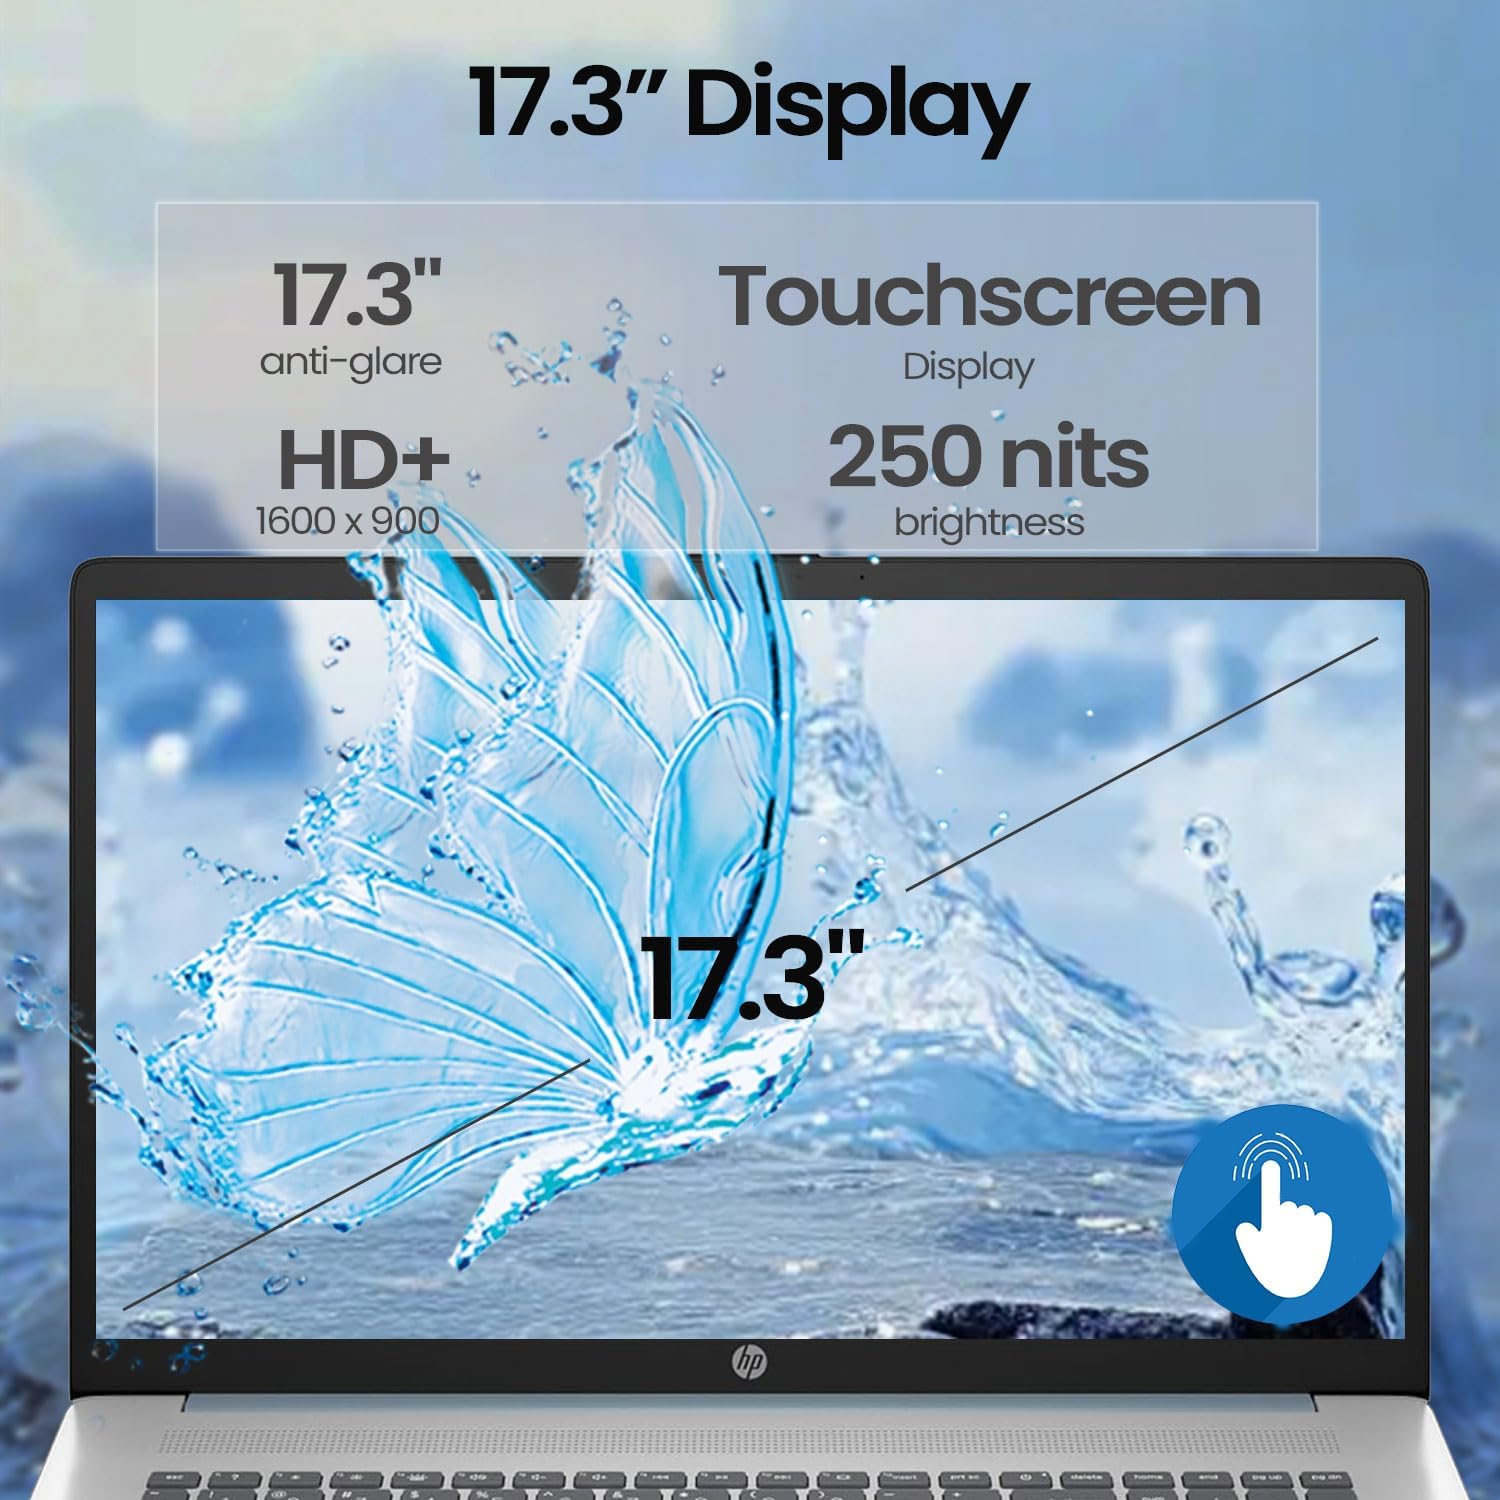
Image: A finger interacting with the laptop's touchscreen display.
3.2 Backlit Keyboard
The keyboard features backlighting for improved visibility in low-light conditions. The backlight can typically be toggled or adjusted using a dedicated function key (often Fn + F5 or similar, refer to your specific model's keyboard layout).
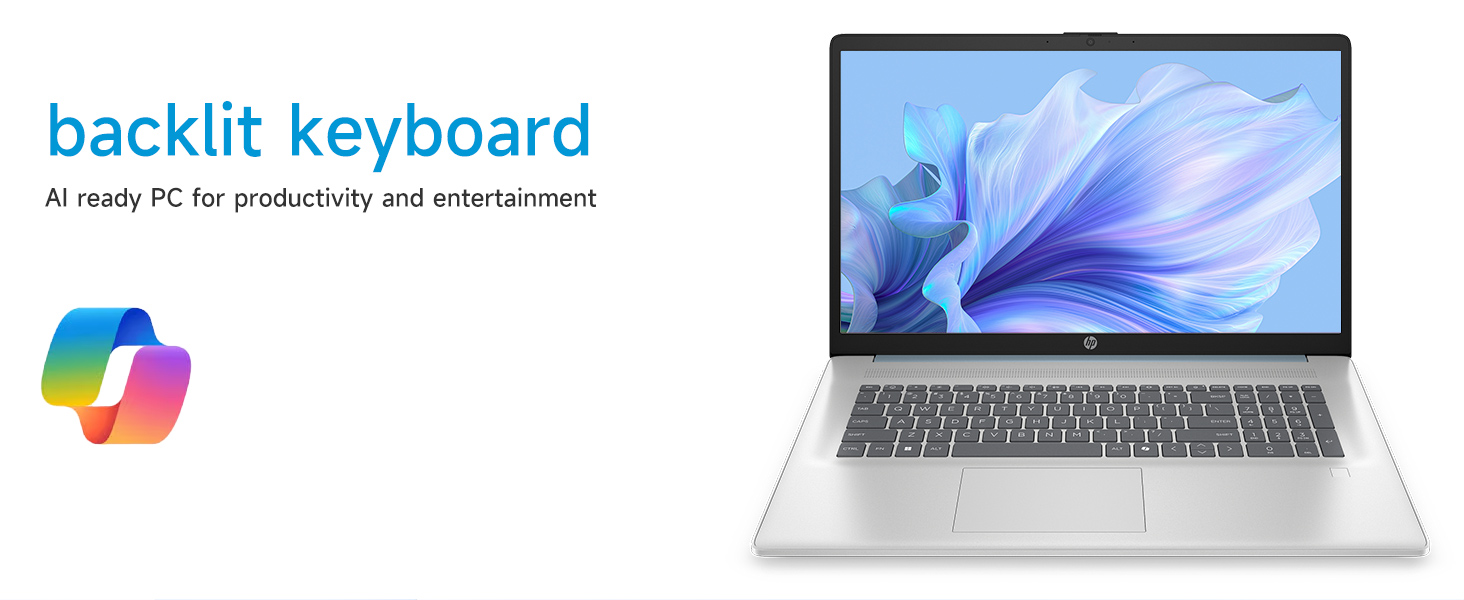
Image: The laptop's backlit keyboard in operation.
3.3 Using the Fingerprint Reader
Once configured, simply place your registered finger on the fingerprint reader (usually located near the keyboard or power button) to log in to Windows or authenticate applications.

Image: Illustration of the fingerprint reader for secure access.
3.4 Connecting External Devices
Your laptop is equipped with various ports:
- USB Type-C 5Gbps signaling rate: For connecting modern USB-C devices.
- USB Type-A 5Gbps signaling rate (x2): For standard USB devices like mice, keyboards, or external drives.
- HDMI 1.4b: Connects to external monitors or TVs for extended display.
- Headphone/Microphone Combo Jack: For connecting headsets or external audio devices.
Simply plug the compatible device into the appropriate port. Most devices are plug-and-play and will be recognized automatically by Windows.
3.5 Webcam Usage
The integrated webcam can be used for video calls, online meetings, and capturing photos/videos. Access it through applications like Camera, Microsoft Teams, Zoom, or other communication software.
4. Maintenance
4.1 Cleaning Your Laptop
- Screen: Use a soft, lint-free cloth slightly dampened with water or a screen-cleaning solution. Avoid harsh chemicals.
- Chassis and Keyboard: Use a soft, dry cloth. For stubborn dirt, a slightly damp cloth can be used. Avoid getting moisture into ports or vents.
- Vents: Periodically use compressed air to clear dust from the cooling vents to prevent overheating.
4.2 Battery Care
- Avoid completely discharging the battery frequently.
- Store the laptop in a cool, dry place if not used for extended periods.
- Use only the original HP power adapter.
4.3 Software Updates
Regularly check for and install Windows updates and driver updates from HP's official support website to ensure system stability, security, and optimal performance.
4.4 Storage Management
Periodically clean up unnecessary files, uninstall unused applications, and manage your 512GB PCIe NVMe M.2 SSD to maintain fast boot-up and data transfer speeds.
5. Troubleshooting
This section addresses common issues you might encounter with your HP laptop.
5.1 Power Issues
- Laptop does not turn on: Ensure the power adapter is securely connected to both the laptop and a working power outlet. Try a different outlet. If the battery is completely drained, it may take a few minutes of charging before the laptop can power on.
- Battery not charging: Verify the power adapter and cable are not damaged. Check the charging indicator light on the laptop.
5.2 Display Problems
- No image on screen: Connect an external monitor via HDMI to check if the issue is with the laptop's internal display. Restart the laptop.
- Touchscreen unresponsive: Restart the laptop. Ensure display drivers are up to date.
5.3 Network Connectivity Issues
- Cannot connect to Wi-Fi: Ensure Wi-Fi is enabled in Windows settings. Restart your router and modem. Check for updated Wi-Fi drivers.
5.4 Input Device Problems
- Keyboard or touchpad unresponsive: Restart the laptop. Check for updated drivers in Device Manager.
- Fingerprint reader not working: Ensure your fingerprints are properly enrolled in Windows Hello settings. Clean the sensor.
For persistent issues, consult the HP support website or contact HP customer service.
6. Specifications
Detailed technical specifications for the HP 17.3-inch Touchscreen Laptop (Model 17-cp3602nr).
| Feature | Specification |
|---|---|
| Brand | HP |
| Model Name | 17-cp3602nr |
| Processor | AMD Ryzen 5 7430U (6 Cores, 12 Threads, up to 4.3 GHz) |
| Graphics | AMD Radeon Graphics (Integrated) |
| RAM | 16 GB DDR4 SDRAM (3200 MHz) |
| Storage | 512 GB PCIe NVMe M.2 SSD |
| Display | 17.3-inch HD+ (1600 x 900) Touchscreen, Anti-glare, 250 nits, 60% NTSC, 60 Hz |
| Operating System | Windows 11 Home |
| Connectivity | Wi-Fi 6 (802.11ax) |
| Ports | 1x USB Type-C 5Gbps, 2x USB Type-A 5Gbps, 1x HDMI 1.4b, 1x Headphone/Microphone Combo, 1x AC Smart Pin |
| Special Features | Backlit Keyboard, Fingerprint Reader, Numeric Keypad, Webcam |
| Dimensions (L x W x Thickness) | 15.78" x 10.15" x 0.81" |
| Color | Blue |
| UPC | 199485902807 |
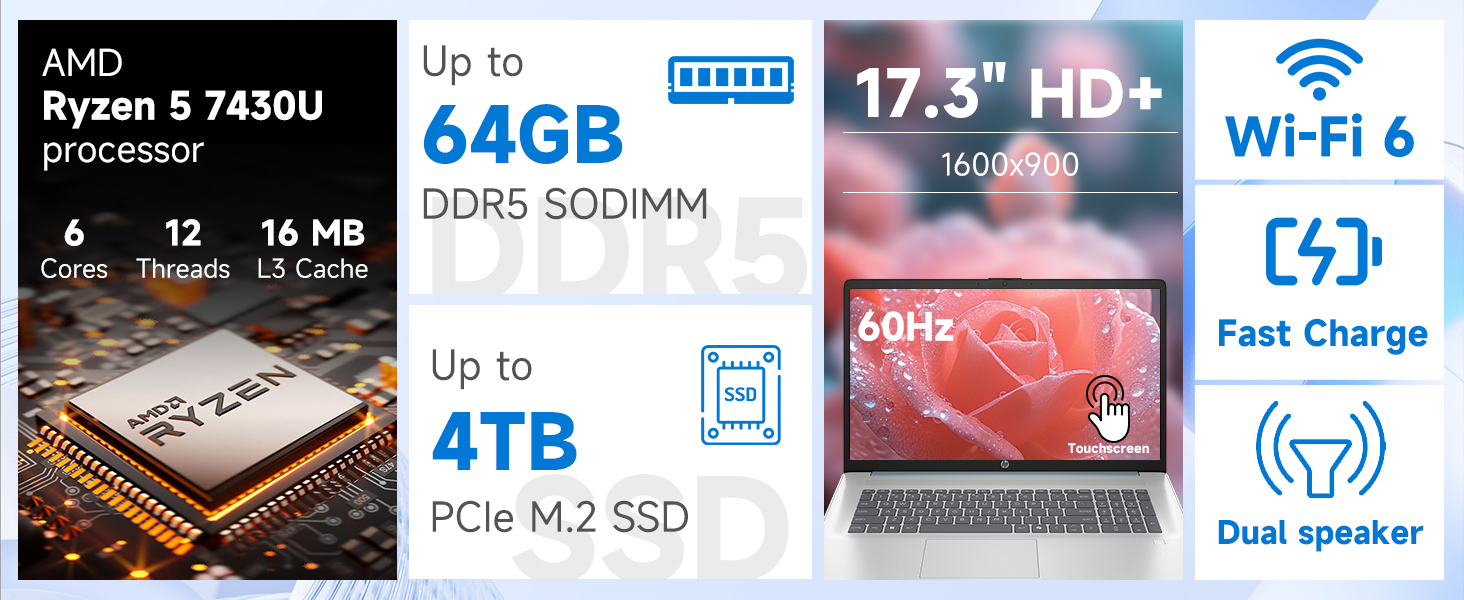
Image: Detailed view of the AMD Ryzen 5 7430U processor specifications.
7. Warranty and Support
Your HP laptop comes with a standard manufacturer's warranty. For specific warranty terms and conditions, please refer to the documentation included with your product or visit the official HP support website. For technical assistance, driver downloads, and further support, please visit support.hp.com.


