
1. Safety Information
Please read all instructions carefully before assembly and installation. Failure to follow these instructions may result in injury or product damage.
- Always use appropriate safety gear, including gloves and eye protection.
- Ensure the installation area is clear of obstructions and electrical wiring.
- This product requires two people for safe lifting and installation due to its size and weight.
- Do not modify the product or its components, as this may void the warranty and create safety hazards.
- Keep small parts away from children during assembly.
2. Package Contents
Verify that all components are present and undamaged before beginning assembly. If any parts are missing or damaged, please contact customer support.

Image: Package Contents and Hardware List. This diagram illustrates the two unassembled door panels and the complete set of hardware, including tracks, pivots, hinges, and handles.
Included Components:
- 2 x 14-3/4 inch Folding Door Panels (unassembled)
- Concealed Bifold Door Hardware Kit (includes track, pivots, hinges, rollers, and ground guides)
- Door Handle
- Fasteners and Installation Tools (e.g., wrench)
3. Specifications
| Feature | Description |
|---|---|
| Door Type | Bifold Closet Door |
| Designed Opening Size | 30 inches (width) x 80-3/4 inches (height) |
| Door Panel Size (unassembled) | 29-1/2 inches (width) x 78-3/4 inches (height) |
| Material | MDF, Tempered Frosted Glass, PVC Coated Surface, Solid Wood Core |
| Color | Black |
| Glass Type | 3-Lite Tempered Frosted Glass |
| Hardware | Concealed Sliding Hardware Kit, Handle |
| Assembly Required | Yes |
| Space Saving | Up to 50% compared to traditional swing doors |
| Water Resistance | Waterproof surface |
| Privacy | Frosted glass diffuses light and provides privacy |

Image: Door Dimensions and Opening Size Chart. This chart provides detailed measurements for various door configurations, including single door panel width, track length, and the corresponding fit opening width and height.
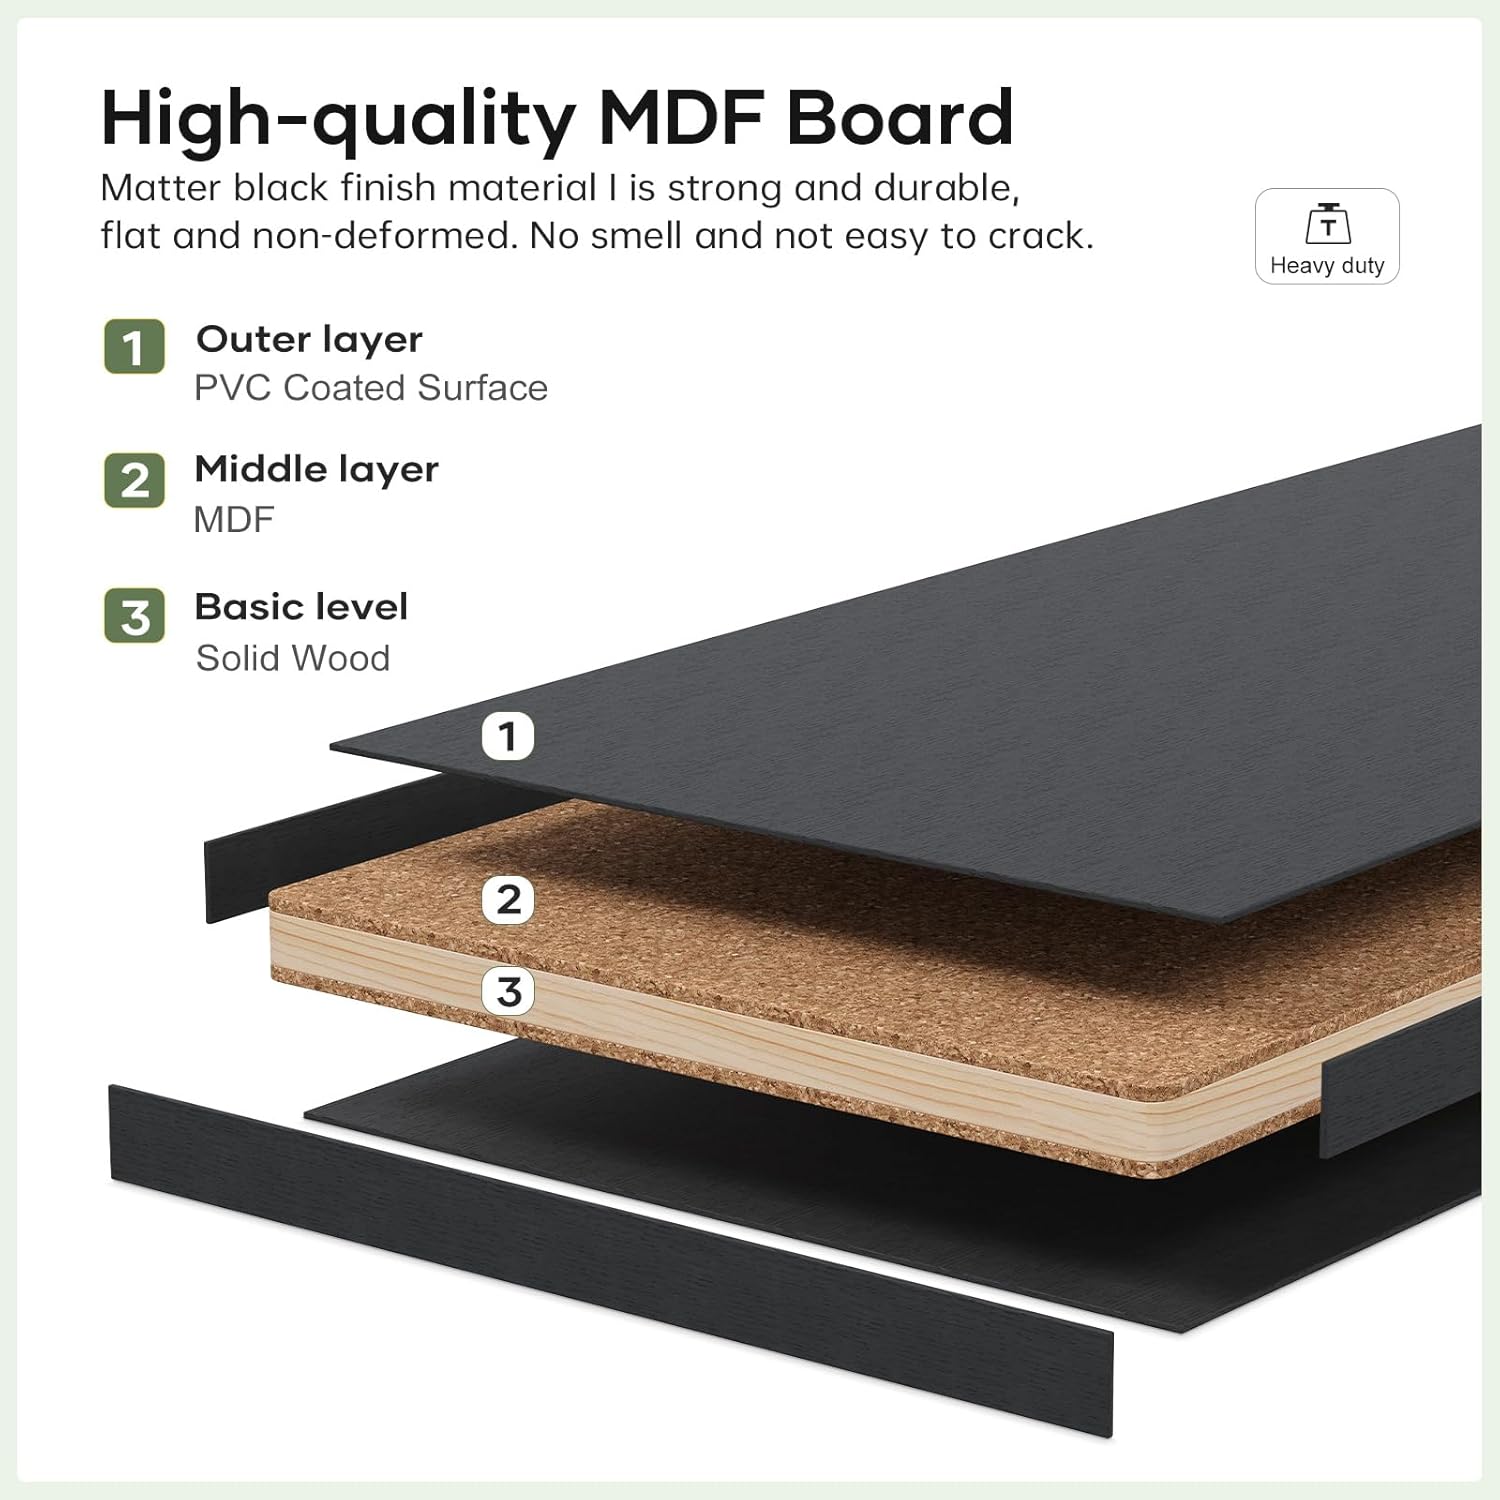
Image: High-Quality MDF Board Construction. This image details the robust three-layer construction of the door panels, ensuring durability and resistance to deformation.
4. Setup and Installation
This section outlines the general steps for assembling and installing your EaseLife Bifold Closet Door. Refer to the detailed diagrams and ensure all hardware is correctly positioned.

Image: Easy to Assemble Steps. This visual guide simplifies the installation into three main stages: panel assembly, hardware attachment, and track installation.
Installation Steps:
- Assemble Door Panels: Connect the two halves of each door panel using the provided hinges. Ensure the panels are aligned correctly and the hinges are securely fastened.
- Install Hardware on Door Panels: Attach the pivot pins, rollers, and any other necessary hardware to the top and bottom edges of the assembled door panels as indicated in the hardware diagram. Ensure all screws are tightened.
- Install Tracks and Ground Guides: Mount the top track securely inside the door frame opening. Install the bottom ground guides on the floor, ensuring they are aligned with the top track. Use a level to ensure both the track and guides are perfectly horizontal.
- Mount Door Panels: Carefully lift and insert the top pivot pin into the hole in the top track. Then, guide the bottom pivot pin into the ground guide. Repeat for the second door panel.
- Adjust and Test: Adjust the pivot pins and rollers to ensure the door opens and closes smoothly and is properly aligned within the opening. Test the door's operation several times.
5. Operating Instructions
Your EaseLife Bifold Closet Door is designed for smooth and quiet operation. Follow these guidelines for optimal use:
- To open the door, gently pull the handle towards you, allowing the panels to fold inward.
- To close the door, push the handle, guiding the panels to unfold and meet in the center.
- Avoid forcing the door if it encounters resistance. Check for obstructions in the track or between panels.
- The concealed sliding hardware ensures a clean aesthetic and smooth movement.

Image: Space Saving Comparison. This image demonstrates how the bifold design maximizes usable space compared to traditional sliding barn doors.
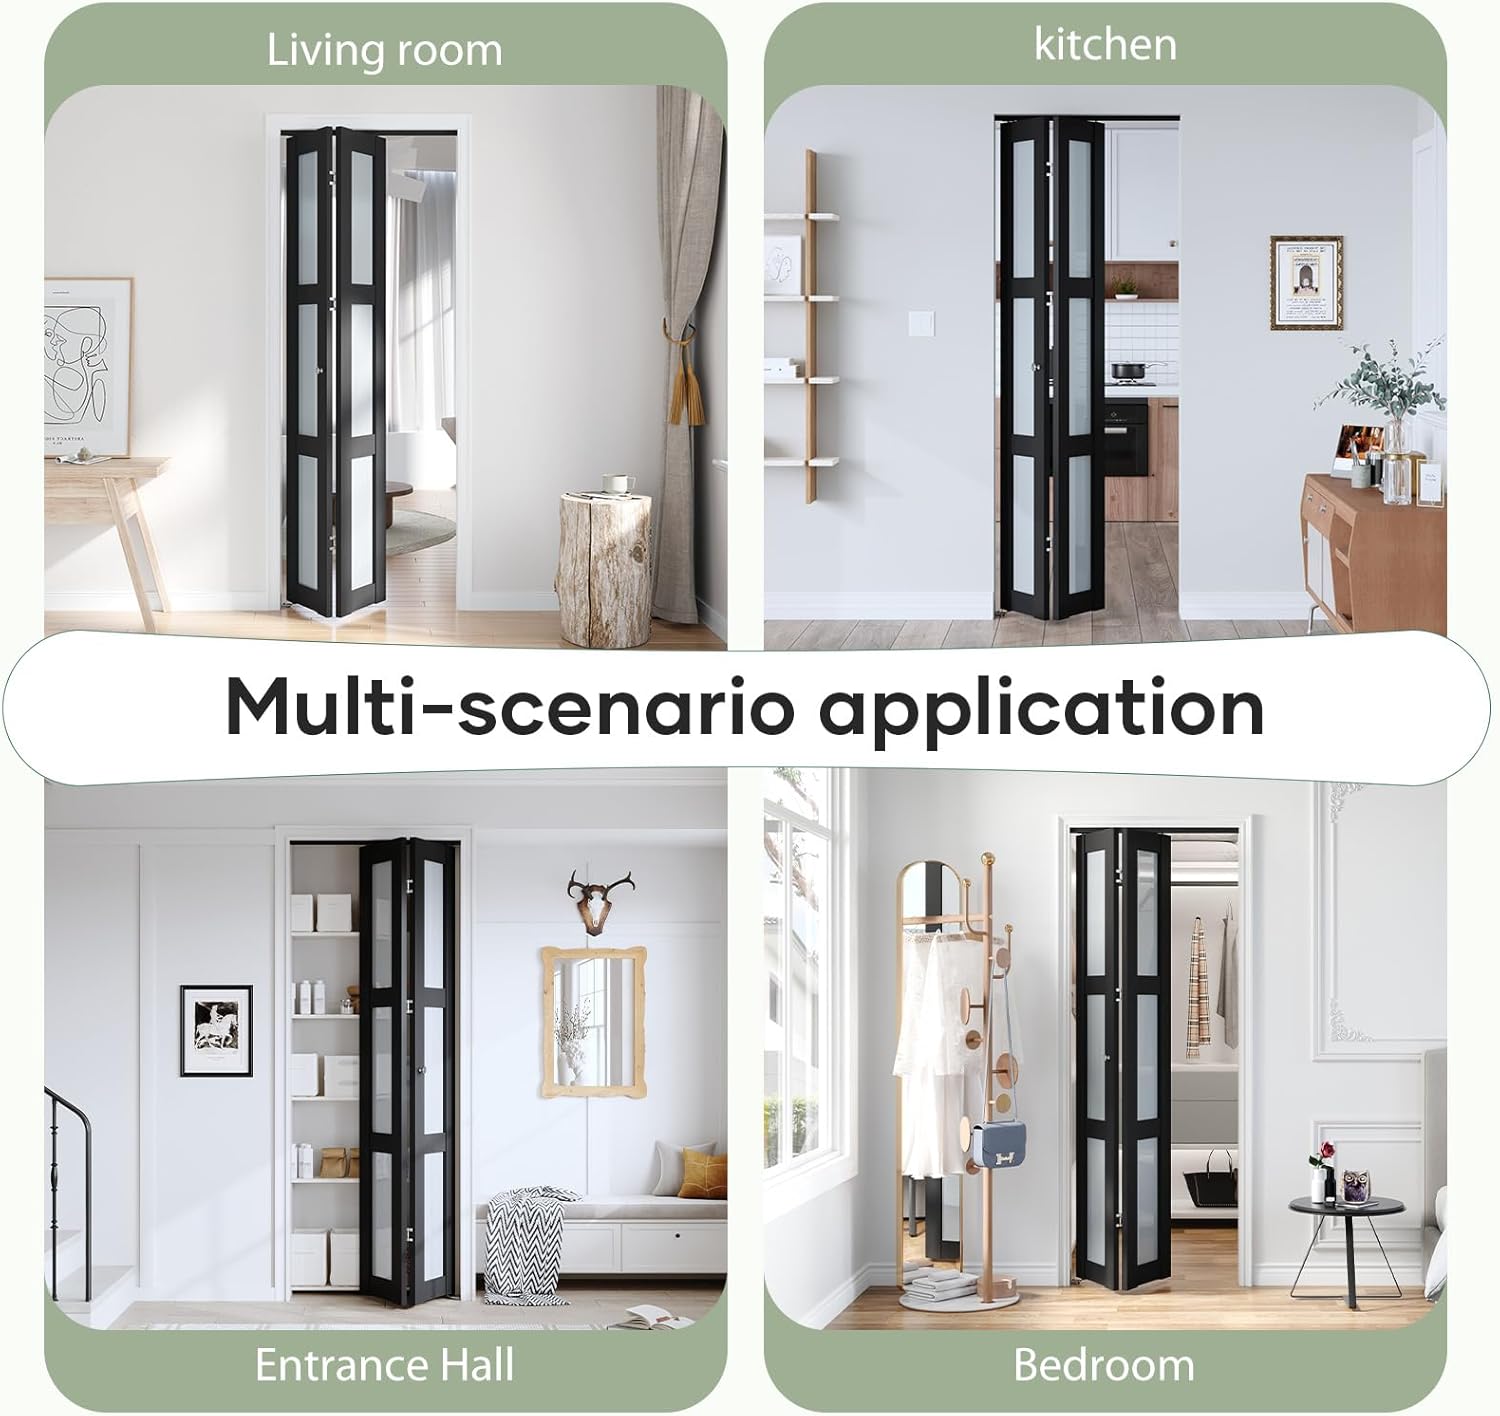
Image: Multi-Scenario Application Examples. This collage illustrates the versatility of the bifold door in various home environments, including living rooms, kitchens, entrance halls, and bedrooms.
6. Maintenance
Regular maintenance will ensure the longevity and optimal performance of your bifold door.
- Cleaning: Wipe the door panels and glass surfaces with a soft, damp cloth. For stubborn marks, use a mild, non-abrasive cleaner. Avoid harsh chemicals or abrasive materials that could damage the finish or glass.
- Hardware Check: Periodically inspect all screws, hinges, pivot pins, and rollers for tightness. Tighten any loose fasteners.
- Lubrication: If the door's movement becomes stiff or noisy, apply a silicone-based lubricant to the top track, pivot points, and rollers. Do not use oil-based lubricants, as they can attract dust and debris.
- Track Cleaning: Keep the top track and bottom ground guides free of dust, dirt, and debris. A vacuum cleaner with a brush attachment can be used for this purpose.

Image: Key Features Overview. This image visually summarizes the main benefits and characteristics of the EaseLife Bifold Closet Door.
7. Troubleshooting
If you encounter issues with your bifold door, refer to the following common problems and solutions:
- Door not sliding smoothly:
- Check the top track and bottom guides for any obstructions (e.g., dust, debris). Clean if necessary.
- Ensure the track is level. Adjust if needed.
- Apply silicone lubricant to the rollers and pivot points.
- Door not closing or opening completely:
- Verify that the door panels are properly aligned. Adjust the pivot pins if they are out of alignment.
- Check if any hardware components are loose or damaged. Tighten or replace as required.
- Ensure the door opening dimensions match the product specifications.
- Door making noise during operation:
- Lubricate all moving parts, including hinges, rollers, and pivot pins, with a silicone-based lubricant.
- Check for any loose hardware that might be rattling.
- Glass appears scratched or damaged:
- Inspect the glass for actual damage versus surface marks.
- Clean the glass thoroughly with a glass cleaner and soft cloth.
- If the glass is genuinely damaged, contact customer support for replacement options.
8. Warranty and Support
EaseLife products are manufactured with quality and durability in mind. For specific warranty details, please refer to the product packaging or contact EaseLife customer service directly.
If you require further assistance, have questions about installation, or need to report a missing/damaged part, please contact EaseLife customer support through the retailer where the product was purchased or visit the official EaseLife website.