
1. Introduction
Thank you for choosing the Netzu P338PB Projection Alarm Clock. This digital alarm clock is designed to provide clear time and temperature display with a convenient projection feature. Please read this manual carefully to ensure proper use and optimal performance of your device.
Key Features:
- 180° rotatable projection arm with reversible image for time and ambient temperature display on walls or ceilings.
- Adjustable projection brightness (3 levels) and display brightness (5 levels).
- 12/24-hour time format and temperature display in Celsius/Fahrenheit.
- Alarm with 3 volume levels and a 9-minute snooze function.
- AC powered via USB-C cable and adapter (included) with AAA battery backup (not included) for settings retention during power outages.
2. Safety Information
- Do not expose the device to extreme temperatures, direct sunlight, or high humidity.
- Avoid dropping or subjecting the device to strong impacts.
- Use only the provided USB-C cable and power adapter.
- Keep out of reach of children.
- Do not attempt to disassemble or repair the device yourself. Contact customer support if issues arise.
- The AAA batteries are for backup only and do not power the clock for continuous operation.
3. Package Contents
- Netzu P338PB Projection Alarm Clock
- USB-C Power Cable
- Power Adapter (EU Plug)
- User Manual

Image: The Netzu P338PB Projection Alarm Clock shown with its power accessories: a USB-C cable and an EU plug adapter. The clock itself displays '12:45' and '52°F', indicating it is powered on. Two AAA batteries are depicted separately, labeled as 'BatterieSpeicherfunktion (nicht enthalten)' (Battery Storage Function (not included)), emphasizing their backup role.
4. Product Overview
Familiarize yourself with the buttons and features of your alarm clock.
Controls and Ports:
- Time Set Button: For setting time and date.
- Alarm Set Button: For setting alarms.
- Snooze/Dimmer Button: Activates snooze, adjusts display brightness.
- +/- Buttons: Adjust values, switch 12/24H format, change temperature unit.
- Projection Button: Controls projection on/off and brightness.
- Projection Lens: Projects time and temperature.
- USB-C Power Input: For main power supply.
- Battery Compartment: For AAA backup batteries.
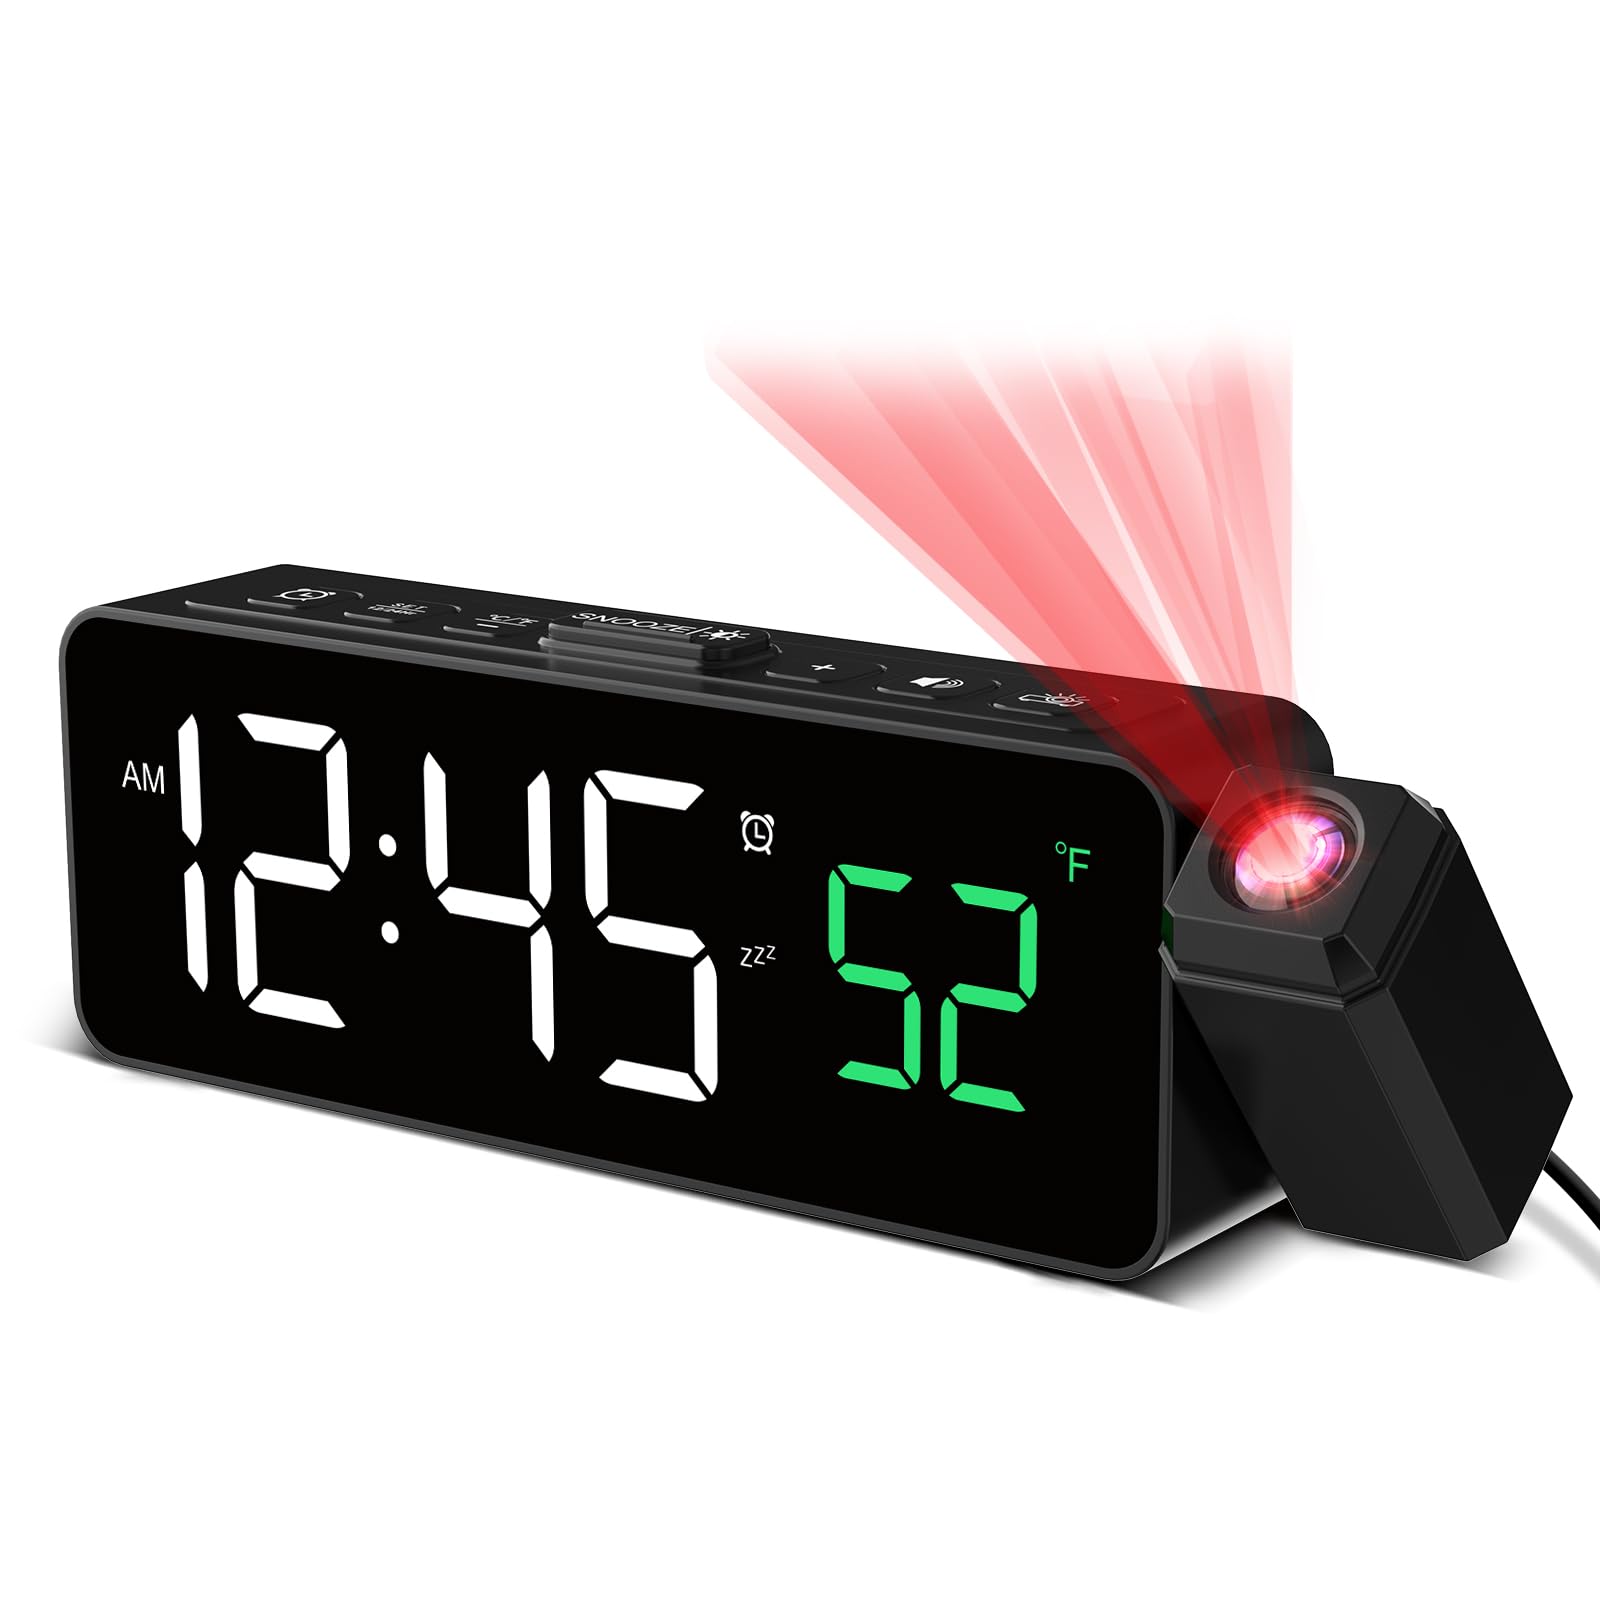
Image: A detailed view of the Netzu P338PB Projection Alarm Clock. The image highlights the projection feature, showing the time and temperature projected onto a wall. It also illustrates the 180-degree rotation and flip capabilities of the projector, along with different projection brightness levels (L1 to L4).
5. Setup
5.1 Power Connection
- Connect the provided USB-C cable to the power input port on the back of the alarm clock.
- Plug the other end of the USB-C cable into the power adapter.
- Insert the power adapter into a standard wall outlet. The display will light up.
5.2 Battery Backup (Optional)
To retain time and alarm settings during a power outage, install 2 AAA batteries (not included) into the battery compartment on the bottom of the clock. Note that batteries only provide backup for settings and do not power the display or projection continuously.
5.3 Initial Time Setting
- Press and hold the Time Set button. The hour digits will start flashing.
- Use the + or - buttons to adjust the hour.
- Press the Time Set button again to confirm the hour and move to minutes.
- Use the + or - buttons to adjust the minutes.
- Press the Time Set button again to confirm and exit time setting mode.
6. Operating Instructions
6.1 Display Brightness Adjustment
The main LED display has 5 brightness levels (OFF, L1, L2, L3, L4).
- Press the Snooze/Dimmer button repeatedly to cycle through the brightness levels.

Image: Two views of the Netzu P338PB Projection Alarm Clock demonstrating its 5-level display brightness. The top clock shows a brighter display (L4), while the bottom clock shows a dimmer display (L1), illustrating the range from bright for daytime to dim for sleep-friendly viewing.
6.2 12/24-Hour Format and Temperature Unit
- To switch between 12-hour and 24-hour time format, press the + button once during normal time display.
- To switch between Celsius (°C) and Fahrenheit (°F) temperature units, press the - button once during normal time display.

Image: This image displays the Netzu P338PB Projection Alarm Clock's ability to show time in both 12-hour (with AM/PM indicator) and 24-hour formats, as well as the temperature display, which can be switched between Fahrenheit and Celsius.
6.3 Setting the Alarm
- Press and hold the Alarm Set button. The alarm hour digits will flash.
- Use the + or - buttons to adjust the alarm hour.
- Press the Alarm Set button again to confirm the hour and move to minutes.
- Use the + or - buttons to adjust the alarm minutes.
- Press the Alarm Set button again to confirm and exit alarm setting mode.
- To activate/deactivate the alarm, press the Alarm Set button once during normal time display. An alarm icon will appear/disappear on the display.
6.4 Alarm Volume Adjustment
The alarm has 3 volume levels (L01, L02, L03).
- When the alarm is sounding, press the Volume button (often integrated with +/- or a dedicated button) to cycle through the volume levels.

Image: The Netzu P338PB Projection Alarm Clock illustrating its 3 adjustable volume levels (L01, L02, L03) for the alarm sound. It also highlights the 9-minute snooze function, indicated by '9 Mins Snooze' above the clock.
6.5 Snooze Function
- When the alarm sounds, press the Snooze/Dimmer button to activate the 9-minute snooze function. The alarm will sound again after 9 minutes.
- To turn off the alarm completely, press any other button (e.g., Alarm Set button).
6.6 Projection Settings
The projector can display time and temperature on a wall or ceiling (range: 0.5 to 3 meters).
- Turn Projection On/Off: Press the Projection button once to turn the projection on or off.
- Adjust Projection Brightness: Press the Projection button repeatedly to cycle through 3 brightness levels.
- Rotate Projection: The projection arm can be rotated 180 degrees manually to adjust the projection angle.
- Flip Projection Image: Some models allow flipping the projected image for optimal viewing. Refer to the specific button on your device, often integrated with the projection controls.
7. Maintenance
- Clean the device with a soft, dry cloth. Do not use abrasive cleaners or solvents.
- Ensure the projection lens is clean for a clear image.
- If not in use for an extended period, remove the AAA backup batteries to prevent leakage.
8. Troubleshooting
| Problem | Possible Cause | Solution |
|---|---|---|
| Display is blank. | No power supply. | Ensure the USB-C cable and adapter are securely connected and plugged into a working outlet. |
| Projection is unclear or blurry. | Projection lens is dirty; distance is too far/close; focus issue. | Clean the projection lens. Adjust the distance (0.5-3m). Rotate the projection arm to find optimal focus. |
| Alarm does not sound. | Alarm is not set or is deactivated; volume is too low. | Ensure the alarm is activated (alarm icon visible). Check and adjust the alarm volume. |
| Settings are lost after power outage. | No backup batteries installed or batteries are dead. | Install fresh 2 AAA batteries for backup. |
9. Specifications
| Feature | Detail |
|---|---|
| Model Number | P338PB |
| Dimensions (L x W x H) | 17.5 x 3.81 x 3.3 cm (6.89 x 1.5 x 1.3 inches) |
| Weight | 240 grams |
| Display Type | Digital LED |
| Display Brightness | 5 levels (OFF, L1-L4) |
| Projection Range | 0.5 to 3 meters (1.6 to 11.4 feet) |
| Projection Brightness | 3 levels |
| Projection Rotation | 180° |
| Alarm Volume | 3 levels |
| Snooze Duration | 9 minutes |
| Power Source | AC powered (USB-C cable and adapter included) |
| Backup Battery | 2 x AAA batteries (not included) |
| Material | Plastic |
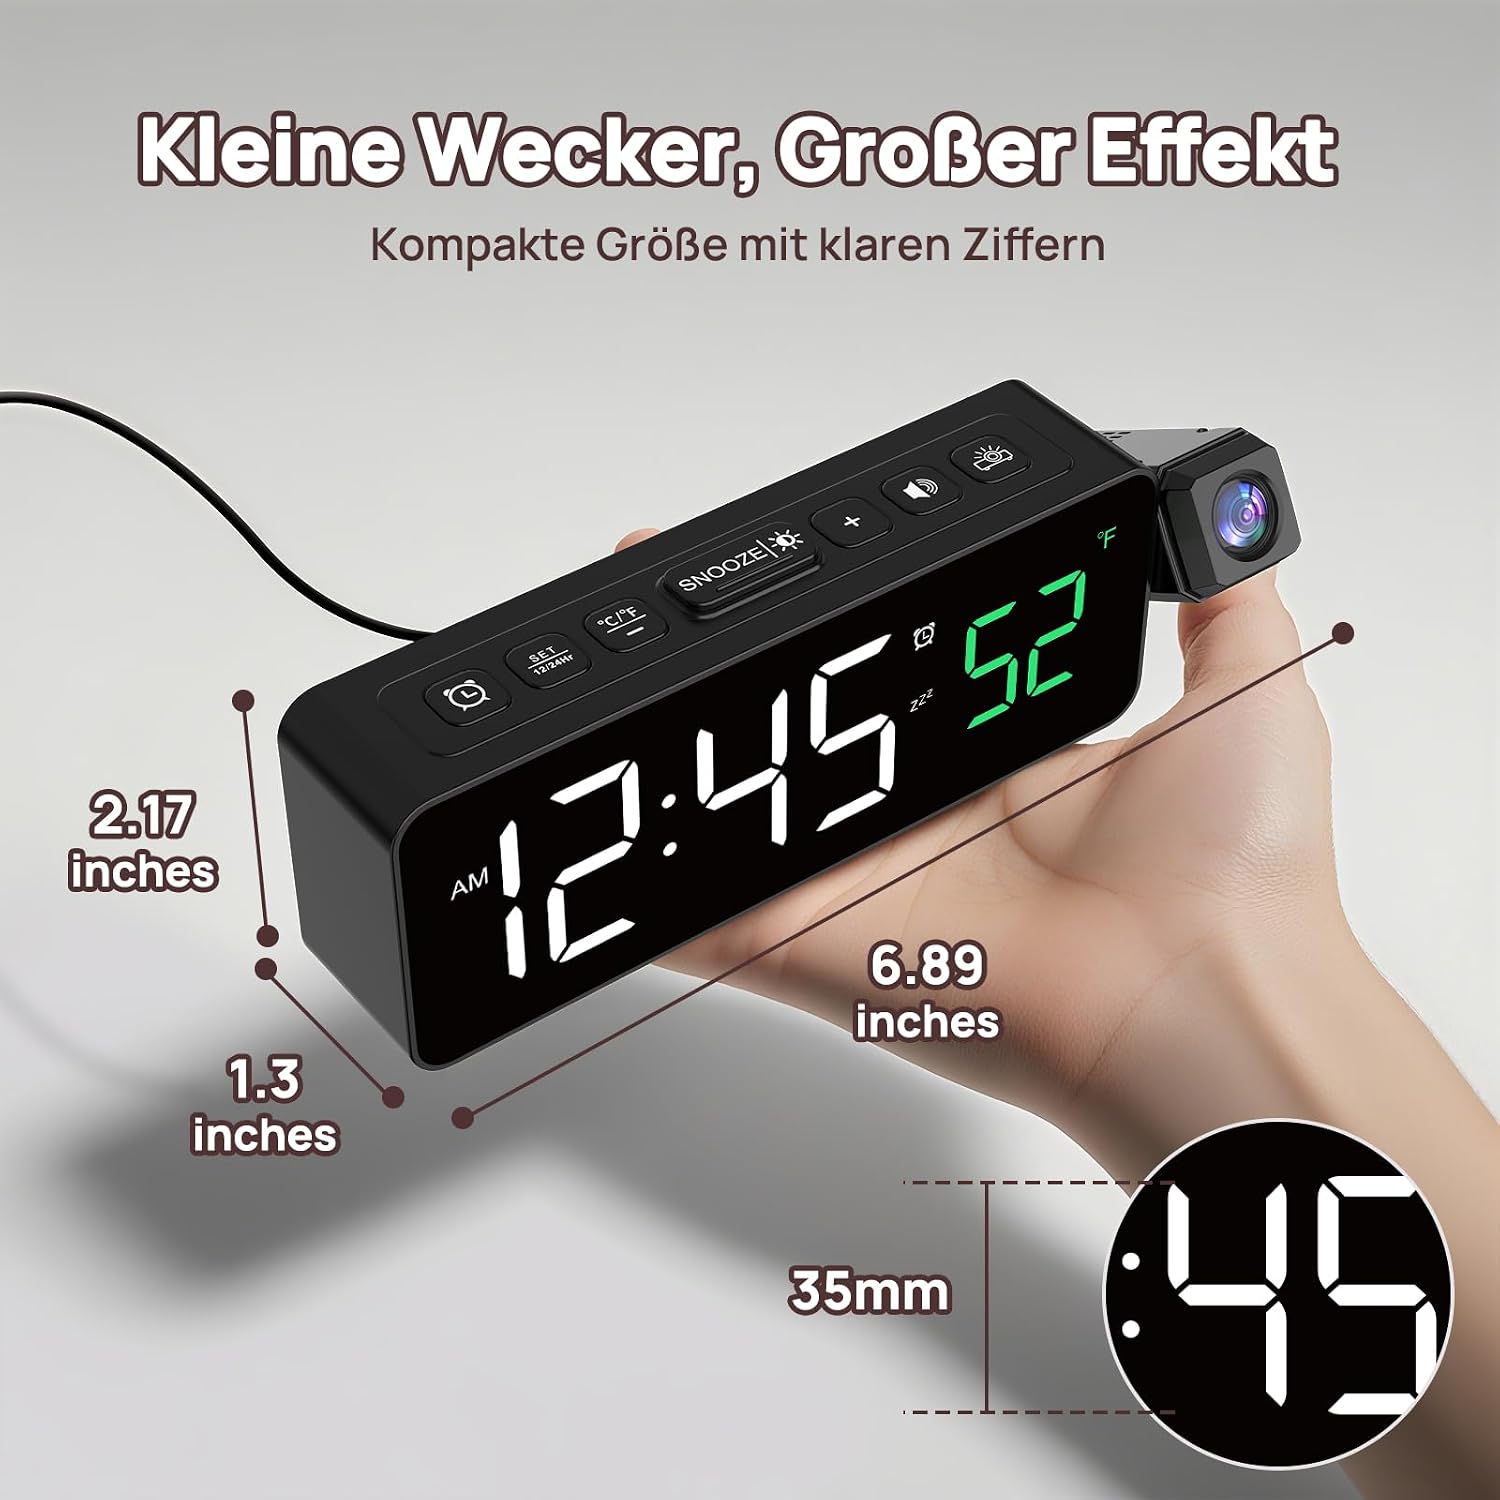
Image: The Netzu P338PB Projection Alarm Clock with its compact dimensions clearly labeled in inches and millimeters. The clock displays '12:45' and '52°F', highlighting its clear digital readout.
10. Warranty and Support
Netzu products are designed for reliability and performance. For warranty information or technical support, please refer to the contact details provided with your purchase or visit the official Netzu website. Please retain your proof of purchase for any warranty claims.