
Introduction
This manual provides detailed instructions for the safe and efficient operation, setup, maintenance, and troubleshooting of your Keurig K-Mini Mate Single Serve Coffee Maker. Please read all instructions thoroughly before first use and retain this manual for future reference.

Figure 1: Keurig K-Mini Mate Single Serve Coffee Maker.
Important Safeguards
When using electrical appliances, basic safety precautions should always be followed to reduce the risk of fire, electric shock, and/or injury to persons, including the following:
- Read all instructions.
- Do not touch hot surfaces. Use handles and knobs.
- To protect against fire, electric shock, and injury to persons, do not immerse cord, plugs, or the appliance in water or other liquid.
- Close supervision is necessary when any appliance is used by or near children.
- Unplug from outlet when not in use and before cleaning. Allow to cool before putting on or taking off parts, and before cleaning the appliance.
- Do not operate any appliance with a damaged cord or plug or after the appliance malfunctions, or has been damaged in any manner. Return appliance to the nearest authorized service facility for examination, repair or adjustment.
- The use of accessory attachments not recommended by the appliance manufacturer may result in fire, electric shock, or injury to persons.
- Do not use outdoors.
- Do not let cord hang over edge of table or counter, or touch hot surfaces.
- Do not place on or near a hot gas or electric burner, or in a heated oven.
- Always attach plug to appliance first, then plug cord into the wall outlet. To disconnect, turn any control to “off”, then remove plug from wall outlet.
- Do not use appliance for other than intended use.
- Use only water in this appliance. Do not use other liquids or foods.
- Do not open the K-Cup pod holder during the brewing process.
Components
Familiarize yourself with the parts of your Keurig K-Mini Mate coffee maker:
- Water Reservoir: Located on the side, this is where you pour water for each brew.
- K-Cup Pod Holder: The compartment where you insert your K-Cup pod.
- Brew Button: Initiates the brewing process.
- Drip Tray: Collects drips and can be removed to accommodate taller mugs.
- Power Cord: Connects the brewer to an electrical outlet.
- Handle: Used to open and close the K-Cup pod holder.
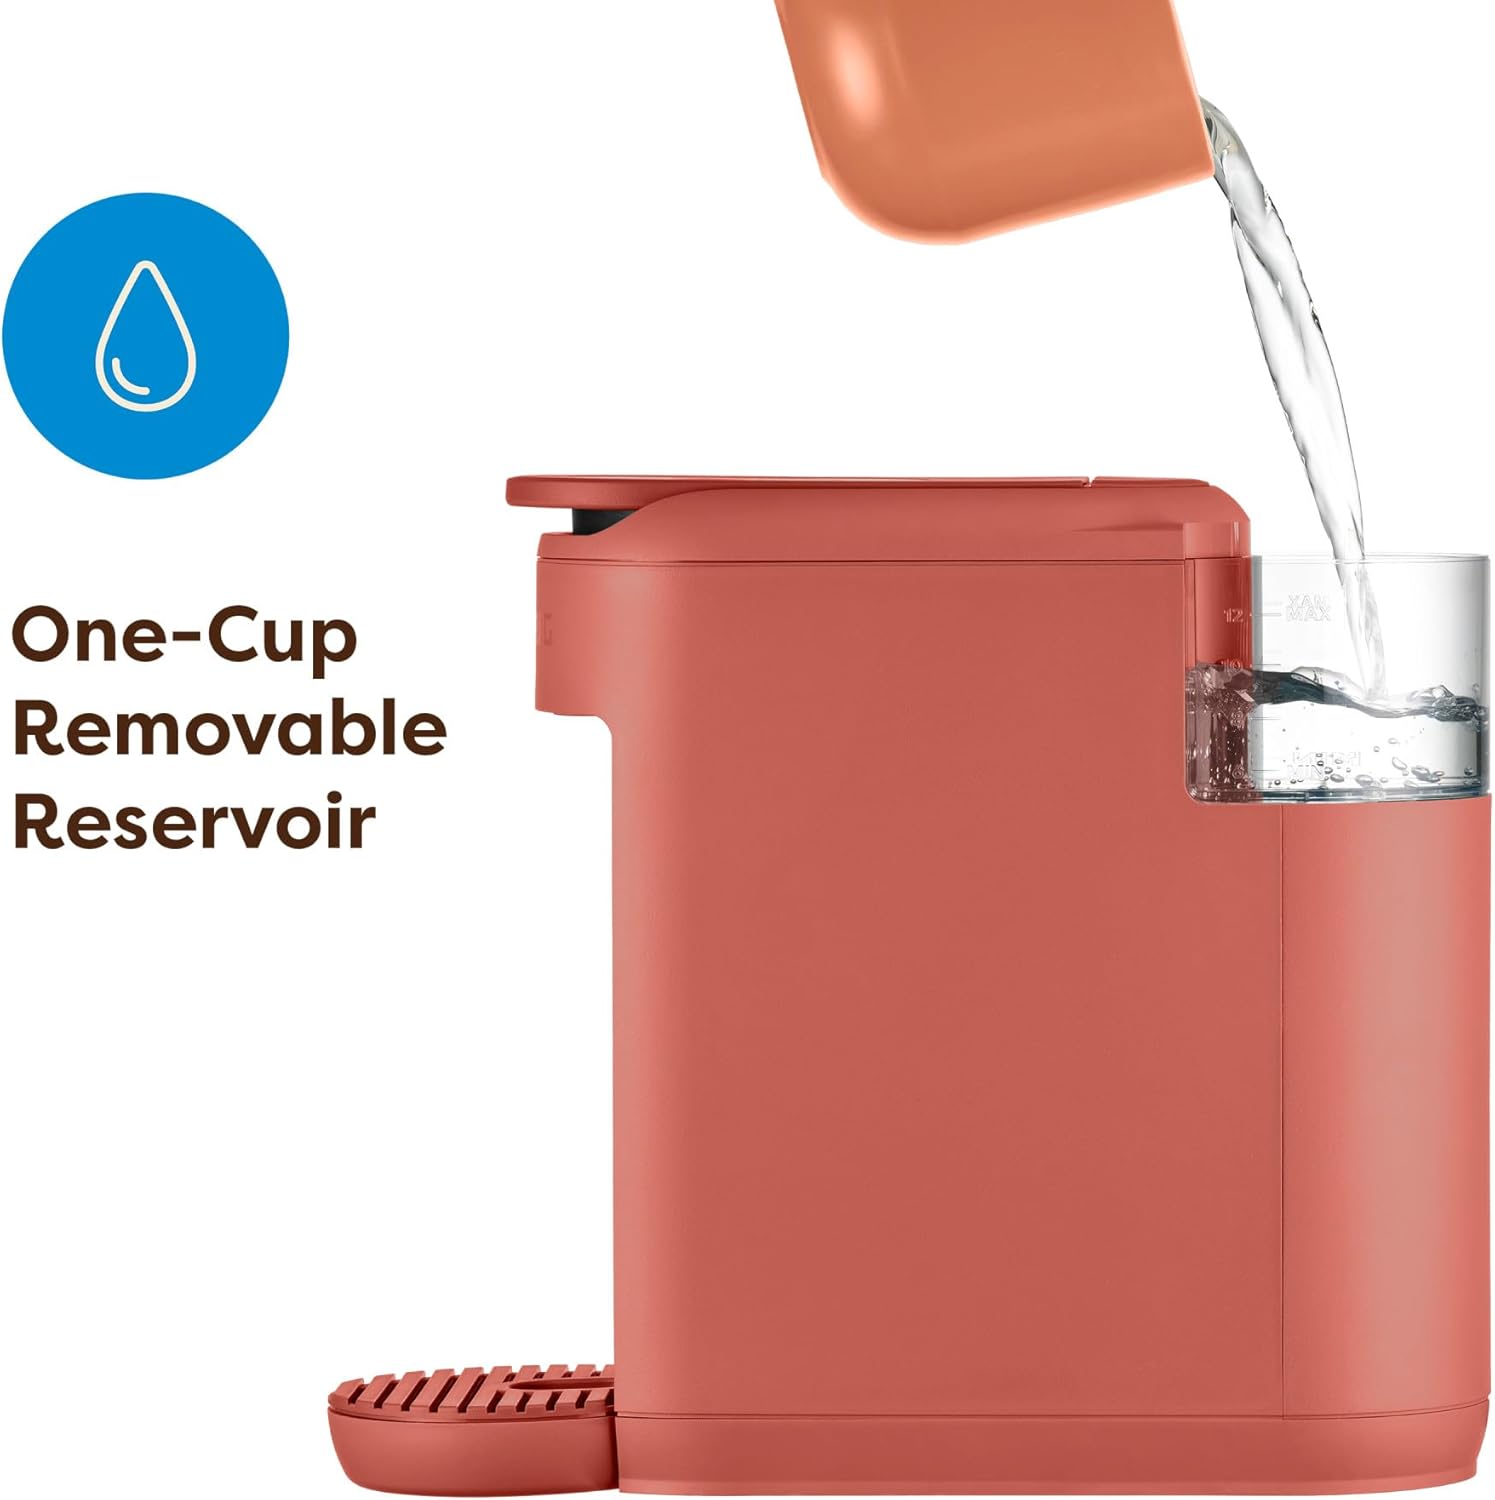
Figure 2: One-Cup Removable Water Reservoir.
Setup
Follow these steps for initial setup before first use:
- Unpack: Remove all packaging materials and tape from the coffee maker.
- Plug In: Place the brewer on a stable, level surface and plug it into a grounded outlet.
- Clean Reservoir: Remove the water reservoir and rinse it with fresh water.
- Initial Cleansing Brew:
- Fill the reservoir with fresh water (up to 12 oz).
- Place a large mug on the drip tray.
- Lift and lower the handle without inserting a K-Cup pod.
- Press the brew button. The brewer will dispense hot water. Discard the hot water.

Figure 3: Connecting the brewer to power.
Operating Instructions
To brew a single cup of coffee:
- Add Water: Pour fresh water into the water reservoir. The brewer will automatically detect the amount of water added, up to 12 fluid ounces.
- Insert K-Cup Pod: Lift the handle and place a K-Cup pod into the K-Cup pod holder. Close the handle firmly.
- Place Mug: Place your mug on the drip tray. For taller travel mugs (up to 7.25 inches), remove the drip tray.
- Brew: Press the brew button. The button will illuminate, and the brewing process will begin. Your coffee will be ready in minutes.
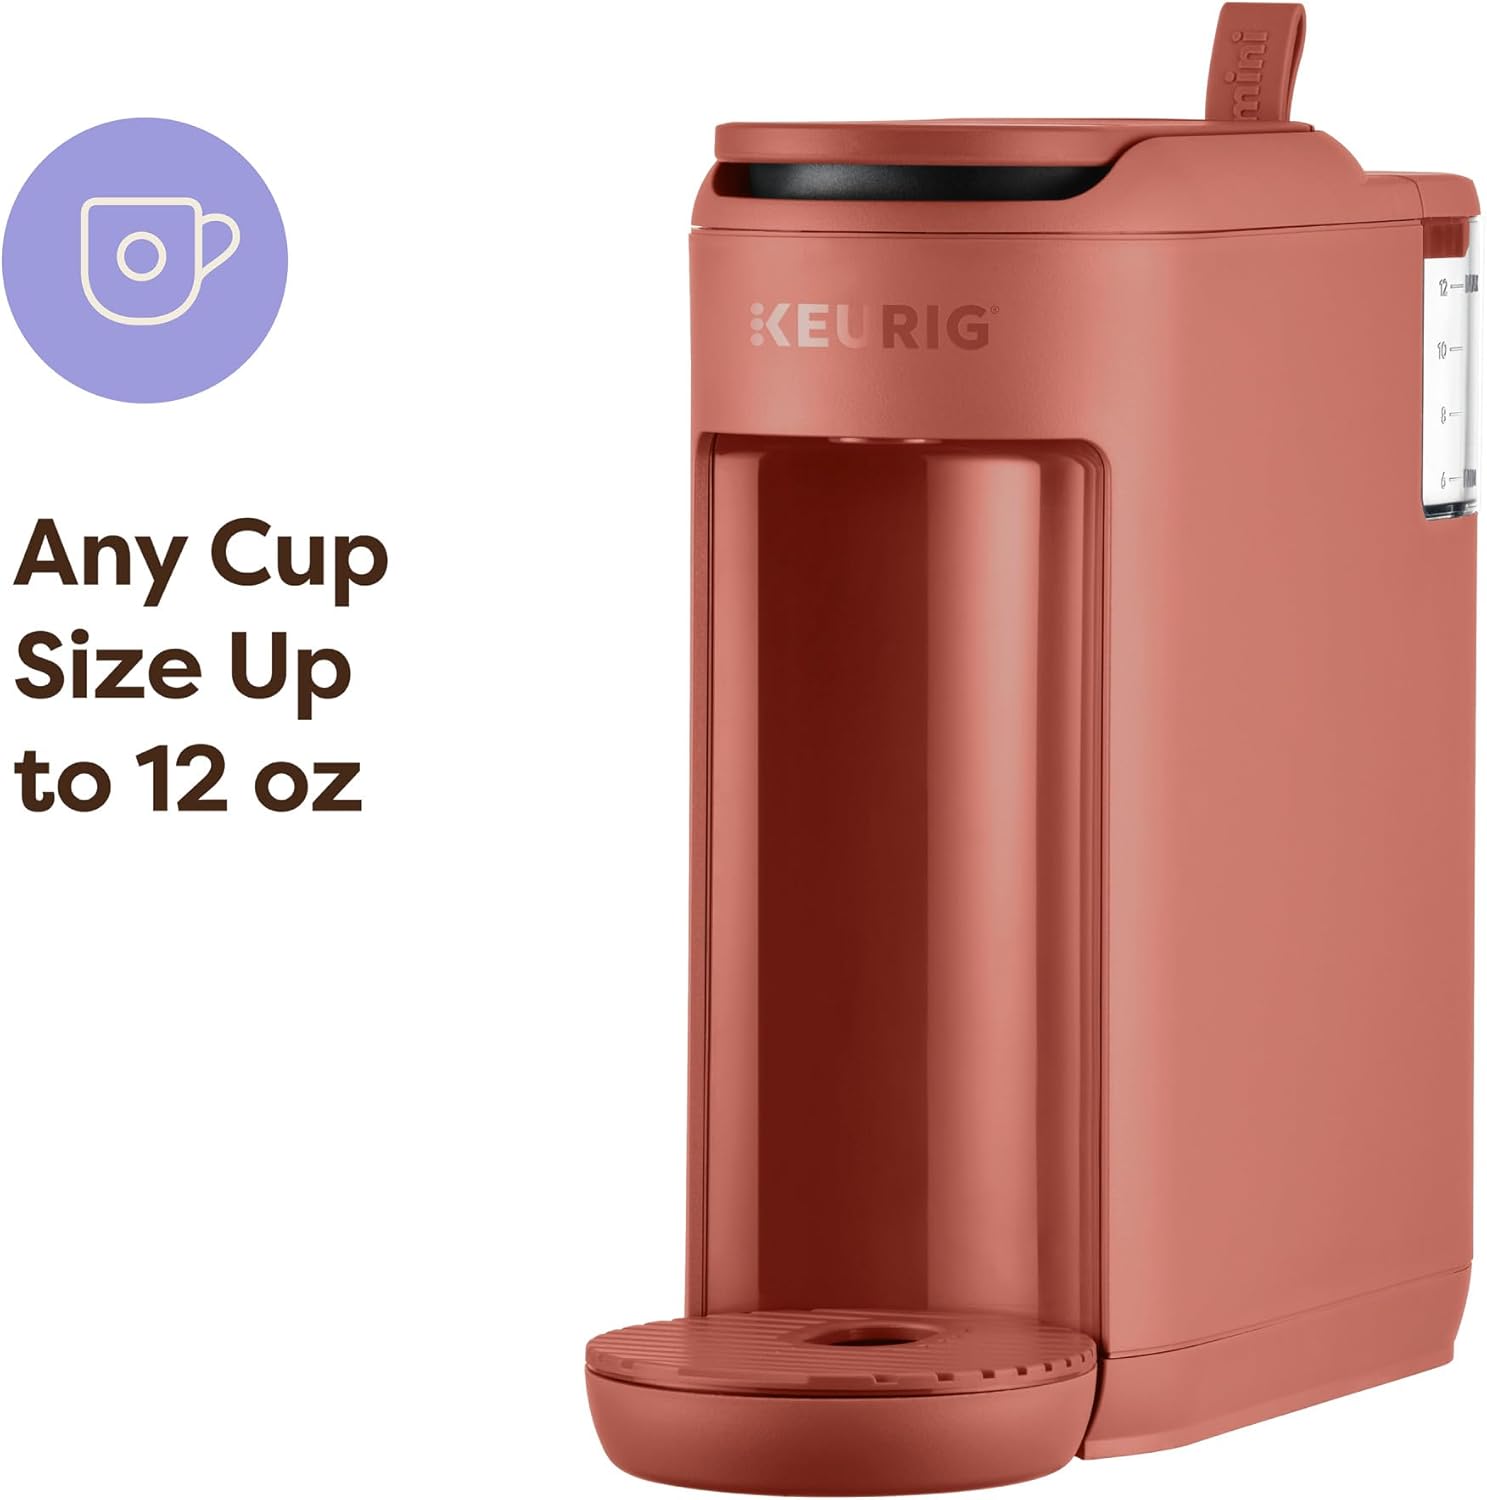
Figure 4: Brewer accommodates cup sizes up to 12 oz.

Figure 5: Drip tray removed to fit a travel mug.
Maintenance
Regular cleaning ensures optimal performance and taste.
Cleaning the Exterior
Wipe the exterior with a damp, soapy cloth. Dry thoroughly. Do not immerse the brewer in water or other liquids.
Cleaning the Drip Tray
The drip tray can accumulate coffee drips. Remove the drip tray, empty any liquid, and wash it with warm, soapy water. Rinse thoroughly and dry.
Cleaning the K-Cup Pod Holder
The K-Cup pod holder can be removed for cleaning. Lift the handle, grasp the top of the K-Cup pod holder, and pull it upwards to remove. Wash with warm, soapy water, rinse, and dry. Ensure the exit needle is clear of any coffee grounds. Reinsert the pod holder by aligning it with the opening and pushing down until it clicks into place.
Cleaning the Water Reservoir
The water reservoir should be rinsed regularly with fresh water. For a deeper clean, wash with warm, soapy water, rinse thoroughly, and dry. Do not use abrasive cleaners or scrubbers.
Descaling
Mineral deposits can build up in your coffee maker over time, affecting performance. The "DESCALE" indicator light will illuminate when descaling is recommended.
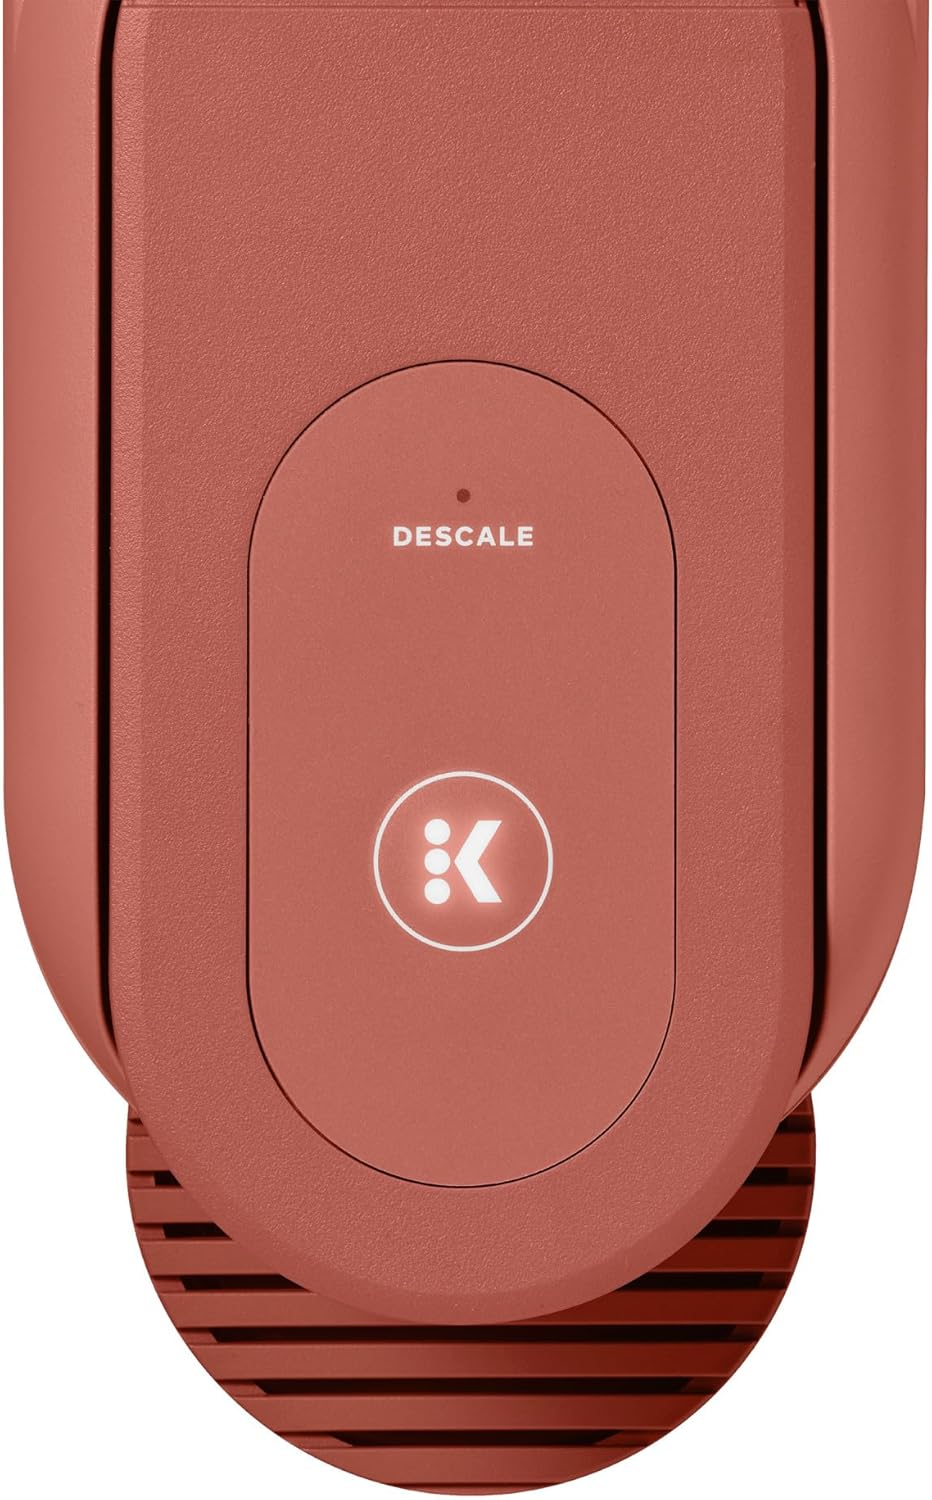
Figure 6: The 'DESCALE' indicator light.
Descaling Procedure:
- Prepare Solution: Empty the water reservoir. Pour a full bottle of Keurig Descaling Solution into the reservoir. If using white vinegar, fill the reservoir with 10 ounces of white vinegar.
- First Descale Brew: Place a large mug on the drip tray. Lift and lower the handle without a K-Cup pod. Press the brew button. Once the brew is complete, discard the hot liquid.
- Repeat Descale Brews: Repeat the brew process without a K-Cup pod until the "DESCALE" light turns off. Discard all hot liquid after each brew.
- Rinse Cycle: Fill the water reservoir with fresh water. Perform at least 3 full water-only brews to rinse the brewer. Discard the hot water after each rinse brew.
Troubleshooting
If you encounter issues with your Keurig K-Mini Mate, refer to the following common problems and solutions:
| Problem | Possible Cause | Solution |
|---|---|---|
| Brewer not turning on | No power, tripped circuit breaker | Ensure brewer is securely plugged in. Check circuit breaker. |
| No water dispensing | Water reservoir empty, air in lines, clogged needle | Fill reservoir. Perform a cleansing brew without a K-Cup. Clean the K-Cup pod holder exit needle. |
| Coffee not brewing hot | Brewer not preheated, descaling needed | Allow brewer to heat up. Perform descaling procedure. |
| Partial brew | Water reservoir low, clogged needle, descaling needed | Ensure sufficient water in reservoir. Clean K-Cup pod holder exit needle. Perform descaling. |
| "DESCALE" light remains on | Descaling not complete, mineral buildup | Repeat descaling steps until light turns off. Ensure thorough rinsing. |
Specifications
Key specifications for the Keurig K-Mini Mate Single Serve Coffee Maker:
- Brand: Keurig
- Model Name: K-Mini Mate
- Model Number: 611247405710
- Capacity: Up to 12 Fluid ounces (single cup)
- Color: Red Rocks
- Product Dimensions (Closed Handle): 3.94" W x 10.91" D x 9.13" H
- Product Dimensions (Open Handle): 3.94" W x 10.91" D x 14.5" H
- Item Weight: 3.91 Pounds
- Special Feature: Lightweight, Single Cup Brew
- Coffee Maker Type: Drip Coffee Machine
- Operation Mode: Fully Automatic
- Coffee Input Type: K-Cup Pod
- Power Source Type: AC adapter
- Dishwasher Safe: No
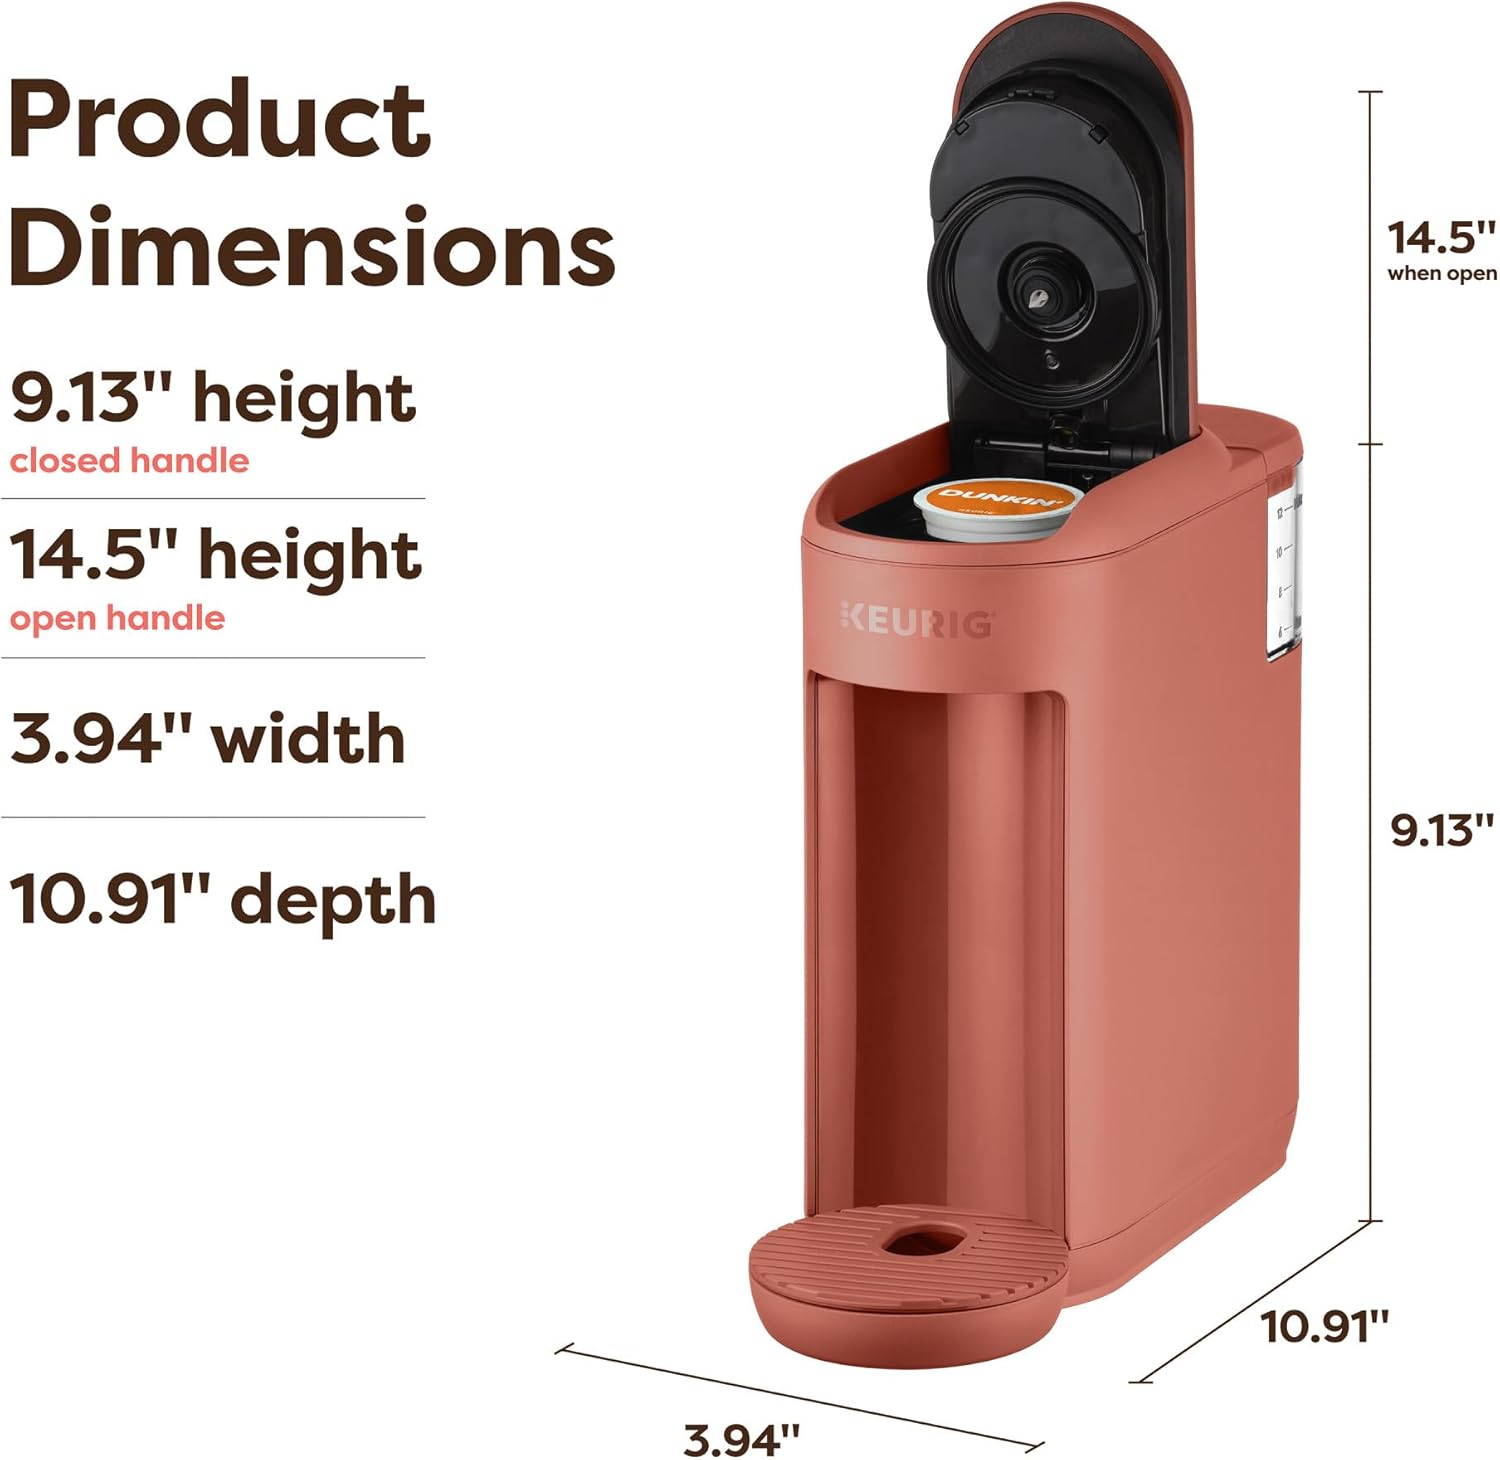
Figure 7: Product Dimensions.
Warranty and Support
For warranty information or technical support, please refer to the official Keurig website or contact Keurig customer service. Specific warranty terms and conditions may vary by region and purchase date.
Online Support: Visit the official Keurig website for FAQs, troubleshooting guides, and contact information.
Customer Service: Refer to your product packaging or the Keurig website for the most current customer service contact details.


