
1. Introduction
Thank you for choosing the Zomolither Android 15 Car Radio. This manual provides essential information for the safe and efficient operation of your new device. Please read it thoroughly before installation and use, and keep it for future reference.
2. Safety Information
- Always operate the device in a safe manner, ensuring it does not distract you from driving.
- Do not attempt to disassemble or modify the unit. This may cause damage and void the warranty.
- Ensure all wiring connections are secure and correctly insulated to prevent short circuits.
- Consult a professional for installation if you are unsure about any steps.
- Keep the screen clean and free from obstructions.
3. Product Overview
The Zomolither Android 15 Car Radio is a 7-inch HD touchscreen multimedia system designed for select Ford vehicles. It features Android 15, 4GB RAM, 64GB ROM, wireless CarPlay, Android Auto, Mirror Link, Bluetooth 5.0, GPS navigation, WiFi connectivity, a 32-band equalizer, FM/RDS radio, steering wheel control support, and AHD rear view camera input.

Figure 3.1: Zomolither Android 15 Car Radio main unit.
4. Compatibility
This car radio is compatible with the following Ford models:
- Ford Focus II (2008-2011)
- Ford Mondeo S-MAX C-MAX (2008-2011)
- Ford Galaxy II (2006-2011)
- Ford MK2 Kuga

Figure 4.1: Examples of compatible Ford vehicle dashboards.
Important Compatibility Note:
Before purchasing or installing, you must confirm your original car system configuration, year, and central control map to avoid installation incompatibility. If you are unsure, please contact customer service for assistance.

Figure 4.2: Visual guide for compatible (green check) and incompatible (red cross) dashboard configurations.
5. Package Contents
The product package includes the following items:
- 1 x Car Radio Unit
- 1 x Rear View Camera
- 1 x Power Cable
6. Setup and Installation
Installation of the car radio requires basic automotive electrical knowledge. It is recommended to have the unit installed by a qualified professional to ensure proper function and avoid damage to your vehicle or the device.
General Installation Steps:
- Disconnect Battery: Before starting, disconnect the negative terminal of your car battery to prevent electrical shorts.
- Remove Old Radio: Carefully remove your vehicle's existing radio unit and trim panels.
- Connect Wiring Harness: Connect the provided power cable and other necessary wiring harnesses (e.g., RCA, USB, GPS antenna, camera input) to the new car radio. Ensure all connections are secure.
- Test Connections: Before fully reassembling, reconnect the car battery and briefly test the radio's basic functions (power on, audio, touchscreen responsiveness).
- Install Rear View Camera: Mount the rear view camera at the back of your vehicle and route its cable to the car radio unit, connecting it to the designated input.
- Secure Unit and Reassemble: Secure the new car radio into the dashboard opening. Reinstall all trim panels and reconnect the battery.
7. Operating Instructions
7.1 Basic Operation
- Power On/Off: Press and hold the power button (usually located on the front panel or via steering wheel control) to turn the unit on or off.
- Touchscreen: Navigate the interface by tapping, swiping, and pinching on the 7-inch HD touchscreen.
- Volume Control: Adjust volume using the physical buttons or on-screen controls.
7.2 Wireless CarPlay and Android Auto
The unit supports wireless Apple CarPlay and Android Auto for seamless smartphone integration.
- For CarPlay: Activate Bluetooth on your iPhone and pair it with the car radio. Open the Zlink app on the car radio. If connection fails, connect your iPhone to the car stereo's hotspot and then reopen Zlink. Maintain Bluetooth and hotspot connection.
- For Android Auto: Ensure the Android Auto app is installed on your phone. Activate Bluetooth on your phone and pair it with the car radio. Switch to the Zlink app on the car radio.

Figure 7.1: Wireless CarPlay and Android Auto in operation.

Figure 7.2: Detailed connection steps for Wireless Apple CarPlay and Android Auto.
7.3 Mirror Link
Mirror Link allows you to display your smartphone screen on the car radio.
- For iOS (WiFi): Turn on your iPhone's hotspot. Connect the car radio's WiFi to your phone's hotspot. Open the "phonelink" app on the unit and follow indications. You can also enter Airplay function on iPhone and choose this car radio.
- For Android (WiFi/USB): Click on "phonelink" and scan the QR code to download the app. Follow indications to choose link via USB cable or WiFi. For USB, enable "USB debugging" in your phone's developer options and set USB configuration to data transmission.

Figure 7.3: Mirror Link connection diagram.
7.4 GPS Navigation
The unit includes an integrated GPS module supporting online and offline maps with voice guidance and real-time traffic information.
- Access navigation apps like Waze or Google Maps via the main menu.
- Ensure a stable internet connection for online maps or download offline maps in advance.
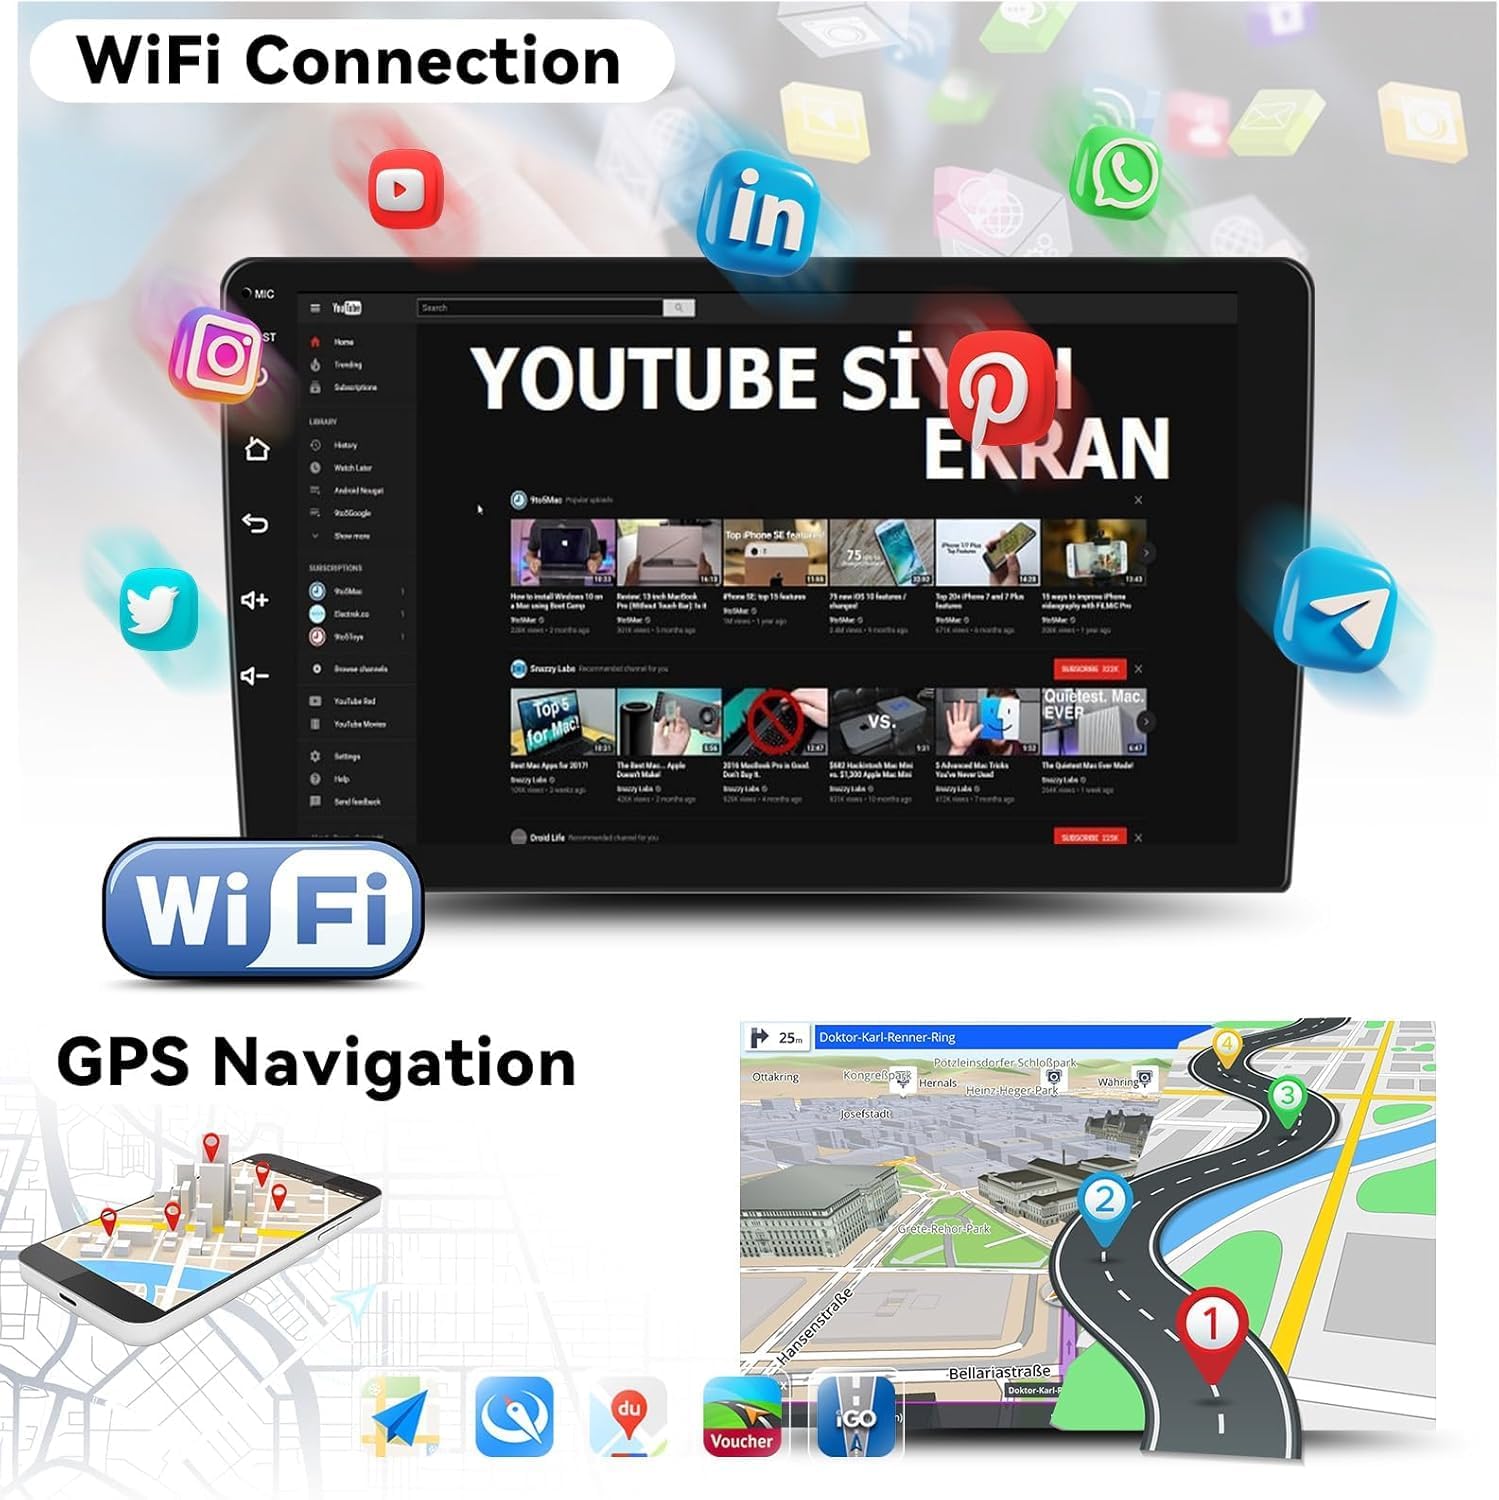
Figure 7.4: GPS Navigation interface.
7.5 WiFi Connectivity
Connect the car radio to the internet via WiFi to browse, stream online content, and download applications.
- Go to Settings > Network & Internet > Wi-Fi.
- Select your desired network and enter the password.

Figure 7.5: WiFi connection screen.
7.6 Bluetooth 5.0
Connect your smartphone via Bluetooth 5.0 for hands-free calling and audio streaming.
- Go to Settings > Connected devices > Bluetooth.
- Enable Bluetooth on both the car radio and your phone.
- Search for and select the car radio from your phone's Bluetooth devices list to pair.

Figure 7.6: Bluetooth 5.0 interface for hands-free calls and music playback.
7.7 FM/RDS Radio
Listen to your favorite radio stations with clear sound quality.
- Access the FM/RDS Radio application from the main menu.
- Use the on-screen controls to scan for stations, save presets, and view RDS information.

Figure 7.7: FM/RDS Radio interface with station selection.
7.8 32-Band Equalizer (EQ)
Customize your audio experience with the integrated 32-band equalizer.
- Access the EQ settings from the audio menu.
- Adjust frequency bands to fine-tune the sound output to your preference.
- Select from various preset equalizer modes or create custom profiles.

Figure 7.8: 32-band Equalizer interface for audio customization.
7.9 Steering Wheel Control
The unit supports steering wheel controls for convenient operation while driving.
- Access the steering wheel control settings in the system menu.
- Follow the on-screen instructions to map your vehicle's steering wheel buttons to specific functions (e.g., volume, track skip, answer call).

Figure 7.9: Steering Wheel Control configuration screen.
7.10 AHD Rear View Camera
The included AHD rear view camera provides a clear view for safe parking and reversing.
- When the vehicle is shifted into reverse gear, the screen will automatically display the camera feed.
- The camera offers ultra-clear video in real-time.
7.11 Customizable Home App & Split Screen
Personalize your home screen and multitask with the split-screen function.
- Customized Home App: Long press on an app icon to move or customize its placement on the home screen.
- Split Screen: Use the split-screen feature to run two applications simultaneously, such as navigation and music playback.

Figure 7.10: Customizable Home App interface.

Figure 7.11: Split Screen functionality displaying two applications concurrently.
8. Optional Functions and Accessories
The car radio supports various optional accessories to enhance its functionality. These items are not included in the standard package and must be purchased separately.
- DVR (Digital Video Recorder): For recording driving footage.
- DAB+ (Digital Audio Broadcasting): For enhanced digital radio reception.
- 360 Panoramic Camera: For a comprehensive view around your vehicle.
- OBD2 (On-Board Diagnostics): For vehicle diagnostics and performance monitoring.
- Video Output: For connecting external displays.
- External Microphone: For improved voice clarity during calls.

Figure 8.1: Overview of optional functions and accessories.
9. Maintenance
- Cleaning: Use a soft, dry cloth to clean the screen and unit. Avoid abrasive cleaners or solvents.
- Software Updates: Periodically check for software updates to ensure optimal performance and access to new features. Updates can usually be found in the system settings or on the manufacturer's website.
- Temperature: Avoid exposing the unit to extreme temperatures, which can affect its lifespan.
10. Troubleshooting
Common Issues and Solutions:
| Issue | Possible Cause | Solution |
|---|---|---|
| Unit does not power on | Loose power connection, blown fuse, vehicle battery issue | Check power cables, inspect vehicle fuses, ensure battery is charged. |
| No sound output | Speaker wires disconnected, volume too low, incorrect audio source | Verify speaker connections, increase volume, select correct audio source. |
| Touchscreen unresponsive | Software glitch, screen damage | Restart the unit. If issue persists, contact support. |
| GPS signal lost | Antenna obstruction, poor satellite reception | Ensure GPS antenna is clear of obstructions. Move to an open area. |
| CarPlay/Android Auto not connecting | Bluetooth/WiFi issues, incorrect app settings | Check Bluetooth/WiFi connections, ensure Zlink app is open, restart phone and unit. |
11. Specifications
- Operating System: Android 15
- RAM: 4 GB
- ROM: 64 GB
- Screen Size: 7 inches
- Screen Resolution: 1024*600 HD (Supports 1280*720 IPS Screen, 1080P Video Playback)
- Connectivity: Bluetooth 5.0, USB, WiFi
- Special Features: Wireless CarPlay, Wireless Android Auto, Mirror Link, GPS Navigation, 32-band EQ, FM/RDS Radio, Steering Wheel Control, AHD Rear View Camera Input
- Audio Output Mode: Stereo
- Surround Sound Channel Configuration: 7.1
- Output Power: 15 Volts, 45 Watts (180 Watts total output)
- Number of Channels: 4
- Control Method: Application, Touch, Voice
- Video Encoding: MKV, RMVB, AVI, MP4, MDV
- Product Dimensions: 1 x 1 x 1 cm
- Product Weight: 1.71 kg (1706 Grams)
- Country of Origin: China

Figure 11.1: Display technology and video playback details.
12. Warranty and Support
- Product Warranty: This product comes with a 2-year warranty.
- Online Support: For technical assistance or inquiries, please contact Zomolither at Zomolither@126.com.