
plimpton P2
plimpton PlimPad P2 Android 15 Tablet User Manual
1. Product Overview
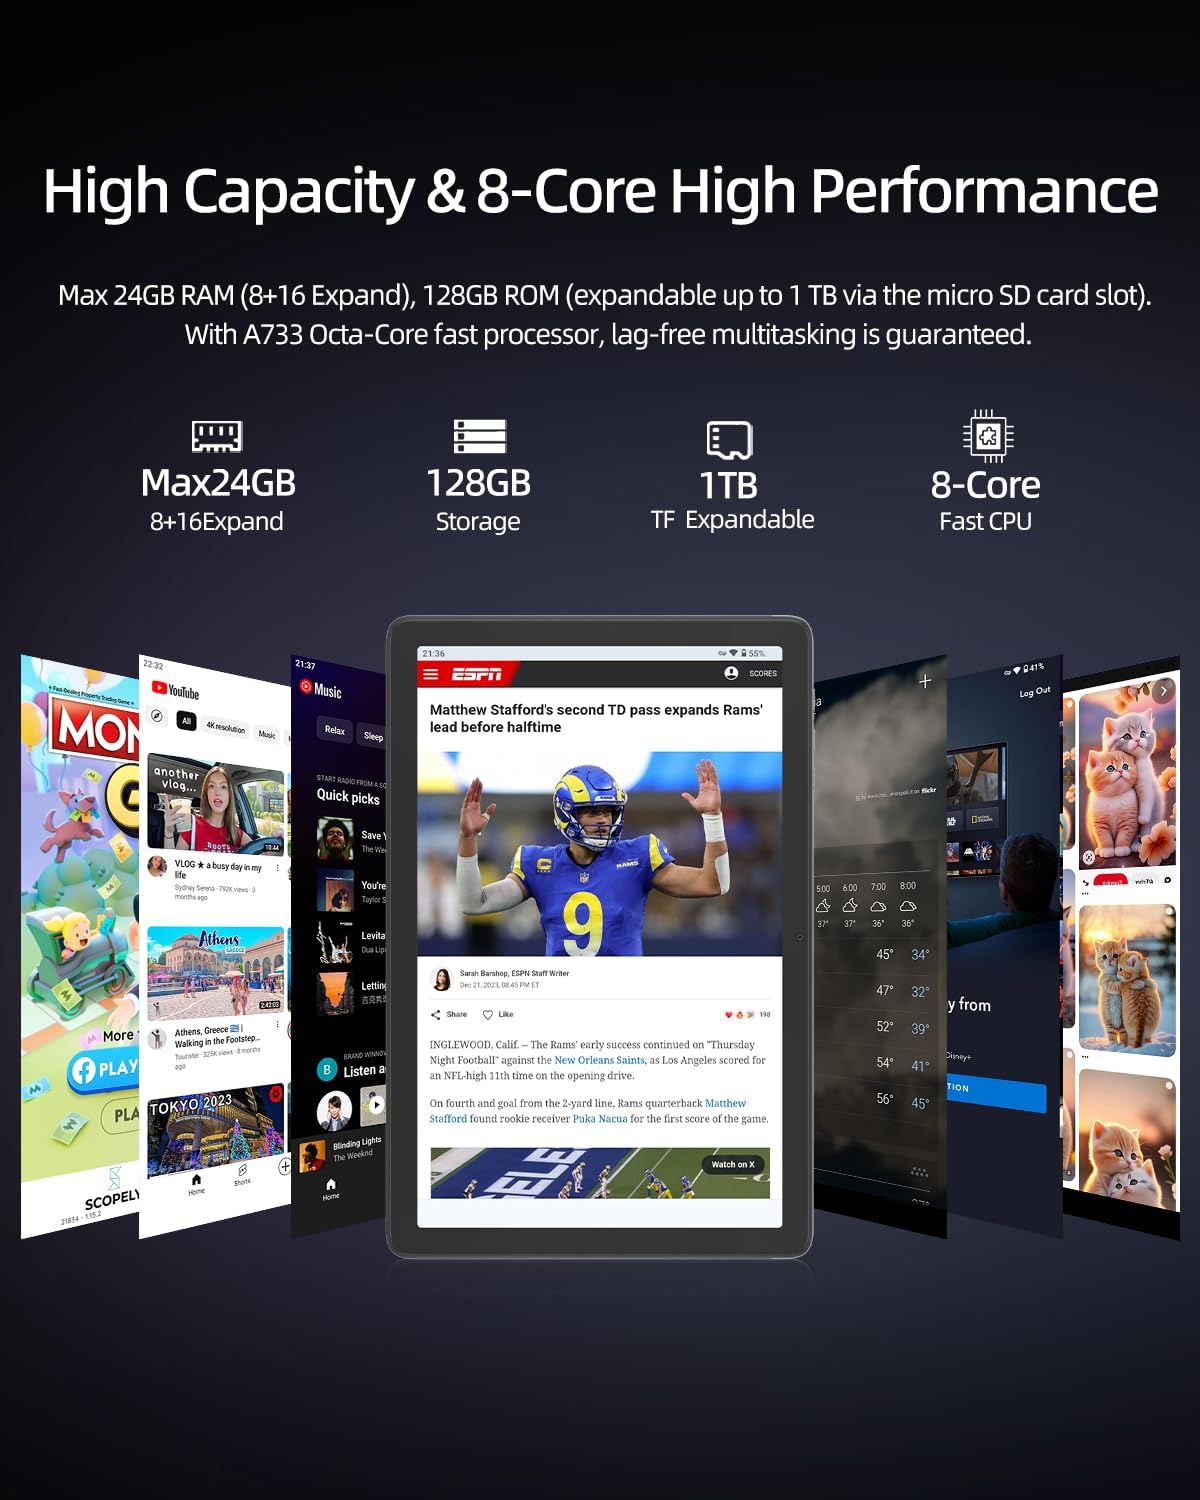
The plimpton PlimPad P2 is a 10-inch Android 15 tablet designed for work, study, and entertainment. It features a powerful 8-core CPU, 24GB RAM (8GB physical + 16GB virtual), and 128GB of UFS 3.1 internal storage, expandable up to 1TB via an external memory card. Equipped with a long-lasting 7500mAh battery, AI-powered gesture control, Wi-Fi 6, and Bluetooth 5.4, the PlimPad P2 offers a smooth, efficient, and intuitive user experience.
Key Features:
- Operating System: Latest Android 15 for enhanced performance and security.
- Processor: Powerful 8-core CPU for smooth multitasking and gaming.
- Memory & Storage: 24GB RAM (8GB + 16GB expandable) and 128GB UFS 3.1 storage, expandable to 1TB.
- Battery: 7500mAh long-lasting battery for extended use.
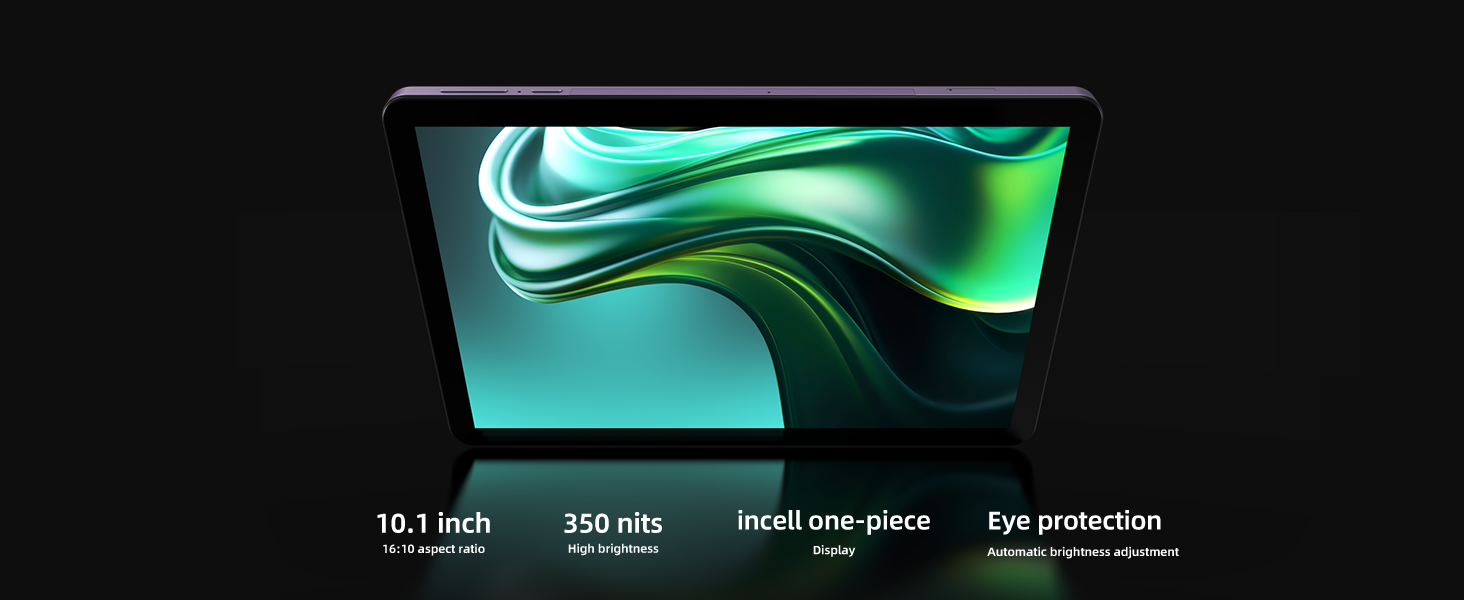
- Display: 10.1-inch screen with AI-adjusted eye protection mode.
- Connectivity: Wi-Fi 6 and Bluetooth 5.4 for fast and stable connections.
- AI Features: AI-powered gesture control, smart screen adjustment, and optimized power consumption.
- Design: Durable and reliable aluminum alloy body for better heat dissipation and longevity.
2. What's in the Box
Your plimpton PlimPad P2 package includes the following items:
- 1 x plimpton PlimPad P2 Android 15 Tablet
- 1 x USB-A to Type-C Charging Cable
- 1 x AC Power Adapter
- 1 x User Manual
- 1 x SIM Ejector Pin
3. Setup Guide
3.1 Powering On/Off
- To Power On: Press and hold the Power button (located on the side) until the plimpton logo appears on the screen.
- To Power Off: Press and hold the Power button, then select 'Power off' from the options that appear.
- To Restart: Press and hold the Power button, then select 'Restart' from the options.
3.2 Initial Configuration
Upon first power-on, the tablet will guide you through the initial setup process:
- Select your preferred language.
- Connect to a Wi-Fi network.
- Sign in with your Google account or create a new one.
- Follow on-screen prompts to set up security, privacy, and other preferences.
3.3 Inserting a MicroSD Card
To expand storage up to 1TB:
- Locate the SIM/MicroSD card tray on the side of the tablet.
- Insert the provided SIM ejector pin into the small hole next to the tray to open it.
- Place the MicroSD card into the designated slot on the tray.
- Gently push the tray back into the tablet until it clicks into place.
3.4 Charging the Tablet
Use the provided USB-A to Type-C cable and AC power adapter to charge your tablet. The reversible Type-C port allows for easy connection.
4. Operating Instructions
4.1 Basic Navigation
The PlimPad P2 features a responsive touchscreen for intuitive interaction:
- Tap: Select items, open apps, or activate functions.
- Swipe: Scroll through pages, menus, or home screens.
- Pinch-to-Zoom: Enlarge or shrink content on the screen.
4.2 AI-Powered Gesture Control
Enhance your interaction with the tablet using AI gesture control. These features allow for hands-free operation:
- Enable Gestures: Navigate to Settings > System > Gestures to customize and enable specific gestures.
- Scrolling: Use specific hand movements (e.g., waving hand up/down) to scroll through content without touching the screen.
- Screenshots: A two-finger swipe gesture can capture a screenshot.
- Selfie Camera Activation: Certain hand signals can activate the front-facing camera for selfies.
4.3 Display Settings & Eye Protection
Customize your viewing experience and protect your eyes:
- Brightness Adjustment: Go to Settings > Display > Brightness to manually adjust or enable adaptive brightness.
- AI-Adjusted Eye Protection Mode: This mode minimizes blue light and reduces eye strain, ideal for long reading or work sessions. It automatically adjusts based on ambient light. Enable it under Settings > Display > AW Reading Mode.
- Black-White Mode: For a monochrome display, activate this feature under Settings > Display > Black-White Mode.
4.4 Multitasking with Split Screen
The PlimPad P2 supports split-screen functionality, allowing you to run two applications simultaneously:
- Open the first app you wish to use.
- Swipe up from the bottom of the screen to access recent apps.
- Tap and hold the icon of the first app, then select 'Split screen'.
- Choose the second app from your recent apps or app drawer to fill the other half of the screen.
4.5 Connectivity (Wi-Fi 6 & Bluetooth 5.4)
Connect to networks and devices:
- Wi-Fi: Access Settings > Network & Internet > Wi-Fi to connect to available networks. Wi-Fi 6 ensures super-fast and stable internet connections.
- Bluetooth: Go to Settings > Connected devices > Bluetooth to pair with Bluetooth 5.4 compatible devices like headphones or speakers.
4.6 Camera Usage
The tablet features dual cameras (front and rear) for photos and video calls:
- Open the Camera app from the home screen or app drawer.
- Switch between front and rear cameras using the icon on the screen.
- Tap the shutter button to take photos or start/stop video recording.
4.7 Storage Management
The PlimPad P2 utilizes UFS 3.1 storage for faster app loading and file transfers. You can manage your storage via Settings > Storage.
4.8 Parental Controls & Digital Wellbeing
Manage usage and set limits for a balanced digital life:
- Access Settings > Digital Wellbeing & parental controls.
- Set up Focus mode to pause distracting apps.
- Configure App limits for individual applications.
- Use the Heads Up feature to receive reminders to look up from your tablet while walking.
5. Maintenance
5.1 Cleaning the Tablet
- Use a soft, lint-free cloth to clean the screen and body.
- Avoid using harsh chemicals or abrasive materials.
5.2 Software Updates
Ensure your tablet is running the latest software for optimal performance and security. Check for updates via Settings > System > System update.
5.3 Battery Care
- Avoid extreme temperatures.
- Do not fully discharge the battery frequently.
- Use only the provided charger.
5.4 Physical Care
The PlimPad P2 features a durable aluminum alloy body and reinforced internal structure for enhanced longevity and heat dissipation. While designed to be robust, avoid dropping the device or exposing it to excessive force.
6. Troubleshooting
6.1 Common Issues & Solutions
- Device not turning on: Ensure the battery is charged. Connect to the charger and wait a few minutes before attempting to power on again.
- Wi-Fi connectivity issues: Check if Wi-Fi is enabled in settings. Restart your router and the tablet. Forget the network and reconnect.
- Apps crashing or freezing: Close and reopen the app. Clear the app's cache (Settings > Apps > [App Name] > Storage > Clear cache). Ensure the app is updated.
- Slow performance: Close unnecessary background apps. Clear cache and temporary files. Consider expanding storage with a MicroSD card if internal storage is full.
6.2 Factory Reset
If you encounter persistent issues, a factory reset may resolve them. Warning: This will erase all data on your tablet. Back up important data before proceeding.
- Go to Settings > System > Reset options.
- Select Erase all data (factory reset).
- Confirm your choice and follow the on-screen instructions.
7. Specifications
| Feature | Detail |
|---|---|
| Brand | plimpton |
| Model Name | P2 |
| Operating System | Android 15 |
| Screen Size | 10.1 Inches |
| Display Resolution | 1280x800 pixels |
| RAM Memory Installed | 8 GB (expandable to 24GB) |
| Memory Storage Capacity | 128 GB (expandable to 1TB) |
| Processor Description | 8-Core ARM |
| Battery Capacity | 7500 Milliamp Hours |
| Battery Average Life | 10 Hours |
| Wireless Technology | Wi-Fi 6 (802.11ax), Bluetooth 5.4 |
| Camera Description | Front, Rear |
| Item Weight | 800 Grams |
| Color | Purple |
8. Warranty & Support
plimpton officially provides lifetime technical support and a 1-year free replacement warranty for non-human factor damage. For any questions or assistance, please feel free to contact us through the official plimpton website or your retailer's support channels.
Ask a question about this manual
Ask about setup, troubleshooting, compatibility, parts, safety, or missing instructions. Manuals+ will review the question and use this page’s manual context to help answer it.