
1. Introduction
This manual provides essential information for the installation, operation, and maintenance of your Generic Replacement Parts Kit. This kit is designed to maintain the cleaning efficiency and filtration performance of your compatible robotic vacuum cleaner. Please read these instructions carefully before replacing any parts.
2. Product Overview
The Replacement Parts Kit includes essential components for your robotic vacuum's regular maintenance. The specific contents depend on the kit variant purchased (e.g., Kit A or Kit B).
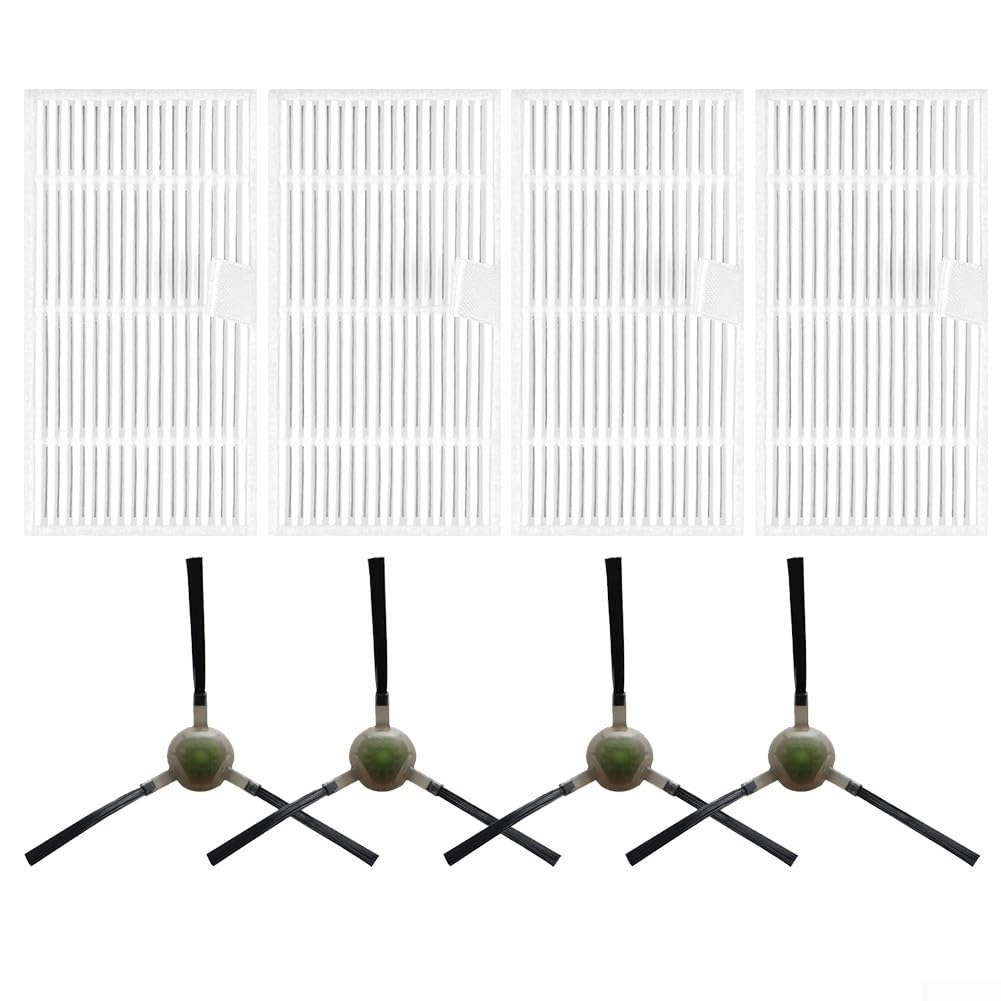
Image 2.1: Overview of the Replacement Parts Kit, typically including filters and side brushes.
Kit Components:
- Filters: Designed to capture dust, dirt, and allergens, ensuring cleaner air output.
- Side Brushes: Engineered to sweep debris from corners and edges into the vacuum's main cleaning path.

Image 2.2: Detailed view of a replacement filter, showing its pleated structure for effective filtration.

Image 2.3: A side brush with key dimensions (51mm, 17mm, 27mm, 6mm) for compatibility verification.

Image 2.4: Visual comparison of Kit A (4 filters, 4 side brushes) and Kit B (8 filters, 10 side brushes).
3. Compatibility
This replacement parts kit is compatible with the following robotic vacuum cleaner models:
- MAMNV T7S
- JIKA T7S
- Teendow T7S
- Teendow T12S
Important: Always verify the shape of your existing side brush attachment point (square or round) to ensure proper fitment. Refer to Image 3.1 for visual guidance.

Image 3.1: Close-up showing the two common types of side brush attachment points: square and round. Ensure your vacuum's brush attachment matches the replacement.
4. Installation
Replacing the filters and side brushes is a straightforward process that does not require special tools. Follow these steps:
4.1. Replacing Side Brushes
- Turn off your robotic vacuum and place it upside down on a clean, flat surface.
- Locate the existing side brushes. Depending on your model, they may be held in place by a screw or simply snap on.
- If secured by a screw, use a small screwdriver to remove it. Gently pull the old brush upwards to detach it.
- Align the new side brush with the attachment point on the vacuum. Ensure the correct brush type (square or round hole) is used.
- Press the new brush firmly into place or secure it with the screw, if applicable.

Image 4.1: Two replacement side brushes, ready for installation.
4.2. Replacing Filters
- Turn off your robotic vacuum.
- Open the dustbin compartment. This usually involves pressing a release button or latch.
- Remove the dustbin from the vacuum.
- Locate the filter housing within the dustbin. Carefully remove the old filter by pulling on its tab or lifting it out.
- Insert the new filter into the filter housing, ensuring it sits snugly and completely covers the opening.
- Close the filter housing (if applicable) and reinsert the dustbin into the vacuum until it clicks into place.
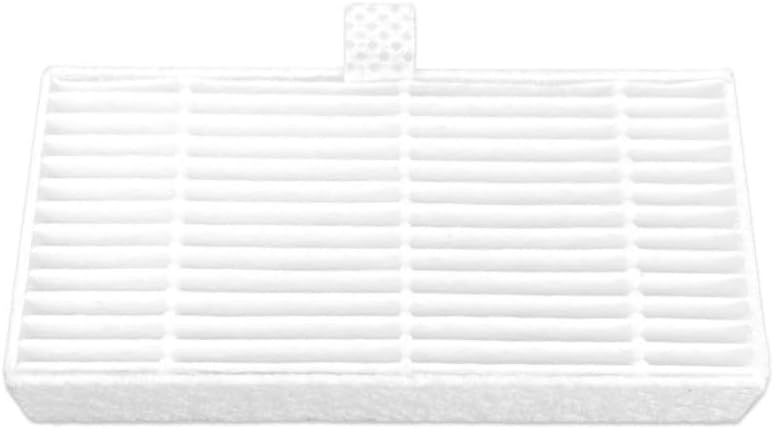
Image 4.2: Top view of a replacement filter, showing the pull tab for easy removal and installation.

Image 4.3: Side profile of a replacement filter, illustrating its thickness and pleated design.
5. Operation
Once the replacement parts are installed, your robotic vacuum will operate as usual, benefiting from renewed cleaning performance.
- Filters: The new filters will effectively trap fine dust particles, pet dander, and other allergens, contributing to a cleaner home environment.
- Side Brushes: The fresh side brushes will efficiently sweep debris from edges and corners, ensuring comprehensive coverage during cleaning cycles.
6. Maintenance
Regular maintenance of your replacement parts is crucial for optimal performance and longevity of your robotic vacuum.
- Filters: It is recommended to clean the filters regularly (e.g., weekly) by gently tapping them to remove loose debris. Replace filters every 1-3 months, or more frequently if you have pets or experience heavy usage.
- Side Brushes: Inspect side brushes weekly for tangled hair or debris. Clean them as needed. Replace side brushes every 3-6 months, or if they become visibly worn, bent, or damaged.
7. Troubleshooting
If you encounter issues after replacing parts, consider the following:
- Brush not spinning: Ensure the side brush is correctly installed and securely attached. Check for any hair or debris tangled around the brush motor or shaft.
- Reduced suction: Verify that the filter is correctly seated in the dustbin and that the dustbin is properly installed in the vacuum. A clogged filter can also reduce suction; ensure it is clean or replaced.
- Parts do not fit: Double-check the compatibility section (Section 3) and ensure you have selected the correct replacement parts for your specific vacuum model and brush attachment type.
8. Specifications
| Product Name | Side Brushes & Filters Kit |
| Material | Plastic, Nylon, Filter Paper |
| Compatible Models | MAMNV T7S, JIKA T7S, Teendow T7S, Teendow T12S |
| Kit A Content | 4 Filters, 4 Side Brushes |
| Kit B Content | 8 Filters, 10 Side Brushes |
| Manufacturer | Generic |
9. Warranty and Support
Information regarding specific warranty terms for this Generic Replacement Parts Kit is not provided in the product details. For any support inquiries or issues, please refer to the retailer or the original manufacturer of your robotic vacuum cleaner.