
LiTHELi E1-GTBC-VC-02
Litheli 20V Cordless String Trimmer and Edger User Manual
Model: E1-GTBC-VC-02
1. Introduction
Thank you for choosing the Litheli 20V Cordless String Trimmer and Edger. This manual provides important information for the safe operation, assembly, maintenance, and troubleshooting of your tool. Please read this manual thoroughly before operating the product and keep it for future reference.
Important Safety Instructions
- Always wear appropriate personal protective equipment (PPE), including eye protection, long pants, and sturdy footwear, when operating the trimmer.
- Ensure the battery is removed before performing any assembly, adjustments, or maintenance.
- Keep children, bystanders, and pets at a safe distance (at least 50 feet/15 meters) from the operating area.
- Inspect the work area for debris, rocks, or other objects that could be thrown by the cutting line.
- Do not operate the trimmer in wet conditions or rain.
- Use only Litheli approved replacement parts and accessories.
2. Product Overview
The Litheli 20V Cordless String Trimmer and Edger is designed for efficient trimming of grass and light weeds, and for precise edging along sidewalks and driveways. It features a lightweight design, adjustable pole, and a versatile cutting head.

Figure 2.1: Overview of the Litheli 20V Cordless String Trimmer and Edger, including the main unit, 2.0Ah battery, and charger.
3. Package Contents
Carefully unpack all items and ensure you have received the following:
- Litheli 20V Cordless String Trimmer/Edger Unit
- 2.0Ah Lithium-ion Battery
- Battery Charger
- Safety Guard
- Auxiliary Handle
- User Manual
If any items are missing or damaged, please contact Litheli customer support.
4. Assembly Instructions
Before assembly, ensure the battery is removed from the tool.
- Attach the Safety Guard: Align the safety guard with the mounting slots on the trimmer head. Secure it firmly with the provided screws or clips. Ensure it is properly seated to prevent debris from being thrown towards the operator.
- Install the Auxiliary Handle: Slide the auxiliary handle onto the main shaft. Adjust its position for comfortable operation and tighten the locking mechanism.
- Adjust the Telescopic Pole: Loosen the collar on the telescopic pole and extend or retract the shaft to your desired length (between 36" and 47"). Tighten the collar securely to lock the pole in place.
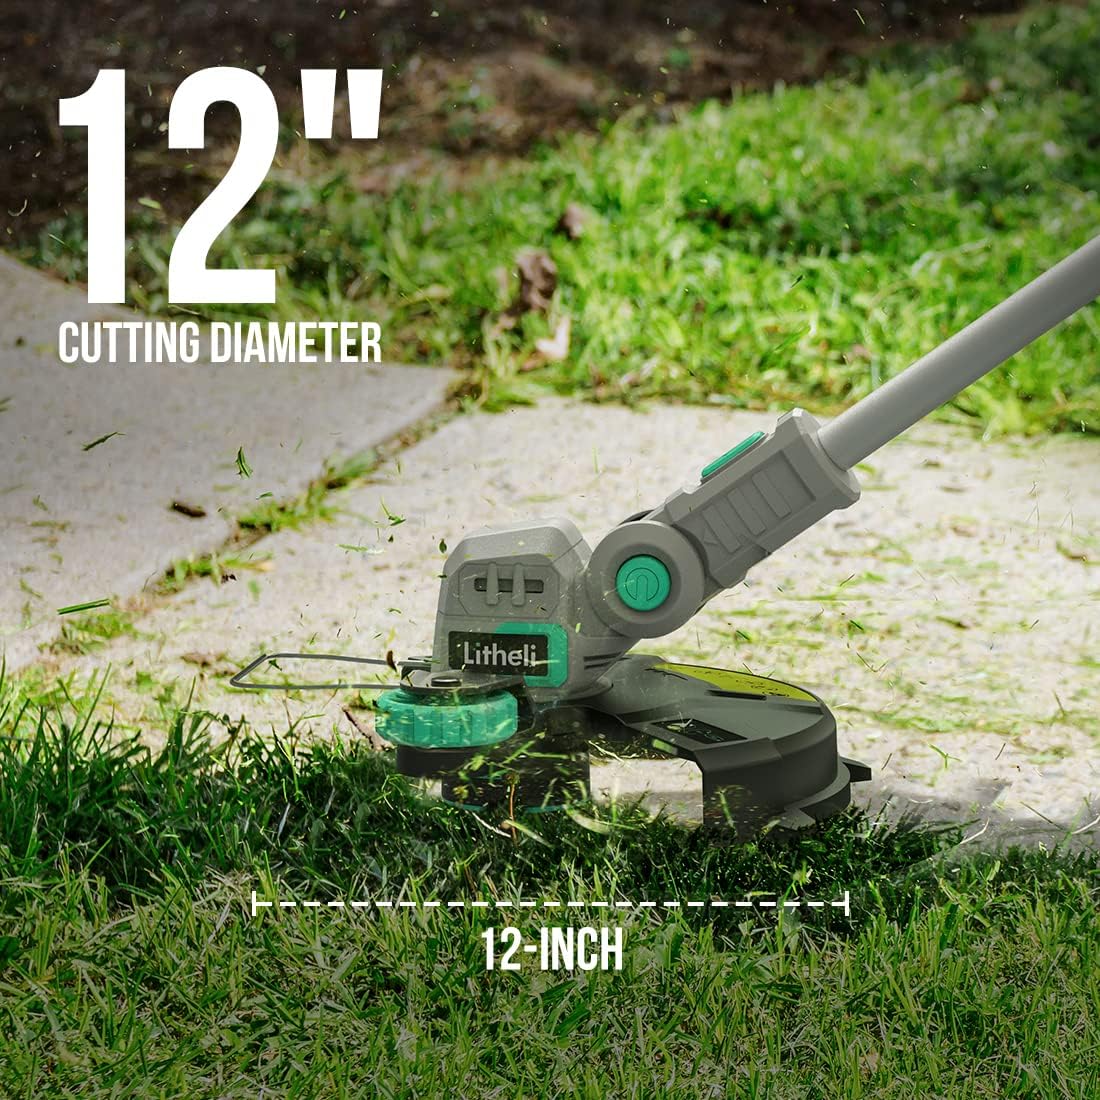
Figure 4.1: Front view of the trimmer head, showing the safety guard and cutting line area.

Figure 4.2: Close-up of the auxiliary handle and battery compartment, illustrating where the battery is inserted.
5. Initial Setup and Battery Charging
5.1 Battery Charging
The Litheli 20V 2.0Ah Lithium-ion battery is partially charged from the factory. For optimal performance, fully charge the battery before first use.
- Connect the charger to a standard household power outlet.
- Slide the battery pack into the charger until it clicks into place.
- The charger indicator light will show the charging status (e.g., red for charging, green for fully charged). Refer to the charger's specific instructions for detailed light indications.
- Once fully charged, disconnect the battery from the charger and unplug the charger from the outlet.
Note: Do not store the battery in the charger or leave it connected to the charger for extended periods after it is fully charged.
5.2 Installing the Battery
Once charged, slide the battery pack into the battery slot on the trimmer handle until it locks securely into place. Ensure it is fully seated before operation.
6. Operating Instructions
6.1 Starting and Stopping
- To start the trimmer, press the safety lock button and then squeeze the trigger switch.
- To stop the trimmer, release the trigger switch. The safety lock will automatically reset.
6.2 Trimming Operation
Hold the trimmer firmly with both hands. Maintain a comfortable stance and swing the trimmer from side to side, keeping the cutting head parallel to the ground. The 12-inch cutting diameter allows for efficient coverage. The auto line feed system will automatically advance the cutting line as needed.

Figure 6.1: Detailed view of the trimmer head, highlighting the cutting line and protective guard for effective trimming.
6.3 Edging Operation
To convert the trimmer to an edger:
- Ensure the tool is off and the battery is removed.
- Rotate the trimmer head 90 degrees to align the cutting line vertically for edging. The 4-angle adjustable head allows for precise positioning.
- Reinsert the battery.
- Use the integrated edging wheel to guide the trimmer along sidewalks, driveways, or flower beds for clean, crisp edges.

Figure 6.2: The Litheli trimmer configured for edging, demonstrating its ability to rotate the head for vertical cutting.
6.4 Adjusting the Pole Length and Head Angle
- Pole Length: Loosen the locking collar on the main shaft, adjust the pole to your desired length (36"-47"), and then tighten the collar firmly.
- Head Angle: The trimmer head can be adjusted to 4 different angles. Press the angle adjustment button/lever and pivot the head to the desired position for trimming in tight spaces or on slopes. Release the button to lock the angle.
7. Maintenance
Regular maintenance ensures the longevity and optimal performance of your Litheli trimmer. Always remove the battery before performing any maintenance.
7.1 Cleaning
- After each use, clean the trimmer housing and guard with a damp cloth. Do not use harsh chemicals or abrasive cleaners.
- Remove any grass clippings, dirt, or debris from the cutting head and ventilation slots to prevent overheating.
7.2 Replacing the Cutting Line
The trimmer uses a 0.065" diameter cutting line. When the line becomes too short or breaks, it needs to be replaced.
- Ensure the battery is removed.
- Refer to the cutting head's specific instructions for line replacement. Typically, you will press tabs on the spool cap and remove the spool.
- Wind new 0.065" diameter line onto the spool according to the directional arrows.
- Thread the line through the eyelets and reassemble the spool and cap.
7.3 Storage
Store the trimmer in a dry, secure location, out of reach of children. Remove the battery from the tool before storing for extended periods. Store the battery in a cool, dry place away from direct sunlight and extreme temperatures.
8. Troubleshooting
| Problem | Possible Cause | Solution |
|---|---|---|
| Trimmer does not start | Battery not charged Battery not properly installed Safety lock not engaged before trigger | Charge battery Ensure battery is fully seated Press safety lock button first, then trigger |
| Cutting line does not advance | Line tangled or jammed Spool empty Incorrect line diameter | Remove battery, clear debris from head Replace spool with new line Use only 0.065" diameter line |
| Reduced cutting performance | Line too short or worn Excessive debris in head Battery low | Advance or replace line Clean trimmer head Recharge battery |
| Motor runs, but line does not spin | Spool not properly installed Drive shaft issue | Reinstall spool correctly Contact customer support |
9. Specifications
| Feature | Detail |
|---|---|
| Model Number | E1-GTBC-VC-02 |
| Power Source | Battery Powered (20V Lithium-ion) |
| Battery Capacity | 2.0Ah |
| Cutting Width | 12 inches |
| Line Diameter | 0.065 inches |
| No-Load Speed | Up to 6550 RPM |
| Adjustable Pole Length | 36" - 47" |
| Product Weight | 4.5 lbs (tool only) |
| Product Dimensions | 35"L x 10"W (compacted) |
| UPC | 810200211683 |
10. Warranty and Customer Support
10.1 Warranty Information
Litheli provides a comprehensive warranty for this product:
- Tool Warranty: 5-year limited warranty.
- Battery Warranty: 3-year limited warranty.
This warranty covers defects in materials and workmanship under normal use. It does not cover damage resulting from misuse, abuse, neglect, unauthorized repairs, or normal wear and tear. Please retain your proof of purchase for warranty claims.
10.2 Customer Support
For technical assistance, warranty claims, or to order replacement parts, please contact Litheli customer support. Visit the official Litheli website or refer to the contact information provided with your product packaging.
Online Resources: For additional tips, FAQs, and product registration, visit the Litheli Store on Amazon.
Related Documents - E1-GTBC-VC-02
 |
Litheli 20V Cordless String Trimmer E1-GTBC Operator's Manual Operator's manual for the Litheli 20V Cordless String Trimmer E1-GTBC, covering safety instructions, tool operation, maintenance, troubleshooting, and warranty information. |
 |
Litheli 20V Battery Pack Operator's Manual (E1-20BYSJ / E1-20BY2SJ) Operator's manual for Litheli 20V 2.0Ah and 4.0Ah battery packs. Includes safety instructions, operation, maintenance, troubleshooting, and warranty information. |
 |
Litheli 20V Cordless 13" Lawn Mower Operator's Manual Operator's manual for the Litheli 20V Cordless 13" Lawn Mower, including safety instructions, assembly, operation, maintenance, troubleshooting, and warranty information. |
 |
Litheli 20V Cordless 13" Lawn Mower Operator's Manual (E1-L33LM/E1-L33LMBC) Comprehensive operator's manual for the Litheli 20V Cordless 13" Lawn Mower (Models E1-L33LM, E1-L33LMBC). Covers safety instructions, assembly, operation, maintenance, troubleshooting, and warranty information for optimal and safe use. |
 |
Litheli 20V Cordless Multi-Function Inflator Operator's Manual Comprehensive operator's manual for the Litheli 20V Cordless Multi-Function Inflator. Includes safety warnings, operating instructions, maintenance guidelines, troubleshooting tips, and warranty information. |
 |
Litheli 40V Battery Powered Grass Trimmer 2 in 1 Operator's Manual Official operator's manual for the Litheli 40V Battery Powered Grass Trimmer 2 in 1 (Model U1GT21112). Includes safety instructions, setup, operation, maintenance, and troubleshooting guides. |
Ask a question about this manual
Ask about setup, troubleshooting, compatibility, parts, safety, or missing instructions. Manuals+ will review the question and use this page’s manual context to help answer it.