
LINKHOO YSY-876616Storage Shed
LINKHOO 10 x 8 FT Outdoor Storage Shed Instruction Manual
Model: YSY-87616Storage Shed
Brand: LINKHOO
1. Safety Instructions
Please read and understand all instructions before beginning assembly. Failure to follow all instructions may result in product damage, personal injury, or property damage. Keep this manual for future reference.
- Wear appropriate personal protective equipment (PPE) including gloves and eye protection during assembly.
- Ensure the assembly area is clear of obstructions and is level.
- Two or more adults are recommended for assembly.
- Do not assemble in high winds or adverse weather conditions.
- Secure the shed to a solid, level foundation to prevent tipping.
- Keep children and pets away from the assembly area.
- Be cautious of sharp edges on metal components.
2. Package Contents
Before starting assembly, unpack all boxes and verify that all parts are present and undamaged. Refer to the parts list in your printed manual for detailed component identification. It is recommended to lay out all parts on a clean, flat surface.

Image: Overview of all shed components laid out before assembly. This helps in verifying all parts are present.
3. Setup and Assembly Instructions
Follow these step-by-step instructions carefully. Ensure all connections are secure before proceeding to the next step. An electric screwdriver is recommended for faster assembly.
3.1. Base Frame Assembly
Assemble the base frame components (BS1, BS1L, BS2, BS2L, 1, 2) using F1 screws. Ensure all corners are aligned and securely fastened. The BS1L and BS1 sections form the front side of the shed.
Video: Detailed steps for assembling the base frame of the shed. This includes connecting the various base frame components and securing them with screws.
3.2. Wall Panel Installation
Attach the WS2A wall panels to the assembled base frame using F1 screws and V2 washers. Pay attention to the orientation of the long and short sides of the panels. Connect W1A panels to the WS2A panels, ensuring holes align.
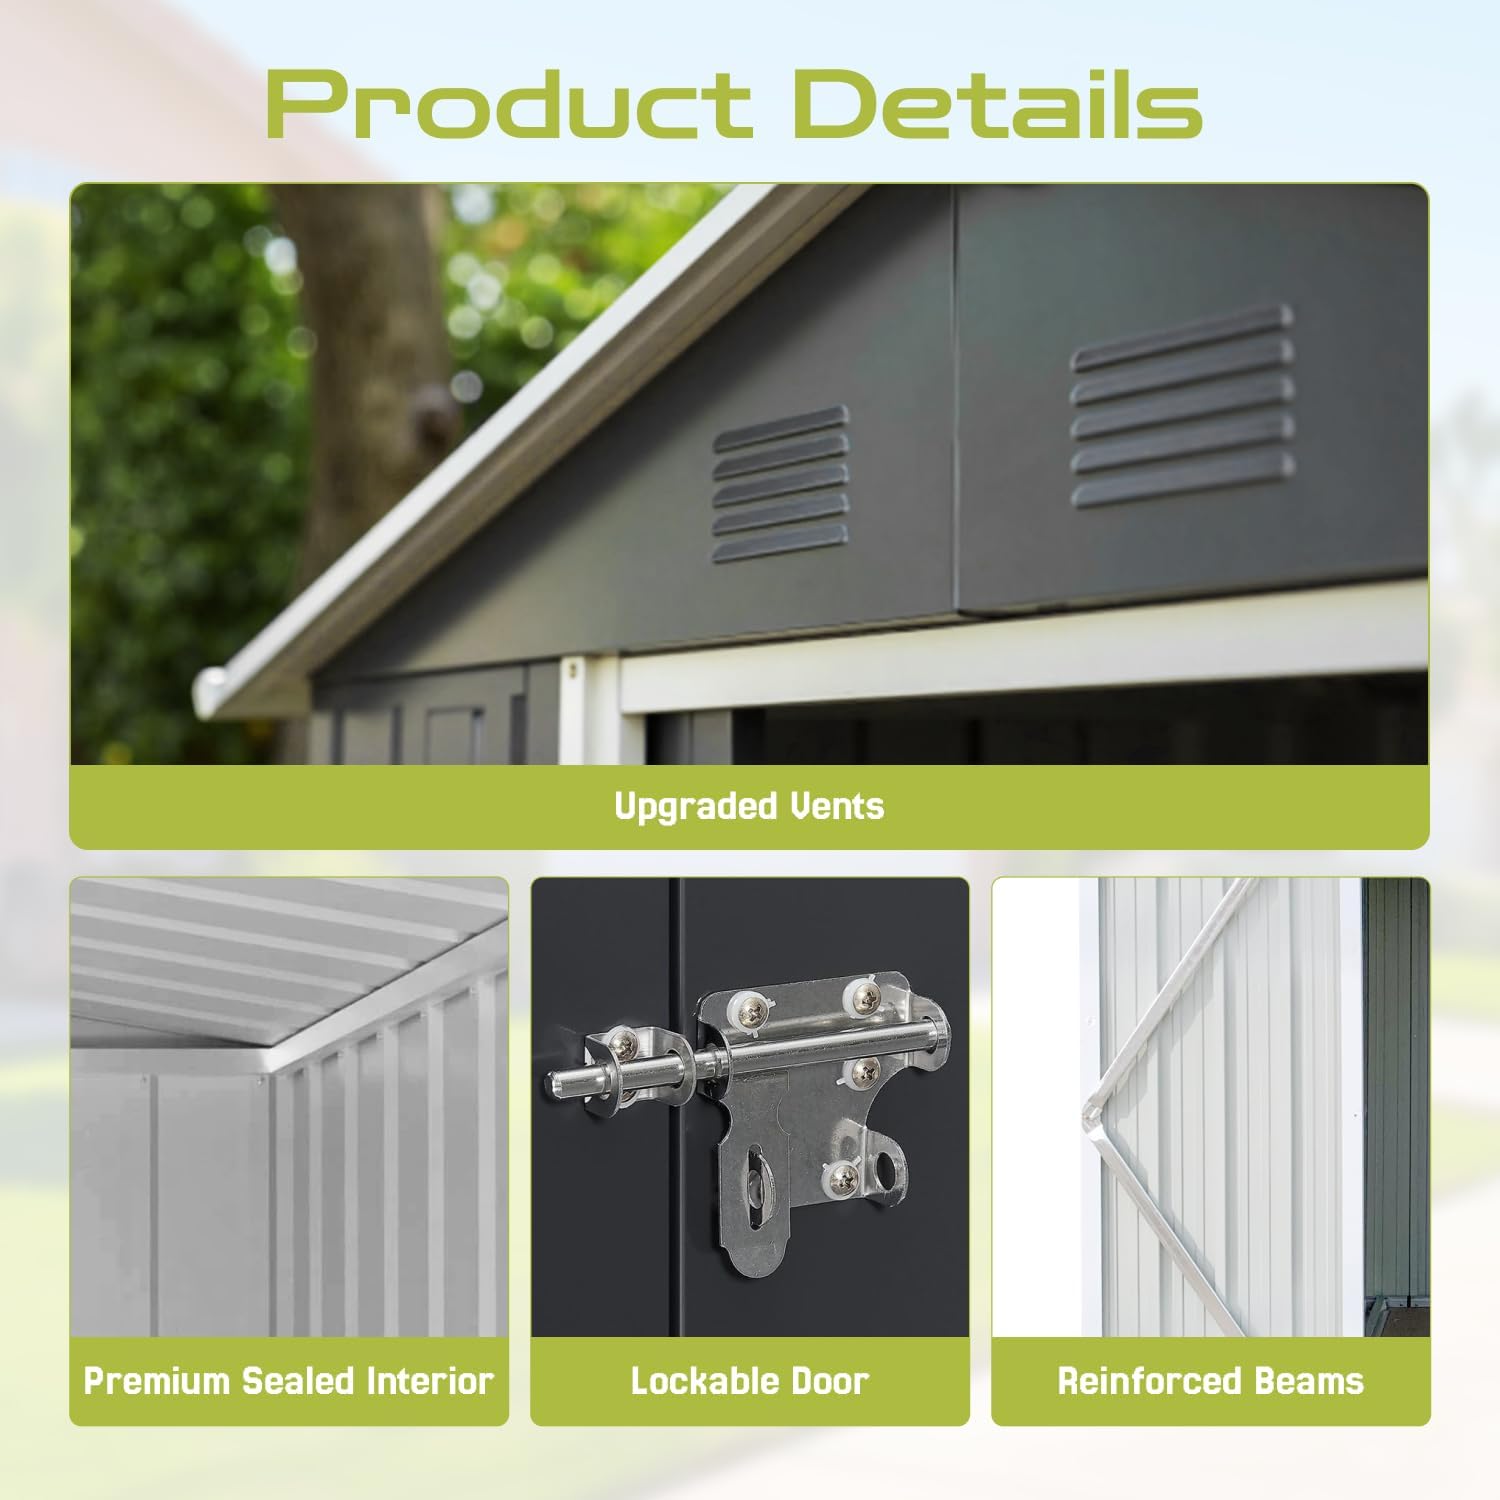
Image: Illustration of the shed's wall panels being installed onto the base frame, showing the corrugated metal design.
3.3. Top Support Bar Assembly
Assemble the top support bars (9, GR, C2, 10L, 10R, GS, 7, 8) according to the video. Ensure the attachment screw holes face the interior of the shed. Group the rear support bar and side bar sets, inserting square tubes and fixing with F1 screws and V2 spacers.
Video: Demonstrates the assembly of the top support bars, including connecting various components and ensuring correct orientation for stability.
3.4. Side Panel and Door Frame Installation
Fasten W1A boards with the corner wall board. Drive wall plates from bottom to top using F1 screws and V2 spacers. Snap UL1 and UR1 into BS1L and BS1 respectively, ensuring holes align. Secure with F1 screws and V2 spacers.
3.5. Front and Back Triangular Parts Installation
Place B1 on 21R and 21L, aligning screw holes and fixing with F2 screws and V2 gaskets. Place B2 and B3 on 21R and 21L, ensuring inward orientation. Snap GF onto 21R and 21L, facing downward. Fix with F2 screws. Attach 21L and 21R to front and back bars, tightening middle screws first to prevent falling.

Image: Illustration of the shed's triangular front and back panels, showing the vents and structural supports.
3.6. Roof Beam Installation
Insert part 14 onto part 13 at a slight angle, aligning the large hole on part 13 with the small hole on part 14. Secure with F2 screws. Insert the main beam into the top triangle plate, ensuring screw holes face upwards. Fix with F2 screws. Ensure correct orientation of auxiliary beams with screw holes facing upwards. Secure with F2 screws.
3.7. Roof Wall Panel Installation
Align holes on P1 wall panel with corresponding holes on top and side beams. Secure with F1 screws and V2 washers. Install plates on top of the housing in order (P1, P3, P3A, P3, P3, P2). Do not switch the order. Gently push the wall panel to align holes if needed. Install remaining top panels in order. Gently lift eaves to expose holes and fix top panels with F1 screws and V2 spacers.
3.8. Roof Protective Strips Installation
Install front protection strips (15, 16). Gently lift eaves to expose holes at the top of the wall plate. Align holes in both the protective strip and the top of the wall plate. Drive F1 screws and V2 spacers. Align GE with protection strip 15/16 and drive F1 screws and V2 spacers. Install side protection strip 17. Align GC with side protection strips and drive F5 screws.
3.9. Door Assembly
Place DLA and DLB door panels on the floor. Align holes and use F2 screws to group them. Insert accessory 20 at the top and bottom of the assembled door panel. Insert two DX2 reinforcement bars on the inner side of the door panel. Align holes and drive F1 screws. Secure accessory DH to the door panel and orient hinges to ensure correct door opening, driving F3 screws. Align accessory DC with holes on top and bottom sides and drive F1 screws. Align accessory DG with holes on the outside of the right door panel and use F4 screws.
Video: Shows the assembly process for the shed doors, including attaching hinges and latches. This video is from a seller and is relevant to the product.
4. Operating Instructions
To open the shed doors, unlatch the top and bottom bolts on the left door, then unlatch the main lock on the right door. Pull the doors outwards. To close, reverse the process, ensuring all latches are securely fastened.
The shed is equipped with two air vents located on the front gable to ensure proper air circulation and reduce condensation inside. Ensure these vents are not obstructed.
5. Maintenance
- Regularly inspect all screws and bolts for tightness. Tighten as needed.
- Clean the shed exterior periodically with mild soap and water. Avoid abrasive cleaners.
- Clear snow and debris from the roof to prevent excessive weight accumulation.
- Check for any signs of rust or damage and address them promptly to prolong the shed's lifespan.
- Ensure the foundation remains level and stable.
6. Troubleshooting
- Doors not closing smoothly: Check for obstructions in the door tracks or ensure the shed is on a level surface. Adjust the shed's position if necessary.
- Water leakage: Ensure all screws are tightened and consider applying a silicone sealant around screw holes and panel seams for enhanced waterproofing.
- Shed instability: Verify that the shed is securely anchored to its foundation. Ensure the foundation is level.
7. Specifications
| Brand | LINKHOO |
| Model Number | YSY-87616Storage Shed |
| Product Dimensions | 100"D x 120"W x 75.2"H |
| Material | Metal |
| Color | White |
| Item Weight | 66.2 pounds |
| Water Resistance Level | Waterproof |
| Assembly Required | Yes |
8. Warranty & Support
For warranty information or customer support, please refer to the contact details provided in your product packaging or visit the LINKHOO official store on Amazon. LINKHOO offers a 10+ year lifespan for their sheds.

Image: LINKHOO brand information highlighting fast delivery and 24/7 support.
Ask a question about this manual
Ask about setup, troubleshooting, compatibility, parts, safety, or missing instructions. Manuals+ will review the question and use this page’s manual context to help answer it.