
Introduction
Thank you for choosing the EliteEdge Two Piece Toilet. This manual provides essential information for the safe and efficient installation, operation, and maintenance of your new toilet. Please read these instructions thoroughly before beginning installation or use, and retain them for future reference.
This toilet features an ADA compliant height, an elongated ceramic bowl for comfort, a water-efficient 1.28 gallons per flush (GPF) system, and a convenient side push handle. Its modern design and durable construction ensure long-lasting performance.
Safety Information
- Always wear appropriate personal protective equipment (PPE) such as safety glasses and gloves during installation.
- Ensure the water supply is turned off before beginning any installation or maintenance.
- Handle ceramic components with care to prevent chipping or breakage.
- Do not overtighten bolts or connections, as this may cause damage.
- If you are unsure about any part of the installation process, consult a qualified plumber.
- Keep small parts away from children to prevent choking hazards.
Package Contents
Verify that all components are present and undamaged before proceeding with installation. The package should include:
- Toilet Tank
- Toilet Bowl (Elongated)
- Toilet Seat (Soft-close, Quick-release)
- Tank Fittings (pre-installed or separate)
- Mounting Hardware (bolts, washers, nuts)
- Wax Ring with Flange

Specifications
| Feature | Detail |
|---|---|
| Model Number | VeZ |
| Brand | EliteEdge |
| Type | Two-Piece Toilet |
| Bowl Type | Elongated Ceramic |
| Flush Type | Side Push Handle, Siphonic Action |
| Water Consumption | 1.28 GPF (4.8 LPF) |
| Seat Height (ADA Compliant) | 17 inches (from floor to top of seat) |
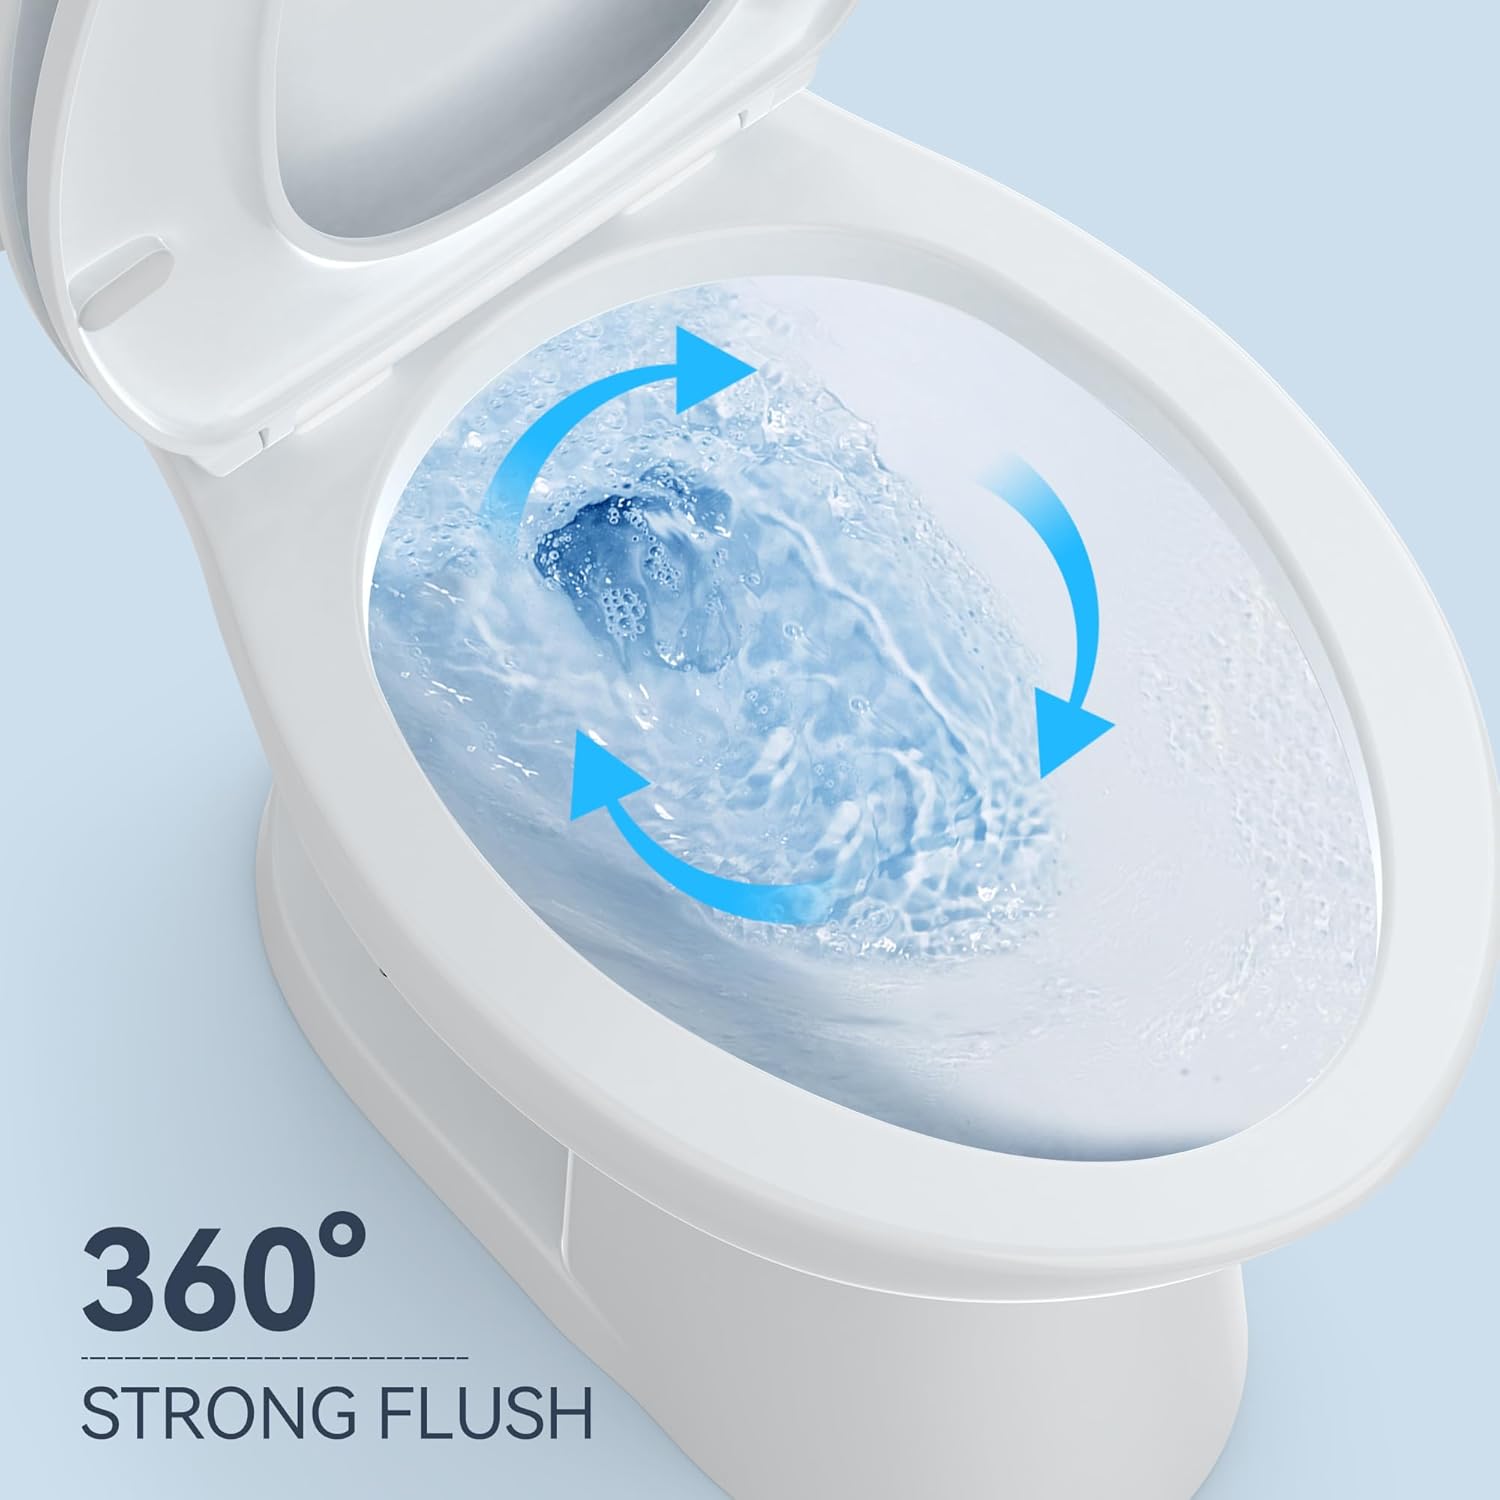
| Rough-in | 12 inches |
| Product Dimensions (D x W x H) | 27.76" x 18.9" x 30.12" |
| Item Weight | 89.8 Pounds |
| Material | Ceramic (Bowl), Polypropylene (PP) (Seat) |
| Certifications | cUPC Certified |


Setup and Installation
1. Prepare the Installation Area
- Turn off the water supply to the toilet area.
- Remove the old toilet if applicable, and clean the flange area thoroughly.
- Ensure your rough-in measurement is 12 inches from the wall to the center of the drain pipe.

2. Install the Bowl
- Place the wax ring onto the closet flange or the bottom of the toilet bowl.
- Carefully lower the toilet bowl onto the closet bolts, ensuring the bolts pass through the holes in the bowl base.
- Press down firmly and evenly to compress the wax ring.
- Install washers and nuts onto the closet bolts and hand-tighten. Do not overtighten.
3. Install the Tank
- Place the tank gasket over the tank outlet on the bottom of the tank.
- Align the tank with the bolt holes on the back of the toilet bowl.
- Insert the tank bolts through the tank and bowl holes.
- Secure with washers and nuts from underneath the bowl. Tighten evenly until the tank is snug and stable, but do not overtighten.
4. Connect Water Supply
- Connect the flexible water supply line from the shut-off valve to the fill valve on the bottom of the toilet tank.
- Hand-tighten the connection, then use a wrench for a quarter-turn more to ensure a leak-free seal.
- Slowly turn on the water supply and check for leaks.
5. Install the Toilet Seat
- Align the seat hinges with the holes on the toilet bowl.
- Insert the bolts and tighten them to secure the seat. The soft-close and quick-release features are integrated into the seat design.
Operating Instructions
Flushing
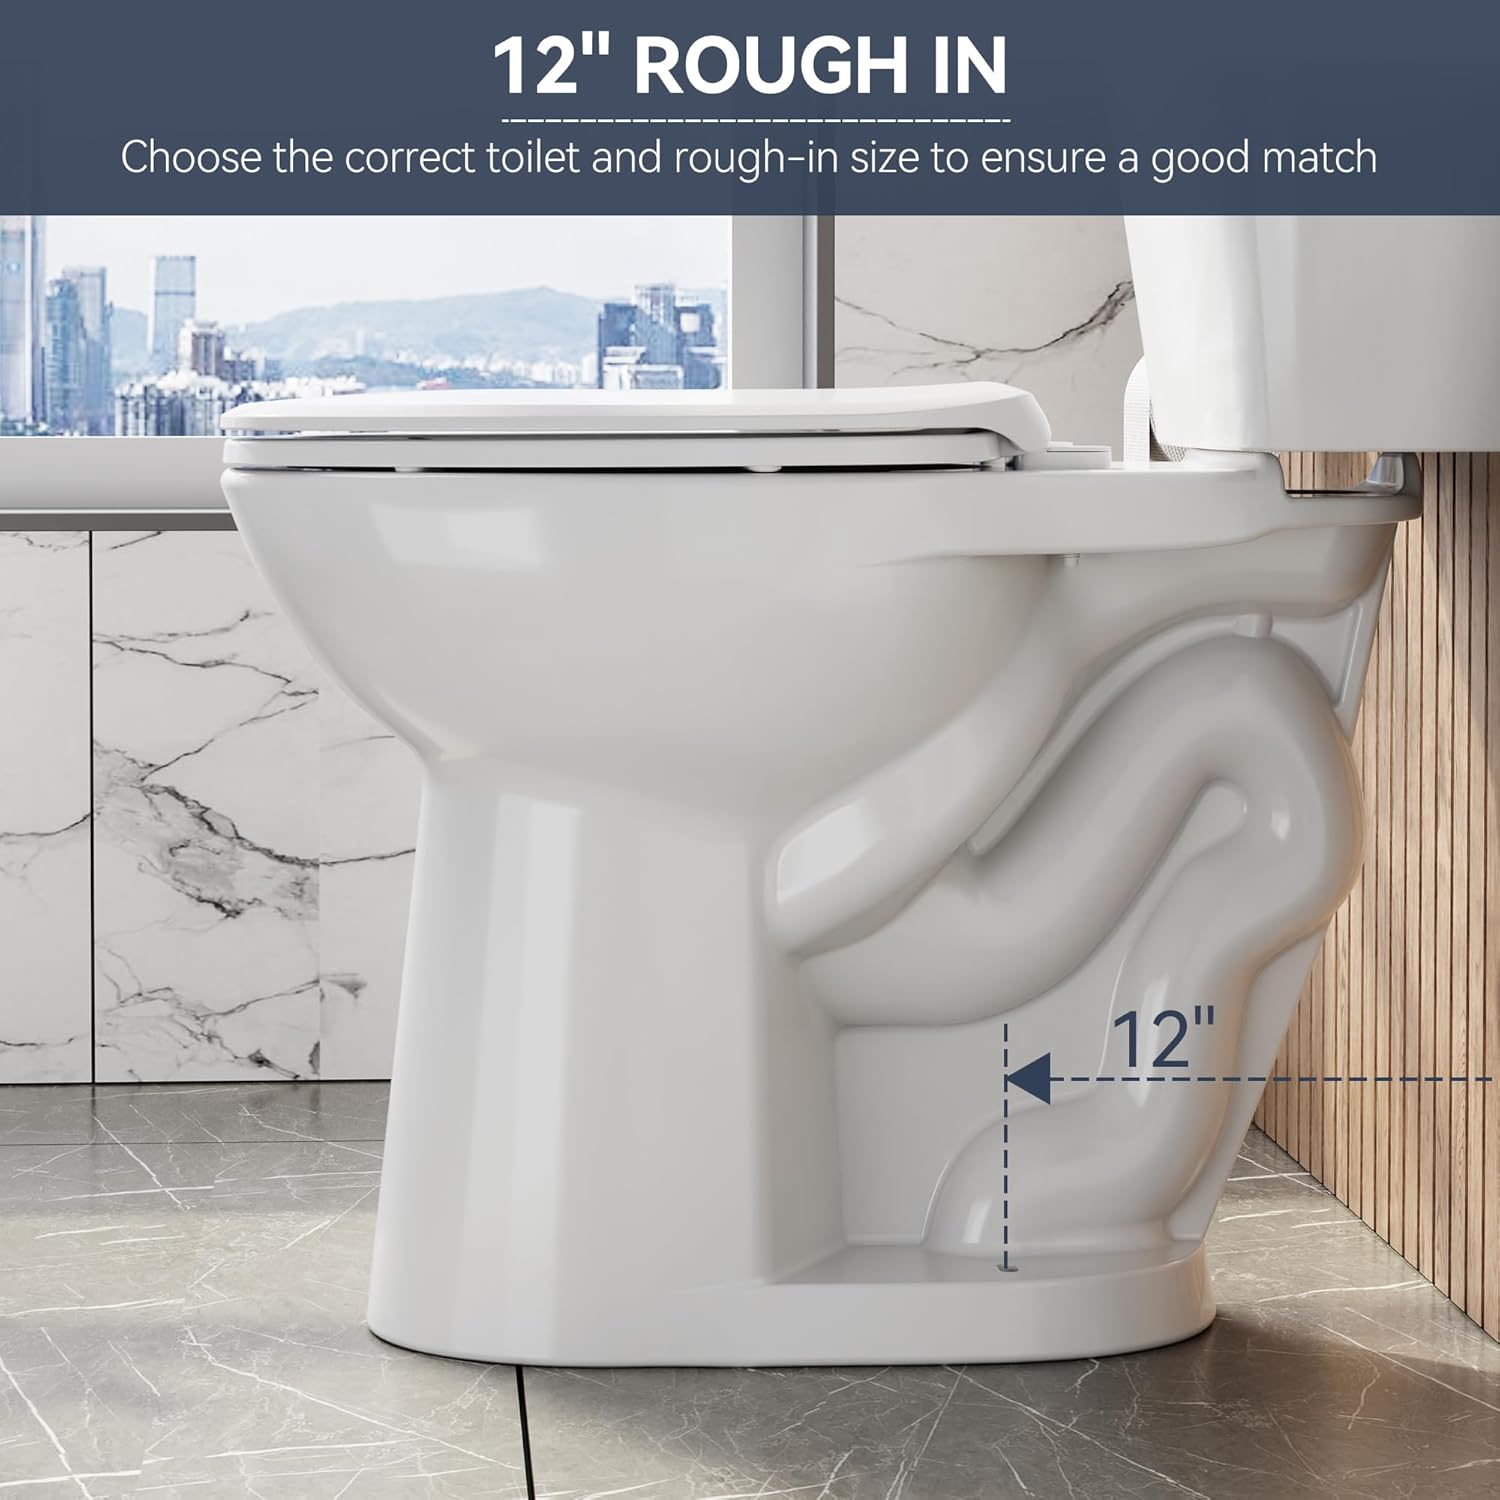
To flush the toilet, press down firmly on the side-mounted flush handle. The toilet utilizes a powerful 1.28 GPF siphonic action flush system designed for efficient waste removal with minimal water usage.


Soft-Close Seat
The toilet seat is equipped with a soft-close mechanism. Gently push the seat or lid down, and it will close slowly and quietly on its own, preventing slamming and extending product life.


Maintenance
Cleaning the Toilet
- Use a mild, non-abrasive toilet cleaner and a soft brush or cloth.
- Avoid harsh chemicals, abrasive pads, or strong acids, as these can damage the ceramic glaze and seat finish.
- For the exterior, wipe with a damp cloth and mild soap, then dry thoroughly.
Quick-Release Seat for Easy Cleaning
The toilet seat features a quick-release mechanism for easy removal, allowing for thorough cleaning of the bowl and seat area. To remove, locate the quick-release buttons or levers near the hinges and follow the specific instructions provided with your seat (usually a simple press or lift action).

Internal Components
- Periodically inspect the fill valve and flush valve for wear or damage.
- Ensure the water level in the tank is set correctly, typically about 1 inch below the top of the overflow tube.
Troubleshooting
| Problem | Possible Cause | Solution |
|---|---|---|
| Toilet leaks at base | Loose closet bolts, damaged wax ring, cracked bowl | Tighten closet bolts evenly. Replace wax ring. If bowl is cracked, replace toilet. |
| Toilet runs continuously | Flapper not sealing, fill valve malfunction, water level too high | Check flapper for debris or wear, adjust water level, replace fill valve if necessary. |
| Weak flush | Low water level, clogged rim jets, partial clog in drain | Adjust water level in tank. Clean rim jets. Clear drain clog. |
| Toilet not filling | Water supply off, fill valve clogged or broken | Ensure water supply valve is open. Check fill valve for obstructions or replace. |
If troubleshooting steps do not resolve the issue, please contact customer support.
Warranty Information
EliteEdge products are manufactured to high-quality standards and are backed by a limited warranty. Please refer to the warranty card included with your purchase or visit the EliteEdge official website for detailed warranty terms and conditions. Typically, ceramic components are covered for a longer period against manufacturing defects, while internal parts may have a shorter coverage period.
Keep your proof of purchase for any warranty claims.
Customer Support
For technical assistance, replacement parts, or warranty inquiries, please contact EliteEdge customer support:
- Website: www.eliteedge.com (Note: This is a placeholder URL. Please refer to your product packaging for the actual website.)
- Email: support@eliteedge.com (Note: This is a placeholder email. Please refer to your product packaging for the actual email.)
- Phone: 1-800-XXX-XXXX (Note: This is a placeholder number. Please refer to your product packaging for the actual phone number.)
When contacting support, please have your model number (VeZ) and proof of purchase readily available.