
1. Introduction
This manual provides essential information for the safe and efficient operation, assembly, and maintenance of your ESKUTE D200 Electric Bike. Please read this manual thoroughly before your first ride and keep it for future reference. Proper assembly and understanding of all features are crucial for your safety and the longevity of your e-bike.
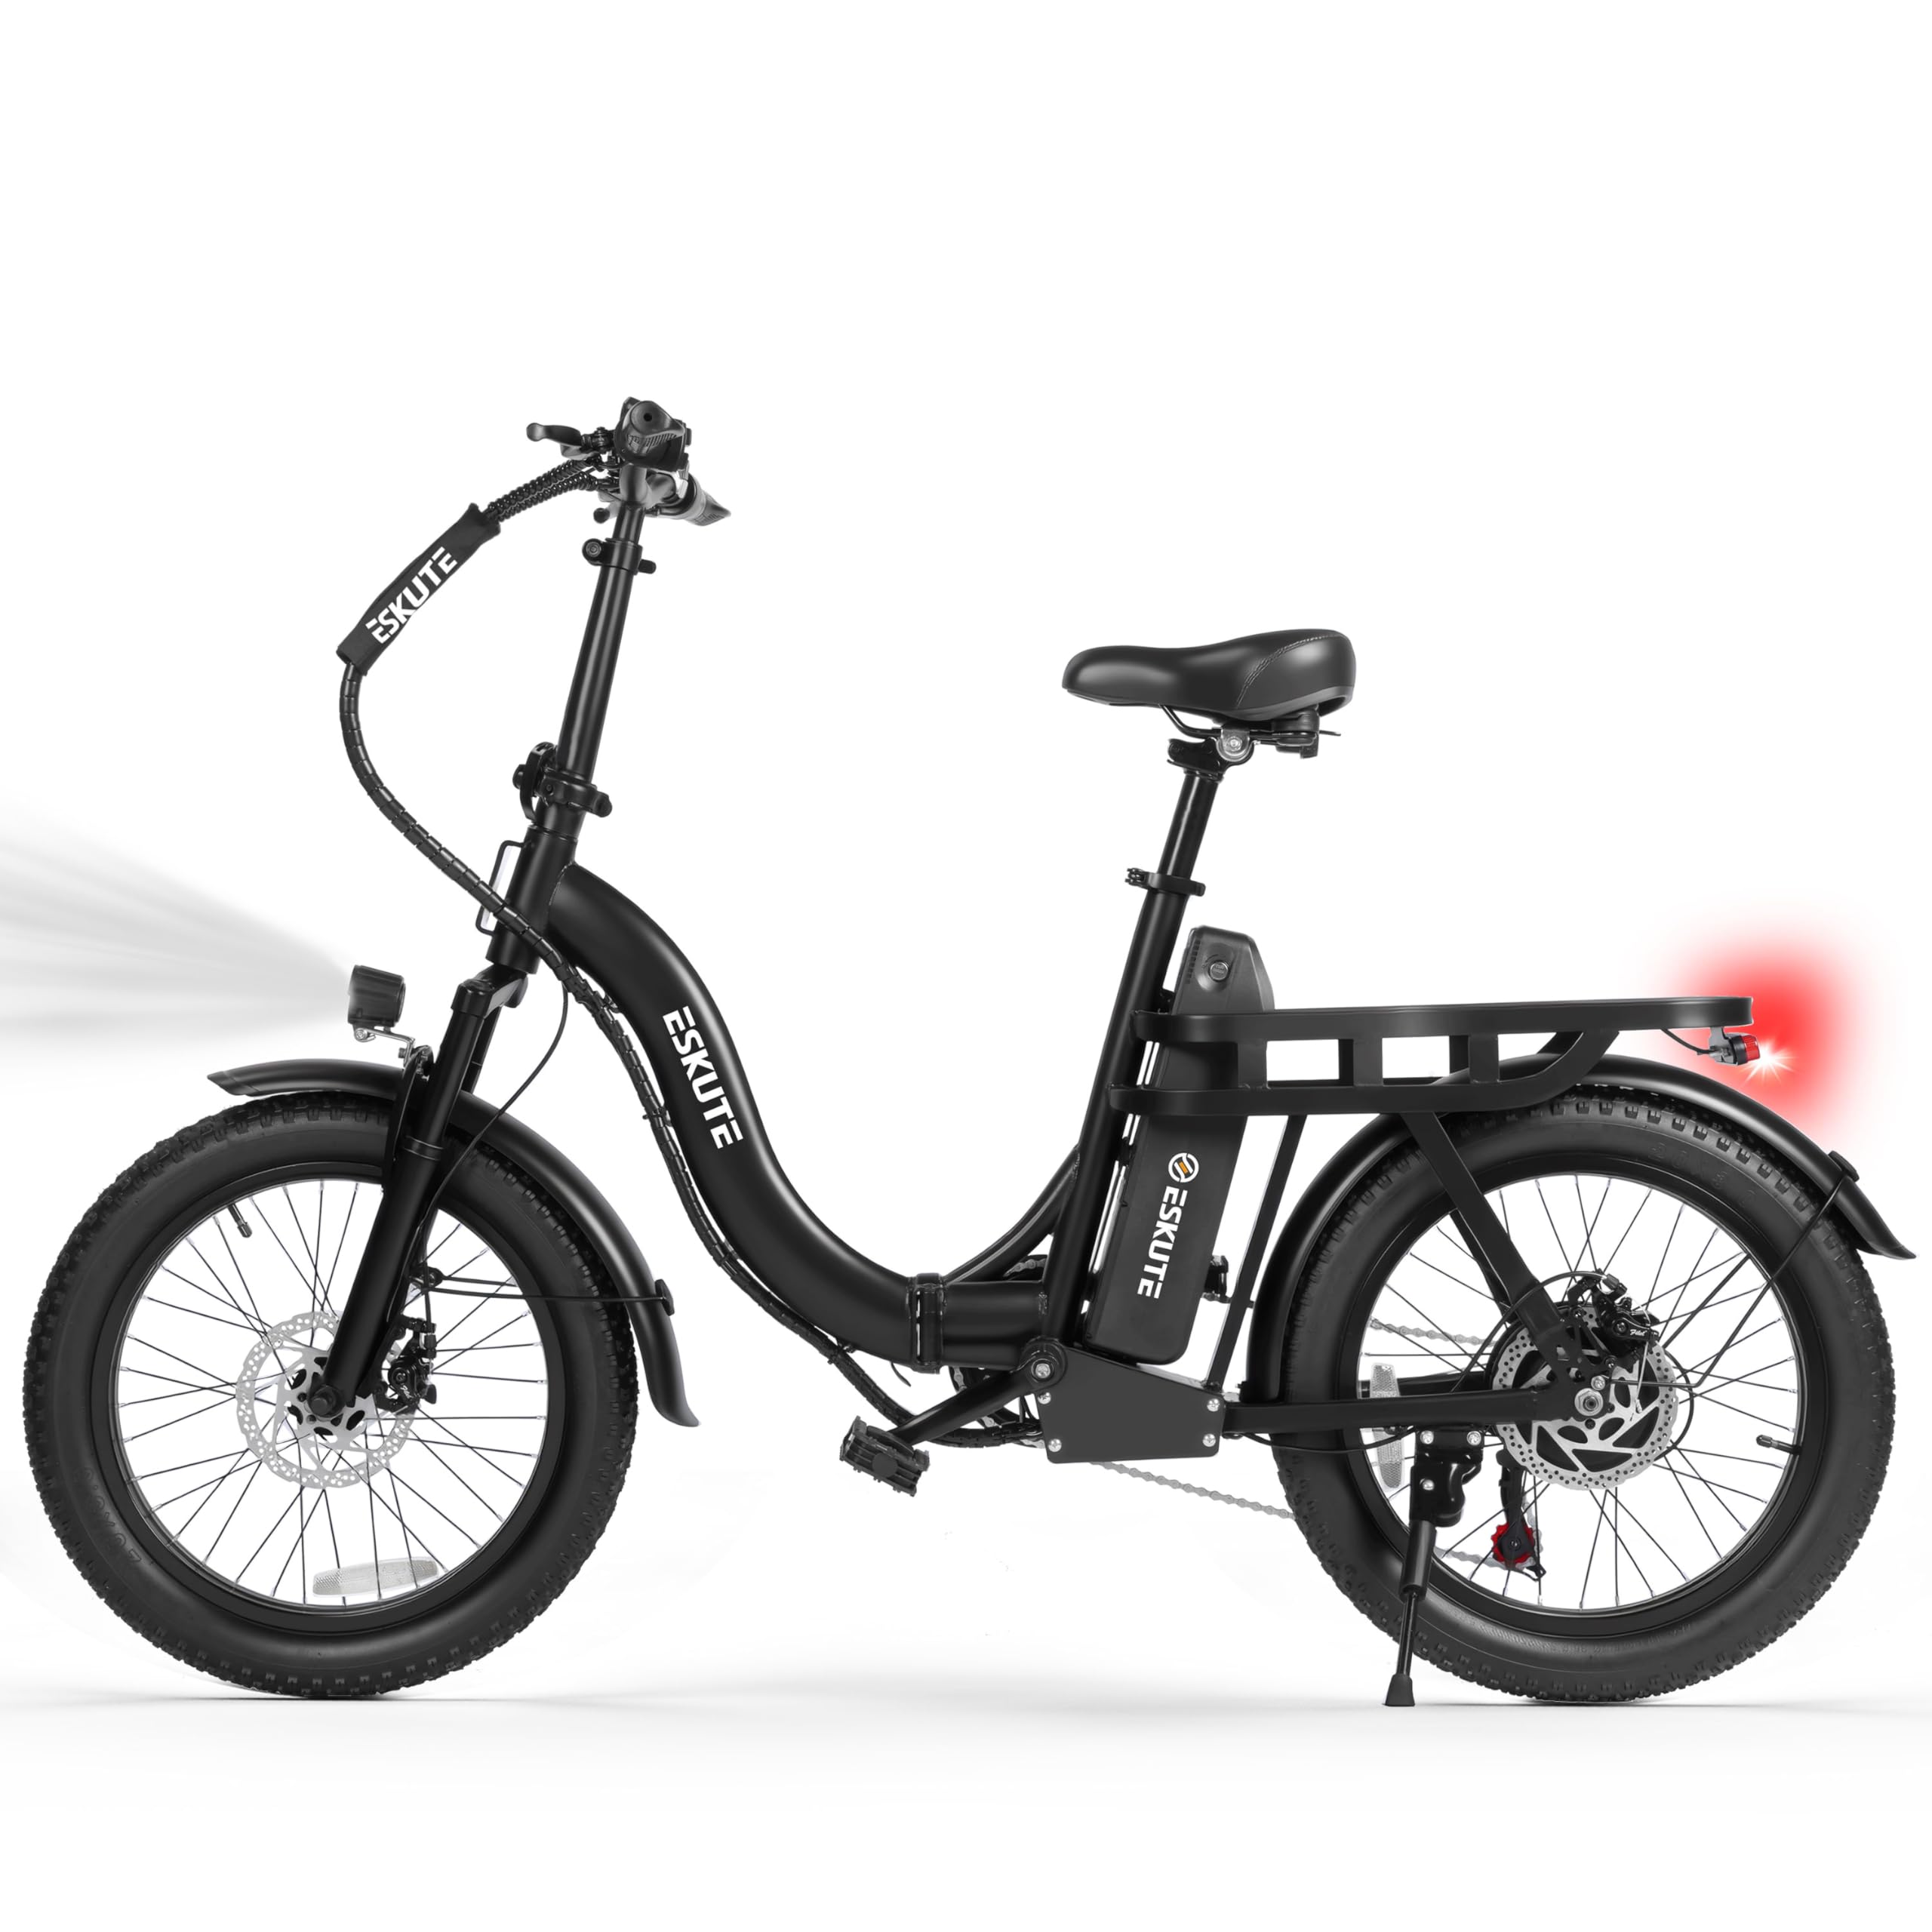
Image 1.1: The ESKUTE D200 Electric Bike.
2. Safety Information
Your safety is paramount. Always adhere to the following guidelines:
- Helmet Use: Always wear a certified helmet when riding your e-bike.
- Local Laws: Familiarize yourself with and obey all local traffic laws and regulations for electric bicycles.
- Pre-Ride Check: Before each ride, check tire pressure, brake function, battery level, and ensure all quick releases and fasteners are secure.
- Visibility: Use the integrated headlights and taillights, especially during low light conditions. Consider wearing reflective clothing.
- Weather Conditions: Exercise caution when riding in wet or slippery conditions. Braking distances increase significantly.
- Weight Limit: Do not exceed the maximum weight recommendation of 350 pounds.
- Children: This e-bike is designed for adults. Keep children away from the e-bike during operation and charging.

Image 2.1: Rider demonstrating safe operation with lights. Ensure all lights are functional before riding.
3. Assembly and Setup
Your ESKUTE D200 Electric Bike comes partially assembled. Follow these steps to complete the assembly:
3.1 Unboxing and Initial Inspection
Carefully remove all components from the packaging. Inspect for any damage during transit. Ensure all parts listed in the packing list are present.
Video 3.1: Unboxing and Assembly Guide for the ESKUTE D200 Electric Bike. This video demonstrates the complete assembly process from unboxing to final checks.
3.2 Handlebar and Stem Installation
- Unfold the main frame of the bike.
- Insert the handlebar stem into the head tube.
- Adjust the handlebar height to a comfortable position and secure the quick-release lever.
3.3 Front Fender and Headlight Attachment
- Attach the front fender to the front fork using the provided screws and tools.
- Mount the headlight onto the front fender or fork bracket and connect its cable.
3.4 Front Wheel Installation
- Carefully align the front wheel with the front fork dropouts, ensuring the brake rotor slides correctly into the brake caliper.
- Insert the axle bolt through the wheel hub and fork dropouts.
- Securely tighten the axle nuts on both sides using the provided wrench.
- Remove the protective disc from the brake rotor.
3.5 Pedal Installation
Identify the left (L) and right (R) pedals. The left pedal tightens counter-clockwise, and the right pedal tightens clockwise.
- Apply a small amount of grease to the pedal threads.
- Thread the right pedal (R) into the right crank arm (on the chain side) clockwise and tighten firmly with a wrench.
- Thread the left pedal (L) into the left crank arm counter-clockwise and tighten firmly with a wrench.
3.6 Seat Post and Saddle Adjustment
- Insert the seat post with the saddle into the seat tube.
- Adjust the saddle height to ensure your feet can comfortably touch the ground when stopped, or your leg has a slight bend at the knee when the pedal is at its lowest point.
- Secure the seat post quick-release lever firmly.
3.7 Battery Installation and Charging
- Insert the battery into its compartment on the frame. Ensure it clicks securely into place.
- Use the provided key to lock the battery.
- Connect the charger to the charging port on the battery and then to a power outlet. The charger indicator light will show charging status (red for charging, green for fully charged).
- Allow the battery to fully charge before your first ride.
4. Operating Your ESKUTE D200
4.1 Powering On/Off and NFC Unlock
- To power on the bike, ensure the battery is locked in place and the power switch on the battery is ON.
- Use the NFC card to unlock the bike and activate the display.
- To power off, use the display controls or turn off the battery switch.
4.2 Digital Display and Controls
The handlebar-mounted digital display provides information such as speed, battery level, and pedal assist level. Use the '+' and '-' buttons to adjust the pedal assist level (0-3).

Image 4.1: Overview of ESKUTE D200 features, including the digital display, 7-speed Shimano gear, and 20x3.0" tires.
4.3 Riding Modes
- Pedal Assist Mode: The motor provides assistance as you pedal. Adjust the assist level (0-3) via the display. Level 0 is no assist, while Level 3 provides maximum assistance.
- Throttle Mode: Use the thumb throttle for power without pedaling. This mode can reach speeds up to 28 MPH.
- Manual Mode: Ride the bike like a traditional bicycle without motor assistance.
4.4 Gear Shifting
Your D200 is equipped with a 7-speed Shimano gear system. Use the trigger shifter on the handlebar to change gears, adapting to different terrains and inclines.
4.5 Braking
The bike features disc brakes for reliable stopping power. Apply both brake levers smoothly and evenly to slow down or stop. Avoid sudden, hard braking, especially at high speeds or on loose surfaces.
5. Key Features
- Powerful 1200W Peak Motor: Experience dynamic acceleration and hill-climbing capability with the robust 1200W peak motor system. The intelligent pedal assist technology automatically adjusts power output based on your pedaling force, providing seamless transitions between different riding conditions. Three assist levels let you customize energy usage for maximum efficiency during long commutes or quick errands.
- All-Terrain Fat Tires: Conquer diverse landscapes with confidence thanks to the extra-wide 3-inch tires that provide exceptional surface grip and shock absorption. The enhanced air volume creates a cushioned ride that smooths out rough pavement, gravel paths, and uneven terrain. Deep tread patterns ensure reliable traction in wet conditions while resisting punctures from road debris.
- Space-Saving Foldable Design: The innovative folding mechanism allows the frame to collapse in seconds without tools, creating a compact package for storage or transport. Reinforced locking hinges maintain structural integrity when unfolded while enabling easy portability. This practical design makes the bike ideal for commuters with limited storage space or those who need multimodal transportation.
- Practical Cargo Features: Beyond just transportation, this e-bike serves as a versatile utility vehicle with its integrated cargo solutions. The rust-resistant front basket offers capacity for groceries, work essentials, or recreational gear. The reinforced rear rack provides additional loading options, while the step-through frame design ensures easy mounting even with loaded cargo.

Image 5.1: Illustration of the 1200W Peak Brushless Motor, providing power for various speeds and inclines.
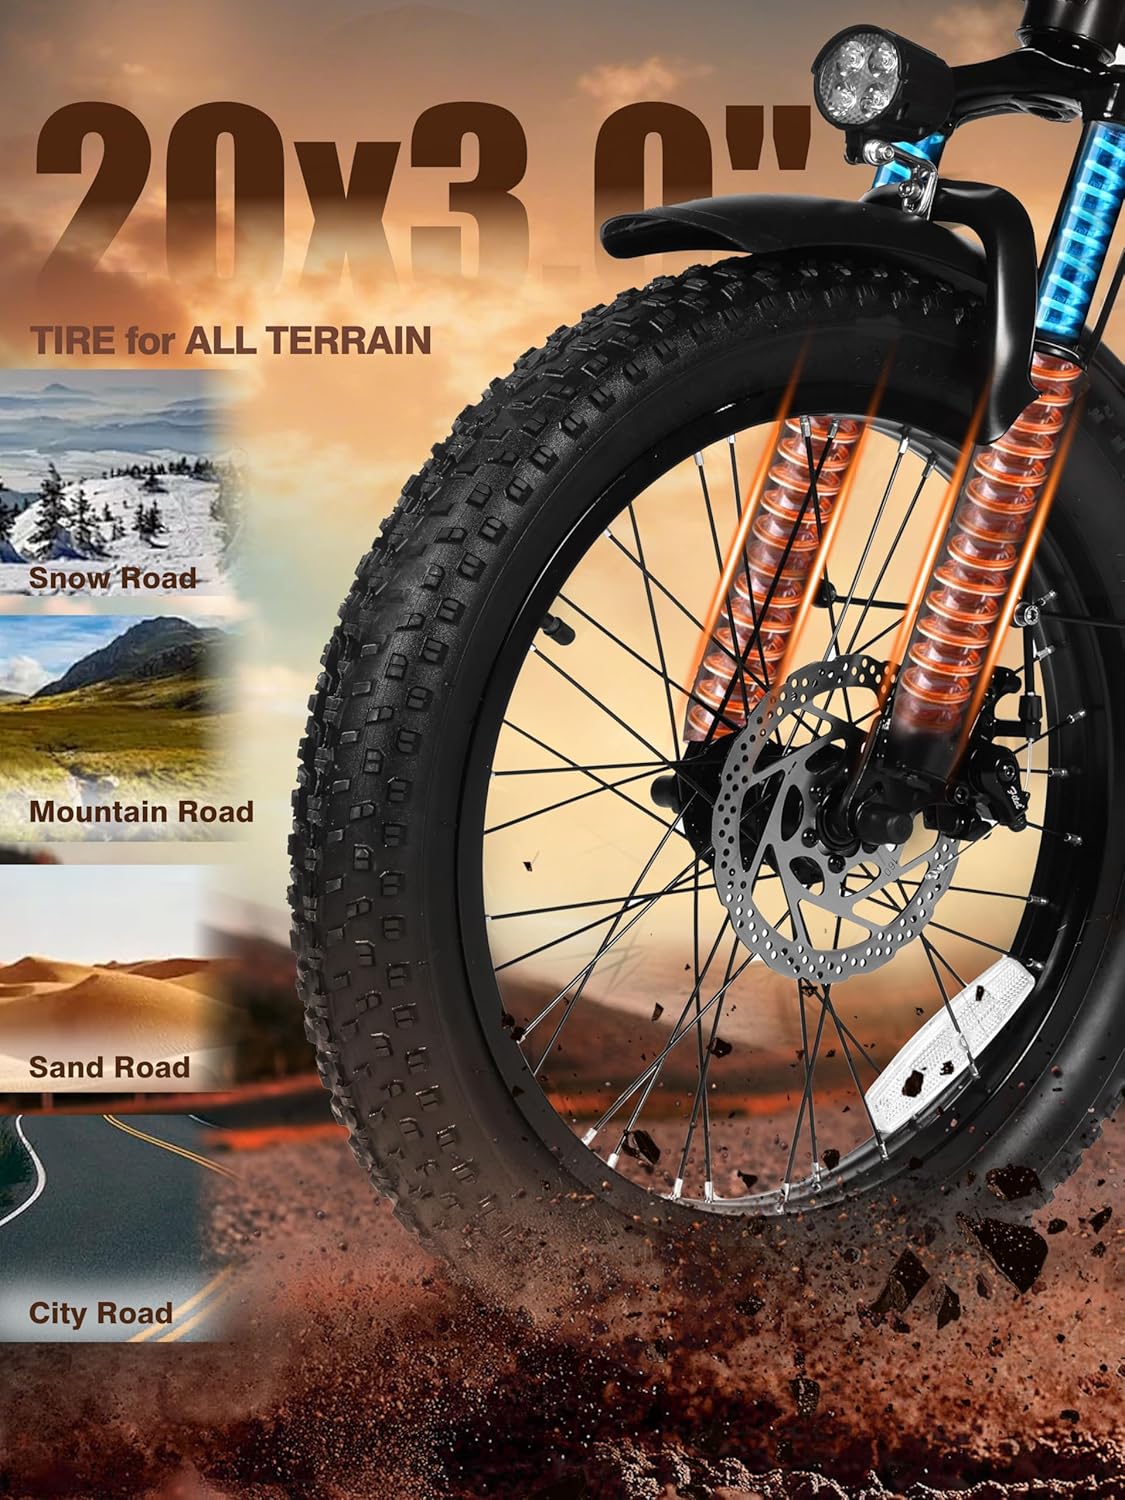
Image 5.2: Close-up of the 20x3.0 inch fat tires, designed for stability and grip on various terrains including snow, mountain, sand, and city roads.

Image 5.3: The 48V 10.4Ah battery, offering up to 55 miles range and featuring IP54 waterproof level and intelligent BMS for safety.
6. Maintenance
Regular maintenance ensures optimal performance and extends the lifespan of your e-bike.
- Tires: Check tire pressure before each ride. Maintain pressure within the recommended range printed on the tire sidewall.
- Brakes: Regularly inspect brake pads for wear and brake cables for proper tension. Adjust or replace as needed.
- Chain: Keep the chain clean and lubricated to prevent rust and ensure smooth shifting.
- Battery Care: Charge the battery regularly, even when not in use, to maintain its health. Avoid fully discharging the battery. Store in a cool, dry place.
- Cleaning: Clean your e-bike with a damp cloth and mild soap. Avoid high-pressure washing directly on electrical components.
- Fasteners: Periodically check all bolts, nuts, and quick releases to ensure they are securely tightened.
7. Troubleshooting
Here are some common issues and their potential solutions:
| Problem | Possible Cause | Solution |
|---|---|---|
| Bike does not power on | Battery not charged, battery switch off, loose connections, NFC not used. | Charge battery, turn on battery switch, check connections, use NFC card. |
| Motor not assisting | Pedal assist level 0, brake lever engaged, motor cable disconnected. | Increase pedal assist level, ensure brake levers are released, check motor cable. |
| Brakes feel weak | Worn brake pads, loose brake cable, air in hydraulic system (if applicable). | Inspect/replace brake pads, adjust cable tension, consult a bike mechanic. |
| Unusual noises | Loose components, dry chain, rubbing brakes. | Check all fasteners, lubricate chain, adjust brake calipers. |
If you encounter issues not listed here or require further assistance, please contact ESKUTE customer support.
8. Specifications
| Feature | Detail |
|---|---|
| Bike Type | Electric Bike, Folding Bike |
| Age Range | Adult |
| Brand | ESKUTE |
| Model Name | D200 |
| Model Number | D200 |
| Motor Wattage | 1200 watts (Peak) |
| Battery | 48V 10.4Ah (499.2 Wh Lithium Battery Energy Content) |
| Max Speed | 28 MPH |
| Max Range | Up to 55 Miles |
| Number of Speeds | 7 |
| Wheel Size | 20 Inches |
| Wheel Width | 3 Inches |
| Frame Material | Carbon Steel |
| Suspension Type | Front Suspension |
| Brake Style | Disc |
| Maximum Weight Recommendation | 350 Pounds |
| Special Features | Adjustable Seat, Basket, Digital Display, Fenders, Foldable, NFC Unlock |
| Assembly Required | No (Partial assembly required) |

Image 8.1: Size chart for the ESKUTE D200 Electric Bike, showing suggested height (5'3" - 6'3"), maximum load (330 lbs), and bicycle weight (70.5 lbs).
9. Warranty and Support
Your ESKUTE D200 Electric Bike comes with a 1-Year Warranty.
For any questions, technical support, or warranty claims, please contact ESKUTE customer support:
- Pre-sales: 1 888 886-2818
- After-sales: 1 240 332-0549
- Email: support.us@eskute.com
- Operating Hours: Mon-Fri 9:00am-6:00pm EST

Image 9.1: ESKUTE customer support contact details and warranty information.


