
Product Overview
The HOMVILLA Digital Alarm Clock Model 8813 features a large LED display, adjustable brightness and volume, dual alarms with snooze function, and a USB charging port. It is designed for clear readability and ease of use in various environments.
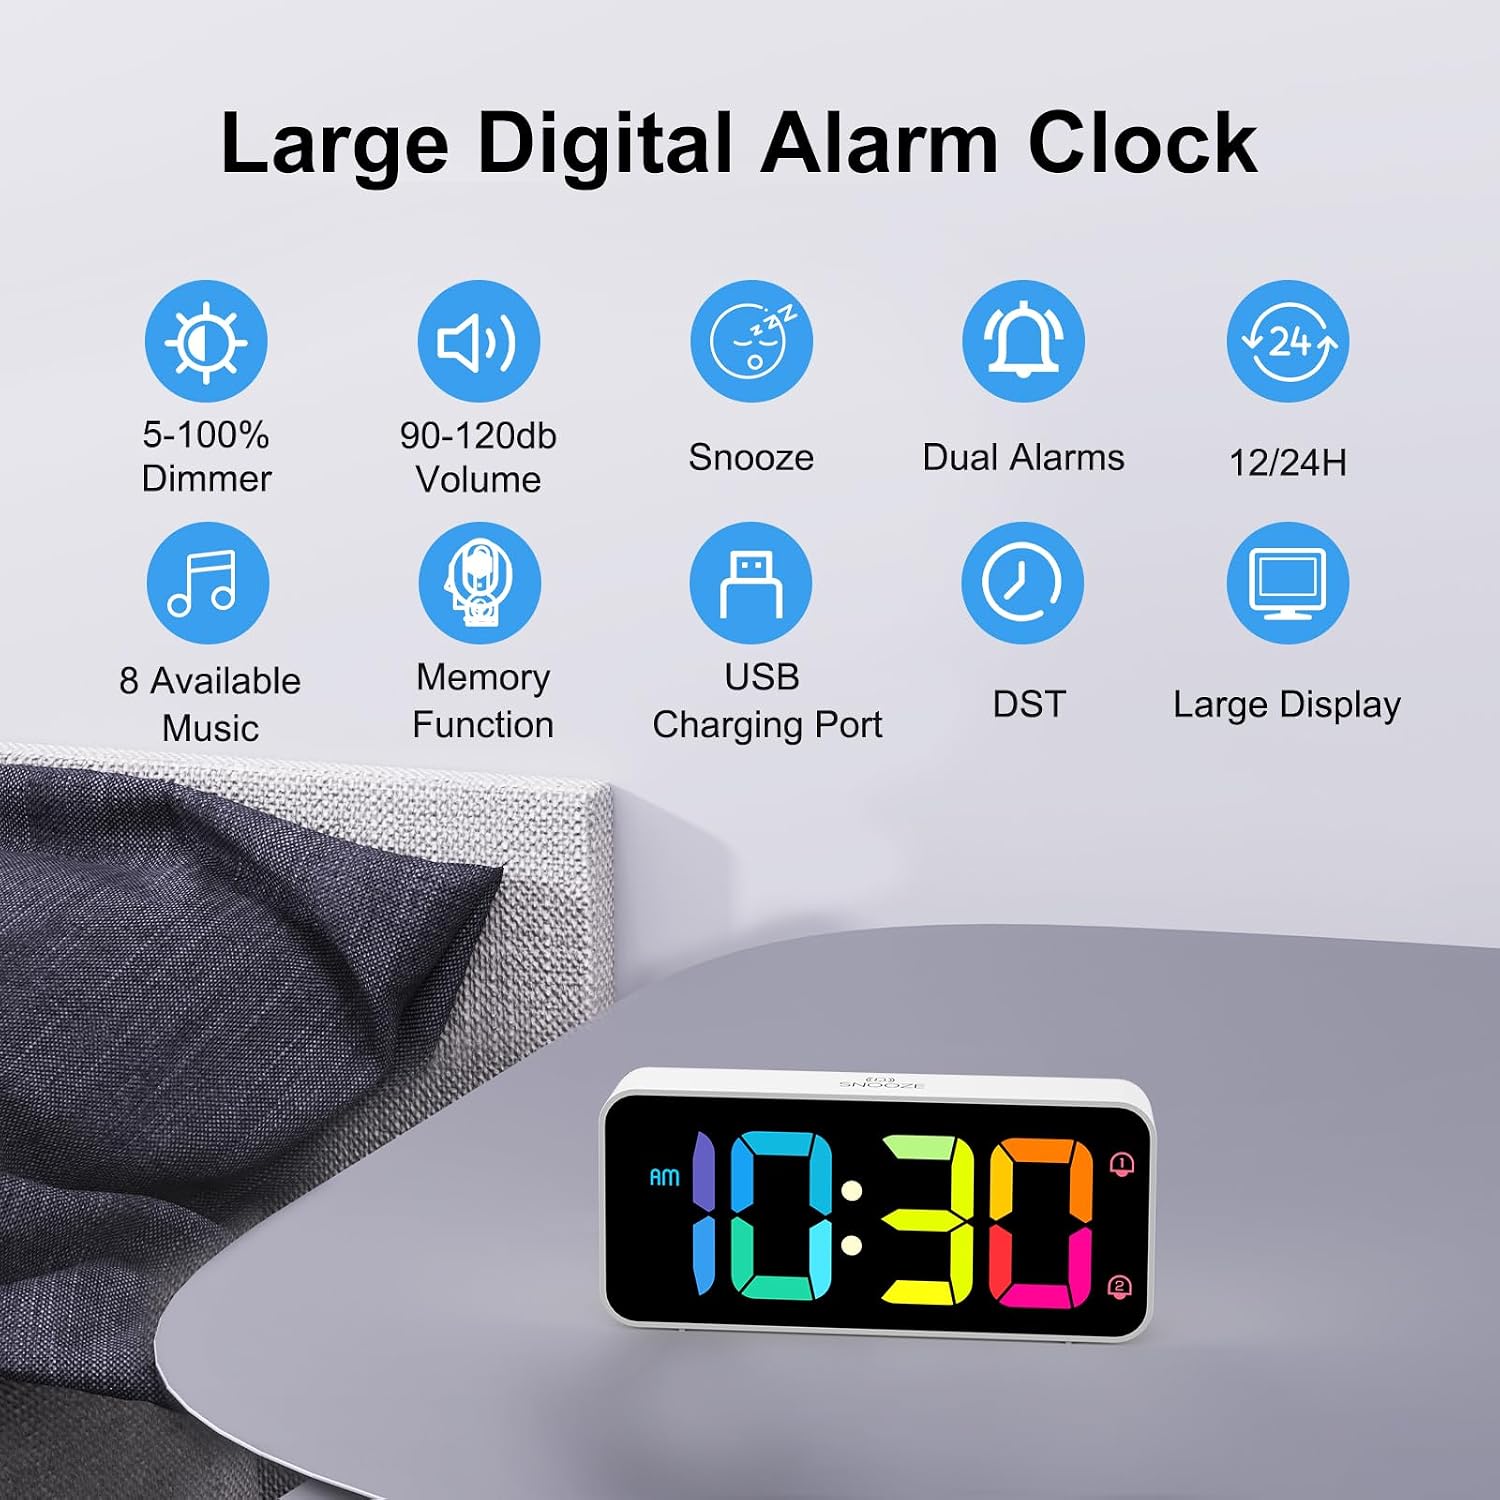
Image: Overview of the HOMVILLA Digital Alarm Clock, highlighting features like 5-100% dimmer, 90-120db volume, snooze, dual alarms, 12/24H format, 8 available music options, memory function, USB charging port, DST, and large display.
Package Contents
- HOMVILLA Digital Alarm Clock (Model 8813)
- USB Charging Cable
- Power Adapter
- User Manual (this document)
Safety Information
- Ensure the power adapter and cable are undamaged before use.
- Do not expose the device to extreme temperatures, direct sunlight, or high humidity.
- Keep out of reach of children.
- Use only the provided power adapter and USB cable.
- For memory function, install 2 AAA batteries (not included). These batteries only support memory function, not primary operation.
Setup
1. Initial Power-Up
- Unpack the alarm clock and remove any protective film from the LED screen.
- Connect the provided USB charging cable to the DC Port on the back of the alarm clock.
- Plug the other end of the USB cable into the power adapter, then plug the adapter into a standard wall outlet. The clock will power on and display the time.

Image: The alarm clock is shown powered by a mains connection, emphasizing that it is mains-powered only for primary operation.
2. Installing Backup Batteries (Optional)
To retain time settings during a power outage, install 2 AAA batteries (not included) in the battery compartment on the bottom of the clock. These batteries only provide memory backup and do not power the display or alarm functions.

Image: A visual guide demonstrating how to install 2 AAA batteries into the alarm clock for the memory function, ensuring settings are saved during power interruptions.
Operating Instructions
Control Buttons and Wheels Overview

Image: Detailed diagram of the alarm clock's back panel, showing the location and function of the Volume wheel, DST button, Time Set button, Up/Down buttons, Alarm Set button, On/Off button, Dimmer wheel, Reset button, USB Port, and DC Port.
- VOLUME Wheel: Adjusts alarm volume.
- TIME SET Button: Enters time setting mode.
- UP / DOWN Buttons: Adjusts values during setting.
- ALARM SET Button: Enters alarm setting mode.
- ON/OFF Button: Turns alarms on or off.
- DIMMER Wheel: Adjusts display brightness.
- SNOOZE Button (Top): Activates snooze function.
- USB Port: For charging external devices.
- DST Button: Activates/deactivates Daylight Saving Time.
- RESET Button: Resets the clock to factory settings.
1. Setting the Time
- Press and hold the TIME SET button. The hour display will start flashing.
- Use the UP and DOWN buttons to adjust the hour.
- Press TIME SET again to confirm the hour and move to minute setting. The minute display will flash.
- Use the UP and DOWN buttons to adjust the minute.
- Press TIME SET again to confirm the minute.
- Press TIME SET one more time to switch between 12-hour and 24-hour format. The display will show "AM" or "PM" for 12-hour format.
- Press TIME SET to exit time setting mode.
2. Setting Alarms (Dual Alarms)
The clock supports two independent alarms (Alarm 1 and Alarm 2).
- Press and hold the ALARM SET button. "AL1" will appear, and the hour display for Alarm 1 will flash.
- Use the UP and DOWN buttons to set the desired alarm hour.
- Press ALARM SET again to confirm the hour and move to minute setting. The minute display will flash.
- Use the UP and DOWN buttons to set the desired alarm minute.
- Press ALARM SET again to select the alarm sound. Use UP and DOWN to cycle through 8 available melodies.
- Press ALARM SET again to confirm the alarm sound.
- Repeat steps 1-6 for Alarm 2 ("AL2").
- To activate or deactivate an alarm, short press the ON/OFF button. An alarm icon will appear/disappear on the display.

Image: Top panel shows a person using the snooze function. Bottom panel illustrates the dual alarm capability, with Alarm 1 set to 8:20 and Alarm 2 set to 14:30.
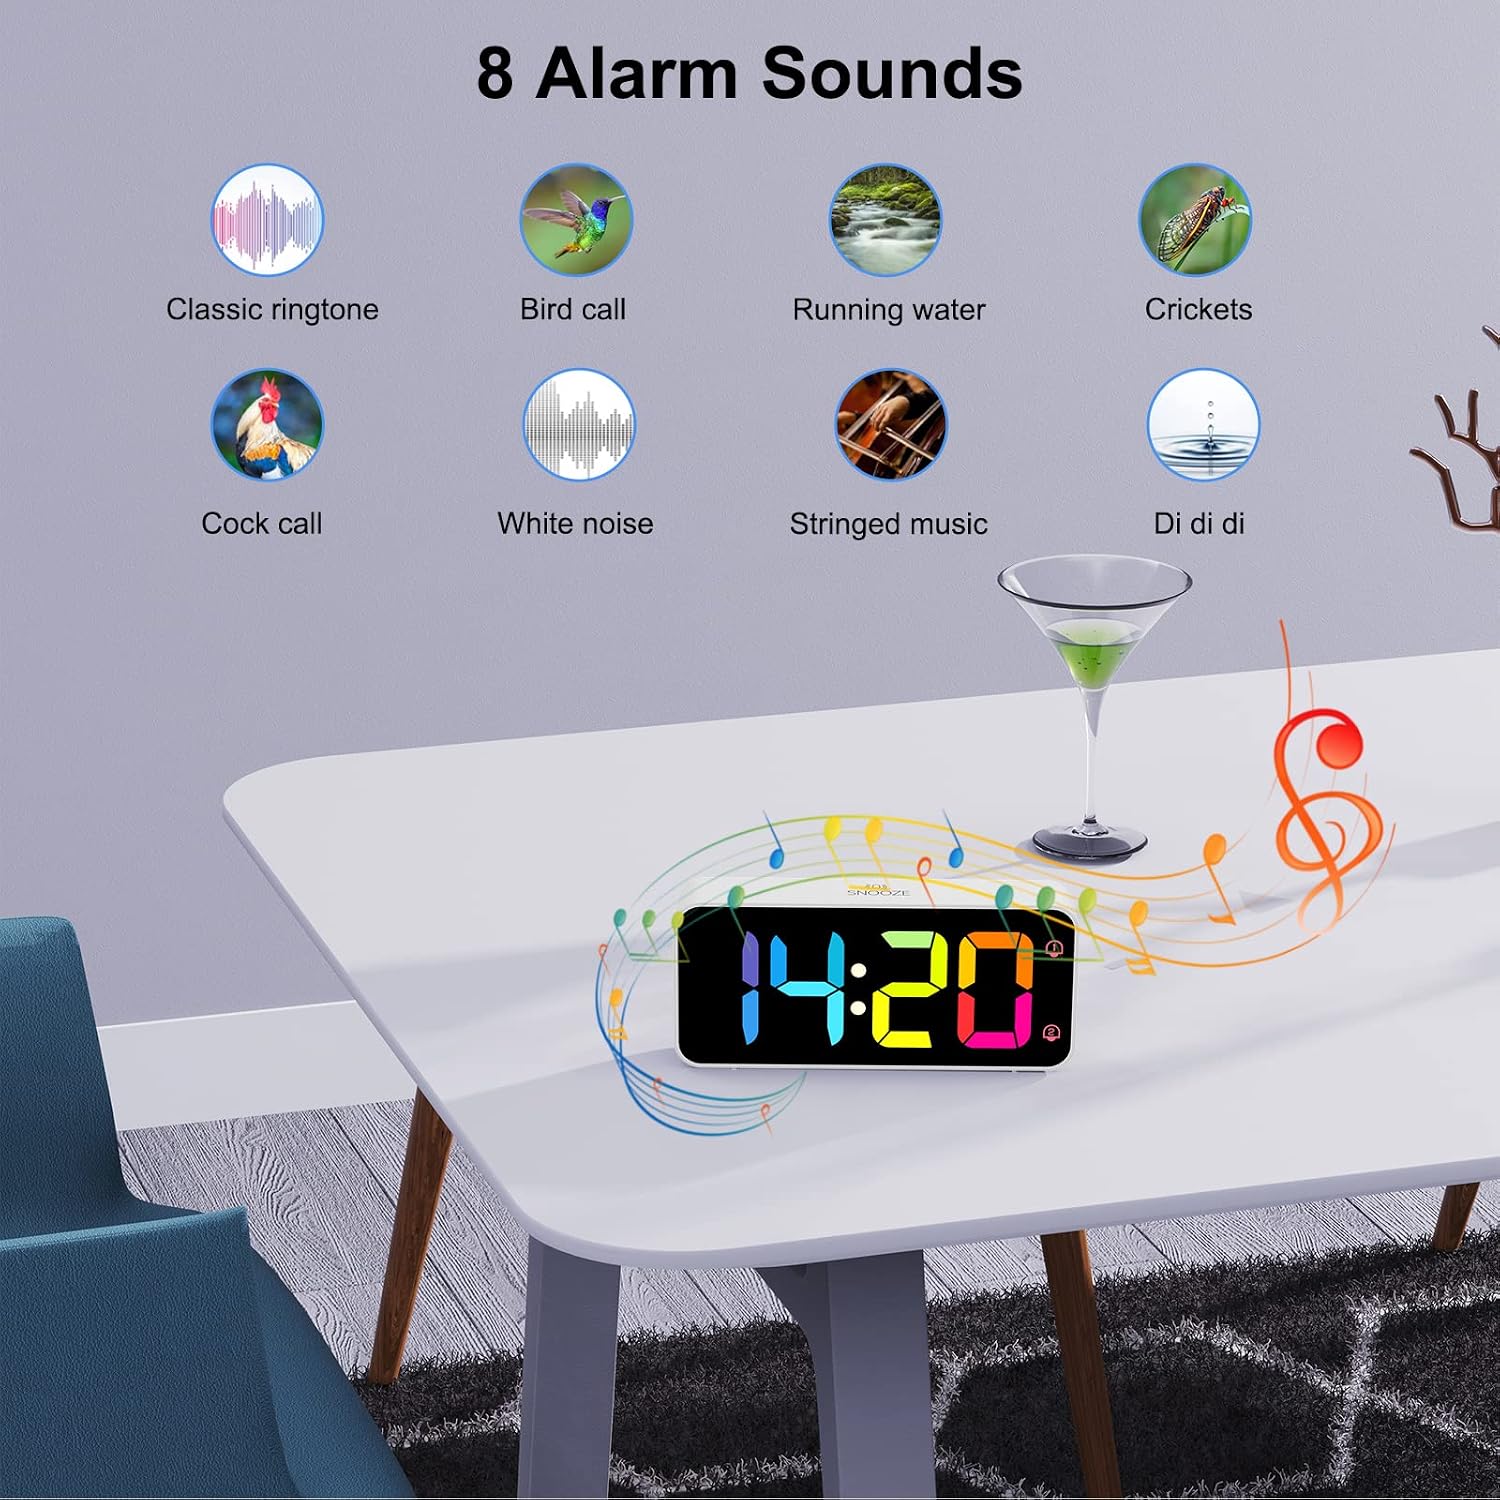
Image: The alarm clock display showing 14:20 with musical notes, surrounded by icons representing 8 different alarm sounds: Classic ringtone, Bird call, Running water, Crickets, Cock call, White noise, Stringed music, and "Di di di".
3. Snooze Function
When an alarm sounds, press the large SNOOZE button on the top of the clock to temporarily silence the alarm for 5 minutes. The alarm will sound again after 5 minutes.
To turn off the alarm for the day, short press any of the 5 buttons on the back of the clock. The alarm will reset for the next day.
4. Adjusting Brightness
Rotate the DIMMER wheel on the back of the clock to adjust the LED display brightness from 5% to 100%. This allows for comfortable viewing during both day and night without disturbing sleep.
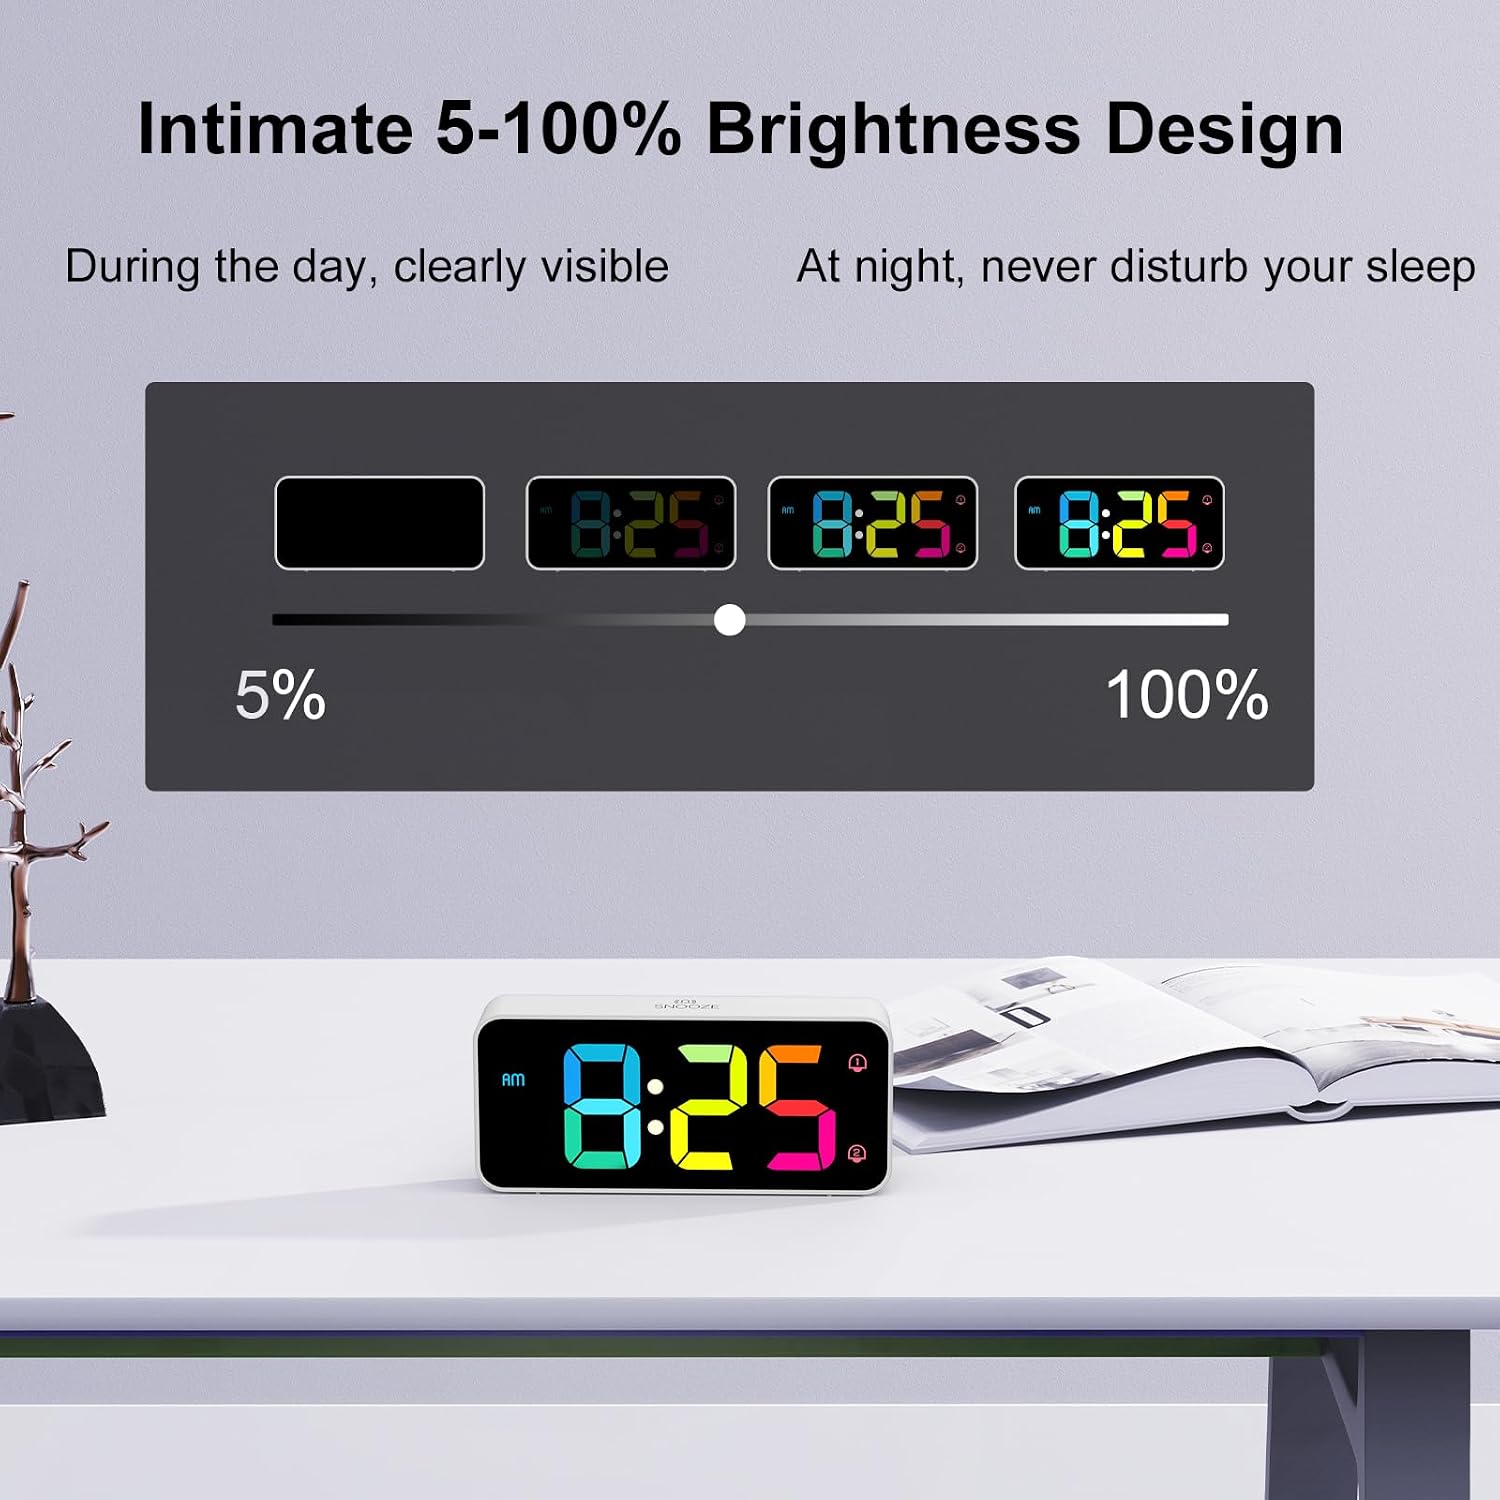
Image: A graphic illustrating the 5-100% brightness adjustment feature, showing how the display appears at different brightness levels (5%, 25%, 50%, 100%) and its suitability for day and night use.

Image: Close-up of the back of the alarm clock, highlighting the "VOLUME" and "DIMMER" scroll wheels, indicating their use for adjusting sound level (90-120db) and display brightness (5-100%).
5. Adjusting Volume
Rotate the VOLUME wheel on the back of the clock to adjust the alarm volume from 90dB to 120dB. This ensures the alarm is audible for both light and heavy sleepers.
6. Daylight Saving Time (DST)
Press the DST button on the back of the clock to activate or deactivate Daylight Saving Time. The clock will adjust automatically by one hour.
7. USB Charging Port
The USB port on the back of the clock can be used to charge external devices like mobile phones. Ensure the alarm clock is powered by the mains for this function.
Maintenance
- Clean the clock with a soft, dry cloth. Do not use abrasive cleaners or solvents.
- Avoid exposing the clock to water or other liquids.
- If not in use for an extended period, remove the backup batteries to prevent leakage.
Troubleshooting
| Problem | Possible Cause | Solution |
|---|---|---|
| Clock display is off. | Not connected to power or power outage. | Ensure the USB cable and adapter are securely connected to a working power outlet. Check if there's a power outage. |
| Alarm does not sound. | Alarm is not activated or volume is too low. | Check if the alarm icon is displayed. If not, activate the alarm using the ON/OFF button. Adjust the VOLUME wheel. |
| Settings are lost after power outage. | Backup batteries not installed or depleted. | Install 2 new AAA batteries for memory backup. |
| Display is too dim/bright. | Brightness setting needs adjustment. | Rotate the DIMMER wheel on the back of the clock to adjust brightness. |
| USB charging port not working. | Clock not connected to mains power. | Ensure the alarm clock is properly plugged into a wall outlet. The USB port requires mains power to function. |
If you encounter issues not listed here, please contact HOMVILLA customer support.
Specifications
| Feature | Detail |
|---|---|
| Brand | HOMVILLA |
| Model Number | 8813 |
| Display Type | Digital LED Mirror Screen (5.6 inches) |
| Dimensions (L x W x H) | 14.4 x 3.81 x 6.3 cm (5.7 x 1.5 x 2.5 inches) |
| Weight | 200 grams |
| Material | Plastic |
| Power Source | Corded Electric (USB cable and adapter included) |
| Backup Battery | 2 x AAA batteries (not included, for memory function only) |
| Brightness Adjustment | 5% - 100% (via Dimmer wheel) |
| Volume Adjustment | 90dB - 120dB (via Volume wheel) |
| Alarm Features | Dual Alarms, 8 Alarm Sounds, 5-minute Snooze |
| Time Format | 12H/24H selectable |
| Additional Features | USB Charging Port, Daylight Saving Time (DST) function |
Warranty and Support
HOMVILLA offers a lifetime warranty for this product. For warranty claims, technical support, or any questions regarding your HOMVILLA Digital Alarm Clock Model 8813, please contact HOMVILLA customer service through the retailer's platform or the official HOMVILLA website.
Please have your model number (8813) and purchase information ready when contacting support.

