
Introduction
Thank you for choosing the TKMARS M15 Wireless Video Doorbell Camera. This manual provides essential information for the proper installation, operation, and maintenance of your device. This system offers a subscription-free, wireless solution for home security, featuring a 4.3-inch monitor, two-way intercom, 1080P video, and night vision capabilities.
Product Overview
Familiarize yourself with the components of your TKMARS M15 Wireless Video Doorbell Camera system.

Image: Detailed diagram illustrating the various parts and ports of the doorbell camera and its indoor monitor, including the camera lens, doorbell button, speaker, microphone, TF card slot, charging port, and control buttons.
Doorbell Unit Components:
- Back plate: For mounting the doorbell.
- 170° wide-angle camera: Captures a broad view of your doorstep.
- Light sensor: Detects ambient light for automatic night vision activation.
- Auto LED fill light: Provides illumination in low-light conditions.
- Doorbell button: Activates the doorbell and initiates communication.
- Quantitative speaker: For audio output.
Monitor Unit Components:
- Microphone: For two-way audio communication.
- Work indicator light: Shows device status.
- +/Flip Up button: Navigation or volume control.
- -/Scroll Down button: Navigation or volume control.
- Okay/Intercom button: Confirms selections and activates two-way talk.
- Back button: Returns to the previous menu.
- Menu/Pairing button: Accesses settings and initiates pairing.
- Screen: 4.3-inch IPS display for live view and recorded footage.
- TF card slot: For inserting a MicroSD card (max 32GB, not included) for video storage.
- Reset button: Restores factory settings.
- TYPE-C charging port: For charging the monitor.
- Power on/off button: Controls the monitor's power.
Setup
1. Initial Connection and Signal Test
Before permanent installation, connect the doorbell camera with the monitor and test the signal strength in your desired location.
- Ensure both the doorbell and monitor are charged.
- On the monitor, press and hold the “M” key to enter connection mode.
- Press and hold the doorbell button on the outdoor unit to initiate pairing. The devices should connect automatically.
- Verify the live feed on the monitor.

Image: A diagram illustrating the wireless signal strength and range of the doorbell system within a home environment, showing how obstacles like walls can affect connectivity. The connection range is 16.4ft-164ft (5m-50m) in open air, or 16.4ft-66ft (5m-20m) with obstacles.
2. Installation of the Doorbell Unit
The doorbell unit can be mounted using either the included 3M adhesive or screws.
- Choose a suitable location at your door, ensuring a clear view and good signal reception.
- Using 3M Adhesive: Clean the mounting surface thoroughly. Peel off the protective film from the adhesive and firmly press the doorbell unit onto the desired spot.
- Using Screws: Mark the drilling points using the back plate as a template. Drill pilot holes, insert wall anchors if necessary, and secure the back plate with screws. Then attach the doorbell unit to the back plate.

Image: An illustration showing the doorbell unit installed on a door frame, ready for use.
Operating Instructions
1. One-Key Monitoring
You can view the live camera feed at any time without a visitor pressing the doorbell or motion detection.
- On the indoor monitor, press and hold the “OK” key for 2-3 seconds to activate the camera and view the live feed.
2. Two-Way Intercom
Communicate with visitors at your door directly through the monitor.
- When a visitor presses the doorbell button, the monitor will ring and display the live video feed.
- To speak to the visitor, press and hold the “OK” key on the monitor.
- Release the “OK” key to listen to the visitor's response. This functions similarly to a walkie-talkie.

Image: A visual representation of the two-way intercom feature, showing a person at the door and a person inside communicating via the monitor.
3. Automatic Video Recording
The system automatically records video when the doorbell is pressed, saving footage to a MicroSD card (not included).
- Ensure a MicroSD card (max 32GB) is inserted into the monitor's TF card slot.
- When a visitor presses the doorbell, a 20-25 second video clip will be recorded automatically.
- You can also manually record by pressing the “OK” key on the monitor while viewing the live feed.
- Recorded videos can be viewed directly on the 4.3-inch screen. Note: This device does not support taking still photos.

Image: The indoor monitor screen showing a recorded video, indicating the automatic video recording function when a visitor presses the doorbell.
4. Night Vision
The doorbell camera is equipped with infrared night vision for clear visibility in low-light conditions.
- The camera automatically switches to night vision mode when ambient light is insufficient.
- Infrared LEDs provide illumination, allowing you to see visitors clearly even in complete darkness.
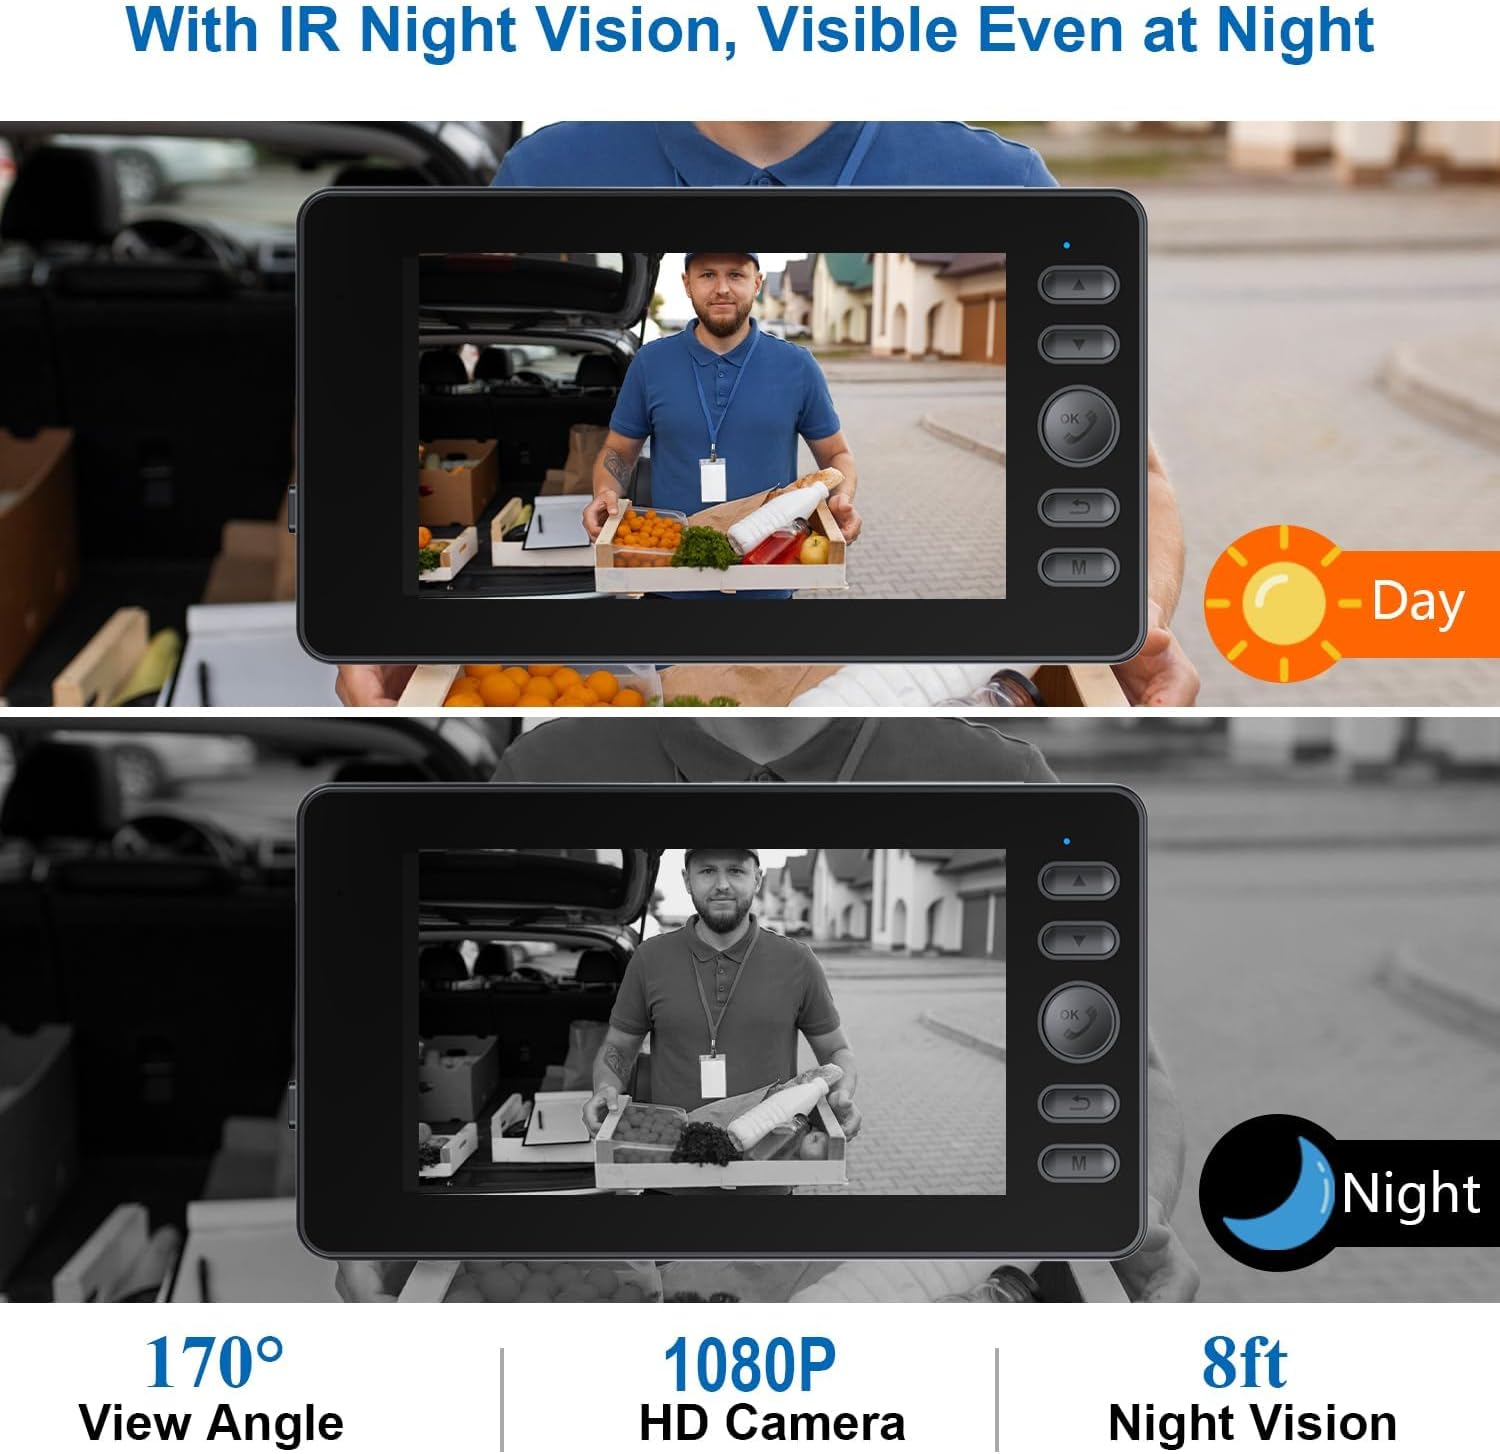
Image: A comparison image showing the clear visibility provided by the doorbell camera during the day and its infrared night vision capability in low-light conditions.
Maintenance
1. Battery Charging
The doorbell unit and monitor are powered by rechargeable batteries.
- The doorbell unit uses an 1800mAh Li-ion battery, providing approximately 2 months of working time on a full charge. It takes 3-4 hours to fully recharge.
- The monitor needs to be recharged using a 5V/1A charger (not included) via its TYPE-C charging port. For continuous use, it is recommended to keep the monitor plugged into external power.

Image: The indoor monitor connected to a power adapter for charging, highlighting the importance of keeping it charged for continuous operation.
2. Waterproofing
The outdoor doorbell unit has an IP65 waterproof rating.
- The doorbell is designed to withstand dust and water splashes, making it suitable for outdoor installation.
- While IP65 rated, avoid submerging the device in water or exposing it to high-pressure water jets.

Image: The outdoor doorbell unit installed on a door, demonstrating its IP65 waterproof rating by showing it exposed to rain.
3. Cleaning
- Wipe the doorbell camera and monitor surfaces with a soft, damp cloth.
- Do not use harsh chemicals or abrasive cleaners.
Troubleshooting
- No image on monitor / Monitor screen is black:
Ensure the monitor is charged or connected to external power. The monitor's built-in battery is primarily for temporary backup; continuous use requires external power. Check if the monitor is powered on. - Poor signal reception:
The wireless range can be affected by obstacles like walls. Test the signal strength before final installation. Try relocating the monitor closer to the doorbell unit or minimizing obstructions between them. - Doorbell not ringing / No connection:
Ensure both units are charged. Re-attempt the pairing process as described in the 'Setup' section. Check if the doorbell button is functioning correctly. - Video quality issues (e.g., black and white display, flickering):
Ensure the camera lens is clean and free from obstructions. If issues persist, try resetting the monitor using the reset button. - Monitor not holding a charge:
The monitor's battery is for temporary use. For consistent operation, keep the monitor connected to a 5V/1A power source.
Specifications
| Feature | Detail |
|---|---|
| Model Name | M15 video doorbell |
| Brand | TKMARS |
| Connectivity Technology | Wireless (Bluetooth) |
| Indoor/Outdoor Usage | Indoor/Outdoor |
| Power Source | Battery Powered |
| Video Capture Resolution | 1080p |
| Viewing Angle | 170 Degrees |
| Night Vision Range | 10 Feet |
| Waterproof Rating | IP65 |
| Doorbell Battery | 1800mAh Li-ion (included) |
| Monitor Charging | 5V/1A charger (not included) |
| TF Card Support | Max 32GB (not included) |
| Product Dimensions | 1 x 1.7 x 5 inches (doorbell) |
| Item Weight | 1.1 pounds |
Warranty Information
TKMARS products are manufactured to high-quality standards. For specific warranty terms and conditions, please refer to the warranty card included in your product packaging or visit the official TKMARS website. Keep your purchase receipt as proof of purchase for any warranty claims.
Support
For technical assistance, customer service, or to report any issues with your TKMARS M15 Wireless Video Doorbell Camera, please use the contact information provided with your product or visit the official TKMARS website for support resources.
Official Website: Visit the TKMARS Store on Amazon


