Introduction
Thank you for choosing the Sillbird Solar Robot Building Kit. This educational set is designed to introduce young minds to the fascinating world of robotics, engineering, and renewable energy. With 211 high-quality pieces, you can construct 21 unique robots, powered by either solar energy or AAA batteries (not included). This manual provides essential information for assembly, operation, and maintenance to ensure a rewarding building experience.
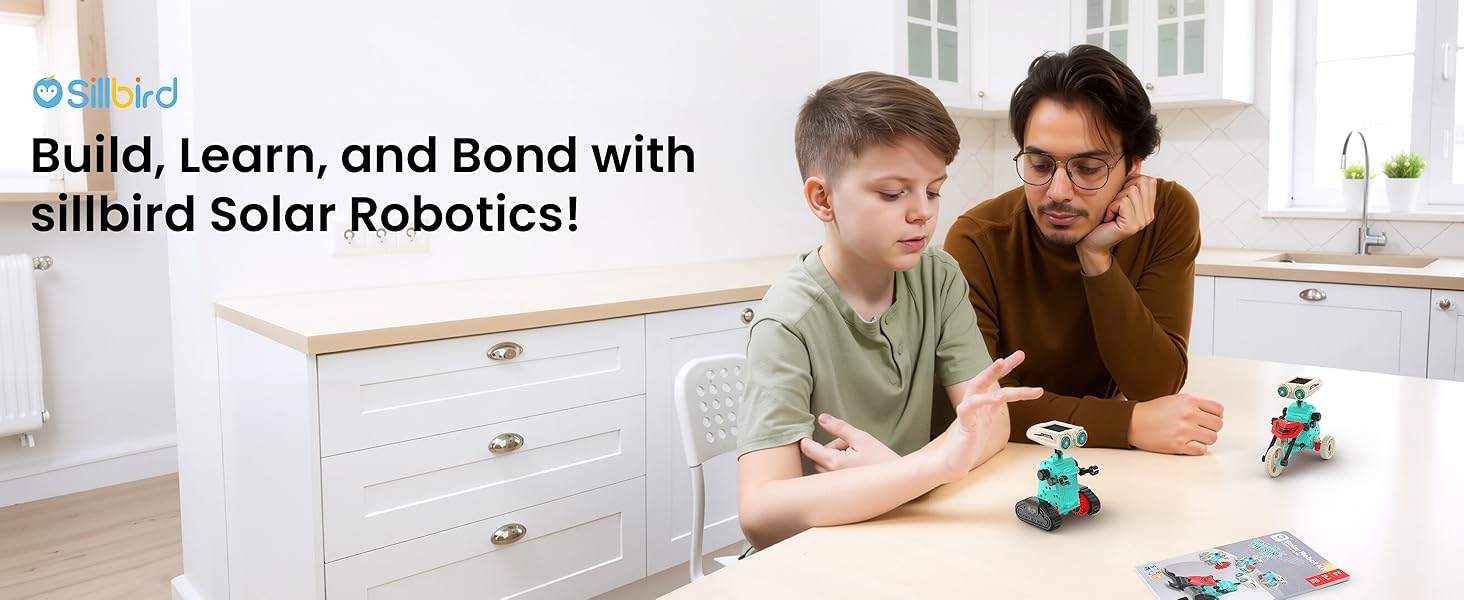
Image: A father and son engaged in building a robot from the kit, highlighting the collaborative and educational aspect.
Safety Information
WARNING: CHOKING HAZARD - Small Parts. Not for children under 3 years. This kit contains small parts that may pose a choking hazard. Adult supervision is recommended, especially for younger children within the recommended age range of 8-14 years. Ensure all tools are used carefully to prevent injury.
Parts List
Your Sillbird Solar Robot Kit includes 211 pieces, neatly organized on plastic sprues. These include various gears, connectors, body components, and the core solar panel/motor unit. Essential tools such as clippers and a nail file are provided to assist with assembly. Please refer to the detailed instruction book for a complete visual list of all mechanical and plastic parts.

Image: An overview of the kit's contents, including plastic parts on sprues, assembly tools, and the instruction manual.
Assembly Instructions
The kit comes with a comprehensive, step-by-step instruction manual. Each robot model has its own dedicated section with clear diagrams and part identification. Follow these general steps for assembly:
- Part Preparation: Use the provided clippers to carefully detach each piece from its plastic sprue. Use the nail file to smooth any rough edges or excess plastic for a clean fit.
- Module Assembly: Begin by assembling the core modules, such as the head module (containing the solar panel) and the body module (housing the motor and battery compartment).
- Connect Components: Follow the diagrams to connect gears, wheels, tracks, and other structural elements. Ensure all connections are secure.
- Power Source Integration: Install either the solar panel or the battery pack (requires 1 x AAA battery, not included) into the designated compartment as per the instructions for your chosen robot model.
- Final Touches: Apply any decorative stickers if desired.

Image: Detailed diagrams illustrating the assembly process for various robot components.
Powering Your Robot
Your robot can be powered in two ways:
- Solar Power: For outdoor use or under strong indoor lighting, connect the solar panel to the motor unit. The robot will move when sufficient sunlight or strong artificial light hits the solar panel.
- Battery Power: For indoor use or on cloudy days, connect the battery pack (requires 1 x AAA battery, not included) to the motor unit. Ensure the battery is inserted with correct polarity.
The instruction manual provides specific guidance on how to connect either the solar panel or the battery pack for each model.
Image: A visual representation of how the robot can be powered by either solar energy or a battery.
Operating Your Robot
Once assembled and powered, simply turn the ON/OFF switch to activate your robot. The movement pattern will vary depending on the model you have built. Experiment with different surfaces and lighting conditions (if using solar power) to observe how your robot behaves.

Image: Children playing with the robots indoors, demonstrating battery or strong light power.

Image: Children playing with the robots outdoors, demonstrating solar power.
21-in-1 Models
The kit offers 21 unique robot designs, ranging in complexity. You can build various robots, cars, motorcycles, and more. The instruction manual provides detailed steps for each model, allowing for endless rebuilding and exploration. Start with simpler designs and progress to more advanced builds as your skills develop.

Image: A visual guide to the 21 different robot models available for construction.
Maintenance
- Cleaning: Use a soft, dry cloth to wipe down the robot parts. Avoid using water or harsh chemicals, as this may damage the electronic components or plastic.
- Storage: When not in use, disassemble the robot or store it in a cool, dry place away from direct sunlight to prevent material degradation.
- Battery Care: If using batteries, remove them from the battery compartment when the robot will not be used for an extended period to prevent leakage.
Troubleshooting
- Robot Not Moving:
- Check if the ON/OFF switch is in the 'ON' position.
- If using solar power, ensure the solar panel is exposed to direct, strong sunlight. Cloudy conditions or weak indoor lighting may not provide enough power.
- If using battery power, ensure a fresh AAA battery is correctly installed with the correct polarity.
- Verify all wire connections are secure and properly attached to the motor and power source.
- Check for any obstructions in the gears or wheels that might prevent movement.
- Movement is Slow or Erratic:
- For solar power, increase exposure to brighter sunlight.
- For battery power, replace with a fresh AAA battery.
- Ensure all moving parts are free from friction and move smoothly. Re-check assembly steps for any tight connections.
Specifications
| Model Number: | US-226 |
| Brand: | Sillbird |
| Number of Pieces: | 211 |
| Recommended Age: | 8 - 14 years |
| Power Source: | Solar or 1 x AAA Battery (not included) |
| Product Dimensions: | 3.14 x 2.3 x 5.9 inches |
| Item Weight: | 1.57 pounds |
Warranty & Support
For any questions, concerns, or support needs regarding your Sillbird Solar Robot Building Kit, please do not hesitate to contact our customer service team. We are committed to providing prompt assistance.
Customer Service Email: service@sillbird.com
All emails will be replied to within 24 hours.


