
1. Introduction
This manual provides detailed instructions for the installation and operation of your GKU OBD Cable, designed to provide continuous power to USB-C dashcams. This cable enables parking monitoring features by drawing power directly from your vehicle's On-Board Diagnostics (OBD) port, ensuring your dashcam remains operational even when the vehicle is turned off.
2. Product Overview
The GKU OBD Cable is a hardwire kit that connects your USB-C compatible dashcam to your vehicle's OBD-II port. It offers a reliable power source for your dashcam, supporting features like parking surveillance without draining your car battery. The cable is designed for easy installation and discreet routing within your vehicle's interior.
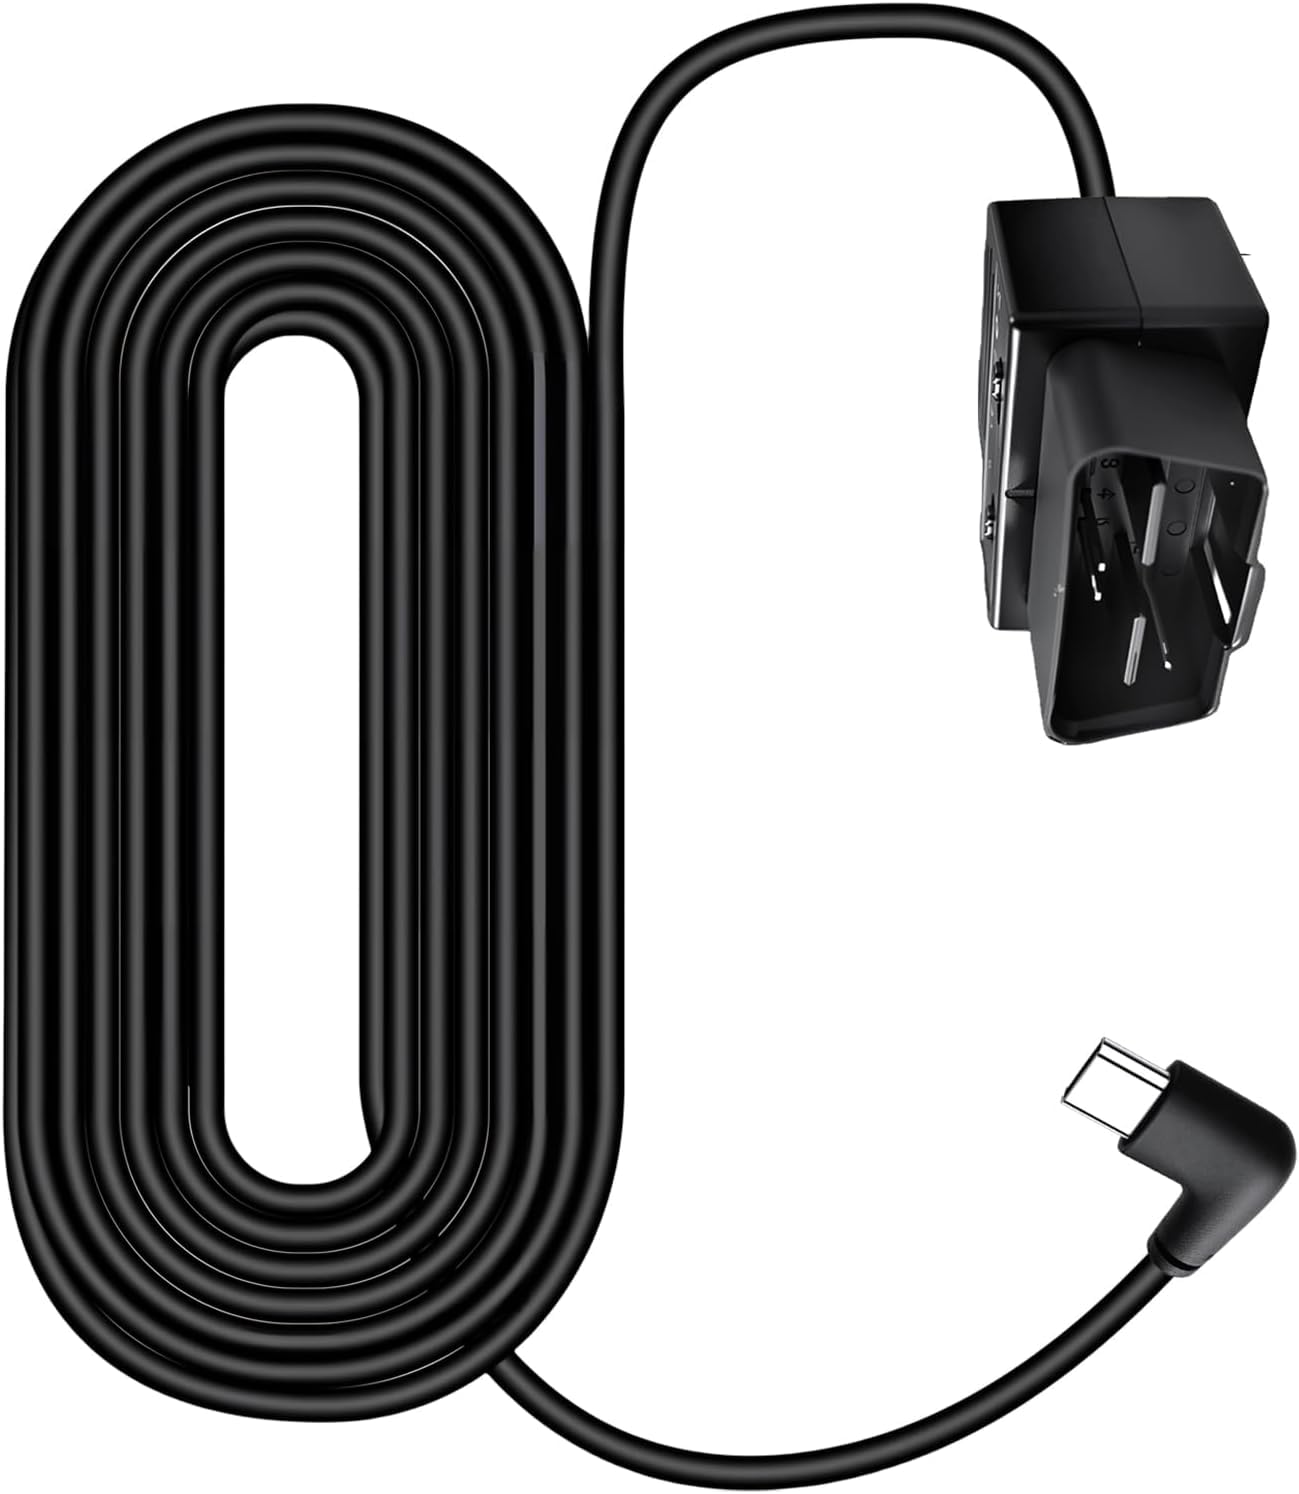
Image 1: GKU OBD Cable for USB-C Dashcam. This image shows the main components of the GKU OBD cable, including the OBD connector and the USB-C output.
3. Safety Information
- Always ensure your vehicle's engine is off and the ignition is in the "OFF" position before installing or removing the OBD cable.
- Consult your vehicle's owner's manual to locate the OBD-II port and understand any specific instructions regarding its use.
- Do not attempt to modify the cable or its connectors. Unauthorized modifications can cause damage to the product, your dashcam, or your vehicle's electrical system.
- Route the cable carefully to avoid interference with vehicle controls (pedals, steering wheel) or airbags. Secure the cable to prevent it from becoming loose during driving.
- If you are unsure about any step of the installation process, seek professional assistance.
4. Package Contents
The package typically includes:
- 1 x GKU OBD Cable for USB-C Dashcams
- (Additional items, if any, are not specified in the product data.)
5. Setup and Installation
Follow these steps to install your GKU OBD Cable:
- Locate the OBD-II Port: The OBD-II port is usually located under the dashboard on the driver's side, often near the steering column. Refer to your vehicle's owner's manual if you cannot find it.
- Connect the OBD Cable: Plug the OBD connector end of the GKU cable firmly into your vehicle's OBD-II port. Ensure a secure connection.
- Route the Cable: Carefully route the USB-C end of the cable from the OBD port to your dashcam's mounting location. Use cable clips or tuck the cable along the vehicle's trim to keep it neat and out of the way. Avoid obstructing airbags or driver controls.
- Connect to Dashcam: Plug the USB-C connector into your dashcam's power input port.
- Test the Connection: Start your vehicle. Your dashcam should power on automatically. Turn off your vehicle and remove the key; the dashcam should switch to parking mode (if supported by your dashcam) or remain powered for a set duration, depending on the cable's configuration and your dashcam's settings.
The GKU OBD Cable is designed to provide continuous power for parking monitoring while protecting your car battery from excessive discharge. It typically features a low-voltage cut-off function to prevent battery drain.
6. Operating Instructions
Once installed, the GKU OBD Cable operates automatically:
- Vehicle On: When your vehicle's ignition is on, the cable provides continuous power to your dashcam, allowing it to record normally.
- Vehicle Off (Parking Mode): When your vehicle's ignition is turned off, the cable continues to supply power to the dashcam for parking surveillance. The dashcam will typically switch to its parking mode settings (e.g., motion detection, time-lapse recording).
- Battery Protection: The cable incorporates a voltage monitoring system. If your vehicle's battery voltage drops below a safe threshold, the cable will automatically cut off power to the dashcam to prevent complete battery discharge, ensuring your vehicle can start.
7. Maintenance
- Regularly check the cable connections to ensure they are secure and free from damage.
- Keep the cable clean and free from dust or debris. Use a soft, dry cloth for cleaning.
- Avoid exposing the cable to extreme temperatures or direct sunlight for prolonged periods, as this can degrade the materials.
8. Troubleshooting
| Problem | Possible Cause | Solution |
|---|---|---|
| Dashcam does not power on. |
|
|
| Dashcam turns off immediately after vehicle is off. |
|
|
| Cable appears damaged. | Physical damage to the cable or connectors. | Discontinue use and replace the cable. |
9. Specifications
| Feature | Detail |
|---|---|
| Brand | GKU |
| Model | GKU-Dashcam-USBC-Hardwire-Kit-OBD |
| Connector Type | USB Type C (Output), OBD-II (Input) |
| Cable Type | USB |
| Compatible Devices | Dashcams with USB-C power input |
| Number of Pins (OBD) | 24 (Note: Standard OBD-II uses 16 pins. This might refer to internal wiring or a specific connector design.) |
| Item Weight | 1 Gram (Note: This weight seems unusually low and might be a data entry error.) |
| Country of Origin | China |
10. Warranty and Support
The product data indicates a warranty description value of "1", which is not specific. For detailed warranty information and customer support, please refer to the official GKU brand store or contact GKU customer service directly.
You can visit the GKU brand store for more information: GKU Brand Store