
Introduction
This manual provides essential instructions for the safe and efficient operation of your bokman Portable Level 2 & Level 1 EV Charger. Please read this manual thoroughly before using the product and retain it for future reference. This charger is designed for electric vehicles equipped with a J1772 connector.
Safety Information
FOR EV CHARGING ONLY.
- Ensure the charger is connected to a properly grounded outlet.
- Do not use the charger if the cable or connector is damaged.
- Keep the charger away from water and moisture during operation, unless specifically designed for outdoor use (this model is IP65 rated).
- Do not attempt to disassemble or repair the charger yourself. Contact qualified personnel for service.
- Always follow your vehicle manufacturer's charging guidelines.
- When using 120V power, the maximum current will automatically be limited to 12 Amps to comply with NEC guidelines (National Electrical Code) which stipulate that the maximum current for a continuous load (operating for 3 hours or more) shall not exceed 80% of the branch circuit ampere rating.
Package Contents
Verify that all items are present in the package:
- bokman Portable EV Charger (Control Box with 25ft Cable and J1772 Connector)
- NEMA 6-20 Plug (fixed on charger cable)
- NEMA 5-15 Adapter
- Durable Carry Bag
- Cable Holder
- Microfiber Towel
- User Manual

Image: Contents of the bokman EV Charger package, showing the main charger unit, NEMA 5-15 adapter, carry bag, cable holder, microfiber towel, and user manual.
Setup
Before initial use, ensure you have the correct electrical outlet available.
1. Outlet Verification
- For Level 2 Charging (240V): A dedicated NEMA 6-20 outlet is required. The charger comes with a fixed NEMA 6-20 plug.
- For Level 1 Charging (120V): Use the provided NEMA 5-15 adapter with a standard 3-prong household outlet (NEMA 5-15 receptacle).

Image: Illustration of the dual charging modes, showing the charger connected to a NEMA 6-20 outlet for Level 2 (240V) and a NEMA 5-15 outlet with adapter for Level 1 (120V).
2. Mounting the Charger (Optional)
The charger includes a cable holder for organized storage. Mount it near your charging location using appropriate hardware (not included) to keep the cable tidy and prevent tripping hazards.
Operating Instructions
1. Connecting the Charger
- Plug the power cord into the appropriate wall outlet (NEMA 6-20 for Level 2, or NEMA 5-15 with adapter for Level 1).
- The charger's LCD display will illuminate, showing current status.
- Connect the J1772 connector to your electric vehicle's charging port. Ensure a secure connection.
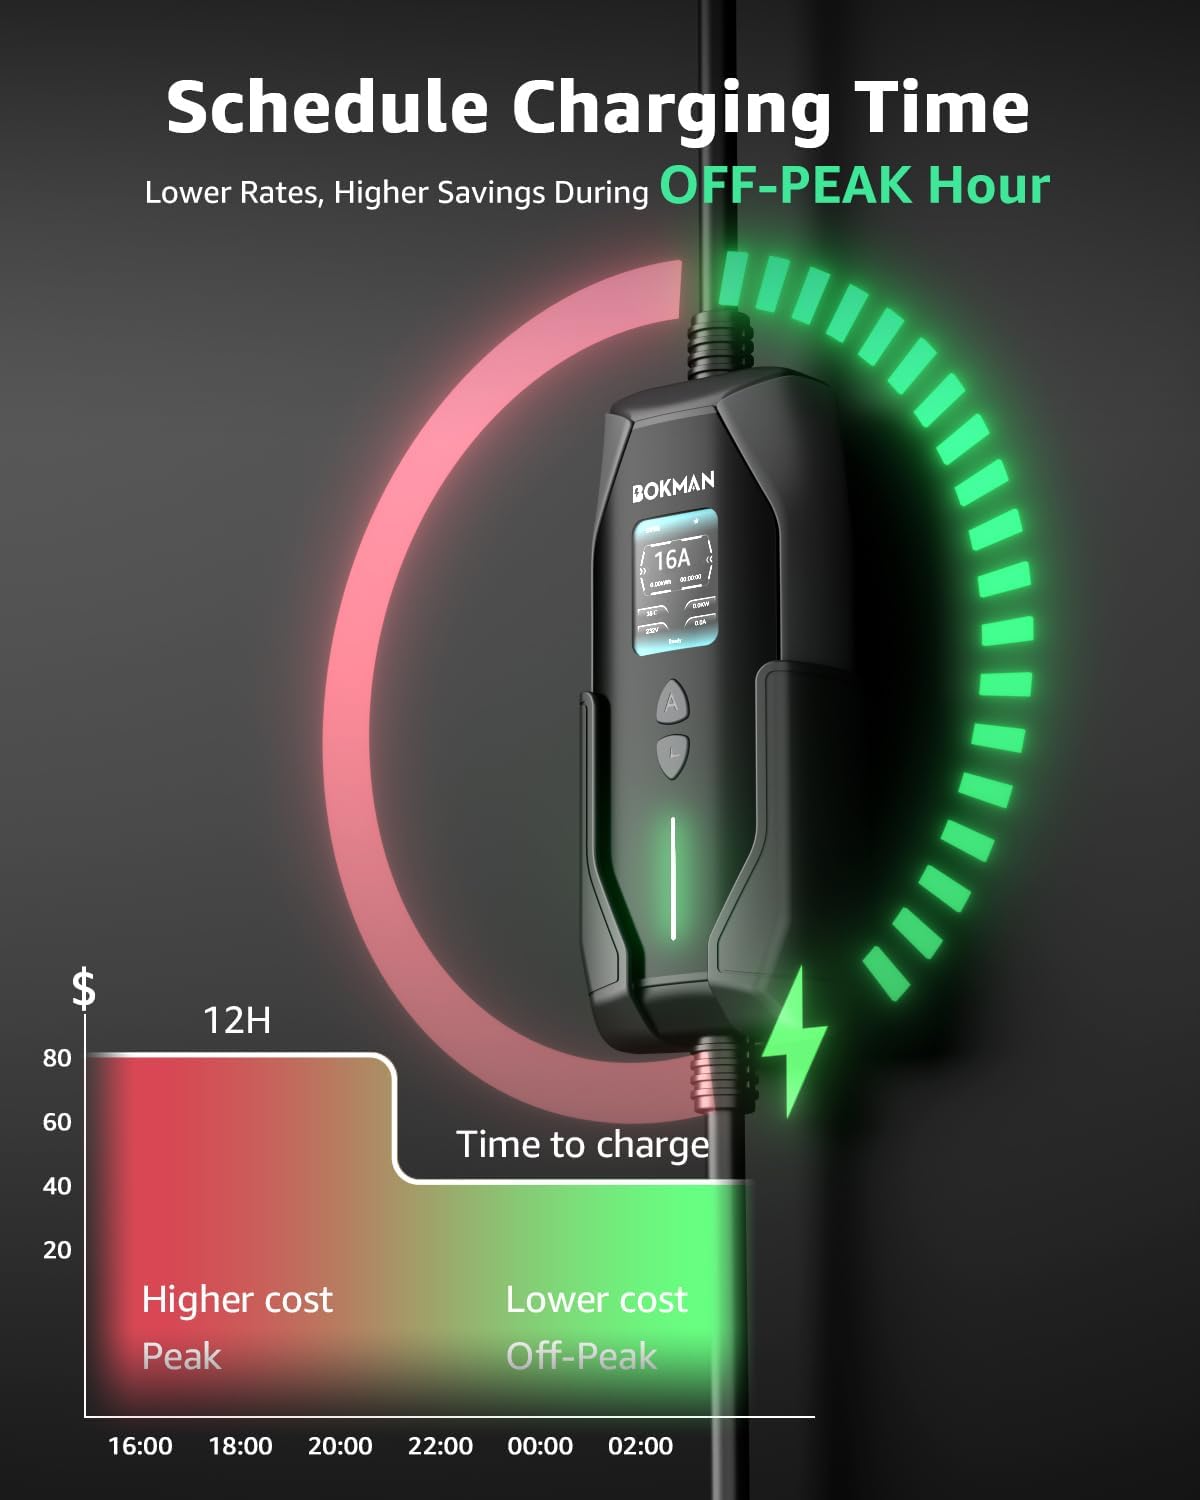
Image: Three steps for connecting the charger: plug into wall, select settings, and connect to EV.
2. Adjusting Current and Setting Delay Timer
The charger features physical buttons for adjusting current and setting a delay timer. These buttons are designed for reliable operation in various weather conditions.
- Current Adjustment: Press the 'A' button to cycle through available amperage settings.
- Level 1 (120V): 6A, 8A, 10A, 12A
- Level 2 (240V): 6A, 8A, 10A, 12A, 16A
- Delay Charging Timer: Press the 'L' button to set a delay for charging to begin. You can set a delay from 1 to 12 hours. This feature allows you to schedule charging during off-peak electricity hours. This is a mechanical timer and does not require an app or Wi-Fi.

Image: Detailed view of the charger's control panel, highlighting the LCD display, current adjustment button ('A'), and time schedule button ('L').

Image: Diagram explaining the delay charging function to utilize off-peak electricity rates.
3. Understanding the LCD Display and LED Indicators
The LCD display provides real-time charging information. LED indicators on the control box provide quick status updates.
- LCD Display: Shows selected current, charged capacity, temperature, charging voltage, charging timer, charging power, and charging current.
- LED Indicators:
- Solid Blue: Charging Completed
- Flashing Blue: Charging in Progress
- Solid Green: Power On
- Flashing Green: Schedule Mode Active
Image: Detailed view of the charger's LCD screen showing various charging parameters and an explanation of the LED indicator lights.
Maintenance
Proper maintenance ensures the longevity and safe operation of your EV charger.
- Cleaning: Use the provided microfiber towel or a soft, dry cloth to clean the charger and cable. Do not use harsh chemicals or abrasive cleaners.
- Storage: When not in use, store the charger in the provided carry bag in a dry, cool place. Use the cable holder to keep the cable neatly coiled.
- Inspection: Regularly inspect the cable, plugs, and connector for any signs of damage, wear, or corrosion. If any damage is found, discontinue use and contact customer support.
- Environmental Protection: The charger is IP65 waterproof and designed to withstand various weather conditions, including freeze and heat. However, avoid prolonged exposure to extreme conditions when possible to maximize lifespan.

Image: The bokman EV charger and its accessories, including the carry bag, stored in a vehicle trunk, demonstrating its portability.

Image: Visual representation of the charger's durability and resistance to water, freezing temperatures, and heat.
Troubleshooting
If you encounter issues with your bokman EV Charger, refer to the following common problems and solutions:
| Problem | Possible Cause | Solution |
|---|---|---|
| Charger not powering on | No power from outlet; loose connection; charger fault. | Check the wall outlet with another device. Ensure the charger plug is fully inserted. If problem persists, contact support. |
| Vehicle not charging | EV connector not fully inserted; vehicle charging port issue; delay timer active; incorrect current setting. | Ensure the J1772 connector is securely latched into the vehicle's charging port. Check if the delay timer is set. Verify the current setting is appropriate for your vehicle and circuit. Consult your vehicle's manual. |
| Charging is slow | Using Level 1 instead of Level 2; low amperage setting; vehicle limitations. | Ensure you are using a NEMA 6-20 outlet for Level 2 charging if faster charging is desired. Increase the amperage setting on the charger if your circuit safely supports it. Note that Level 1 charging (120V) is inherently slower. |
| Error message on display | Internal fault; over-temperature; over-voltage/current; ground fault. | Note the error code or message. Disconnect and reconnect the charger. If the error persists, contact customer support with the error details. |
Specifications
| Feature | Detail |
|---|---|
| Model | 16A-25ft |
| Charging Levels | Level 1 (120V), Level 2 (240V) |
| Adjustable Current (Level 1) | 6A, 8A, 10A, 12A |
| Adjustable Current (Level 2) | 6A, 8A, 10A, 12A, 16A |
| Cable Length | 25 feet |
| Connectors | J1772 (Vehicle Side), NEMA 6-20 (Wall Side, fixed), NEMA 5-15 Adapter (for 120V household outlets) |
| Ingress Protection (IP) Rating | IP65 (Waterproof) |
| Safety Features | Overtemperature, Overvoltage, Overcurrent Protection, Ground Fault Monitoring |
| Delay Timer | 1-12 hours |
| Item Weight | 4.74 kg |
| Manufacturer | HONGKONG HAN HANG TRADING LIMITED |
| Country of Origin | China |
Compatibility
This bokman EV Charger is compatible with all J1772 EV & PHEVs.

Image: A comprehensive list of electric vehicle brands and models compatible with the J1772 EV charger.
Official Product Videos
The following videos provide additional information and demonstrations of the bokman EV Charger.
J1772 EV Charger Overview
Video: This video provides an overview of the J1772 EV charger, demonstrating its features and ease of use. It highlights the charger's premium and sturdy materials and FCC certification.
EVDANCE 16A Portable EV Charger: Affordable Home Charging
Video: A detailed look at the EVDANCE 16A portable EV charger, focusing on its affordability and suitability for home charging. This video is relevant as it showcases a similar product and its functionalities.
Level 2 EV Charger Functions
Video: This video demonstrates the various functions of a Level 2 EV charger, providing visual guidance on its operation and features.
Portable EV Charger (25ft Cable, ETL, Gun Cable Holder)
Video: Showcases a portable EV charger with a 25ft cable and gun cable holder, highlighting its design and practical use.
Level 1+2 Portable EV Charger, 16 Amp 120V or 240V
Video: Demonstrates the functionality of a Level 1 and Level 2 portable EV charger, specifically mentioning 16 Amp, 120V or 240V capabilities, which aligns with the product's features.
Level 2 EV Charger
Video: A general demonstration of a Level 2 EV charger, providing visual context for its use and features.
Warranty
Specific warranty information is typically provided with your purchase documentation. Please refer to the warranty card or contact the manufacturer for details regarding coverage and duration.
Support
For technical assistance, troubleshooting beyond this manual, or warranty claims, please contact bokman customer support through the retailer where the product was purchased or refer to the contact information provided in your product packaging.