1. Product Overview
The IWGAME RGB Wired Controller Model 5200 is a versatile gaming controller designed for a wide range of platforms. It features programmable back buttons, a rapid-fire Turbo mode, customizable RGB lighting, dual vibration feedback, and a 3.5mm audio jack for an immersive gaming experience. This manual provides detailed instructions for setup, operation, and maintenance.

Image 1: Front view of the IWGAME RGB Wired Controller Model 5200.
Key Features:
- Programmable Back Buttons: Two rear buttons for custom remapping and combo execution.
- Rapid-Fire Turbo Mode: Automatic rapid button presses for enhanced gameplay.
- RGB Lighting: Customizable lighting effects to match your gaming setup.
- Wired Connection: Stable and responsive gameplay via a 90-inch USB cable.
- Dual Vibration: Immersive haptic feedback for in-game actions.
- 3.5mm Audio Jack: Direct audio connection for headsets.
- Wide Compatibility: Supports PS5, PS4, PC, Mac, iOS, Android, and Steam Deck.

Image 2: Visual representation of the IWGAME controller's wide compatibility across various gaming platforms.
2. Setup Instructions
2.1 Initial PS5 Console Setup
Before using the IWGAME RGB Wired Controller with your PlayStation 5 console, it is crucial to adjust a specific setting on the PS5 system. This ensures proper communication and functionality of the wired controller.
- Navigate to the PS5 System Settings.
- Select Accessibility.
- Go to Controller (General).
- Choose Communication Method.
- Select "Use USB Cable".
Failure to change this setting will prevent the wired controller from functioning correctly with the PS5.

Image 3: Screenshot illustrating the PS5 settings menu to select "Use USB Cable" as the communication method.
Video 1: Demonstrates the initial setup process on a PS5 console, specifically how to set the "USB Cable" communication mode.
2.2 Connecting the Controller
The IWGAME RGB Wired Controller connects directly to your gaming device via its integrated USB cable.
- Ensure your gaming console (PS5, PS4) or PC/Mac is powered on.
- Plug the USB-A end of the controller's cable into an available USB port on your device.
- The controller will automatically connect. For PS5, ensure the "Use USB Cable" setting is enabled as described above.
- Press the Home button on the controller to power it on and select your user profile if prompted.
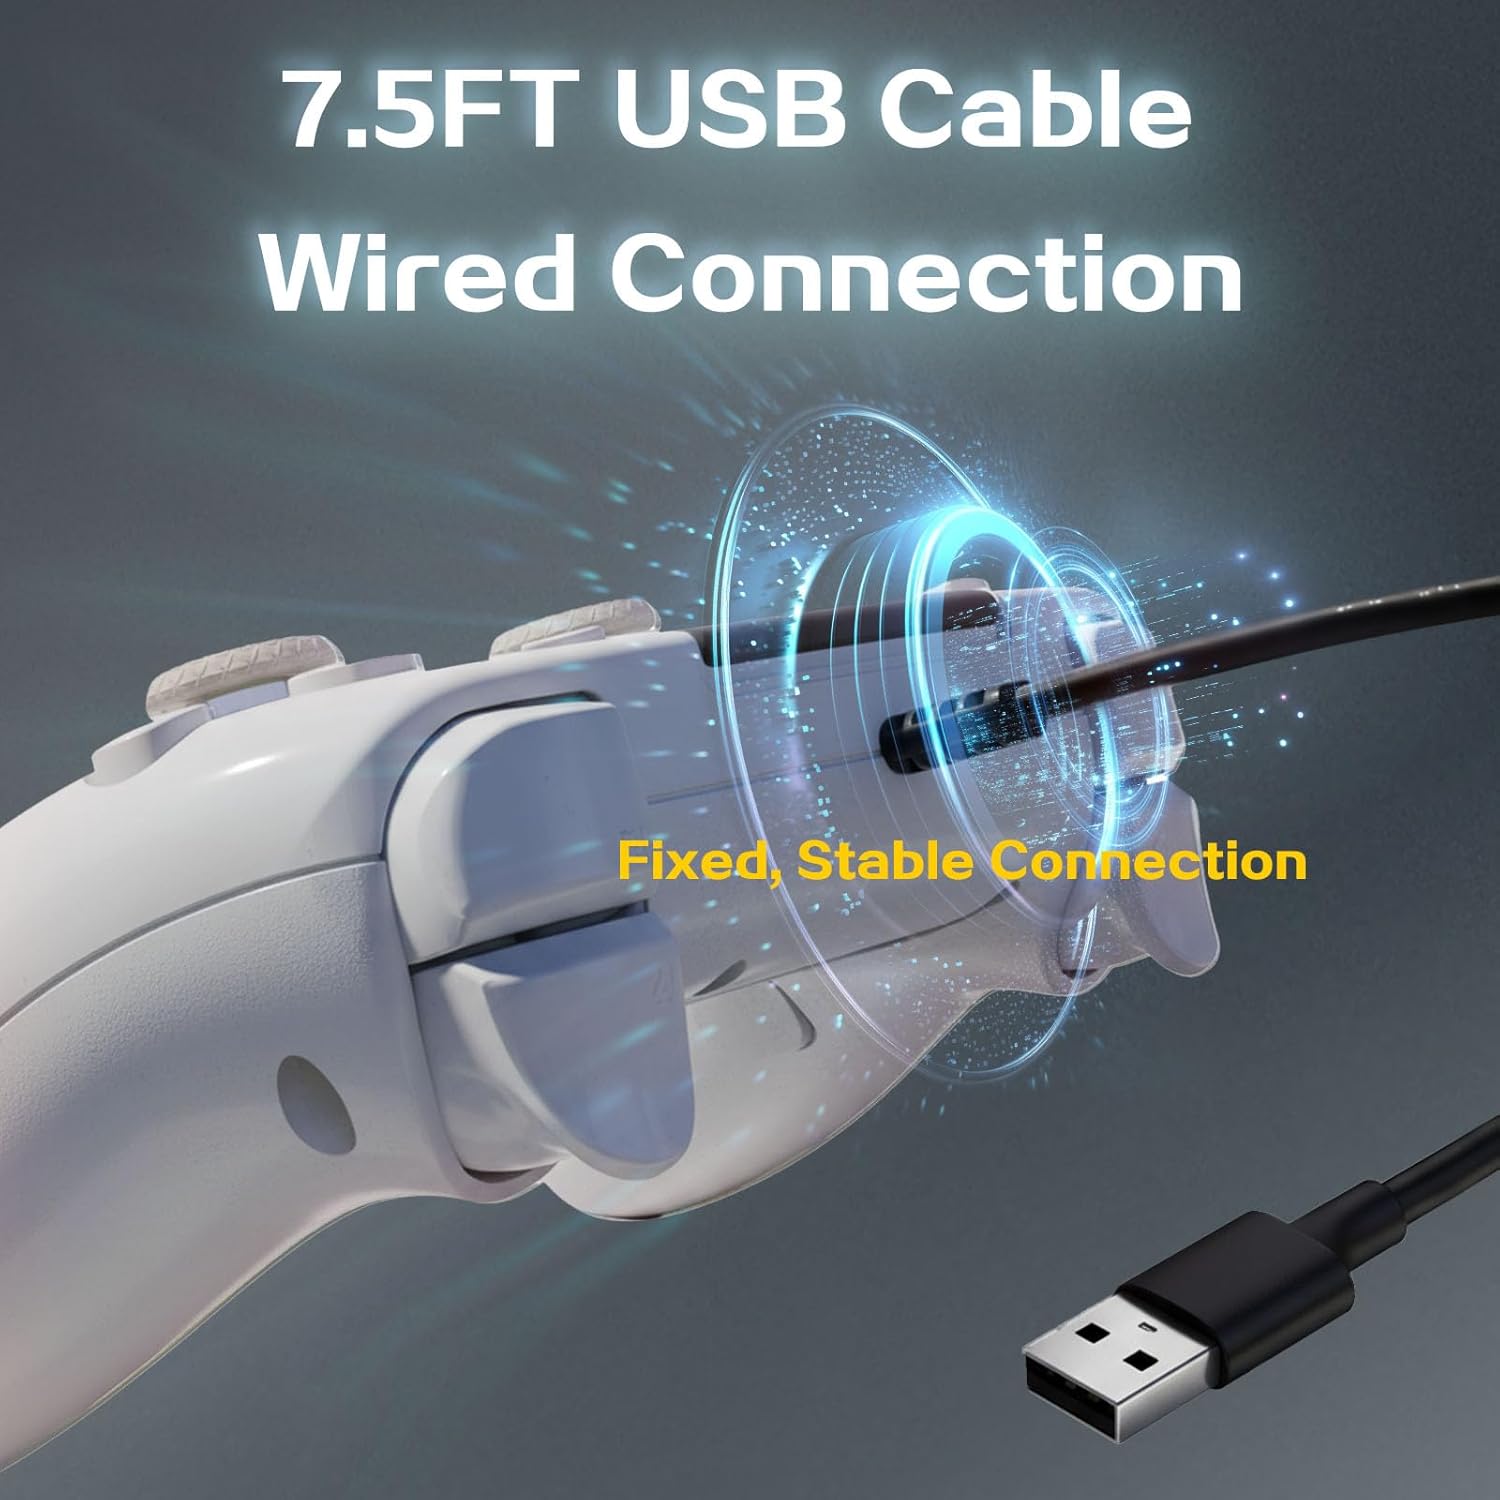
Image 4: Close-up view of the controller's USB cable, highlighting the wired connection for stable gameplay.
3. Operating Instructions
3.1 Programmable Back Buttons (Remap/Macro)
The controller features two programmable back buttons (PL and PR) that can be remapped to other controller inputs or set for macro functions, allowing for advanced maneuvers without repositioning your thumbs.
To Set a Remap/Macro:
- Long press the "Set" button (located on the back of the controller) for 3 seconds until the controller vibrates.
- Press the button you wish to remap (e.g., X, Circle, Square, Triangle, D-pad, Joysticks, Triggers).
- Press one of the back paddles (PL or PR) to assign the remapped function to it. The controller will vibrate to confirm successful setting.
To Cancel a Remap/Macro:
- Long press the "Set" button for 3 seconds until the controller vibrates.
- Press the back paddle (PL or PR) that has the remapped function you wish to cancel. The controller will vibrate to confirm cancellation.

Image 5: Illustration of the two programmable back buttons (PL and PR) and the types of inputs they can be remapped to.
Video 2: Guide on how to set and cancel the Combo/Remap function for the back paddles.
3.2 Rapid-Fire Turbo Mode
The Turbo mode allows for automatic rapid button presses, ideal for games requiring quick, continuous input.
To Set Turbo Function:
- Press and hold the "Turbo" button.
- While holding "Turbo", press the desired action button (e.g., R2, L2, X, Square) to assign the Turbo function to it.
- Release both buttons. Now, holding the assigned action button will activate rapid fire.
To Cancel Turbo Function:
- Press and hold the "Turbo" button.
- While holding "Turbo", press the action button that currently has the Turbo function assigned.
- Release both buttons. The Turbo function for that specific button is now deactivated.

Image 6: Visual explanation of the Turbo Rapid Fire feature, showing the Turbo button and an example of its application.
Video 3: Detailed instructions on how to set and cancel the Turbo function on the controller.
3.3 RGB Lighting Effects
The controller features customizable RGB lighting around the joysticks. Specific controls for changing lighting modes (e.g., colorful, single color, off) are typically integrated into the controller's design or accessed via a dedicated button. Refer to the quick start guide included with your product for exact button combinations.

Image 7: Depicts the various RGB lighting modes available on the controller, including colorful, single color, and off.
3.4 Dual Vibration and Audio Jack
Experience enhanced immersion with dual motor vibration feedback, providing tactile responses to in-game events. The integrated 3.5mm audio jack allows you to connect your headset directly to the controller for game audio and voice chat.

Image 8: Illustrates the dual vibration motors, speaker, 3.5mm audio jack, and headphone microphone compatibility of the controller.
3.5 Motion Control
The controller supports motion control functionality, allowing for intuitive interaction in games that utilize this feature.
Video 4: Shows the controller in action, demonstrating its motion control capabilities during gameplay.
4. Maintenance
4.1 Cleaning
- Use a soft, dry cloth to clean the controller's surface.
- Avoid using harsh chemicals, solvents, or abrasive materials, as these can damage the finish.
- For stubborn dirt, slightly dampen the cloth with water, ensuring no liquid enters the controller's openings.
4.2 Storage
- Store the controller in a cool, dry place away from direct sunlight and extreme temperatures.
- Avoid placing heavy objects on the controller to prevent damage.
4.3 Joystick and Trigger Calibration
If you experience issues with joystick drift or unresponsive triggers, calibration may be necessary.
Video 5: Instructions on how to calibrate the joysticks and triggers of the controller to ensure optimal performance.
5. Troubleshooting
Controller Not Responding on PS5:
- Ensure the PS5 communication method is set to "Use USB Cable" (refer to Section 2.1).
- Verify the USB cable is securely connected to both the controller and the PS5 console.
- Try a different USB port on the PS5.
Buttons or Joysticks Unresponsive/Drifting:
- Perform joystick and trigger calibration (refer to Section 4.3).
- Ensure the controller is clean and free from debris that might obstruct button movement.
Turbo/Remap Function Not Working:
- Review the steps for setting and canceling Turbo/Remap functions in Section 3.1 and 3.2.
- Ensure you are pressing the correct button combinations.
No Vibration Feedback:
- Check in-game settings to ensure vibration is enabled.
- Verify console settings for controller vibration intensity.
If issues persist after following these steps, please contact IWGAME customer support for further assistance.
6. Specifications
| Model Number | 5200 |
| Brand | IWGAME |
| Connectivity | Wired (USB) |
| Cable Length | 90 inches (approx. 7.5 feet) |
| Compatibility | PS5, PS4, PC, Mac, iOS, Android, Steam Deck |
| Dimensions | 2.5 x 5.1 x 6.1 inches |
| Weight | 11.3 ounces |
| Audio Port | 3.5mm Headset Jack |
7. Warranty and Support
7.1 Warranty Information
For detailed warranty information regarding your IWGAME RGB Wired Controller Model 5200, please refer to the warranty card included with your product packaging or visit the official IWGAME website. Warranty terms and conditions may vary by region and retailer.
7.2 Customer Support
If you require technical assistance, have questions about product features, or need to report an issue, please contact IWGAME customer support. Contact details can typically be found on the product packaging, the official IWGAME website, or through your retailer.


