
1. Introduction
This user manual provides detailed instructions for the operation and maintenance of your Phinistec F6 MP3 Player. Please read this manual thoroughly before using the device to ensure proper functionality and to maximize your user experience. Keep this manual for future reference.
2. Product Overview
2.1 Key Features
- Bluetooth 5.3 Technology: Enhanced compatibility, stable signal, and reduced power consumption for wireless audio. Note: Cannot connect to phones or tablets.
- Integrated HD Speaker: Provides loud, clear stereo sound for an immersive audio experience without headphones.
- FM Radio Functionality: Supports automatic station search, saving favorite stations, and radio recording.
- Extended Battery Life: Up to 50 hours of continuous music playback with a 500mAh battery.
- Lossless HiFi Sound: Premium chips deliver high-fidelity audio quality.
- Ample Storage: 64GB internal memory, expandable up to 256GB via Micro SD card (FAT32 format).
- Wide Audio Format Support: Compatible with APE, FLAC, MP3, OGG, AAC, ACELP, WMA, WAV.
- 2.4-inch Touchscreen: Intuitive interface for easy navigation.
- Voice Recorder: Built-in function for audio recording.
2.2 Package Contents
Verify that all items are present in the package:
- Phinistec F6 MP3 Player
- Instruction Manual
- USB Data Cable
- Wired Earphones

Image: Contents of the Phinistec F6 MP3 Player package, showing the device, user manual, USB cable, and wired earphones.
2.3 Device Layout
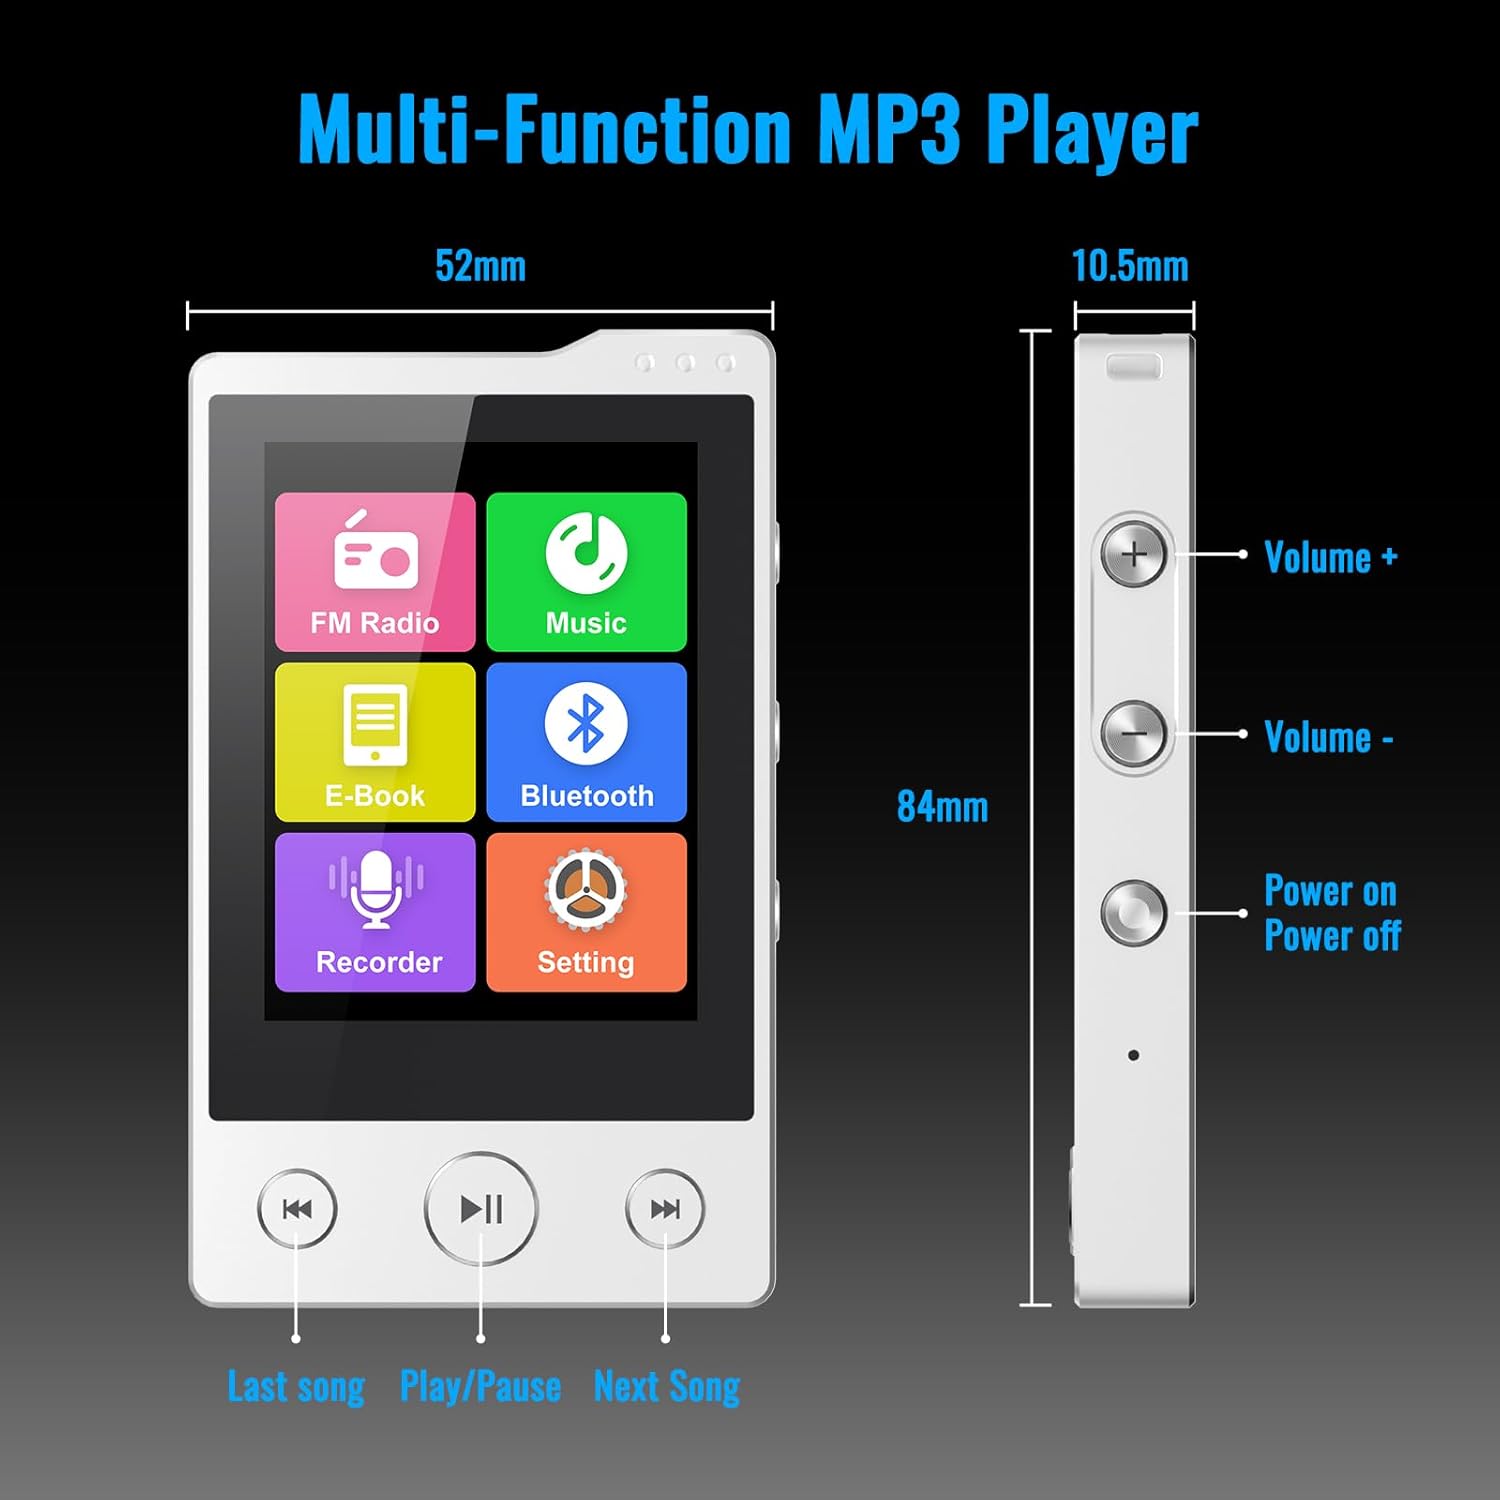
Image: Front and side view of the Phinistec F6 MP3 Player with labels for Volume +, Volume -, Power On/Off buttons, and navigation buttons (Last song, Play/Pause, Next Song). Dimensions are also indicated.
- Front Panel: 2.4-inch touchscreen display, 'Last Song', 'Play/Pause', and 'Next Song' navigation buttons.
- Right Side: Volume Up (+), Volume Down (-), and Power On/Off buttons.
- Bottom: 3.5mm audio jack, USB-C port for charging and data transfer, Micro SD card slot.
3. Setup
3.1 Charging the Device
- Connect the provided USB-C cable to the player's USB-C port.
- Connect the other end of the USB cable to a USB power adapter (not included) or a computer's USB port.
- The battery indicator on the screen will show charging status. A full charge provides approximately 50 hours of music playback.

Image: The Phinistec F6 MP3 Player connected to a USB-C charging cable, illustrating the charging process.
3.2 Inserting a Micro SD Card
The device supports Micro SD cards up to 256GB (FAT32 format) for expanded storage.
- Locate the Micro SD card slot on the bottom of the player.
- Gently insert the Micro SD card into the slot until it clicks into place.
- To remove, push the card inward until it springs out.

Image: A Micro SD card being inserted into the Phinistec F6 MP3 Player, highlighting the expandable storage feature.
3.3 Transferring Files
- Connect the player to your computer using the USB-C cable.
- The player will appear as a removable disk on your computer.
- Drag and drop your desired music, video, or e-book files into the appropriate folders on the player or Micro SD card.
- Safely eject the device from your computer before disconnecting the cable.
4. Operating Instructions
4.1 Power On/Off
- To Power On: Press and hold the Power button on the right side until the screen illuminates.
- To Power Off: Press and hold the Power button until the power-off option appears on the screen, then confirm.
4.2 Basic Navigation
- Touchscreen: Tap icons to open applications, swipe to navigate menus.
- Volume Buttons: Use the '+' and '-' buttons on the right side to adjust audio volume.
- Navigation Buttons: Use the physical 'Last Song', 'Play/Pause', and 'Next Song' buttons below the screen for media control.
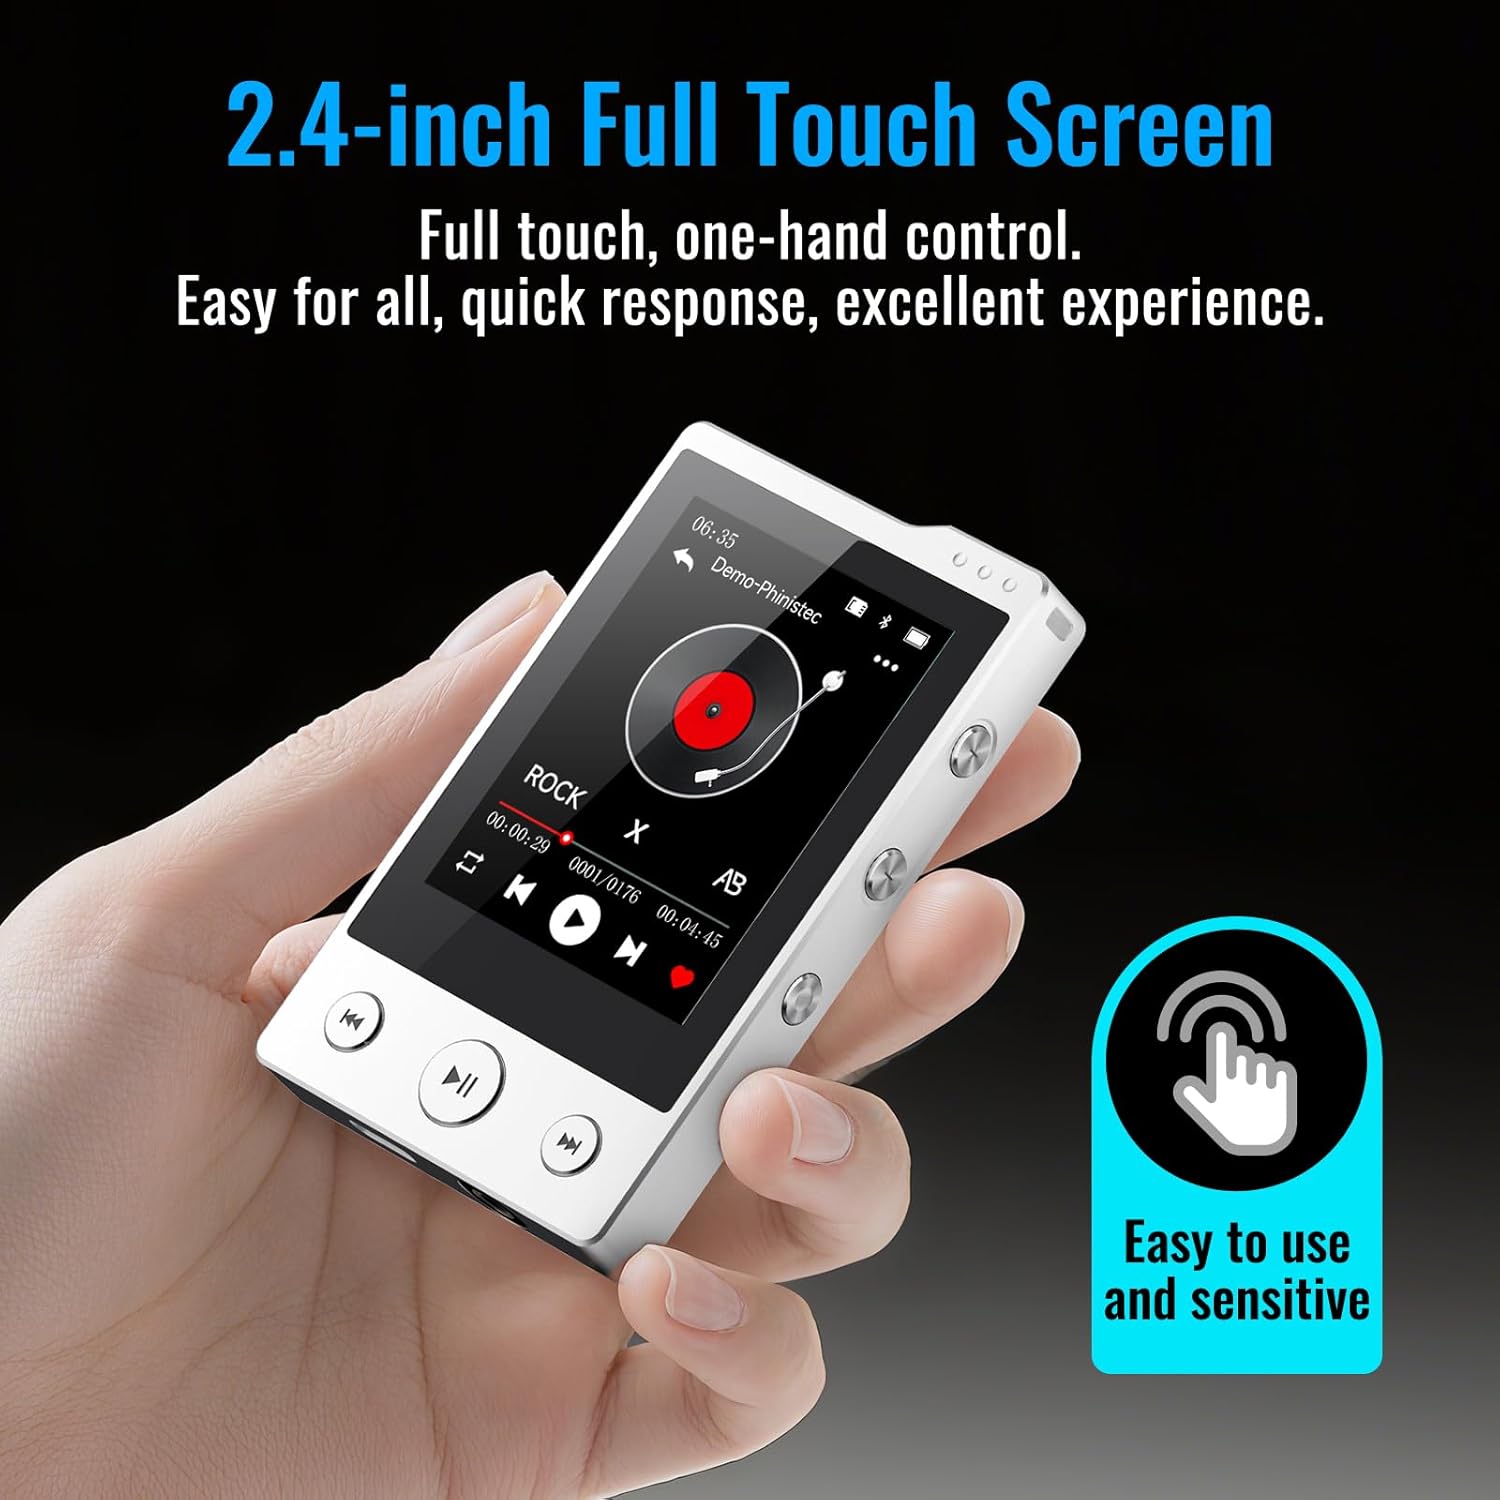
Image: A hand interacting with the 2.4-inch full touchscreen of the Phinistec F6 MP3 Player, illustrating its ease of use.
4.3 Music Playback
- From the main menu, tap the 'Music' icon.
- Browse your music library by artist, album, genre, or folder.
- Tap a song to begin playback.
- Use the on-screen controls or physical buttons for play/pause, skip tracks, and volume adjustment.
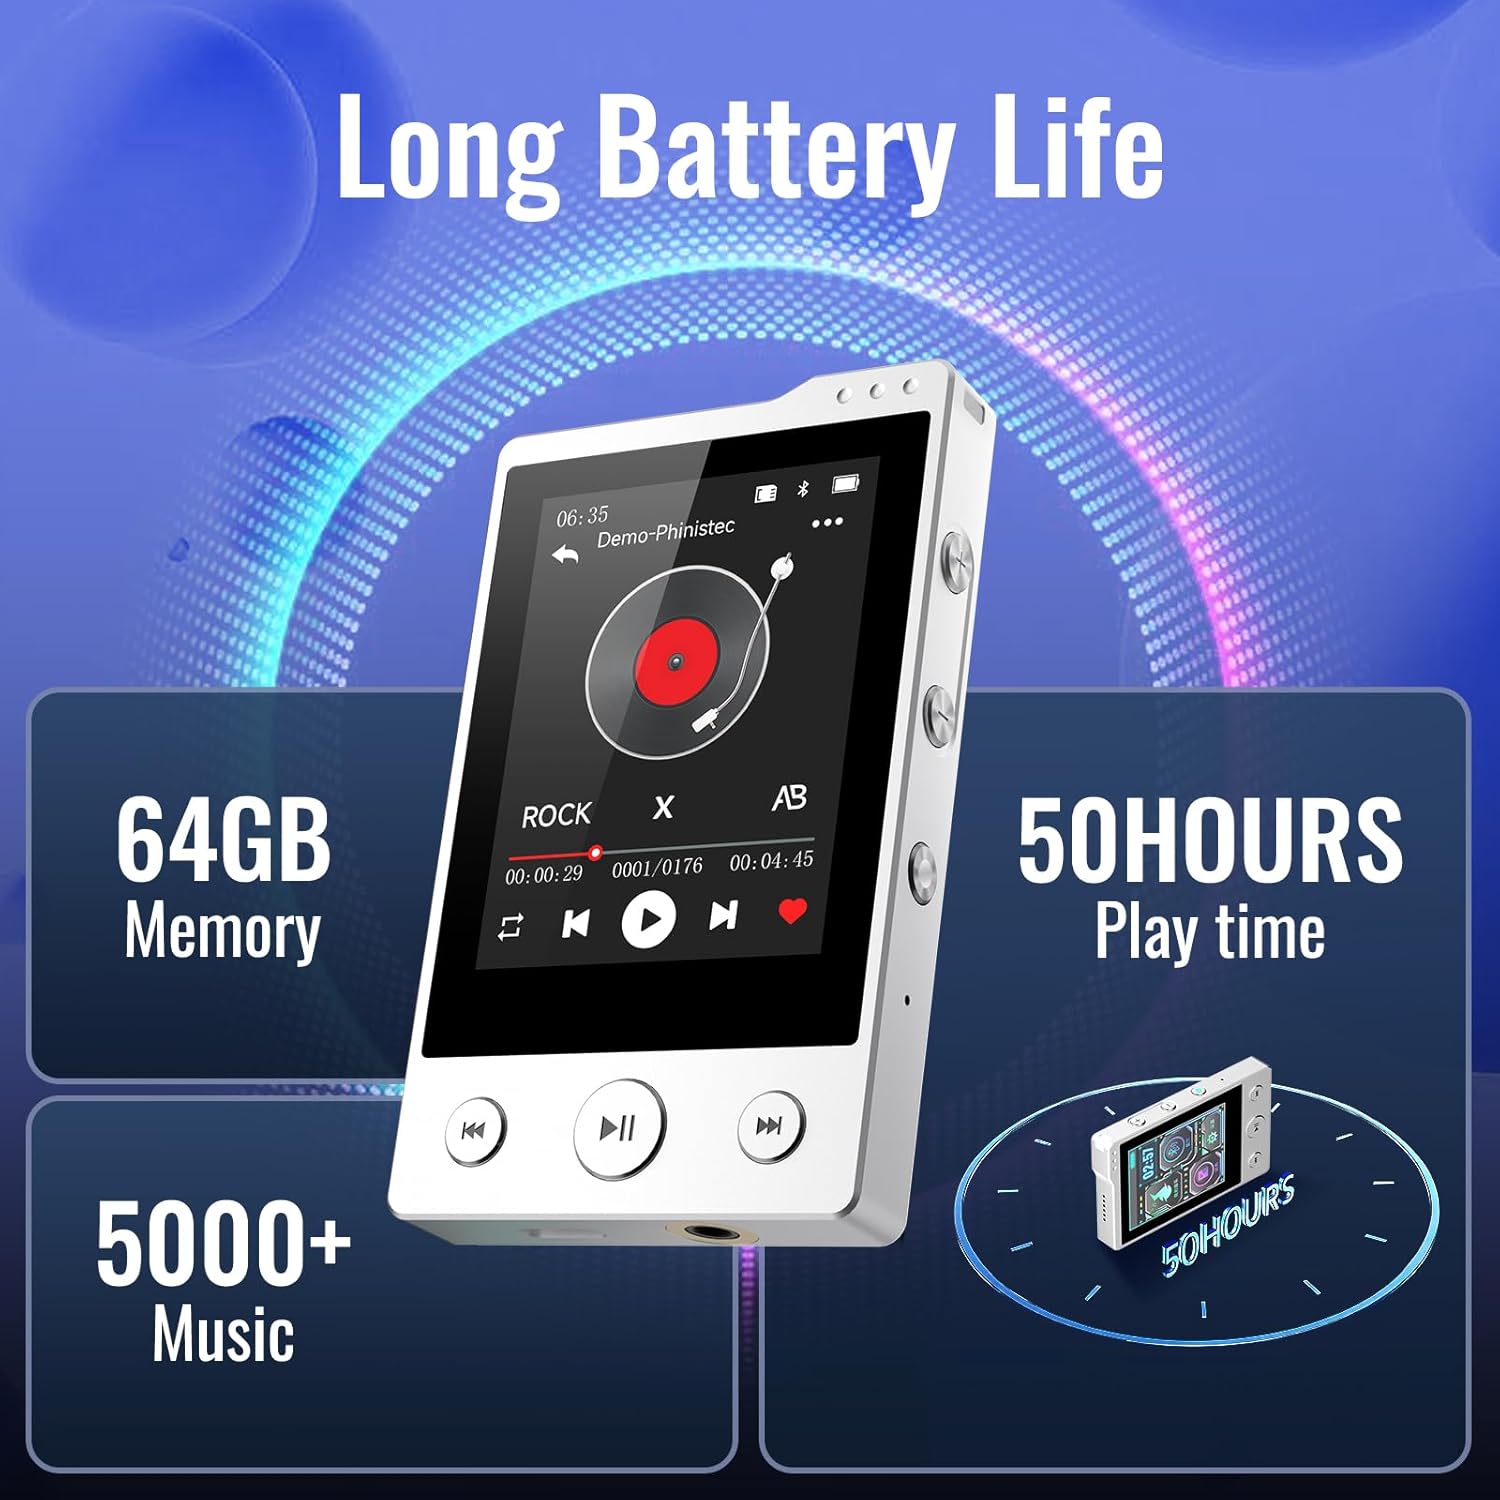
Image: The Phinistec F6 MP3 Player screen showing music playback, along with indicators for 64GB memory and 50 hours of play time.
4.4 Bluetooth Connectivity
The F6 MP3 player features Bluetooth 5.3 for connecting to Bluetooth headphones or speakers.
- From the main menu, tap the 'Bluetooth' icon or navigate to 'Settings' and select 'Bluetooth'.
- Turn on Bluetooth. The player will scan for available devices.
- Ensure your Bluetooth headphones or speaker are in pairing mode.
- Select your device from the list to pair.
Note: The Phinistec F6 MP3 Player cannot connect to mobile phones or tablets via Bluetooth.

Image: The Phinistec F6 MP3 Player interface displaying icons for FM Radio, Music, E-Book, Bluetooth, Recorder, and Settings, with illustrations of compatible Bluetooth devices like headsets, speakers, and car audio systems.
4.5 FM Radio
To use the FM radio, wired earphones must be connected as they act as the antenna.
- Connect wired earphones to the 3.5mm audio jack.
- From the main menu, tap the 'FM Radio' icon.
- Select 'Auto Search' to find available stations or manually tune.
- You can save favorite stations and record radio broadcasts.
4.6 Voice Recorder
- From the main menu, tap the 'Recorder' icon.
- Tap the record button to start recording.
- Tap again to pause/resume, and tap the stop button to save the recording.
4.7 E-book Reader
The player supports reading e-books in TXT format.
- Transfer TXT format e-book files to the player.
- From the main menu, tap the 'E-book' icon.
- Select the desired e-book to open and read.
4.8 Video Playback
The player supports video playback. Some video formats may require conversion using compatible software on a computer before transfer.
- Transfer compatible video files to the player.
- From the main menu, tap the 'Video' icon.
- Select the desired video file to play.
4.9 Settings
Access the 'Settings' menu to customize various aspects of the player, including:
- Display brightness and timeout
- Date and time
- Language
- Equalizer settings
- System information and factory reset options
5. Maintenance
- Cleaning: Use a soft, dry cloth to clean the device. Avoid liquid cleaners or abrasive materials.
- Storage: Store the player in a cool, dry place away from direct sunlight and extreme temperatures.
- Battery Care: To prolong battery life, avoid fully discharging the battery frequently. Charge the device regularly, even if not in use for extended periods.
- Avoid Impact: Protect the device from drops and impacts to prevent damage to the screen and internal components.
6. Troubleshooting
| Problem | Possible Solution |
|---|---|
| Device does not power on. | Ensure the battery is charged. Connect to a power source and try again. If unresponsive, perform a hard reset (refer to device layout for reset pinhole if available, or hold power button for 10-15 seconds). |
| Cannot connect to Bluetooth device. | Ensure Bluetooth is enabled on both the player and the target device. Place devices close to each other. Ensure the target device is in pairing mode. Remember, the player cannot connect to phones or tablets. |
| FM Radio not working. | Ensure wired earphones are properly connected to the 3.5mm audio jack, as they function as the antenna. |
| Files not appearing on the player. | Verify that files were transferred to the correct folders. Check if the Micro SD card is properly inserted and formatted (FAT32). Ensure file formats are supported by the player. |
| Touchscreen is unresponsive. | Restart the device. If the issue persists, ensure the screen is clean and free of moisture. |
7. Specifications
| Feature | Detail |
|---|---|
| Model Name | F6 |
| Brand | Phinistec |
| Memory Storage Capacity | 64 GB (Expandable up to 256GB via Micro SD) |
| Connectivity Technology | Bluetooth 5.3, Aux (3.5mm), USB-C |
| Special Features | Built-In Speaker, FM Radio, Touch Screen, Voice Recorder |
| Screen Size | 2.4 Inches |
| Compatible Devices | Headphones, Personal Computer, Bluetooth Speakers |
| Media Type | Micro SD |
| Supported Audio Formats | APE, FLAC, MP3, OGG, AAC, ACELP, WMA, WAV |
| Battery | 500mAh (Up to 50 hours music playback) |
| Item Weight | 6.4 ounces |
| Dimensions | 4.41 x 2.83 x 1.46 inches |
8. Warranty and Support
For warranty information or technical support, please refer to the contact details provided with your purchase documentation or visit the official Phinistec website. Keep your proof of purchase for warranty claims.


