Introduction
This manual provides detailed instructions for the safe and effective operation of your Fanttik A10 Pro 2-in-1 Digital Laser Tape Measure and Fanttik K2 Ultra 7.4V Power Drill. Please read this manual thoroughly before using the devices and retain it for future reference.

Image: The Fanttik A10 Pro Digital Laser Tape Measure and the K2 Ultra Power Drill displayed together, showcasing both tools included in the set.
Fanttik A10 Pro Digital Laser Tape Measure
Product Overview
The A10 Pro is a versatile 2-in-1 measuring tool, combining a traditional digital tape measure with a laser distance measurer. This design allows for both short-range, precise measurements and long-range distance calculations.

Image: The Fanttik A10 Pro device illustrating its dual functionality with a digital tape extended and a laser beam active, indicating 9.8 ft digital tape mode and 165 ft laser mode.
Setup
- Charging: Ensure the device is fully charged using the provided USB-C cable. The battery indicator on the display will show charging status.
- Power On/Off: Press and hold the power button (usually the central button) to turn the device on or off.
Operating Instructions
- Display: The 1.47-inch IPS color screen provides clear readings. Brightness can be adjusted for optimal visibility in various lighting conditions.

Image: A hand operating the Fanttik A10 Pro, highlighting its HD IPS color display which shows real-time measurements clearly, even in bright light.
- Digital Tape Mode:
- Pull out the physical tape measure. The digital display will automatically show the measurement.
- The digital tape offers high precision, typically within ±1/16 inch.
- Laser Mode:
- Ensure the tape is fully retracted.
- Press the laser button (often the central button or a dedicated laser button) to activate the laser.
- Point the laser at the target. The distance will be displayed on the screen.
- The laser distance measurement offers precision typically within ±1/8 inch.

Image: An X-ray view of the Fanttik A10 Pro, illustrating the internal laser mechanism and highlighting its high precision for both laser distance (±1/8 inch) and digital tape (±1/16 inch) measurements.
- Switching Modes: The device automatically switches between tape and laser modes based on whether the tape is extended or retracted.
- Units and Reference Points:
- Use the designated buttons (refer to device interface) to cycle through measurement units (m, cm, mm, ft, in, 0'0").
- Select reference points (Rear-based, Screw hole-based, Front-based) for accurate measurements depending on your starting point.

Image: The Fanttik A10 Pro mounted on a tripod, displaying options for 6 measurement units (m, cm, mm, ft, in, 0'0") and 3 reference points (Rear-based, Screw hole-based, Front-based).
Fanttik K2 Ultra 7.4V Power Drill
Product Overview
The K2 Ultra is a powerful and intelligent cordless power drill designed for a variety of DIY tasks, from furniture assembly to appliance repairs. It features a VoltiPulse brushless motor for efficient performance.

Image: An X-ray view of the Fanttik K2 Ultra, highlighting its VoltiPulse Brushless Motor with specifications of Max 30 N.m torque, Max 1250 RPM, and +70% lifespan.
Setup
- Charging: Connect the drill to a power source using the USB-C cable. The battery indicator on the main screen will show charging progress. The K2 Ultra features a 3300mAh long-lasting battery.

Image: An X-ray view of the Fanttik K2 Ultra, revealing its internal long-lasting 3300mAh battery and indicating a Type-C 5V 2A charging port.
- Bit Installation:
- Ensure the drill is powered off and the lock function is active.
- Twist the chuck counter-clockwise to open the jaws.
- Insert the desired drill bit or screwdriver bit into the chuck.
- Twist the chuck clockwise to tighten securely.
- Power On/Off: The drill typically powers on when the trigger is pressed. A long press on the side screen button may activate/deactivate a lock function.
Operating Instructions
- Smart Interaction Dual-Screen Design:
- The side screen indicates the rotation direction (forward/reverse).
- The main screen displays the current mode (screwdriver or drill), torque settings, and speed settings.
- A long press on the side screen button activates or deactivates the lock function for safety and storage.
- TAPSWITCH Gear Change System:
- Press the gear shift button (often located near the main screen) to cycle through different speed and torque settings.
- The main screen will update to show the selected RPM and N.m values.

Image: The Fanttik K2 Ultra's display showing the TAPSWITCH Gear Change System, with a highlighted button for one-press gear shifting and a digital readout of 1250 RPM.
- Screwdriver Mode:
- Select the screwdriver mode via the gear shift system.
- Adjust the torque setting (1-20 N.m) as required for the fastener and material.
- Press the trigger to operate.
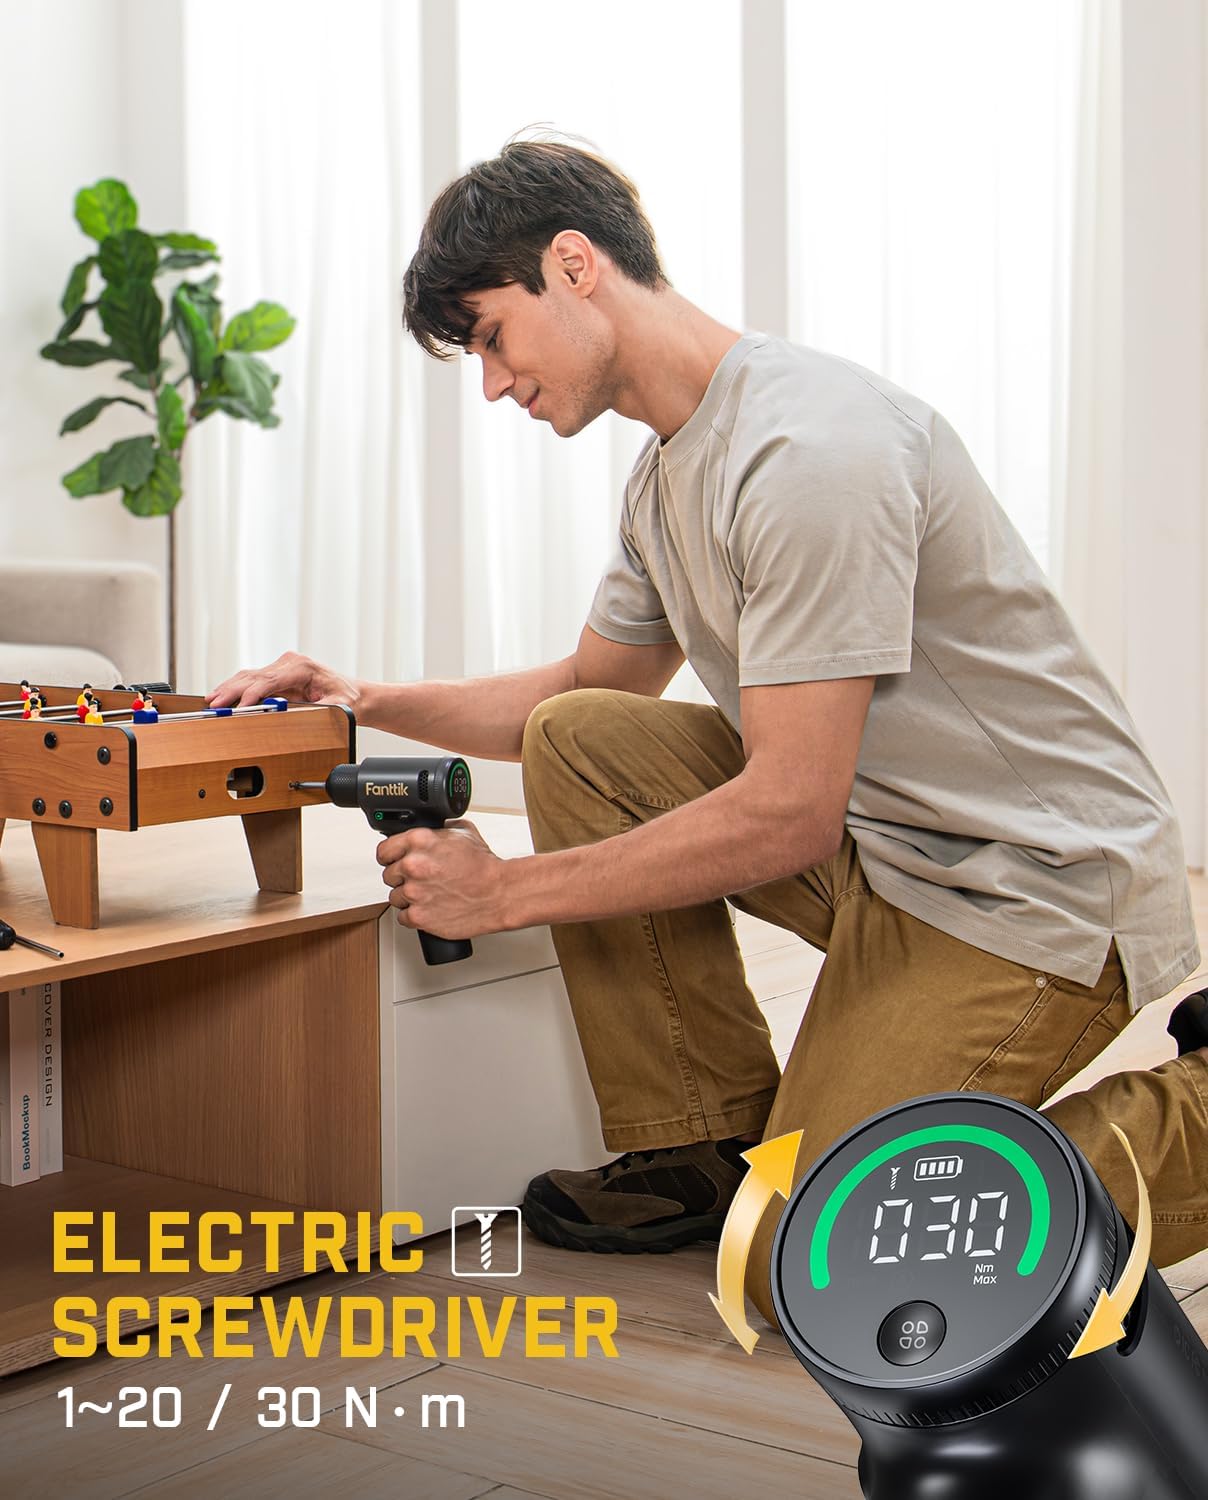
Image: A person using the Fanttik K2 Ultra as an electric screwdriver to assemble furniture, with an inset showing the digital display indicating a torque setting of 30 N.m.
- Drill Mode:
- Select the drill mode via the gear shift system.
- The drill operates at a maximum speed of 1250 RPM for efficient drilling.
- Press the trigger to operate.
Maintenance
- Cleaning: Regularly wipe down both devices with a soft, dry cloth. Do not use abrasive cleaners or solvents.
- Storage: Store the tools in a cool, dry place, away from direct sunlight and extreme temperatures. Ensure batteries are partially charged for long-term storage.
- Battery Care: Avoid fully discharging the battery frequently. Charge the battery before it is completely depleted to prolong its lifespan.
Troubleshooting
| Problem | Possible Cause | Solution |
|---|---|---|
| A10 Pro: Display not turning on. | Low battery; Device off. | Charge the device; Press and hold the power button. |
| A10 Pro: Inaccurate measurements. | Incorrect reference point; Obstruction in laser path; Tape not fully extended/retracted. | Verify reference point setting; Clear laser path; Ensure tape is correctly positioned. |
| K2 Ultra: Drill not operating. | Low battery; Lock function active; Incorrect mode. | Charge the drill; Deactivate lock function (long press side button); Select appropriate mode. |
| K2 Ultra: Bit slipping. | Chuck not tightened sufficiently; Worn bit. | Tighten the chuck firmly; Replace worn bits. |
Specifications
| Feature | Fanttik A10 Pro | Fanttik K2 Ultra |
|---|---|---|
| Type | 2-in-1 Digital Laser Tape Measure | 7.4V Cordless Power Drill |
| Digital Tape Length | 9.8 ft (3 meters) | N/A |
| Laser Distance Range | 165 ft (50 meters) | N/A |
| Digital Tape Accuracy | ±1/16 inch | N/A |
| Laser Distance Accuracy | ±1/8 inch | N/A |
| Display | 1.47-inch IPS Color Screen (172×320 resolution, 500nit brightness) | Dual-Screen (Main: mode/torque/speed; Side: rotation/lock) |
| Motor Type | N/A | VoltiPulse Brushless Motor |
| Max Torque | N/A | 30 N.m |
| Max Speed | N/A | 1250 RPM |
| Battery Capacity | (Information not explicitly provided, assuming internal rechargeable) | 3300 mAh |
| Charging Port | USB-C | USB-C (5V 2A) |
Warranty and Support
Fanttik products are designed and manufactured to the highest quality standards. For information regarding warranty coverage, technical support, or service inquiries, please refer to the official Fanttik website or contact their customer service directly. Keep your purchase receipt as proof of purchase.
For further assistance, visit the Fanttik Store on Amazon.


