
1. Introduction
This manual provides detailed instructions for the assembly, operation, and maintenance of your RALGEND Farmhouse Queen Size Bed Frame (Model: 7301BFWH). Please read this manual thoroughly before beginning assembly to ensure correct installation and safe use of the product. Retain this manual for future reference.

Image 1.1: The RALGEND Farmhouse Queen Size Bed Frame with its two storage drawers partially open, showcasing its design and functionality in a bedroom setting.
2. Important Safety Information
WARNING: Failure to follow these safety instructions could result in serious injury or damage to the product.
- Always assemble the bed frame on a soft, clean surface to prevent scratches.
- Ensure all parts are present and undamaged before assembly. Do not proceed with assembly if any parts are missing or damaged.
- Tighten all screws and bolts securely, but do not overtighten. Periodically check and re-tighten all fasteners.
- Do not allow children to climb on or play with the bed frame during or after assembly.
- This bed frame is designed for use with a queen-size mattress. Do not use a mattress that exceeds the recommended dimensions or weight capacity.
- Do not use power tools for assembly unless specifically instructed, as this may damage the components.
- Keep small parts out of reach of children to prevent choking hazards.
- Always lift the bed frame when moving it; do not drag it, as this may damage the legs or floor.
3. Package Contents and Components
Before beginning assembly, verify that all components listed below are present and in good condition. Refer to the included parts list in your package for specific quantities and identification.

Image 3.1: An illustrative diagram showing the overall dimensions of the queen size bed frame, including the headboard, footboard, and storage drawers, along with key features like the drop-edge frame and slat system.
Key Components:
- Headboard (51.2" Tall)
- Footboard with integrated drawer housing
- Side Rails
- Curved Poplar Wooden Slats
- Metal Support Legs
- 2 Large Storage Drawers with wheels
- Assembly Hardware (screws, bolts, plastic connectors, tube stoppers)
Note: A detailed parts list with labels and quantities is typically included in the product packaging. Please refer to that document for precise component identification.
4. Assembly Instructions
Assembly requires two adults. Please follow the steps carefully. Tools required: Phillips head screwdriver (not included). A power drill with appropriate bits may be used at low torque settings for faster assembly, but hand-tightening is recommended for final security.
Step 4.1: Prepare the Headboard and Footboard
- Unpack all components and lay them out on a soft, clean surface.
- Identify the headboard and footboard panels.
- Attach any pre-drilled metal brackets to the headboard and footboard as per the specific instructions in your package.
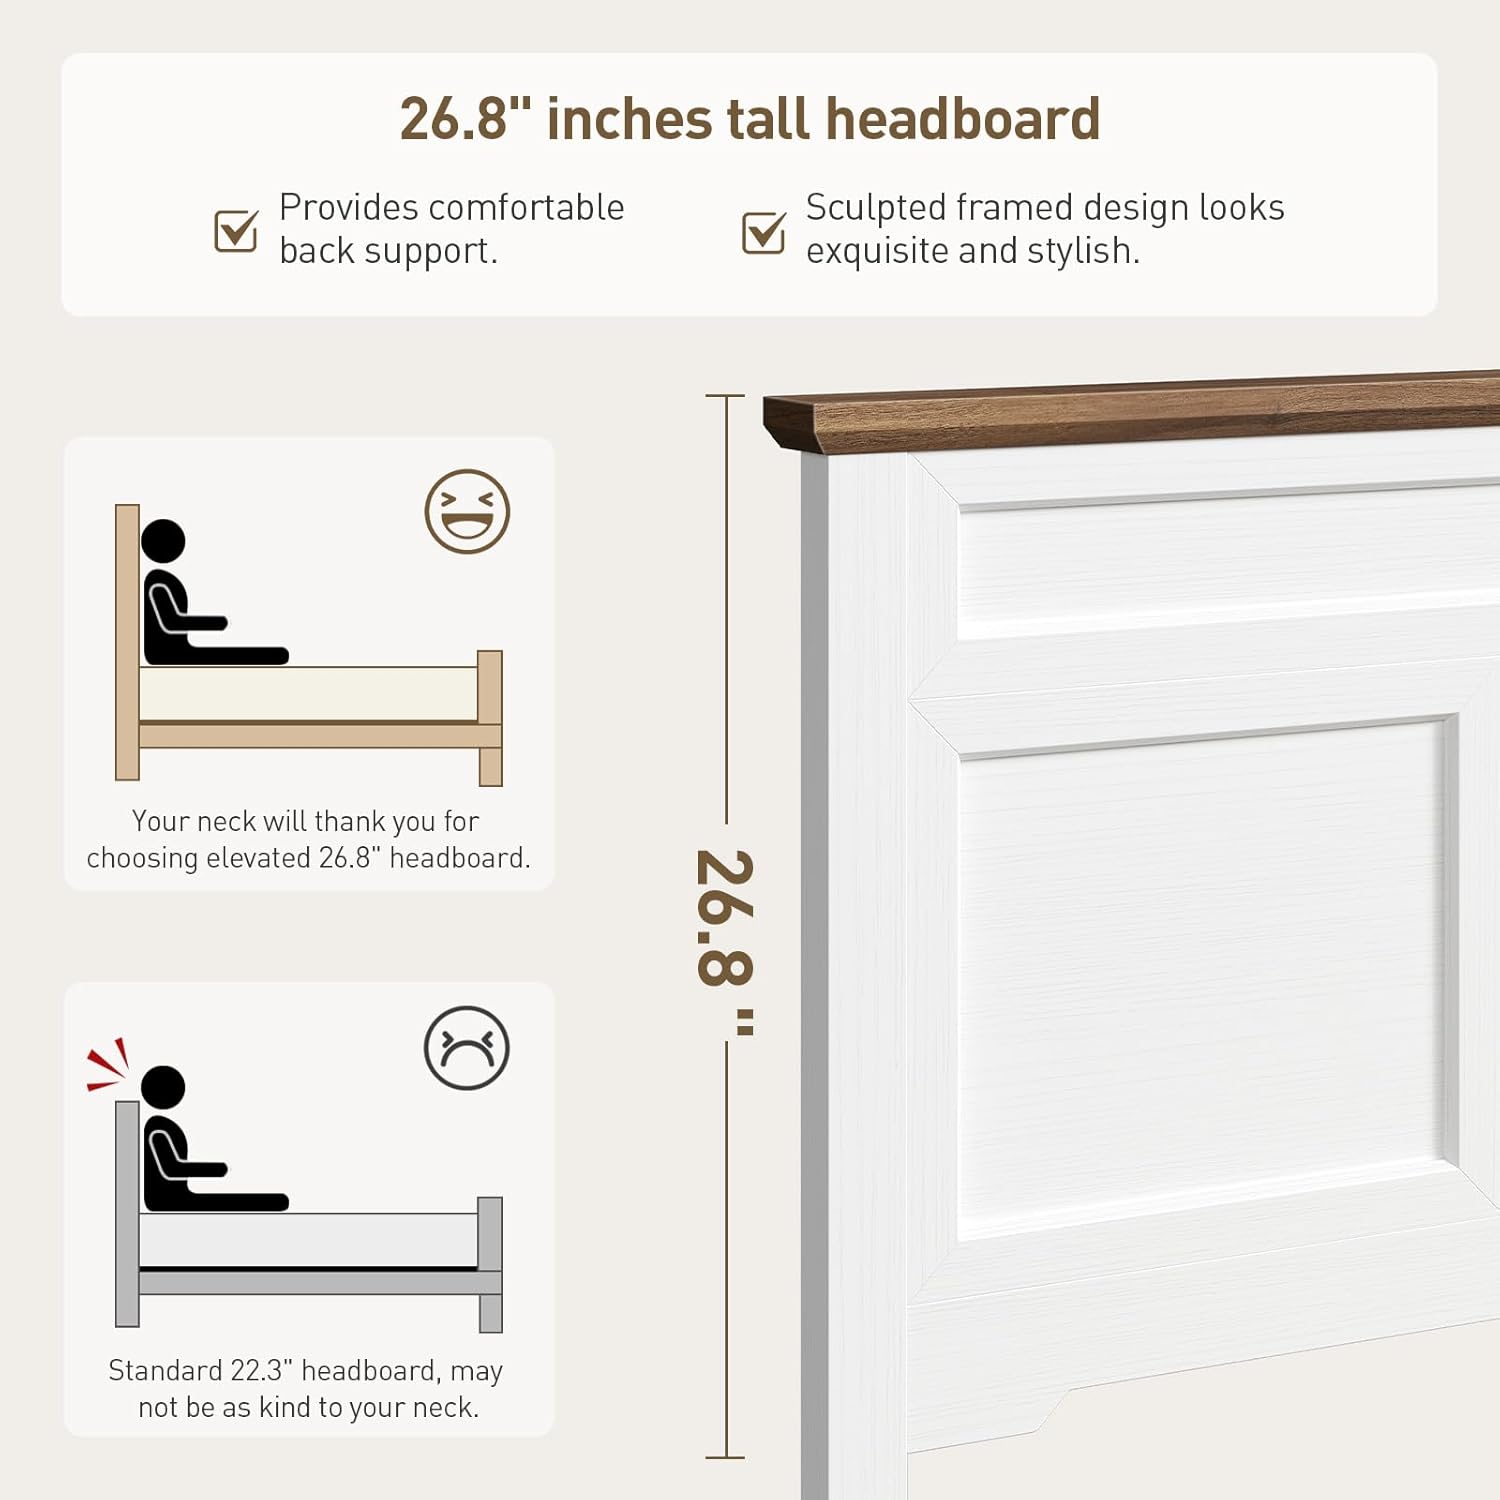
Image 4.1: This image illustrates the elevated 26.8-inch headboard design, emphasizing its comfortable back support compared to standard headboards.
Step 4.2: Assemble the Bed Frame Structure
- Connect the side rails to the headboard and footboard using the provided bolts and nuts. Ensure all connections are secure.
- Insert the metal support legs into their designated positions along the center support beam or side rails. Ensure tube stoppers are in place to minimize noise.

Image 4.2: A detailed view of the footboard, highlighting the sculpted framed design and the opening for the storage drawers.

Image 4.3: This image shows the metal support legs, designed with tube stoppers to provide stable and silent support for the bed frame.
Step 4.3: Install the Slat Support System
- Place the curved poplar wooden slats into the designated slots on the side rails.
- Ensure the plastic connectors are securely attached to the slats and fit snugly into the frame. The arched shape of the slats provides elastic support.

Image 4.4: A close-up demonstrating the curved poplar wooden slats and their easy insertion into the bed frame, highlighting the robust metal support structure.

Image 4.5: This image details the connection points for the curved wooden slats, showing how they are secured within the metal frame for optimal support.
Step 4.4: Assemble and Insert Storage Drawers
- Assemble the two storage drawers according to the instructions provided in your package. Ensure the wheels are correctly installed for smooth operation.
- Once assembled, slide the drawers into the designated compartments at the foot of the bed frame. The bottom curved opening allows for easy pulling out.

Image 4.6: The two large storage drawers are shown fully extended, demonstrating their capacity for storing various items and their smooth single-direction wheels.
Step 4.5: Final Checks
- Verify that all bolts and screws are tightened.
- Ensure the bed frame is stable and level.
- Place your queen-size mattress on the assembled frame. The drop-edge frame design helps prevent mattress slippage.
5. Operating Instructions
5.1 Using the Bed Frame
The RALGEND Farmhouse Queen Size Bed Frame is designed to support a queen-size mattress without the need for a box spring. The robust slat system provides direct support for your mattress, ensuring comfort and longevity.
- Mattress Placement: Carefully place your queen-size mattress directly onto the wooden slats. The frame's design includes a slight lip (drop-edge frame) to help keep the mattress securely in place.
- Weight Distribution: Distribute weight evenly across the bed frame. Avoid concentrating heavy loads on small areas.
5.2 Utilizing the Storage Drawers
The two large storage drawers are located at the foot of the bed frame and are designed for convenient, hidden storage.
- Opening Drawers: To open a drawer, gently pull it out from the curved opening at the bottom of the drawer front. The drawers are equipped with single-direction wheels for smooth movement.
- Closing Drawers: Push the drawer back into its compartment until it is flush with the footboard.
- Storage Capacity: These drawers are ideal for storing off-season clothing, bedding, books, or other personal items, helping to keep your bedroom tidy.
- Weight Limit: Avoid overloading the drawers to ensure smooth operation and prevent damage to the wheels or drawer structure.

Image 5.1: A close-up view of the bed-end storage drawers, demonstrating their capacity and how they integrate seamlessly into the footboard design.
6. Care and Maintenance
Proper care will extend the life and appearance of your RALGEND bed frame.
- Cleaning: Wipe surfaces with a soft, damp cloth. Avoid using harsh chemicals, abrasive cleaners, or polishes that may damage the finish.
- Dusting: Regularly dust the bed frame with a dry, soft cloth.
- Fastener Checks: Periodically (every 3-6 months) check all bolts, screws, and connections to ensure they remain tight. Re-tighten as necessary to maintain stability and prevent squeaking.
- Avoid Direct Sunlight: Prolonged exposure to direct sunlight can cause wood finishes to fade or crack.
- Humidity Control: Maintain a stable humidity level in your room to prevent wood from expanding or contracting excessively.
- Moving the Bed: When moving the bed frame, always lift it rather than dragging it to prevent damage to the legs, frame, or flooring.
- Drawer Maintenance: Keep the drawer wheels free of debris to ensure smooth operation.
7. Troubleshooting
If you encounter any issues with your bed frame, refer to the following common problems and solutions:
| Problem | Possible Cause | Solution |
|---|---|---|
| Bed frame squeaks | Loose fasteners; friction between components. |
|
| Drawers do not slide smoothly | Debris in wheels; overloaded drawer; misaligned drawer. |
|
| Bed frame feels unstable | Loose connections; uneven floor. |
|
| Mattress slides on frame | Incorrect mattress size; lack of friction. |
|
If you experience a problem not listed here, or if the suggested solutions do not resolve the issue, please contact customer support.
8. Product Specifications
- Model: 7301BFWH
- Brand: RALGEND
- Size: Queen
- Product Dimensions (L x W x H): 83.5" x 62.6" x 51.2"
- Headboard Height: 51.2" (from floor to top)
- Color: White + Walnut
- Material: Engineered wood, poplar wood slats, metal legs
- Special Features: 2 Large Storage Drawers, High Headboard, No Box Spring Needed, Squeak Resistant
- Assembly Required: Yes
- Included Components: Bed frame, headboard, footboard, side rails, slats, 2 drawers, hardware.
9. Warranty and Customer Support
RALGEND is committed to providing high-quality products. While specific warranty details are typically included with your purchase documentation, most products come with a limited manufacturer's warranty covering defects in materials and workmanship.
For warranty claims, missing parts, or any questions regarding your RALGEND Farmhouse Queen Size Bed Frame, please contact our customer support team:
- Customer Service: Refer to the contact information provided in your product packaging or on the RALGEND official website.
- When contacting support, please have the following information ready:
- Model Number: 7301BFWH
- Date of Purchase
- Place of Purchase
- A detailed description of the issue
We appreciate your purchase and are here to assist you.