
LiGuVCY 109-9487 109-6245 Hitch Kit
LiGuVCY 109-9487 109-6245 Hitch Kit Instruction Manual
For Ariens, Gravely, and Exmark Equipment
1. Introduction
This manual provides essential information for the installation, operation, and maintenance of your LiGuVCY 109-9487 109-6245 Hitch Kit. This kit is designed as a direct replacement for specific Ariens, Gravely, and Exmark models, ensuring proper fitment and functionality. Please read these instructions thoroughly before proceeding with installation or use.
1.1 Package Contents
Upon opening your package, please verify that all components are present and undamaged:
- Hitch Kit x 1 (Includes various brackets, bolts, washers, and nuts)

Image 1.1: All components of the LiGuVCY 109-9487 109-6245 Hitch Kit, including various metal brackets, bolts, washers, and nuts.
2. Compatibility
This hitch kit is a replacement for the following part numbers and is compatible with the specified equipment models. It is crucial to verify your equipment's model and existing part numbers before installation to ensure correct fitment.
2.1 Replaces Part Numbers
- 109-9487
- 109-6245
- 79202300
- 70705000
2.2 Compatible Equipment Models
Ariens / Gravely Mowers:
- 992237
- 992239
- 992240
- 992231
- 992235
- 992243
- 992246
- 992265
- 992266
- 992247
- 992236
Exmark Models:
- PRO Master
- PRO Turn models
- Compacts
- XLPs
- Zoom
- ZT (only 92000 series)
- CZ
- HD
- XL
- IZ Models
- 100Z & 200Z
- 270, 260, 250 series lawn models
3. Setup and Installation
This hitch kit is designed for convenient installation as a direct replacement. Ensure you have the necessary tools and follow safety precautions during the process.
3.1 Safety Precautions
- Always wear appropriate personal protective equipment (PPE), such as gloves and eye protection.
- Ensure the equipment is turned off, cooled down, and secured to prevent accidental movement.
- Refer to your equipment's original service manual for specific safety guidelines and procedures.
3.2 Installation Steps
- Prepare Equipment: Park the equipment on a level surface. Turn off the engine and remove the ignition key. Allow any hot components to cool.
- Access Mounting Area: Identify the location where the hitch kit will be installed. This typically involves the rear frame of the mower or tractor.
- Remove Old Hitch (if applicable): If replacing an existing hitch, carefully remove all bolts, nuts, and brackets securing the old hitch. Keep track of hardware for comparison if needed.
- Position New Brackets: Align the new hitch kit brackets with the existing mounting holes on your equipment's frame. The kit includes various components designed to fit specific configurations. Refer to the images below for component identification.

Image 3.1: One of the primary flat metal plates with multiple mounting holes, forming part of the hitch assembly.

Image 3.2: A triangular metal bracket with a central hole, typically used for the hitch pin connection.
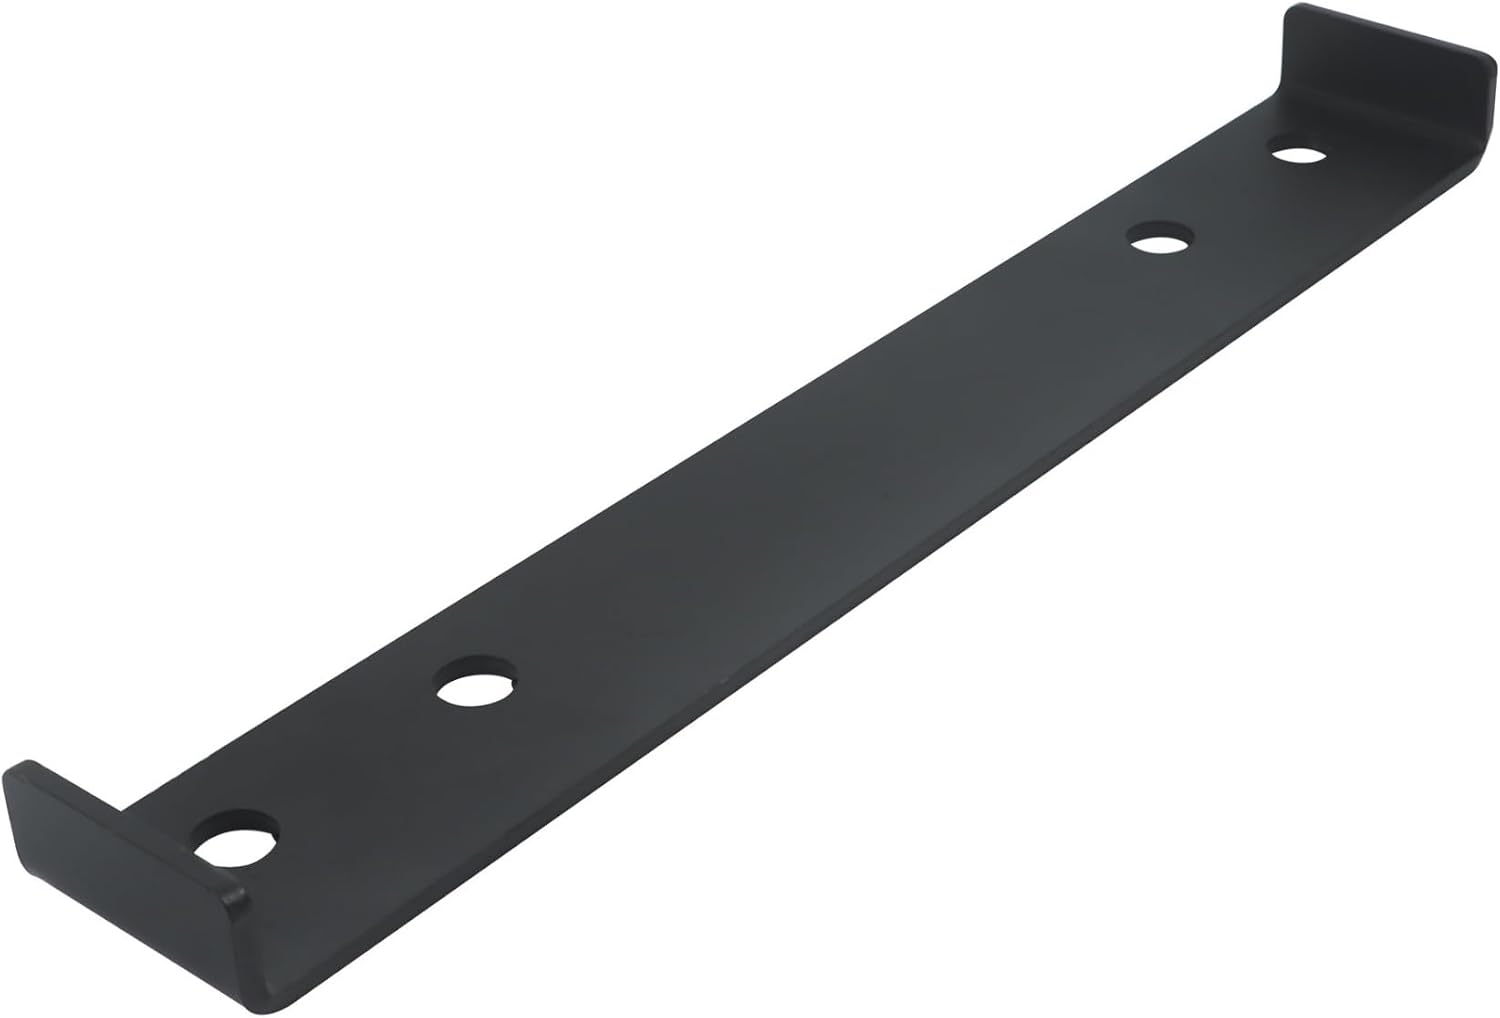
Image 3.3: A long, rectangular metal bracket with multiple holes, often used for structural support or additional mounting points.
- Secure with Hardware: Use the provided bolts, washers, and nuts to secure the hitch kit components to the equipment. Ensure all hardware is tightened securely, but do not overtighten, which could strip threads or damage components.
- Final Check: After installation, visually inspect all connections to ensure they are tight and the hitch kit is securely mounted. Gently test the stability of the installed hitch.
4. Operating the Hitch Kit
The hitch kit itself does not require active operation beyond its initial installation. Its function is to provide a secure attachment point for various towed implements.
4.1 Attaching Implements
- Ensure any implement you wish to attach is compatible with your equipment and the hitch type.
- Use appropriate hitch pins and clips to secure the implement to the hitch kit's attachment point.
- Always verify that the implement is securely attached before operating the equipment.
- Do not exceed the towing capacity recommended by your equipment manufacturer.
5. Maintenance
Regular inspection and basic maintenance will ensure the longevity and safe operation of your hitch kit.
- Regular Inspection: Periodically inspect the hitch kit for any signs of wear, damage, cracks, or loose hardware.
- Cleaning: Keep the hitch kit clean from dirt, debris, and corrosive materials. A simple wipe-down with a damp cloth is usually sufficient.
- Lubrication: While not strictly necessary for the hitch kit itself, ensure any moving parts of attached implements are properly lubricated according to their respective manuals.
- Hardware Check: Re-tighten any bolts or nuts that may have loosened over time due to vibration or use.
6. Troubleshooting
Most issues related to a hitch kit are straightforward. If you encounter problems, consider the following:
- Incorrect Fitment: If the hitch kit does not align with your equipment's mounting holes, double-check the compatibility section (Section 2) and ensure your equipment model and part numbers match those listed.
- Loose Components: If the hitch feels unstable or rattles, inspect all bolts and nuts for proper tightness. Re-tighten as necessary.
- Damaged Parts: If any part of the hitch kit appears bent, cracked, or severely worn, it should be replaced immediately to prevent failure during operation.
7. Specifications
| Attribute | Detail |
|---|---|
| Brand | LiGuVCY |
| Model | Hitch Kit |
| Item Weight | 8.93 pounds |
| Package Dimensions | 16.34 x 9.84 x 1.97 inches |
| Item Model Number | 79202300 |
| Manufacturer Part Number | LI-5450241-432136-CY |
| Automotive Fit Type | Vehicle Specific Fit |

Image 7.1: Detailed dimensional drawing of the hitch kit components, showing key measurements in inches.
8. Warranty and Support
For specific warranty information regarding your LiGuVCY Hitch Kit, please refer to the documentation provided at the time of purchase or contact the seller directly. Support inquiries can also be directed to the seller or manufacturer.
Visit the LiGuVCY Store for more products and information.
Ask a question about this manual
Ask about setup, troubleshooting, compatibility, parts, safety, or missing instructions. Manuals+ will review the question and use this page’s manual context to help answer it.