
1. Introduction
Thank you for choosing the Sanford SF5525BR 3-in-1 Blender. This versatile kitchen appliance is designed to simplify your food preparation tasks, offering blending, chopping, and grinding functions. To ensure safe and optimal performance, please read this instruction manual thoroughly before first use and keep it for future reference.
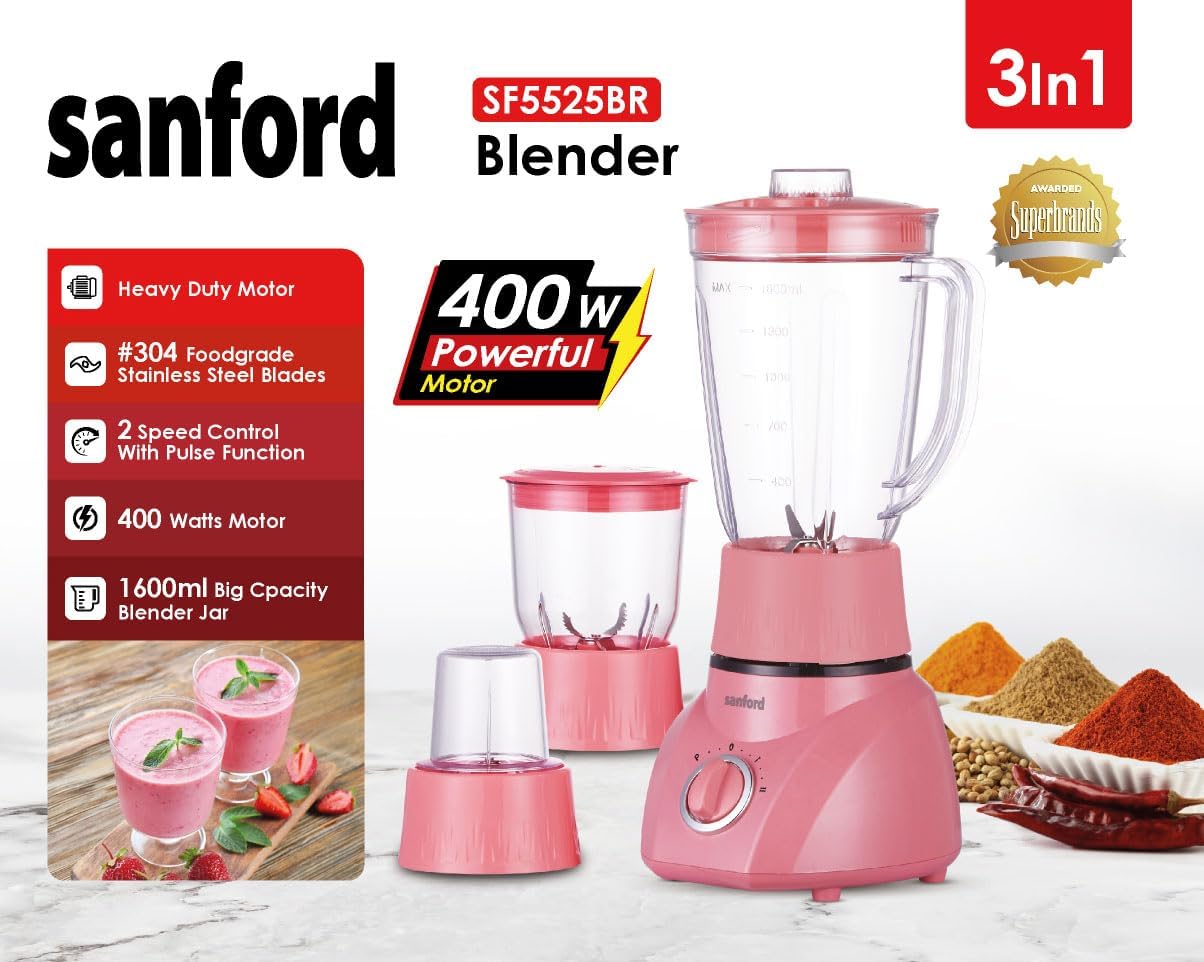
Image 1.1: The Sanford SF5525BR 3-in-1 Blender with its main jar, mincer, and miller attachments.
2. Important Safety Instructions
When using electrical appliances, basic safety precautions should always be followed to reduce the risk of fire, electric shock, and injury to persons, including the following:
- Read all instructions before using the appliance.
- Do not immerse the motor unit in water or other liquids. Clean with a damp cloth only.
- Close supervision is necessary when any appliance is used by or near children.
- Unplug from outlet when not in use, before assembling or disassembling parts, and before cleaning.
- Avoid contact with moving parts.
- Do not operate any appliance with a damaged cord or plug, or after the appliance malfunctions or has been dropped or damaged in any manner.
- The use of attachments not recommended or sold by the manufacturer may cause fire, electric shock, or injury.
- Do not use outdoors.
- Do not let cord hang over edge of table or counter or touch hot surfaces.
- Do not place on or near a hot gas or electric burner, or in a heated oven.
- Always operate the blender with the lid in place.
- Blades are sharp. Handle with care.
- Do not process hot liquids in the blender jar as this may cause pressure buildup and potential injury.
- Ensure the appliance is switched off before removing the jar from the motor unit.
3. Product Components
Familiarize yourself with the various parts of your Sanford SF5525BR 3-in-1 Blender:

Image 3.1: Labeled diagram of the blender's main components and attachments.
- Motor Unit: The base containing the 400W motor and speed control switch.
- 1.6L Blender Jar: Large capacity jar for blending liquids and soft ingredients. Includes a lid and fill cap.
- Blender Blade: Stainless steel blade assembly for the main blender jar.
- Chopper Jar (150ml): Smaller jar with a dedicated blade for chopping ingredients.
- Chopper Blade: Stainless steel blade assembly for the chopper jar.
- Dry Mill Jar (50ml): Smallest jar with a dedicated blade for grinding dry spices and coffee beans.
- Dry Mill Blade: Stainless steel blade assembly for the dry mill jar.
- Lid and Fill Cap: For the main blender jar, allowing ingredients to be added during operation.
- Speed Control Switch: Rotary switch to select speed settings (1, 2) and Pulse function.

Image 3.2: Detailed view of the Blender, Mincer (Chopper), and Miller (Grinder) blades.
4. Setup and Assembly
Before first use, wash all detachable parts (jars, lids, blades) in warm soapy water, rinse thoroughly, and dry. The motor unit should only be wiped with a damp cloth.
4.1 Assembling the Blender
- Place the motor unit on a stable, flat, and dry surface.
- Ensure the blender blade assembly is securely fitted into the bottom of the 1.6L blender jar.
- Add your ingredients to the blender jar. Do not exceed the MAX fill line indicated on the jar.
- Place the lid securely on the blender jar, ensuring the fill cap is also in place.
- Carefully place the assembled blender jar onto the motor unit, aligning the tabs on the jar with the slots on the motor unit. Turn the jar clockwise until it locks into position.
- Plug the power cord into a suitable electrical outlet.
4.2 Assembling the Chopper/Grinder
- Place the motor unit on a stable, flat, and dry surface.
- For chopping, ensure the chopper blade assembly is securely fitted into the bottom of the chopper jar. For grinding, ensure the dry mill blade assembly is securely fitted into the bottom of the dry mill jar.
- Add your ingredients to the respective jar. Do not overfill.
- Carefully place the assembled jar (chopper or dry mill) onto the motor unit, aligning the tabs on the jar with the slots on the motor unit. Turn the jar clockwise until it locks into position.
- Plug the power cord into a suitable electrical outlet.
5. Operating Instructions
The Sanford SF5525BR offers two speed settings and a pulse function for precise control.
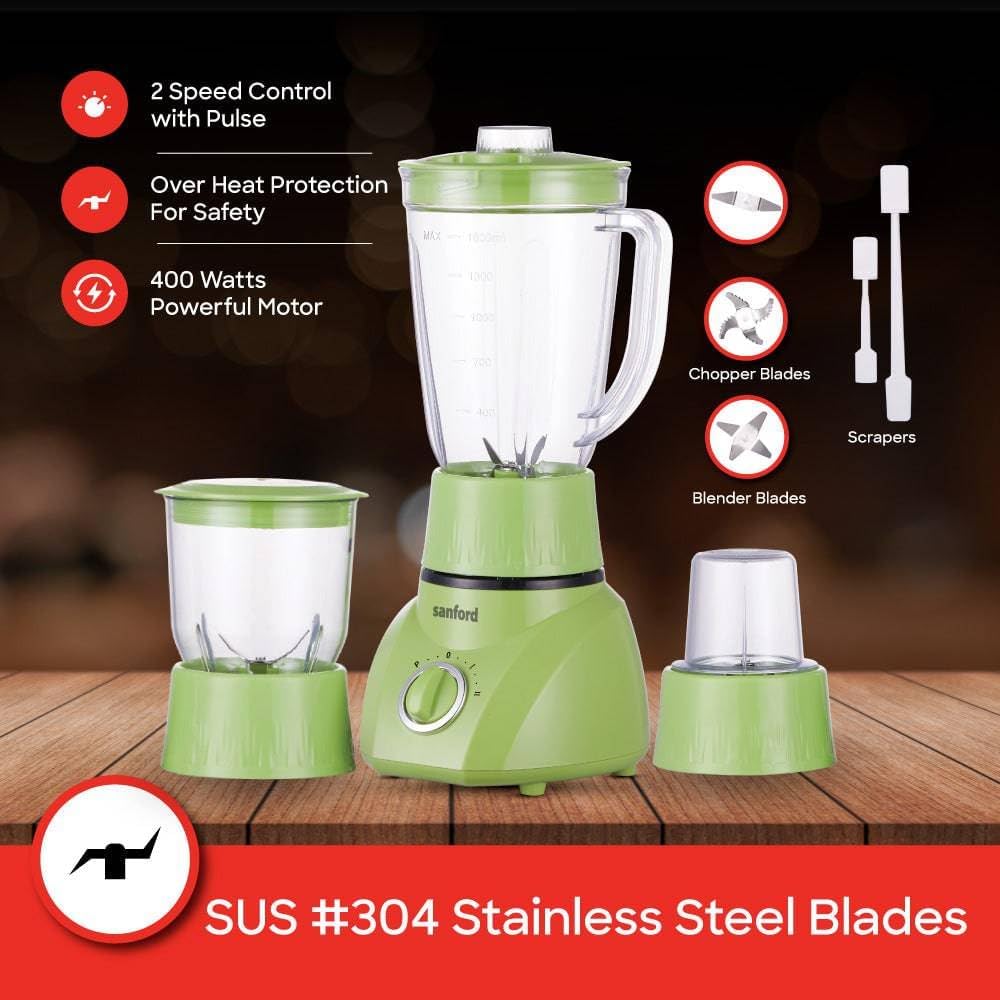
Image 5.1: Key features of the Sanford SF5525BR blender, including speed control and safety.
5.1 Blending (Main Jar)
- Ensure the blender is correctly assembled and plugged in.
- Turn the speed control switch to desired speed (1 or 2). Speed 1 is for lighter blending, Speed 2 for more intensive blending.
- For short bursts of power, turn the switch to the 'P' (Pulse) setting and release. This is ideal for crushing ice or achieving specific textures.
- Do not operate continuously for more than 1 minute. Allow the appliance to rest for at least 2 minutes between cycles.
- Once blending is complete, turn the switch to the '0' (Off) position and unplug the appliance.
- Wait for the blades to stop completely before removing the jar from the motor unit.
5.2 Chopping (Chopper Jar)
- Ensure the chopper is correctly assembled and plugged in.
- Use the 'P' (Pulse) setting for chopping. This allows for better control over the consistency of chopped ingredients.
- Process in short bursts until desired consistency is achieved.
- Do not overfill the chopper jar.
- Once chopping is complete, turn the switch to the '0' (Off) position and unplug the appliance.
- Wait for the blades to stop completely before removing the jar from the motor unit.
5.3 Grinding (Dry Mill Jar)
- Ensure the dry mill is correctly assembled and plugged in.
- Use Speed 1 or 2 for grinding dry ingredients like coffee beans or spices. The 'P' (Pulse) setting can also be used for quick bursts.
- Grind until the desired fineness is achieved.
- Do not overfill the dry mill jar.
- Once grinding is complete, turn the switch to the '0' (Off) position and unplug the appliance.
- Wait for the blades to stop completely before removing the jar from the motor unit.
6. Maintenance and Cleaning
Regular cleaning ensures the longevity and hygienic operation of your blender.
6.1 Cleaning the Motor Unit
- Always unplug the appliance before cleaning.
- Wipe the motor unit with a soft, damp cloth. Do not immerse it in water or any other liquid.
- Do not use abrasive cleaners or scouring pads, as they may scratch the surface.
6.2 Cleaning Jars and Blades
- Immediately after use, rinse the jars and blades under running water.
- For thorough cleaning, disassemble the blade assemblies from the jars.
- Wash all detachable parts (jars, lids, blades) in warm soapy water. Use a brush to clean around the blades carefully, as they are very sharp.
- Rinse thoroughly and dry immediately to prevent water spots or corrosion.
- All detachable parts are generally dishwasher-safe on the top rack, but hand washing is recommended for best care and longevity.
7. Troubleshooting
If you encounter any issues with your blender, refer to the following common problems and solutions:
| Problem | Possible Cause | Solution |
|---|---|---|
| Blender does not start. | Not plugged in; Jar not correctly assembled/locked; Overheat protection activated. | Check power connection; Ensure jar is locked into motor unit; Unplug and let cool for 15-20 minutes. |
| Motor stops during operation. | Overload; Overheat protection activated. | Reduce ingredients; Unplug and let cool for 15-20 minutes. |
| Ingredients not blending smoothly. | Too little liquid; Jar overfilled; Ingredients too large. | Add more liquid; Reduce quantity; Cut ingredients into smaller pieces. Use Pulse function. |
| Leakage from the bottom of the jar. | Blade assembly not tightened; Seal ring missing or damaged. | Ensure blade assembly is securely tightened; Check and replace seal ring if necessary. |
If the problem persists after trying these solutions, please contact customer support.
8. Specifications
Detailed technical specifications for the Sanford SF5525BR 3-in-1 Blender:
| Feature | Specification |
|---|---|
| Model | SF5525BR |
| Power | 400 Watts |
| Main Blender Jar Capacity | 1.6 Liters |
| Chopper Jar Capacity | 150 ml |
| Dry Mill Jar Capacity | 50 ml |
| Blades Material | SUS #304 Stainless Steel |
| Speed Settings | 2 Speeds + Pulse Function |
| Safety Features | Overheat Protection, Thermostat |
| Product Dimensions (Approx.) | 18D x 18W x 39H cm |
| Item Weight (Approx.) | 2.46 Kilograms |
9. Warranty and Support
Your Sanford SF5525BR 3-in-1 Blender is covered by a manufacturer's warranty against defects in materials and workmanship. The specific duration and terms of the warranty may vary by region and retailer. Please retain your purchase receipt as proof of purchase for any warranty claims.
9.1 For Warranty Claims and Technical Support:
- Refer to the warranty card included with your product packaging.
- Contact the retailer from whom you purchased the product.
- Visit the official Sanford website for contact information for your region.
Do not attempt to repair the appliance yourself, as this will void the warranty and may lead to electric shock or injury. Always seek assistance from authorized service personnel.