
vankada ML007
vankada Candle Warmer Lamp ML007 User Manual
Model: ML007 | Brand: vankada
Introduction
Thank you for choosing the vankada Candle Warmer Lamp. This device is designed to melt jar candles using a top-down heating method, releasing fragrance without an open flame. It features adjustable brightness and a timer function for enhanced convenience and safety. Please read this manual thoroughly before use to ensure proper operation and maintenance.

Image: The vankada Candle Warmer Lamp, showcasing its design with a candle placed on its wooden base.
Safety Information
To prevent injury or damage, please observe the following safety precautions:
- For indoor use only.
- Keep the lamp and power cord away from water and moisture.
- Do not touch the bulb or lamp shade when the device is in operation or immediately after use, as they can become hot.
- Place the candle warmer on a stable, flat, and heat-resistant surface.
- Keep out of reach of children and pets.
- Do not use with candles that exceed the lamp's maximum height capacity.
- Always unplug the device from the electrical outlet when not in use or during cleaning and maintenance.
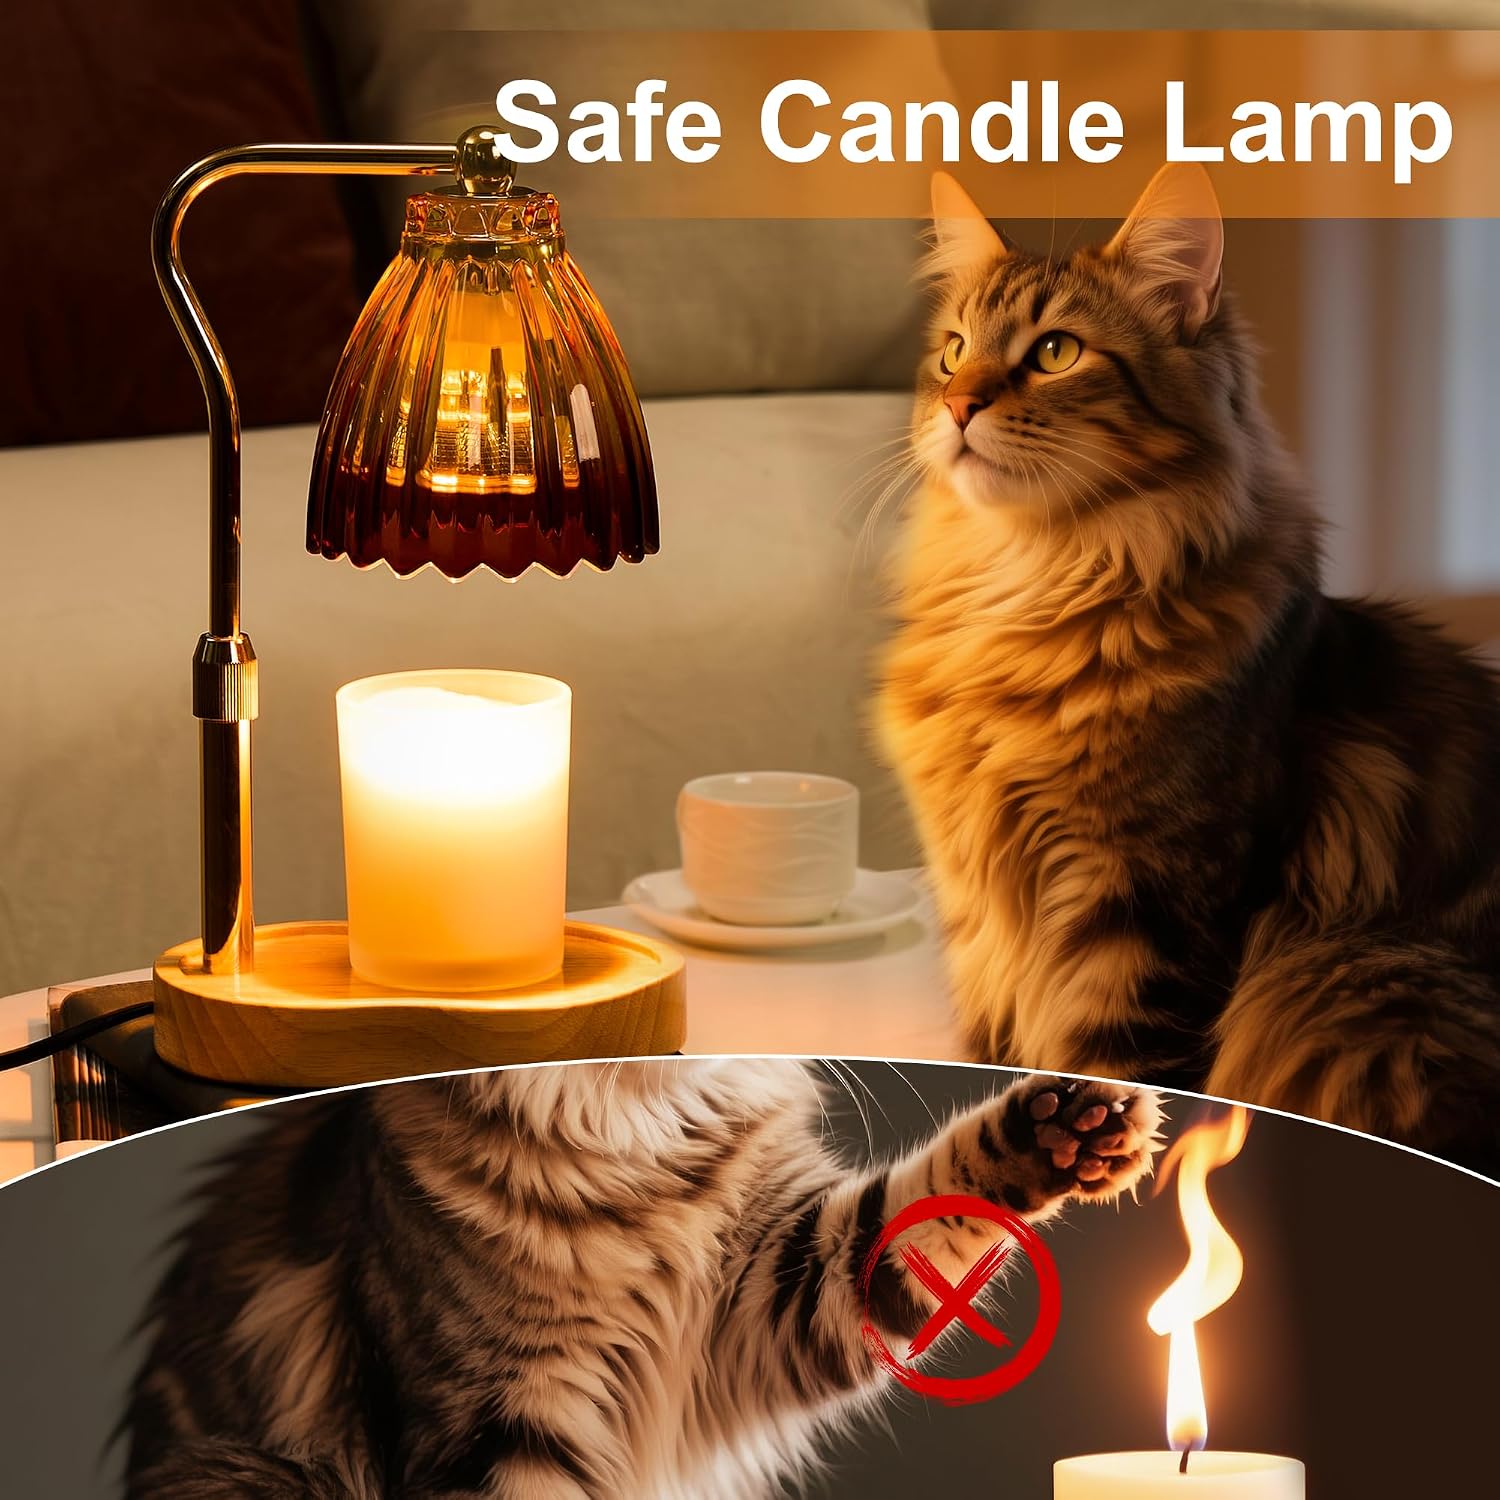
Image: The candle warmer lamp in a home setting with a cat, highlighting its flame-free operation for pet safety.
Setup
- Unpack Components: Carefully remove all parts from the packaging. Ensure all components are present: wooden base, metal arm, glass lampshade, GU10 bulb, and power cord with inline switch.
- Assemble Lamp: Insert the metal arm into the designated slot on the wooden base. Secure it by tightening the knob if present.
- Install Bulb: Gently screw the provided GU10 bulb into the socket located inside the glass lampshade.
- Place Candle: Position your jar candle centrally on the wooden base.
- Adjust Height: Use the height adjustment knob on the metal arm to ensure the bulb is positioned approximately 1-2 inches above the top surface of your candle. This optimizes melting efficiency.
- Connect Power: Plug the power cord into a standard electrical outlet.

Image: Detailed view of the candle warmer lamp, illustrating its adjustable height mechanism and key dimensions for proper setup.
Operating Instructions
The vankada Candle Warmer Lamp features an inline switch with controls for power, brightness, and timer settings.
- Power On/Off: Press the Power button (
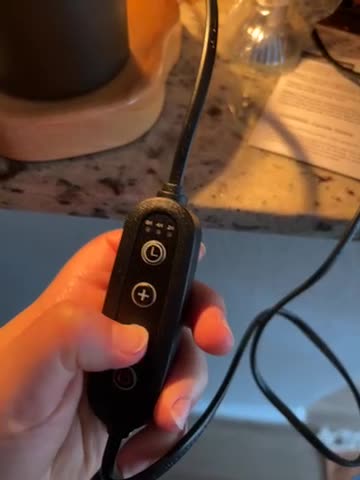 ) on the inline switch to turn the lamp on or off. A red indicator light will show when the lamp is powered on.
- Adjust Brightness: Use the + and - buttons to cycle through four brightness levels: 25%, 50%, 75%, and 100%. Higher brightness settings will melt the candle wax faster and release fragrance more quickly.
- Set Timer: Press the Timer button (
 ) to select an automatic shut-off time of 2, 4, or 8 hours. The corresponding indicator light (2H, 4H, or 8H) will illuminate to confirm your selection.

Image: Visual representation of the four adjustable brightness levels (25%, 50%, 75%, 100%) of the candle warmer lamp.

Image: The candle warmer lamp with its timer function, indicating options for 2, 4, or 8 hours of operation.
Video: Candle Warmer Lamp Demonstration
Video: A demonstration of the vankada Candle Warmer Lamp's features and operation, including brightness and timer adjustments.
Maintenance
- Cleaning: Before cleaning, ensure the lamp is unplugged and completely cool. Wipe the lamp, shade, and base with a soft, dry cloth. Do not use abrasive cleaners, solvents, or immerse any part of the lamp in water.
- Bulb Replacement: If the bulb needs replacement, ensure the lamp is unplugged and the bulb is cool. Carefully unscrew the old GU10 bulb and replace it with a new GU10 bulb of the same wattage.
Troubleshooting
- Lamp not turning on:
- Check if the power cord is securely plugged into a functional electrical outlet.
- Ensure the GU10 bulb is correctly and securely screwed into its socket.
- Verify that the power button on the inline switch is pressed and the red indicator light is on.
- Candle not melting or melting slowly:
- Increase the brightness setting using the '+' button on the inline switch.
- Adjust the lamp height to ensure the bulb is positioned closer to the candle surface (approximately 1-2 inches).
- Ensure the candle is suitable for warmer lamps and not excessively large for the lamp's heating capacity.
- Timer not functioning correctly:
- Press the timer button repeatedly to cycle through the 2H, 4H, and 8H settings. Ensure the desired indicator light is illuminated.
- If the issue persists, unplug the lamp for a few minutes and then plug it back in to reset the controls.
Specifications
| Brand | vankada |
| Model Name | ML007 |
| Product Dimensions | 7"D x 5"W x 10"H |
| Item Weight | 2 Pounds |
| Base Material | Wood |
| Shade Material | Glass |
| Bulb Base | GU10 |
| Light Source Type | Electric |
| Control Method | Inline Switch (Gesture control mentioned in JSON is likely for the inline switch buttons) |
| Indoor/Outdoor Usage | Indoor |
| Color | Gold (Lamp), Warm White (Light) |
Warranty and Support
For warranty information or technical support, please refer to the product packaging or contact vankada customer service through your purchase platform. Please have your model number (ML007) and purchase date available when contacting support.
Ask a question about this manual
Ask about setup, troubleshooting, compatibility, parts, safety, or missing instructions. Manuals+ will review the question and use this page’s manual context to help answer it.