
ceamorfco 115230
ceamorfco 12000BTU Mini Split Air Conditioner & Heater (Model 115230) User Manual
Efficient Temperature Control for Rooms up to 750 Sq. Ft.
1. Introduction
Thank you for choosing the ceamorfco 12000BTU Mini Split Air Conditioner and Heater. This unit is designed to provide efficient cooling and heating for spaces up to 750 sq. ft., featuring 17 SEER2 inverter technology for energy savings. This manual provides essential information for the safe installation, operation, and maintenance of your new system. Please read it thoroughly before use and retain it for future reference.
2. Safety Information
Important: Always follow basic safety precautions when installing, operating, and maintaining this appliance to reduce the risk of fire, electric shock, or injury.
- Professional Installation Required: Installation of this mini split system requires specialized knowledge and tools. It must be installed by a qualified and certified HVAC professional to ensure proper function, safety, and warranty validity. Improper installation can lead to electric shock, fire, water leakage, or other damage.
- Electrical Safety: Ensure the power supply matches the unit's requirements (115V). Do not operate the unit with wet hands or in damp conditions. Always disconnect power before servicing or cleaning.
- Refrigerant Handling: This unit uses R32 refrigerant. Handling of refrigerants must be performed by certified personnel only.
- Clearances: Maintain adequate clearances around both indoor and outdoor units for proper airflow and service access.
- Children and Pets: Keep children and pets away from the unit, especially during operation and maintenance.
3. Package Contents
Your ceamorfco mini split system will be shipped in two separate packages, which may arrive at different times. Please verify all components are present before scheduling installation.
- Indoor Wall Mount Unit
- Outdoor Condenser Unit
- Installation Kit (includes copper connection pipes, drain pipe, communication wire, tape, luting/putty, wall sleeve)
- Remote Control
- Batteries for Remote Control
- Smart Port Adapter

Figure 3.1: Package Contents. This image displays the various components included with your ceamorfco mini split system, such as the indoor unit, outdoor unit, remote control, and all necessary installation accessories like copper pipes and wiring.
4. Product Overview
The ceamorfco mini split system consists of an indoor unit, which is mounted on a wall inside your room, and an outdoor condenser unit. These units are connected by refrigerant lines and electrical wiring. The system is controlled via a wireless remote control.

Figure 4.1: System Components. This image illustrates the main components of the ceamorfco mini split system, including the sleek indoor unit, the robust outdoor condenser, the remote control, and the connecting lines.
5. Setup and Installation
As stated in the safety information, professional installation is strongly recommended for this unit. The installation process involves several critical steps that require specific tools and expertise to ensure safety, efficiency, and compliance with local regulations.
5.1 Pre-Installation Considerations
- Location: Select appropriate locations for both indoor and outdoor units, ensuring proper airflow, drainage, and structural support.
- Power Supply: Confirm the electrical circuit meets the 115V requirements of the unit.
- Tools: Ensure the installer has all necessary tools, including vacuum pump, manifold gauge set, flare tools, and electrical testing equipment.
5.2 Installation Steps (Overview for Professional Installer)
- Mount the indoor unit on the wall using the provided mounting plate.
- Drill a hole through the wall for refrigerant lines, drain hose, and communication wire.
- Install the outdoor condenser unit on a stable, level surface.
- Connect the refrigerant lines between the indoor and outdoor units, ensuring proper flaring and tightening.
- Connect the electrical wiring according to the wiring diagram (provided in the full installation guide).
- Perform a vacuum test on the refrigerant lines to remove air and moisture.
- Release the refrigerant from the outdoor unit into the system.
- Connect the drain hose from the indoor unit to ensure proper condensate removal.
- Test the system for proper operation in all modes.
6. Operating Instructions
Your ceamorfco mini split system offers various modes and settings for optimal comfort. All functions are controlled via the wireless remote control.

Figure 6.1: Remote Control Functions. This image displays the remote control, highlighting buttons for selecting operating modes, adjusting fan speeds, setting timers, and activating special features.
6.1 Operating Modes
- Cool Mode: Provides rapid cooling for your space.
- Heat Mode: Offers efficient heating, even in temperatures as low as -4°F.
- Dry Mode (Dehumidifier): Reduces humidity in the room without significant temperature change.
- Fan Mode: Circulates air without cooling or heating.
- Sleep Mode: Adjusts temperature automatically for comfortable sleep and reduces noise levels.
- ECO Mode: Optimizes operation for energy efficiency.
- Turbo Mode: Provides maximum cooling or heating power for rapid temperature changes.
- Silent Mode: Operates at the lowest possible noise level for quiet environments.
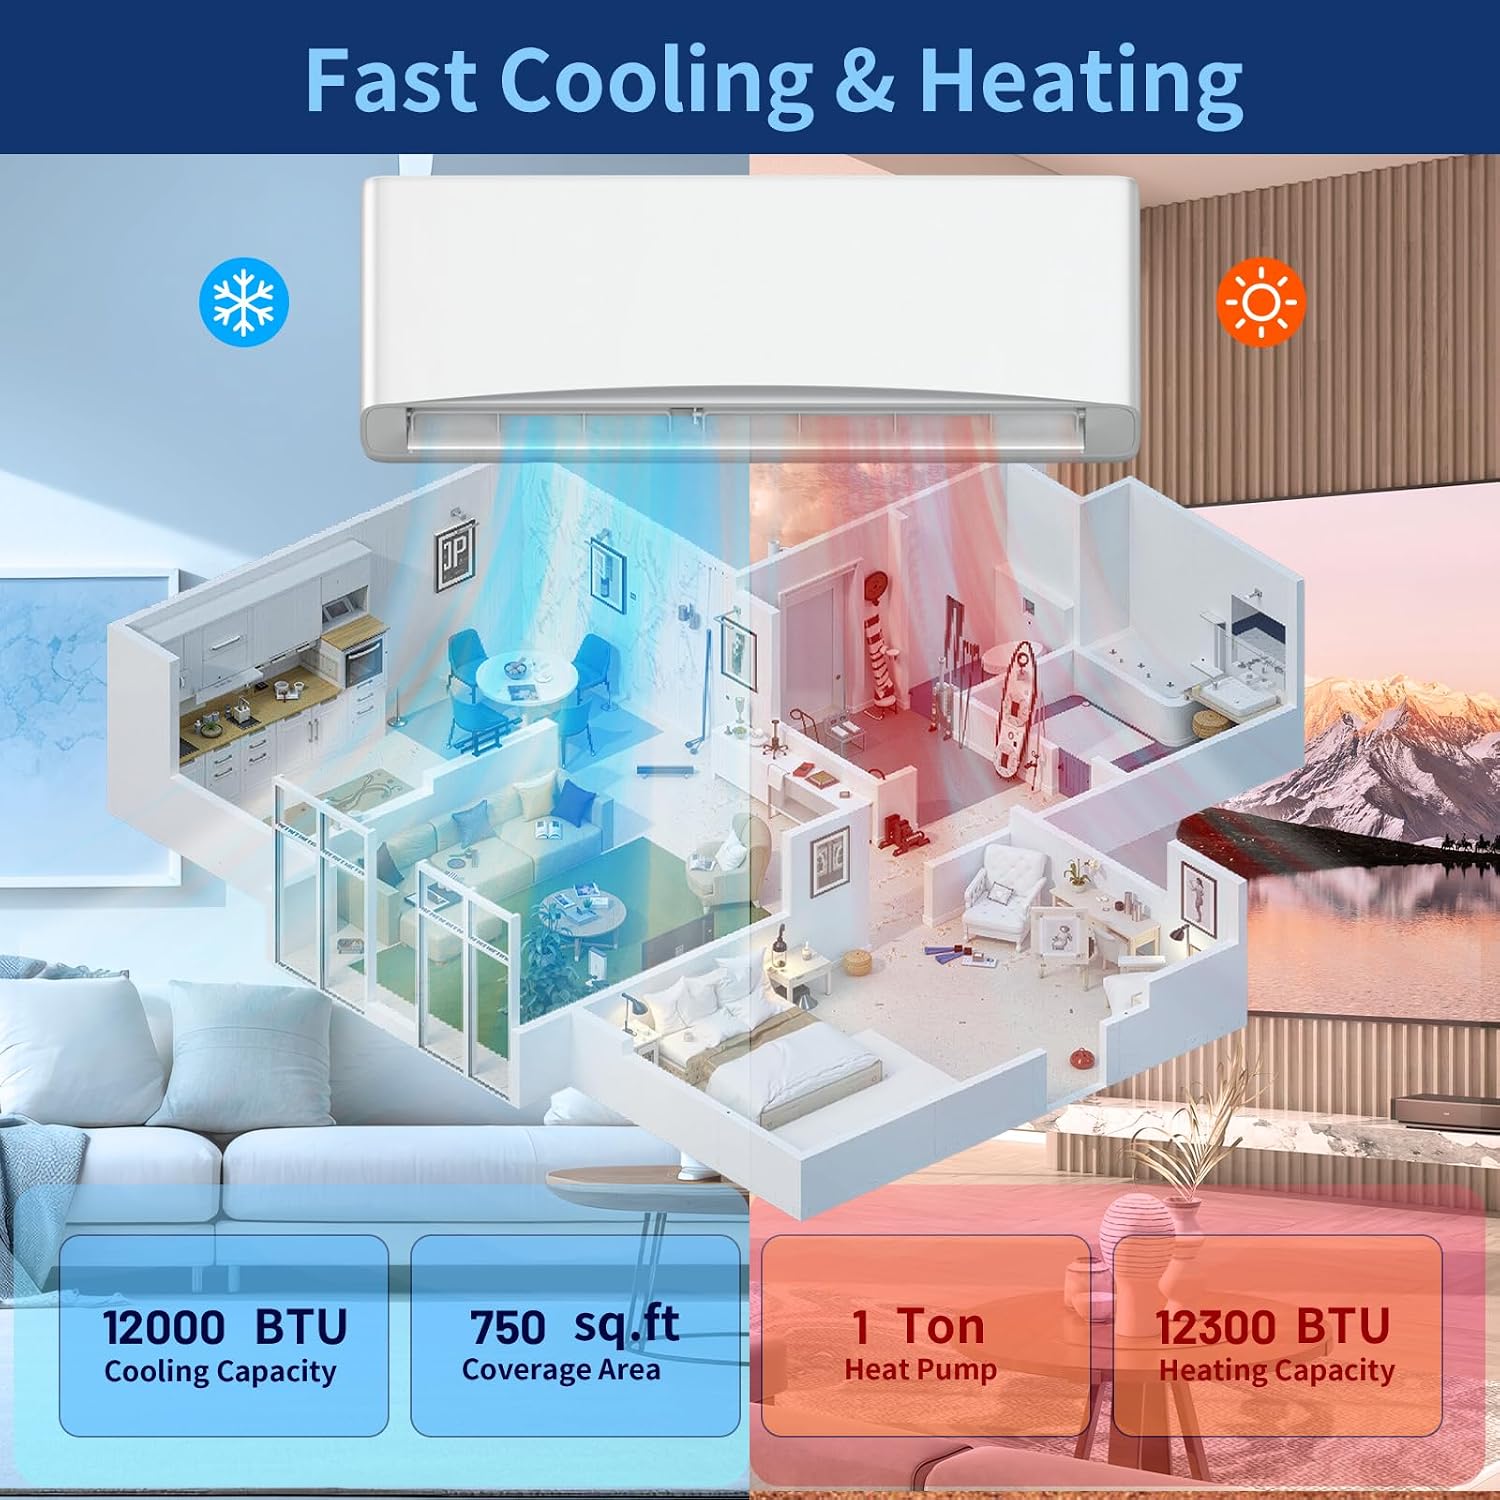
Figure 6.2: Fast Cooling & Heating. This diagram visually represents the system's ability to quickly cool and heat a room, indicating its 12000 BTU cooling capacity and coverage area of up to 750 sq. ft.
6.2 Fan Speeds
You can select from four fan speeds: Low, Mid, High, or Auto. Auto mode adjusts the fan speed based on the current room temperature and desired setting.
6.3 Timer Function
The 24-hour timer allows you to program the unit to turn on or off automatically at specified times, enhancing convenience and energy savings.
6.4 Quiet Operation
The unit is designed for quiet operation, especially in Sleep and Silent modes, ensuring minimal disturbance.

Figure 6.3: Quiet Night, Undisturbed Sleep. This image demonstrates the low noise levels of the unit, particularly in sleep mode, ensuring a peaceful environment for rest.
7. Maintenance
Regular maintenance helps ensure the longevity and efficient operation of your mini split system.
7.1 Self-Cleaning Function
The unit features a self-cleaning function that prevents debris buildup on the evaporator coil, ensuring consistent performance and cleaner air. Activate this function periodically as recommended in the full operating guide.

Figure 7.1: Self-Cleaning Process. This diagram illustrates the four stages of the unit's self-cleaning function: condensation, frosting, melting, and sterilization, which work together to maintain a clean indoor coil.
7.2 Automatic Defrost
The outdoor unit is equipped with an automatic defrost feature, allowing it to operate smoothly and efficiently even in frigid temperatures as low as -4°F by preventing ice buildup on the coil.
7.3 Air Filter Cleaning
The air filters in the indoor unit should be cleaned regularly (e.g., every 2-4 weeks, depending on usage) to maintain optimal airflow and air quality. Refer to the full manual for instructions on how to access and clean the filters.
8. Troubleshooting
If you encounter issues with your unit, please refer to the following common troubleshooting steps. For complex problems, contact a qualified service technician.
- Unit Does Not Turn On: Check if the unit is properly plugged in and if the circuit breaker has tripped. Ensure batteries in the remote control are functional.
- Insufficient Cooling/Heating: Verify that the correct mode is selected and the temperature setting is appropriate. Check if air filters are clean and not obstructed. Ensure no objects are blocking the indoor or outdoor unit's airflow.
- Unusual Noises: Some operational noises (e.g., refrigerant flow, fan operation) are normal. If you hear loud or unusual sounds, contact a service professional.
- Water Leakage: Check if the drain hose is properly connected and not clogged. Ensure the indoor unit is level.
9. Specifications
| Feature | Specification |
|---|---|
| Brand | ceamorfco |
| Model Number | 115230 |
| Cooling Power | 12000 BTU |
| Heating Capacity | 1 Ton Heat Pump |
| Coverage Area | Up to 750 Sq. Ft. |
| SEER Rating | 17 SEER2 |
| Voltage | 115 Volts |
| Wattage | 1450 watts |
| Noise Level | 50 Decibels (Max) |
| Refrigerant Type | R32 |
| Special Features | Dehumidifier, Self-Cleaning, Automatic Defrost |
| Indoor Unit Dimensions (D x W x H) | 7.5 x 34.5 x 11.5 inches |
| Item Weight | 60 pounds (total system weight) |
10. Warranty and Support
For warranty information and customer support, please refer to the documentation included with your purchase or contact the ceamorfco customer service department. Ensure you have your model number (115230) and purchase date available when contacting support.
Ask a question about this manual
Ask about setup, troubleshooting, compatibility, parts, safety, or missing instructions. Manuals+ will review the question and use this page’s manual context to help answer it.