
Introduction
This manual provides detailed instructions for the operation and maintenance of your Yoidesu 1080P Action Camera (Model B0FK3ZCCSV). Please read this manual thoroughly before using the device to ensure proper functionality and to maximize your user experience. This camera is designed for capturing high-quality video and photos in various environments, featuring a 180° rotary lens, Wi-Fi connectivity, and night mode capabilities.
Product Overview
Familiarize yourself with the components and controls of your Yoidesu Action Camera.

Figure 1: Camera Components and Controls
This image illustrates the various parts of the Yoidesu Action Camera, including the camera lens, night vision lights, work indicator light, reset button, ON/OFF switch, card slot, and Type-C port. Dimensions are approximately 3.2 inches in length, 1.7 inches in width, and 0.5 inches in thickness.
Components:
- Camera Lens: Main optical component for capturing images and videos.
- Night Vision Lights: Infrared LEDs for enhanced low-light recording.
- Work Indicator Light: Indicates camera status (e.g., recording, charging).
- Reset Button: Used to restore factory settings or restart the device.
- ON/OFF Switch: Powers the camera on or off.
- Card Slot: For inserting a Micro SD card (4-128GB, not included).
- Type-C Port: For charging and data transfer.
Setup
1. Charging the Camera
Before first use, fully charge the camera. Connect the provided Type-C charging cable to the camera's Type-C port and the other end to a USB power adapter (not included) or a computer's USB port. The work indicator light will show the charging status and turn off or change color when fully charged. The camera has a built-in 1200mAh Li-Polymer battery.

Figure 2: Camera and Charging Cable
This image displays the Yoidesu Action Camera alongside its Type-C charging cable, ready for power connection.
2. Inserting a Micro SD Card
The camera requires a Micro SD card (not included) for storing recordings. It supports capacities from 4GB to 128GB. Gently insert the Micro SD card into the card slot until it clicks into place. Ensure the card is inserted in the correct orientation. To remove, gently push the card in again until it springs out.
3. Powering On/Off
Slide the ON/OFF switch to the 'ON' position to power on the camera. The work indicator light will illuminate. To power off, slide the switch to the 'OFF' position.
4. App Installation (iWFCam)
For advanced features, real-time viewing, and video transfer, download the "iWFCam" application on your smartphone. The app is compatible with Windows, OS X, and Linux systems. Search for "iWFCam" in your device's app store or scan the QR code provided in the camera's packaging (if available).
Operating Instructions
1. Basic Recording and Photo Capture
Once powered on and with a Micro SD card inserted, the camera is ready to record. Specific buttons for starting/stopping recording or taking photos are typically located near the lens or on the side. Refer to the quick start guide included in the package for exact button functions. The camera records in 1080P resolution.

Figure 3: Smart WiFi Camera Features
This image highlights key features of the camera: 180° rotatable lens, photo capture, video recording, night vision, and motion detection.
2. 180° Rotary Lens
The camera features a lens that can be manually rotated up to 180° vertically. This allows for flexible viewing angles and capturing a wider range of perspectives. Gently adjust the lens to your desired position.

Figure 4: 180° Rotatable Lens
This image demonstrates the camera's lens rotation capability, showing positions at 0°, 90°, and 180°.
3. Night Mode Operation
The camera automatically activates night mode in low-light conditions. This feature enhances image clarity, allowing for clear video and photo capture even in dark environments. The night vision lights (infrared LEDs) assist in this process.
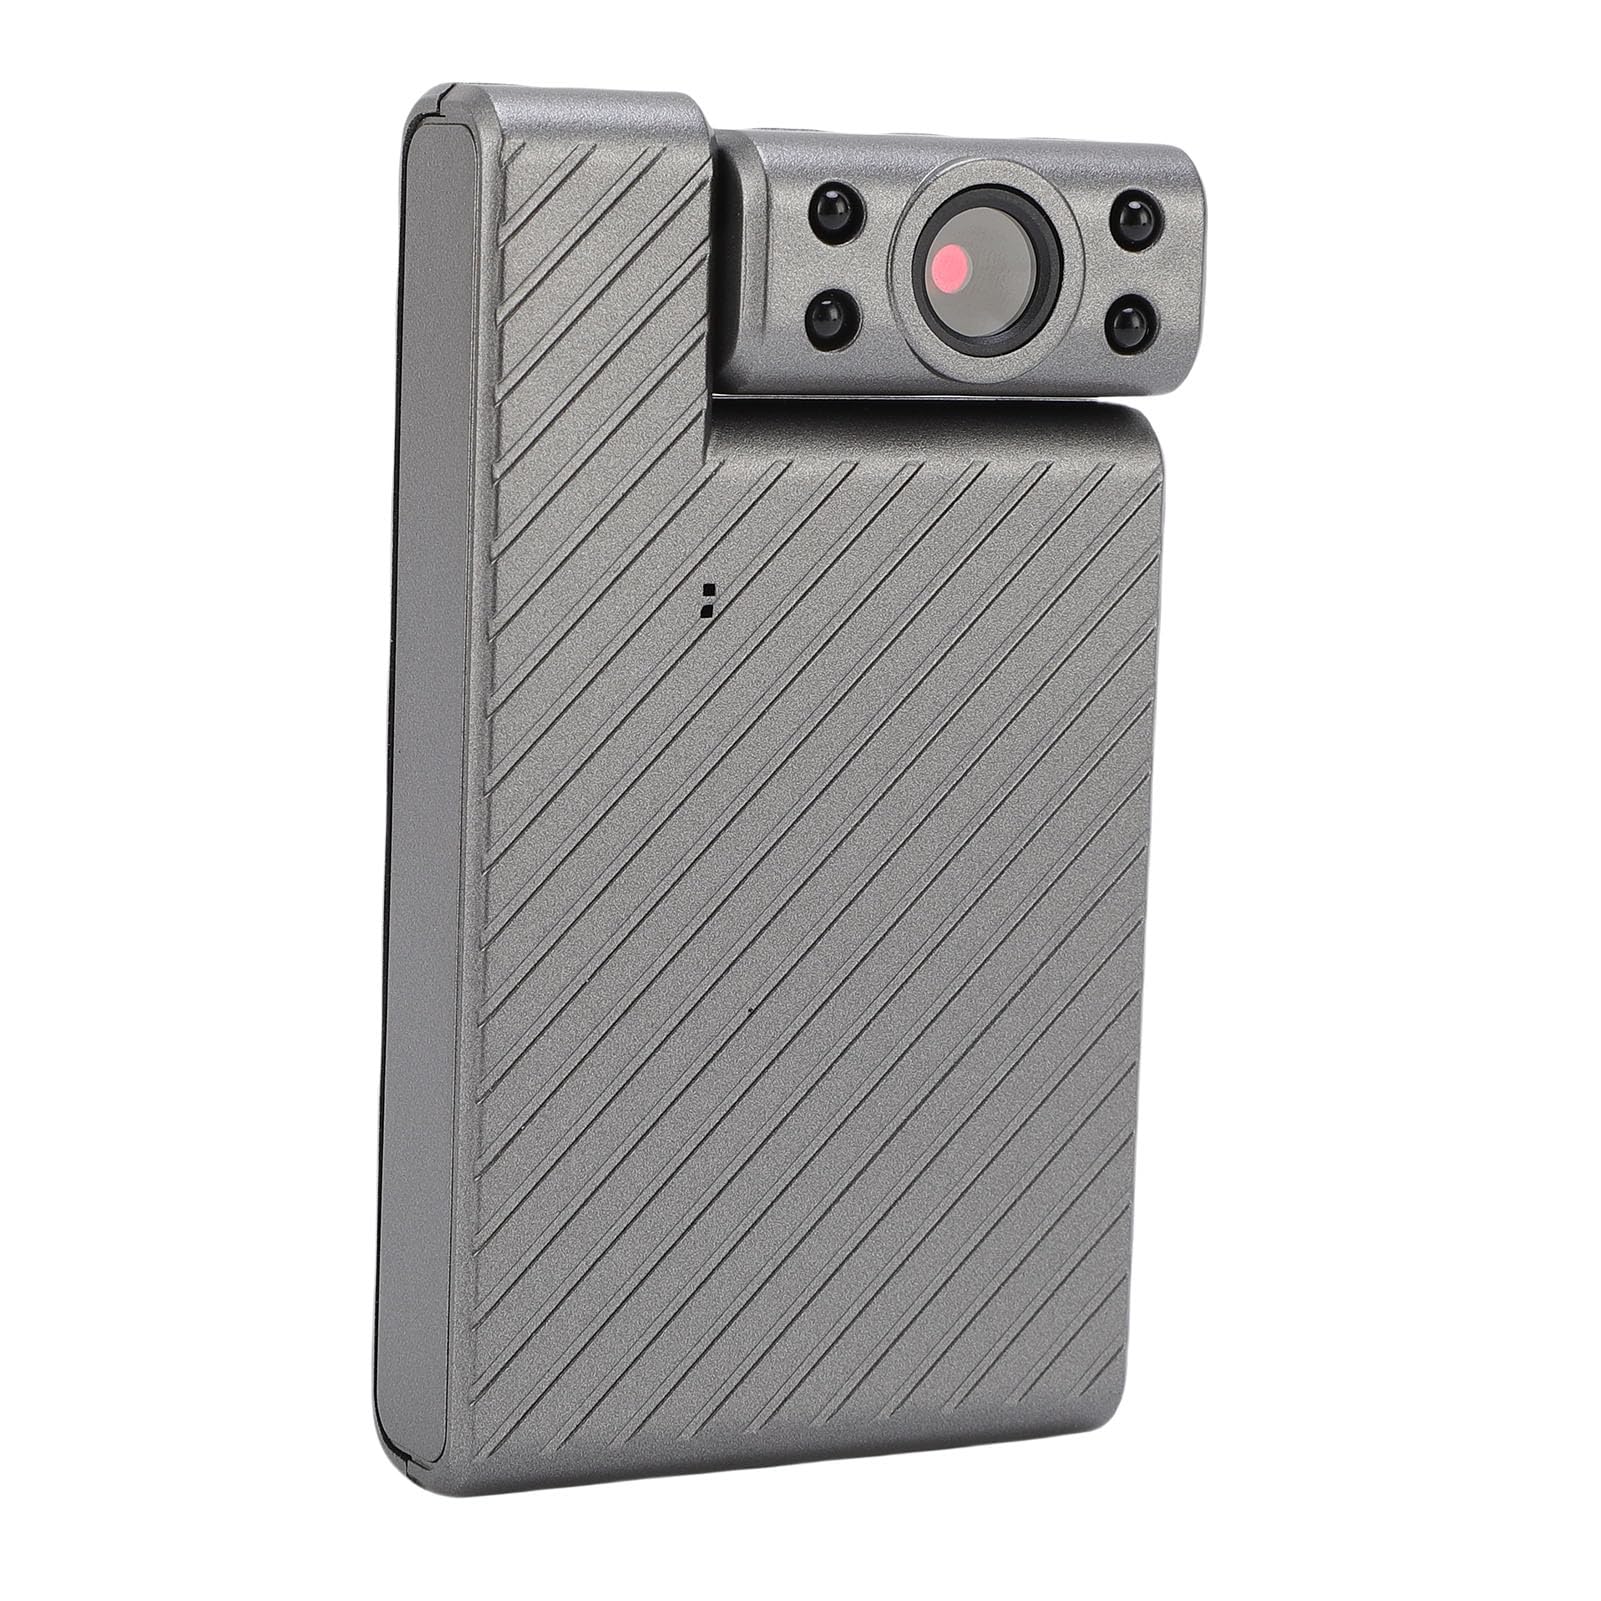
Figure 5: Night Vision Performance
This image illustrates the effectiveness of the camera's night vision, showing a clear image captured in low light compared to a less clear image from another device.
4. Electronic Anti-Shake
The camera incorporates electronic anti-shake technology to minimize blur and instability in recordings, especially during movement. This ensures smoother and more stable footage.
5. Wi-Fi Connectivity and App Usage
To connect the camera to your smartphone via Wi-Fi:
- Ensure the camera is powered on.
- Open the "iWFCam" app on your smartphone.
- Follow the in-app instructions to connect to the camera's Wi-Fi network.
- Once connected, you can view live footage, manage settings, and transfer recorded videos to your smartphone.

Figure 6: User Sharing via App
This image demonstrates the multi-user real-time sharing feature, allowing various family members to access the camera feed via the app.
6. Motion Detection and Notifications
When enabled through the iWFCam app, the camera can detect motion and send immediate alert notifications to your smartphone. This feature is useful for security monitoring.

Figure 7: Motion Detection Notification
This image shows a smartphone receiving an alarm message indicating motion detection from the camera, with a dog visible in the background.
Maintenance
Cleaning
- Use a soft, dry cloth to clean the camera body.
- For the lens, use a specialized lens cleaning cloth and solution to avoid scratches.
- Do not use harsh chemicals or abrasive materials.
Storage
- Store the camera in a cool, dry place away from direct sunlight and extreme temperatures.
- Remove the Micro SD card if storing for extended periods.
- Ensure the battery is partially charged (around 50%) before long-term storage to preserve battery life.
Troubleshooting
| Problem | Possible Cause | Solution |
|---|---|---|
| Camera does not power on. | Low battery; ON/OFF switch in 'OFF' position; device malfunction. | Charge the camera; ensure ON/OFF switch is 'ON'; press the reset button; contact support if issue persists. |
| Cannot record video/take photos. | No Micro SD card inserted; Micro SD card full or corrupted; incorrect mode. | Insert a Micro SD card; format or replace the Micro SD card; ensure sufficient storage space; check camera mode. |
| Wi-Fi connection issues. | Incorrect Wi-Fi password; camera too far from smartphone; app not updated. | Verify Wi-Fi password; move camera closer to smartphone; update iWFCam app; restart both devices. |
| Poor image quality in low light. | Night mode not active; lens obstruction. | Ensure night mode activates automatically; clean the lens; ensure sufficient ambient light for optimal performance. |
Specifications
| Feature | Detail |
|---|---|
| Item Type | Action Camera |
| Material | ABS |
| Video Resolution | 1080P (Max) |
| Lens | Wide Angle 6 Glass Lens, 180° Rotary |
| Anti-Shake Type | Electronic Anti-Shake |
| Aspect Ratio | 16:9 |
| Battery Type | Built-in High Capacity Li-Polymer Battery |
| Battery Capacity | 1200mAh |
| Storage Support | Micro SD Card, 4-128GB (Excluded) |
| Interface Type | Type-C |
| Support System | For Windows, For OS X, For Linux |
| APP Name | iWFCam |
| Parcel Dimensions | 14 x 9 x 4 cm |
| Item Weight | 90 g |
Warranty and Support
This Yoidesu Action Camera comes with a manufacturer warranty for 90 days from the date of purchase. Please retain your proof of purchase for warranty claims.
For technical support or warranty inquiries, please refer to the contact information provided with your product packaging or visit the official Yoidesu website.