
1. Introduction
Thank you for choosing the SUGON 212 2-in-1 Soldering Station and Heat Gun. This device combines a hot air rework station and a soldering station into a single unit, designed for precision electronic repair and maintenance. It features dual digital displays, three memory channels for both the hot air gun and soldering iron, and an automatic sleep function for enhanced safety and energy efficiency. Please read this manual thoroughly before operation to ensure proper use and to prevent damage.
2. Safety Instructions
- Always operate the unit in a well-ventilated area to avoid inhaling fumes from soldering and flux.
- The hot air gun and soldering iron tips reach very high temperatures. Avoid direct contact with skin or flammable materials.
- Ensure the power supply matches the unit's requirements (110V for this model).
- Do not use the unit near water or in damp environments.
- Always place the hot air gun in its holder and the soldering iron in its stand when not in use.
- Disconnect the power cord before cleaning or performing maintenance.
- Keep out of reach of children.
3. Package Contents
Verify that all items are present in the package:
- SUGON 212 2-in-1 Soldering Station and Heat Gun (110V)
- Hot Air Gun Handle
- Soldering Iron Handle (T12 type)
- Soldering Iron Stand with Cleaning Sponge and Copper Wire Ball
- Power Cord
- Hot Air Nozzles (various sizes)
4. Product Overview
Familiarize yourself with the main components and controls of the SUGON 212 station.

Image 4.1: Overview of the SUGON 212 unit, showing the main control panel, hot air gun, soldering iron, and stand with labeled components such as LED display, temperature buttons, air volume display, memory channel buttons, and power switches.
- LED Display Screen: Shows real-time temperature and air volume.
- Hot Air Temperature Display: Indicates the set and actual temperature for the hot air gun.
- Soldering Iron Temperature Display: Indicates the set and actual temperature for the soldering iron.
- Air Volume Display: Shows the current air volume level for the hot air gun.
- Heat Gun Memory Channel Buttons (CH1, CH2, CH3): For storing and recalling hot air gun settings.
- Soldering Iron Memory Channel Buttons (CH1, CH2, CH3): For storing and recalling soldering iron settings.
- Heat Gun Temperature Buttons (+/-): Adjusts hot air gun temperature.
- Heat Gun Air Volume Button (+/-): Adjusts hot air gun air volume.
- Soldering Iron Temperature Button (+/-): Adjusts soldering iron temperature.
- Heat Gun Switch: Powers the hot air gun on/off.
- Soldering Iron Switch: Powers the soldering iron on/off.
- Hot Air Gun: The hot air handle for rework.
- Welding Handle: The T12 soldering iron handle.
- Soldering Iron Stand: Holds the soldering iron, includes cleaning sponge and copper wire ball.
5. Setup
- Unpacking: Carefully remove all components from the packaging.
- Placement: Place the main unit on a stable, heat-resistant, and non-flammable surface. Ensure adequate space around the unit for ventilation.
- Connect Hot Air Gun: Insert the hot air gun handle's connector into the corresponding port on the main unit. Ensure it is securely fastened. Place the hot air gun into its holder on the side of the unit.
- Connect Soldering Iron: Insert the soldering iron handle's connector into its designated port on the main unit. Place the soldering iron into its stand.
- Power Connection: Connect the power cord to the main unit and then plug it into a grounded 110V AC power outlet.
6. Operating Instructions
6.1 General Operation
- Power On: Flip the main power switch located on the front panel to the 'ON' position. The digital displays will illuminate.
- Individual Component Power: Use the separate switches for the 'HEAT GUN' and 'IRON' to power them on or off independently.
6.2 Hot Air Gun Operation

Image 6.2.1: Features of the hot air rework station, including temperature range, PID auto-calibration, memory channels, and brushless silent fan.
- Power On: Ensure the 'HEAT GUN' switch is ON.
- Adjust Temperature: Use the 'HEAT GUN TEMP' '+' and '-' buttons to set the desired temperature (Range: 100-500°C / 212-932°F). The display will show the set temperature and then the actual temperature as it heats up.
- Adjust Air Volume: Use the 'HEAT GUN AIR' '+' and '-' buttons to set the desired air volume (Range: Grade 20-100).
- Using Memory Channels: The hot air gun has 3 memory channels (CH1, CH2, CH3).
To Save: Set the desired temperature and air volume. Press and hold the corresponding CH button (e.g., CH1) until a beep sounds or the display indicates it's saved.
To Recall: Briefly press the desired CH button (e.g., CH1) to instantly load the saved settings. - Automatic Cooling: When the hot air gun is placed back into its holder, it will automatically enter a cooling mode, blowing cool air until it reaches a safe temperature before shutting off.
6.3 Soldering Station Operation
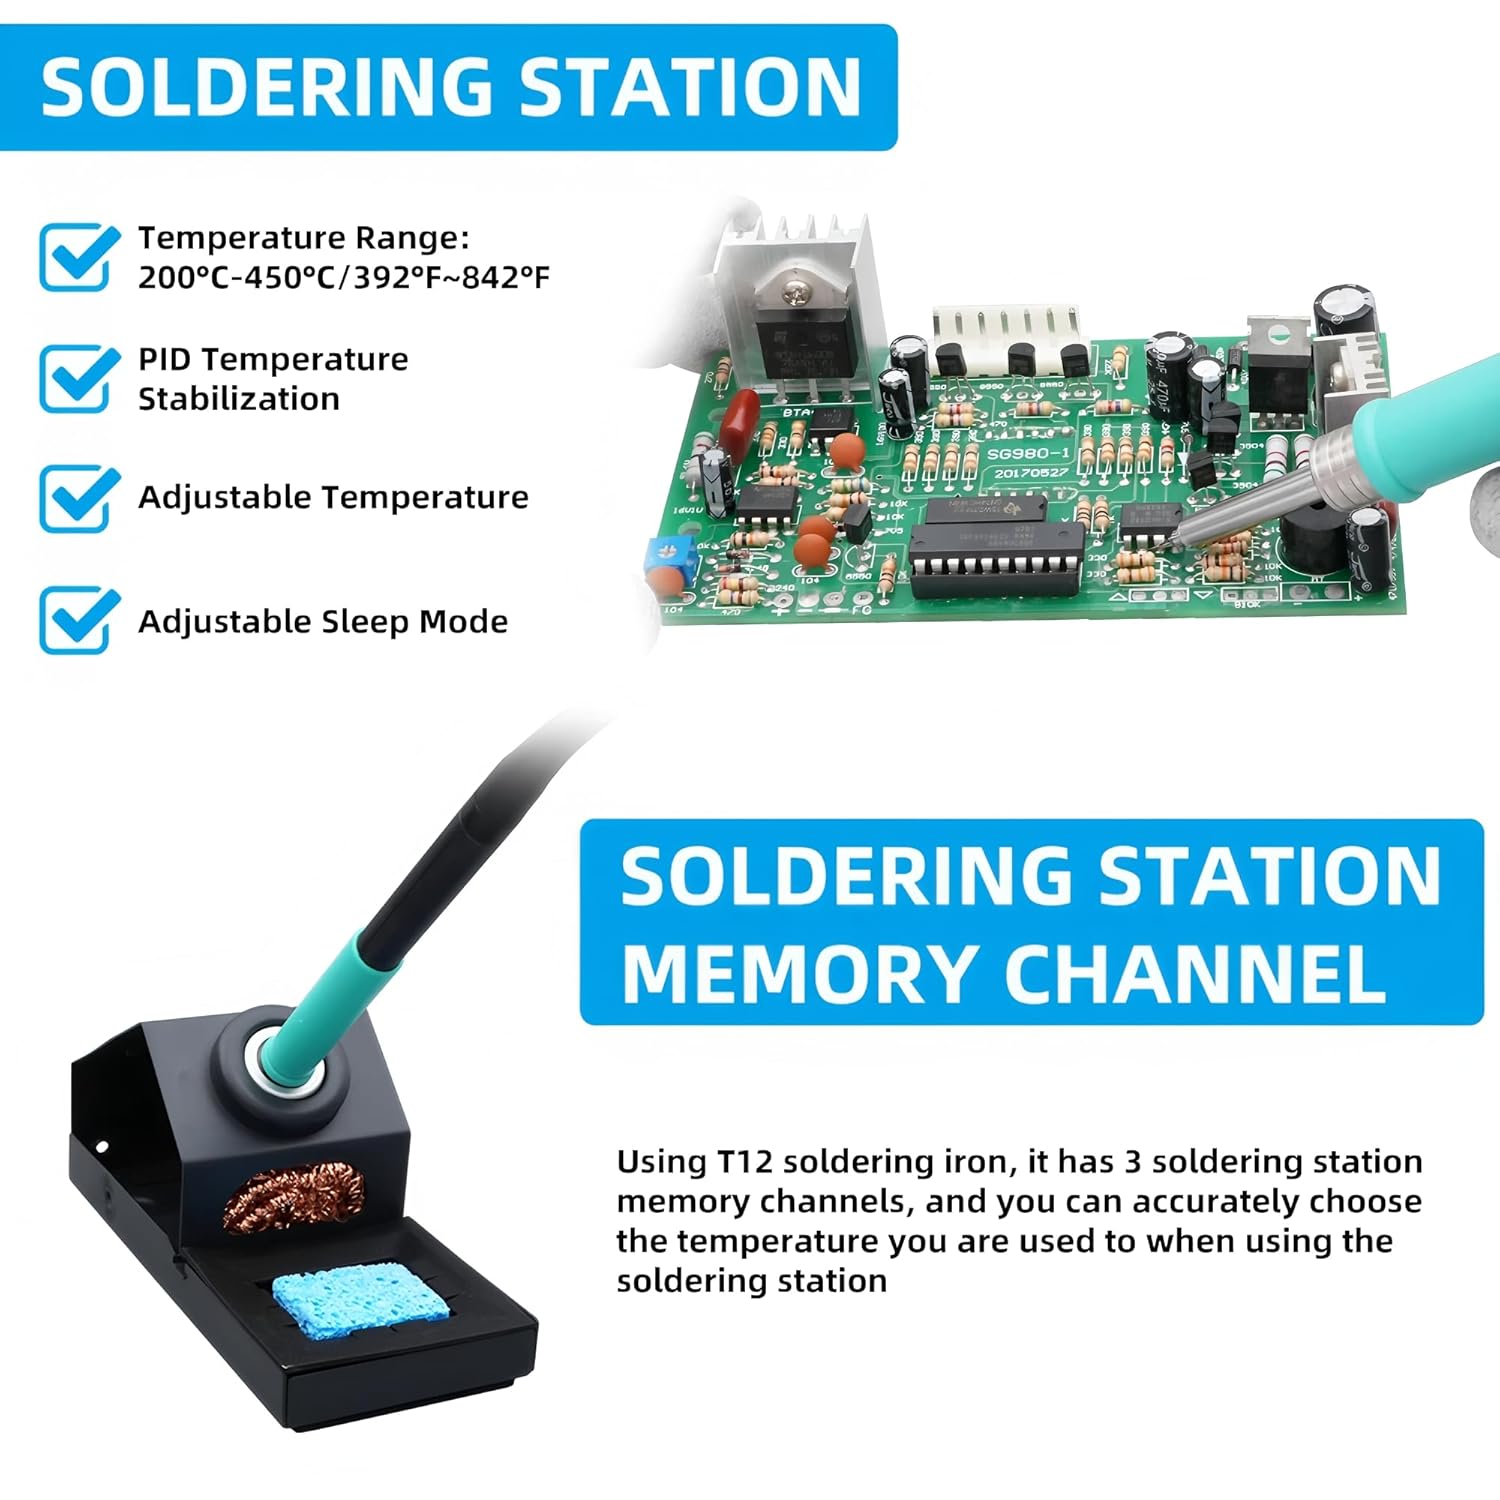
Image 6.3.1: Features of the soldering station, including temperature range, PID temperature stabilization, adjustable temperature, and adjustable sleep mode.
- Power On: Ensure the 'IRON' switch is ON.
- Adjust Temperature: Use the 'IRON TEMP' '+' and '-' buttons to set the desired temperature (Range: 200-450°C / 392-842°F). The display will show the set temperature and then the actual temperature as it heats up.
- Using Memory Channels: The soldering iron also has 3 memory channels (CH1, CH2, CH3).
To Save: Set the desired temperature. Press and hold the corresponding CH button (e.g., CH1) until a beep sounds or the display indicates it's saved.
To Recall: Briefly press the desired CH button (e.g., CH1) to instantly load the saved settings. - Cleaning the Tip: Use the included cleaning sponge (dampened) or copper wire ball in the soldering iron stand to clean the tip regularly.
6.4 Temperature Unit Conversion and Calibration

Image 6.4.1: Instructions for converting temperature units (°C/°F) and performing temperature calibration on the SUGON 212.
- Temperature Unit Conversion (°C/°F):
When the unit is in use, press the 'multi-function' key (often labeled 'SETTING' or similar, or a combined button) to switch between Celsius (°C) and Fahrenheit (°F). Hold the 'multi-function' key for two seconds to turn off or turn on the buzzer sound. - Temperature Calibration:
1. When the host is turned off, press and hold the 'multi-function' key for two seconds.
2. Then press the power switch to enter the temperature calibration setting interface.
3. Press the air volume '+' or '-' keys to adjust the displayed temperature to match a known accurate external thermometer reading.
4. Click the 'More function' key (or 'SETTING' key) to exit the temperature calibration function after the setting is completed.
6.5 Automatic Sleep Function
The SUGON 212 features an automatic sleep function for both the hot air gun and soldering iron. When the hot air gun is placed in its holder or the soldering iron is left in its stand for a set period, the unit will automatically reduce the temperature to a safe level or enter a low-power sleep mode to conserve energy and prolong tip life. Movement of the handle or iron will reactivate it to the last set temperature.
7. Maintenance
- Cleaning: Regularly clean the main unit, hot air gun, and soldering iron handles with a soft, dry cloth. Do not use abrasive cleaners or solvents.
- Soldering Tip Care: Always tin the soldering iron tip with solder before storing it and after cleaning to prevent oxidation. Replace tips when they become excessively worn or corroded.
- Hot Air Nozzles: Ensure hot air nozzles are free from debris. Clean them if necessary.
- Storage: Store the unit in a dry, dust-free environment when not in use.
8. Troubleshooting
| Problem | Possible Cause | Solution |
|---|---|---|
| Unit does not power on | Power cord not connected; Main power switch off; Faulty outlet | Check power cord connection; Ensure main power switch is ON; Test outlet with another device |
| Hot air gun or soldering iron not heating | Component switch off; Loose connection; Heating element failure | Ensure individual component switch is ON; Check cable connections; Contact support if element is faulty |
| Incorrect temperature display | Needs calibration; Sensor issue | Perform temperature calibration (refer to Section 6.4); Contact support if sensor is faulty |
| Hot air gun has no or weak airflow | Air volume set too low; Fan obstruction; Fan failure | Increase air volume setting; Check for obstructions in nozzle or fan intake; Contact support if fan is faulty |
| Soldering iron tip not melting solder | Temperature set too low; Oxidized tip; Worn tip | Increase temperature; Clean and re-tin tip; Replace tip if worn |
9. Specifications
| Feature | Specification |
|---|---|
| Model | YQ-Sugon 212+T12+K Tip 110V |
| Brand | SUGON (Manufacturer: AIFEN/SUGON) |
| Power Supply | 110V AC |
| Total Power Consumption | 760W |
| Hot Air Gun Temperature Range | 100-500°C (212-932°F) |
| Soldering Iron Temperature Range | 200-450°C (392-842°F) |
| Hot Air Gun Air Volume Range | Grade 20-100 |
| Soldering Iron Type | T12 |
| Display Type | Dual Digital LED |
| Memory Channels | 3 for Hot Air Gun, 3 for Soldering Iron |
| Special Features | Automatic Sleep Function, Temperature Calibration, PID Temperature Stabilization |
10. Warranty
This SUGON 212 Soldering Station and Heat Gun comes with a 1-year warranty from the date of purchase. This warranty covers manufacturing defects and workmanship under normal use. It does not cover damage caused by misuse, accidents, unauthorized modifications, or improper maintenance. Please retain your proof of purchase for warranty claims.
11. Support
For technical assistance, troubleshooting beyond this manual, or warranty inquiries, please contact the seller or manufacturer directly. Refer to your purchase documentation for specific contact information.


