
1. Introduction
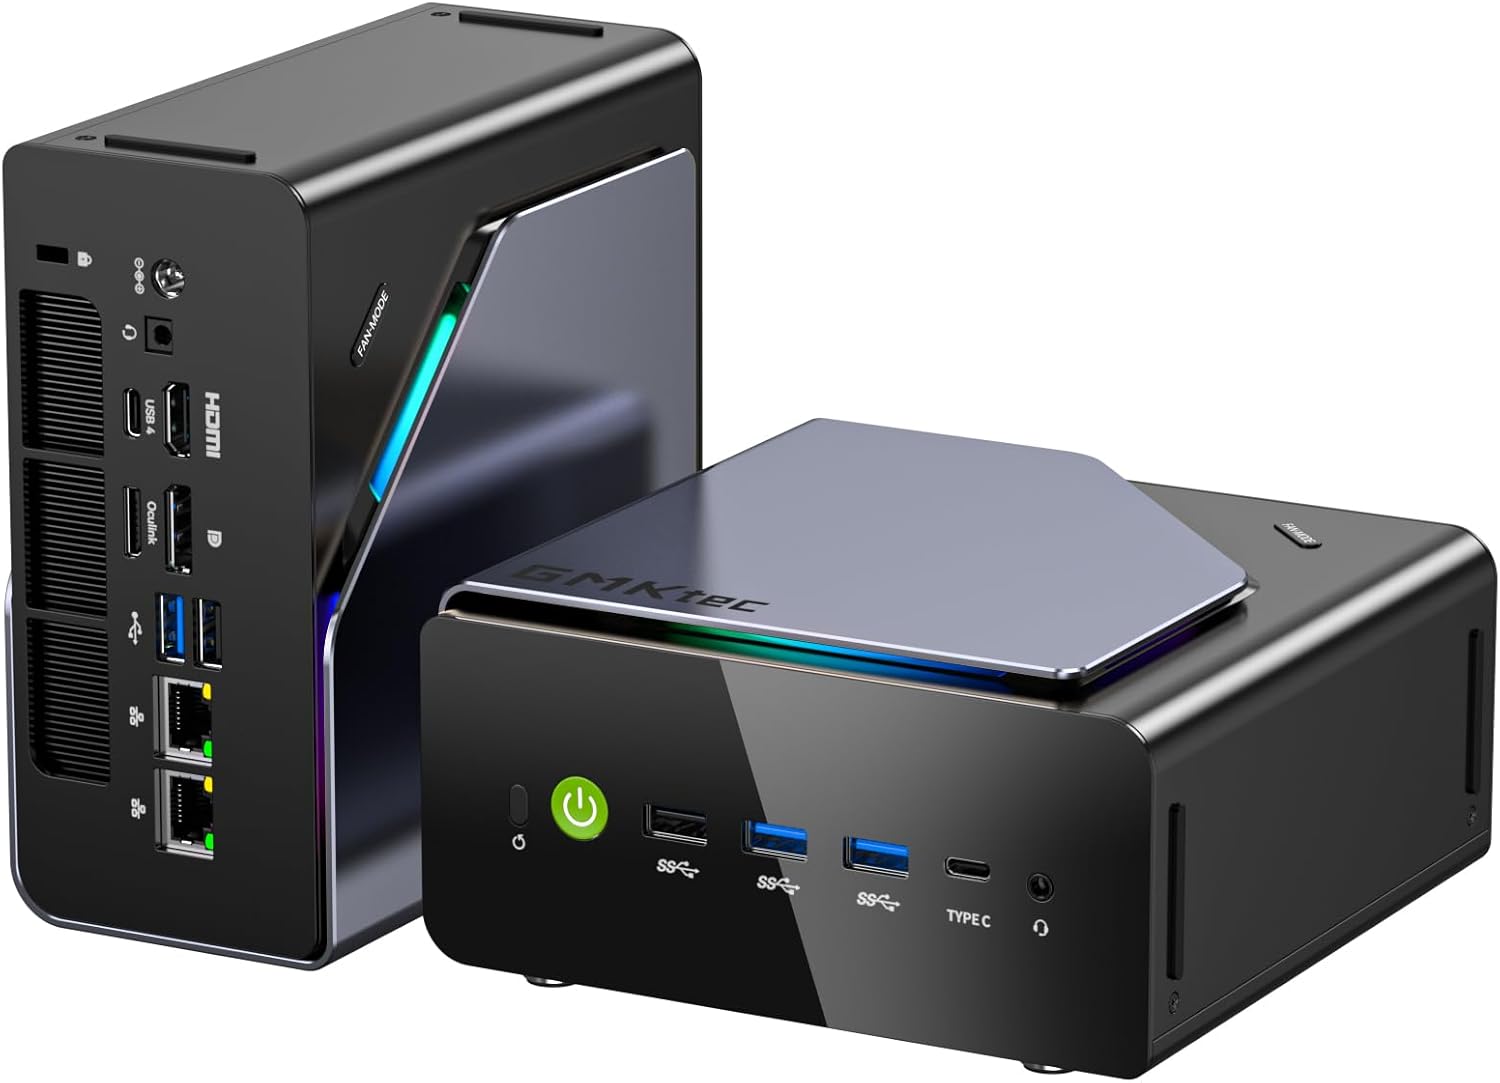
This manual provides essential information for setting up, operating, maintaining, and troubleshooting your GMKtec K12 Gaming Mini PC. The K12 Mini PC is a compact desktop computer featuring an AMD Ryzen 7 H 255 processor, Radeon 780M graphics, 32GB DDR5 RAM, and a 512GB PCIe 4.0 SSD. It is designed for gaming, video editing, and multitasking, offering robust performance in a small form factor.
2. Package Contents
Verify that all items listed below are included in your package:
- GMKtec Nucbox K12 AMD Ryzen 7 H 255 Mini PC Computer
- Power Supply & Cable
- HDMI Cable
- User Manual (this document)
- VESA Mount with Screws

3. Setup Guide
Follow these steps to set up your GMKtec K12 Mini PC:
- Unpack the Mini PC: Carefully remove the GMKtec K12 Mini PC and all accessories from the packaging.
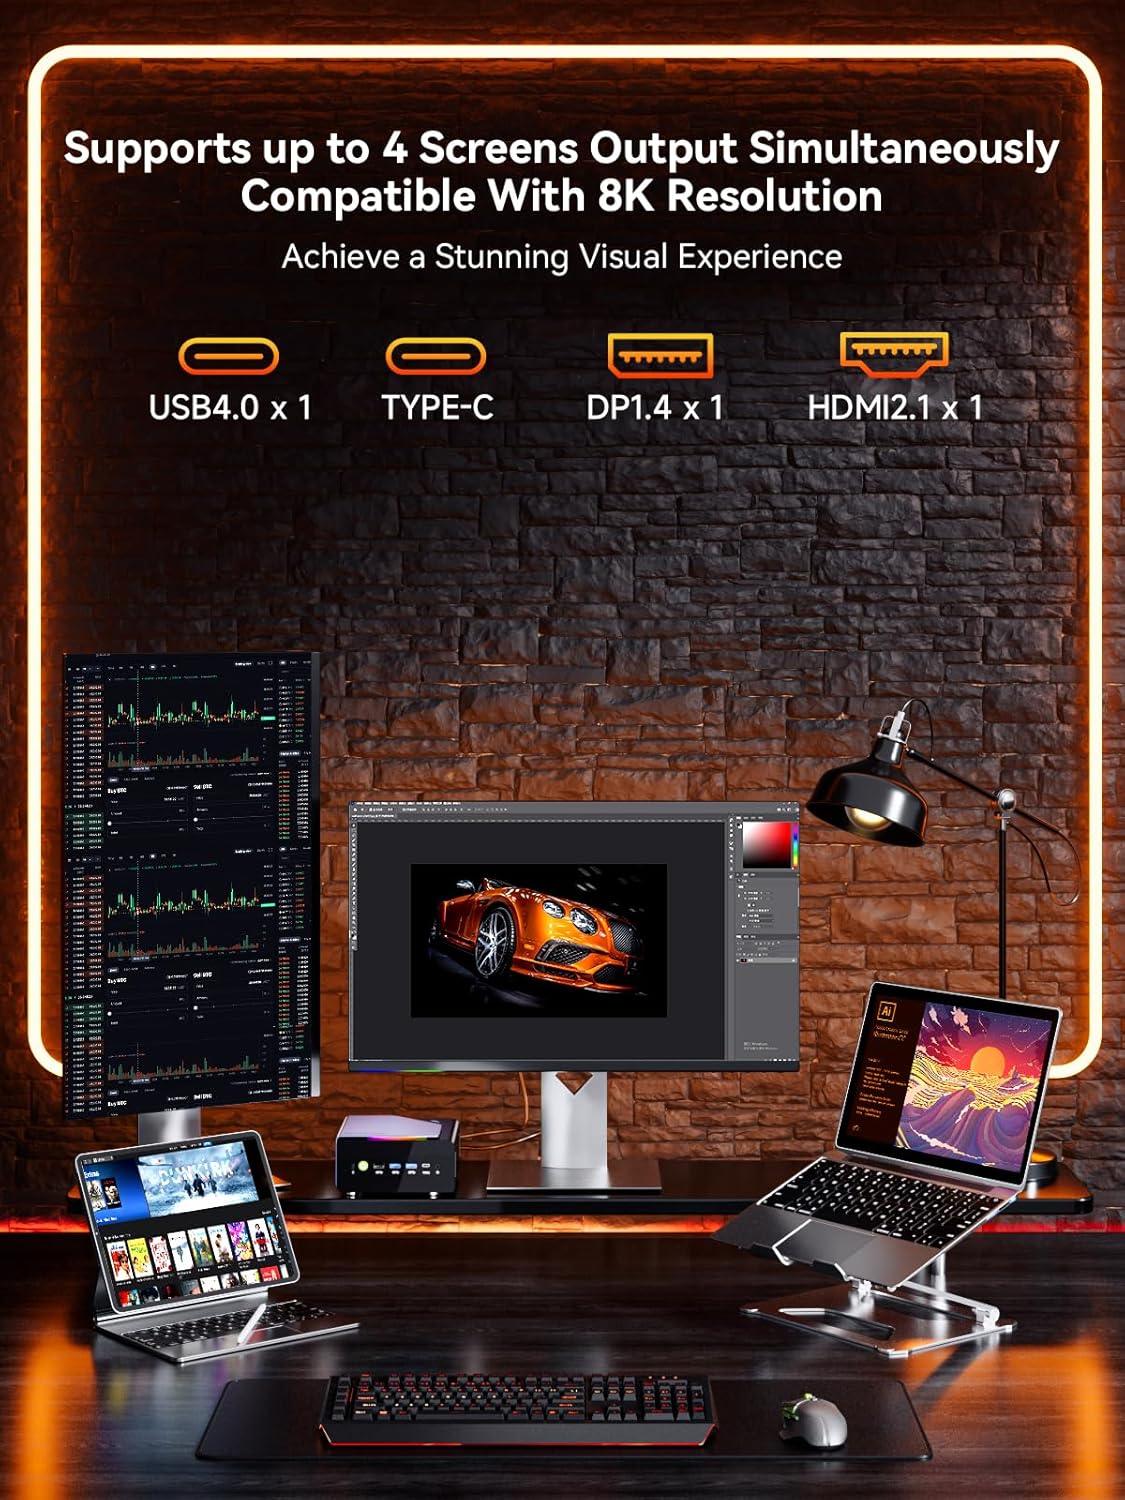
- Connect to Display: Connect your monitor or TV to the Mini PC using the provided HDMI cable or a DisplayPort cable. The Mini PC supports HDMI 2.1 (8K@60Hz), DisplayPort 1.4 (4K@60Hz), and USB Type-C for display output.
- Connect Peripherals: Connect your keyboard, mouse, and other USB devices to the available USB ports. The Mini PC features USB 4.0, USB 3.2 Gen2, and USB 2.0 ports.
- Connect to Network: For wired internet, connect an Ethernet cable to one of the two 2.5GbE LAN ports. For wireless internet, the Mini PC supports Wi-Fi 6E.
- Connect Power: Connect the power adapter to the DC IN port on the Mini PC, then plug the power cable into an electrical outlet.
- Power On: Press the power button located on the front of the Mini PC. The system will boot up. Windows 11 Pro is pre-installed.

4. Operating Instructions
4.1 Power On/Off
- Power On: Press the power button on the front panel.
- Power Off: From the operating system, select 'Shut down'. Alternatively, press and hold the power button for 5 seconds to force a shutdown (use only when necessary).
4.2 Performance Modes
The K12 Mini PC offers three performance modes to optimize power consumption and noise levels:
- Quiet Mode (35W TDP): Ideal for light tasks, offering reduced fan noise (32-35dB) and lower power consumption. CPU temperature typically around 50°C.
- Balanced Mode (54W TDP): Suitable for everyday use and moderate workloads, balancing performance and acoustics. CPU temperature typically around 65°C, with noise levels of 36-37dB.
- Performance Mode (70W TDP): Maximizes performance for demanding applications and gaming. CPU temperature typically around 75°C, with noise levels of 39-40dB.

4.3 Multi-Display Setup
The K12 Mini PC supports up to four screens simultaneously with resolutions up to 8K. Connect your displays using a combination of the following ports:
- 1x HDMI 2.1 (up to 8K@60Hz)
- 1x DisplayPort 1.4 (up to 4K@60Hz)
- 1x USB Type-C (supports PD3.0/DP1.4/DATA)
- 1x USB4.0

4.4 Oculink Port Usage
The Oculink port on the rear interface provides higher bandwidth capabilities (PCIe x4 speeds) for external graphics card (eGPU) setups, resulting in better frame rates and lower latency compared to Thunderbolt. This is beneficial for gamers and content creators requiring enhanced graphical performance.
Important Note: The Oculink interface does not support hot-plugging. Ensure the Mini PC is powered off before connecting or disconnecting any device from the Oculink port to prevent damage.
5. Maintenance
5.1 Cooling System
The K12 Mini PC is equipped with dual cooling fans (a turbo CPU fan and a DDR5/SSD cooling fan) and advanced heatpipes to ensure efficient heat dissipation. The 360° airflow design maintains optimal operating temperatures even under heavy loads. Regular cleaning of dust from the vents is recommended to maintain cooling efficiency.

5.2 Storage and RAM Expansion
The K12 Mini PC offers flexible upgrade options:
- SSD: Features three M.2 2280 expansion slots, each capable of supporting up to 8TB, for a maximum total storage of 24TB.
- RAM: Equipped with dual SO-DIMM DDR5 5600MHz memory slots, supporting up to 128GB total RAM (64GB per slot).
For upgrades, ensure the Mini PC is powered off and disconnected from the power source. Consult a professional if you are unsure about the upgrade process.
6. Troubleshooting
If you encounter issues with your GMKtec K12 Mini PC, consider the following basic troubleshooting steps:
- No Power: Ensure the power adapter is securely connected to both the Mini PC and a working electrical outlet. Try a different outlet.
- No Display: Verify that the HDMI or DisplayPort cable is securely connected to both the Mini PC and the monitor. Ensure the monitor is powered on and set to the correct input source.
- Peripheral Not Working: Check USB connections. Try connecting the peripheral to a different USB port. Ensure drivers are installed if required.
- System Unresponsive: Press and hold the power button for 5 seconds to force a shutdown, then restart the Mini PC.
- Overheating: Ensure the Mini PC's vents are not obstructed. Clean any dust accumulation.
For persistent issues, refer to the GMKtec support website or contact customer service.
7. Specifications
| Feature | Specification |
|---|---|
| Processor | AMD Ryzen 7 H 255 (up to 4.9 GHz, 8 Cores, 16 Threads) |
| Graphics | AMD Radeon 780M (Integrated, up to 2600 MHz) |
| RAM | 32GB DDR5 5600MT/S (Dual Channel, Max. 128GB) |
| Storage | 512GB PCIe 4.0 M.2 2280 SSD (3x M.2 2280 slots, Max. 24TB) |
| Operating System | Windows 11 Pro |
| Video Output | 1x HDMI 2.1 (8K@60Hz), 1x DisplayPort 1.4 (4K@60Hz), 1x USB Type-C (DP1.4), 1x USB4.0 |
| USB Ports | 1x USB4.0, 2x USB 3.2 Gen2, 2x USB 2.0, 1x USB Type-C |
| Network | Dual 2.5GbE LAN, Wi-Fi 6E, Bluetooth 5.2 |
| Special Ports | 1x Oculink (PCIe Gen4x4) |
| Audio | 3.5mm Audio Jack (CTIA) |
| Cooling System | Dual Cooling Fans with RGB Lighting |
| Dimensions (LxWxH) | 7 x 7 x 5 inches |
| Weight | 4.77 pounds |
| Color | Gunmetal Black |
8. Warranty and Support
GMKtec provides a 1-year limited warranty for the K12 Mini PC, effective from the date of purchase. This warranty covers defects arising from design and workmanship. For any issues or inquiries, GMKtec has a professional after-sales team available to assist you.
For further assistance, please visit the official GMKtec website or contact their customer support directly.


