
1. Introduction
Thank you for choosing the SUNVIVI 4-IN-1 Food Processor. This versatile appliance is designed to simplify your kitchen tasks, offering functions for meat grinding, blending, juicing, coffee grinding, and garlic peeling. Please read this manual thoroughly before first use to ensure safe and efficient operation.

Image: The SUNVIVI 4-in-1 Food Processor showcasing its multiple functions including chopping, blending, juicing, grinding, and garlic peeling capabilities.
Included Components:
- Motor Unit (350W)
- 1.8L Stainless Steel Bowl
- 4-Leaf Short Shaft Blade
- Transparent Lid for Stainless Steel Bowl
- 150ml Coffee Grinder Cup
- 350ml Juice Cup with Blade Set
- Travel Lid (Flat Lid) for Juice Cup
- Garlic Peeler Attachment
- Noise-reducing Base Ring
- Plastic Spatula
- Instruction Manual

Image: A visual representation of all parts included with the SUNVIVI 4-IN-1 Food Processor, detailing each component from the motor unit to various cups and blades.
2. Safety Instructions
Please observe the following safety precautions to prevent injury or damage to the appliance:
- Always ensure the appliance is unplugged before assembling, disassembling, or cleaning.
- Keep hands and utensils out of the bowl/cup during operation to prevent injury.
- Do not operate the appliance if any part is damaged, especially the blades or power cord.
- This appliance features overheating protection. If the motor stops, unplug it and let it cool down for at least 30 minutes before resuming use.
- The secure safety lock prevents operation unless components are correctly assembled. Do not attempt to bypass this feature.
- A silicone pad at the base helps stabilize the unit and minimize noise during operation. Ensure it is properly placed.
- Do not immerse the motor unit in water or any other liquid. Wipe with a damp cloth.
- Keep out of reach of children.
- Use only original SUNVIVI accessories and parts.
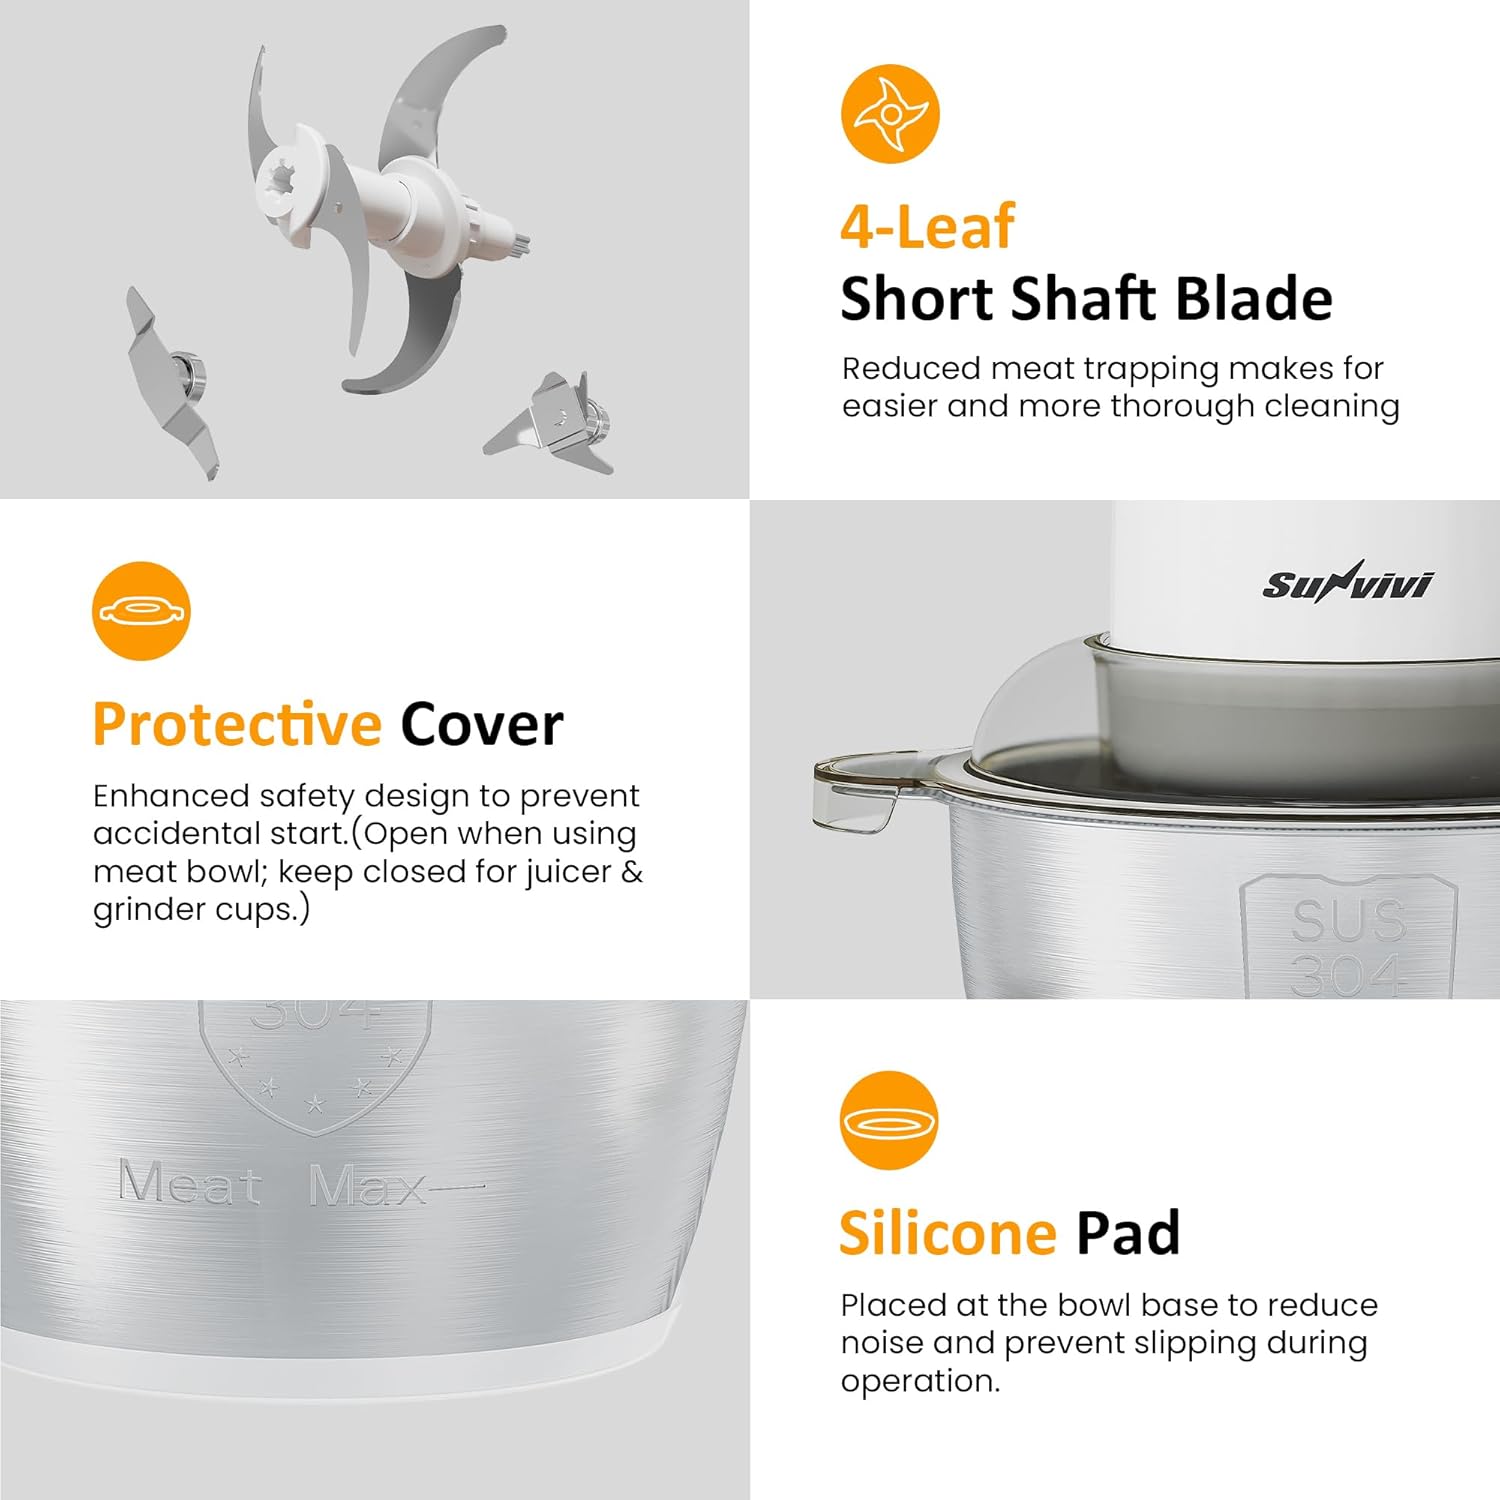
Image: Detailed view of the 4-leaf short shaft blade, protective cover, and silicone pad, illustrating key safety and design elements of the food processor.
3. Setup
Before initial use, wash all removable parts (bowls, cups, blades, lids, garlic peeler) in warm soapy water, rinse thoroughly, and dry. The motor unit should only be wiped with a damp cloth.
General Assembly Steps:
- Place the silicone pad on a stable, flat surface.
- Select the appropriate bowl or cup for your task (stainless steel bowl, juice cup, or coffee grinder cup).
- Insert the corresponding blade or attachment (4-leaf blade for the stainless steel bowl, blade set for juice cup, grinding blade for coffee cup, or garlic peeler).
- Add your ingredients to the bowl/cup. Do not overfill.
- Secure the lid onto the bowl/cup.
- Place the motor unit onto the assembled bowl/cup, ensuring it locks into place.
- Plug the appliance into a power outlet.
Video: A demonstration of assembling and using the SUNVIVI 4-IN-1 Food Processor for various tasks.
4. Operating Instructions
The SUNVIVI Food Processor features a powerful 350W motor with two-speed settings for optimal control.
Speed Control:
- Speed I (Soft Food): Ideal for softer ingredients like pumpkin puree, crushed red pepper, hummus, or salad dressing. Process for 3-5 seconds.
- Speed II (Hard Food): Suitable for harder ingredients such as meat, carrots, mashed potatoes, or coffee grounds. Process for 6-10 seconds.

Image: Visual guide to the two-speed settings, showing recommended processing times and food types for each speed.
General Operation:
Once assembled and plugged in, press the desired speed button (I or II) on the motor unit to start processing. Release the button to stop.
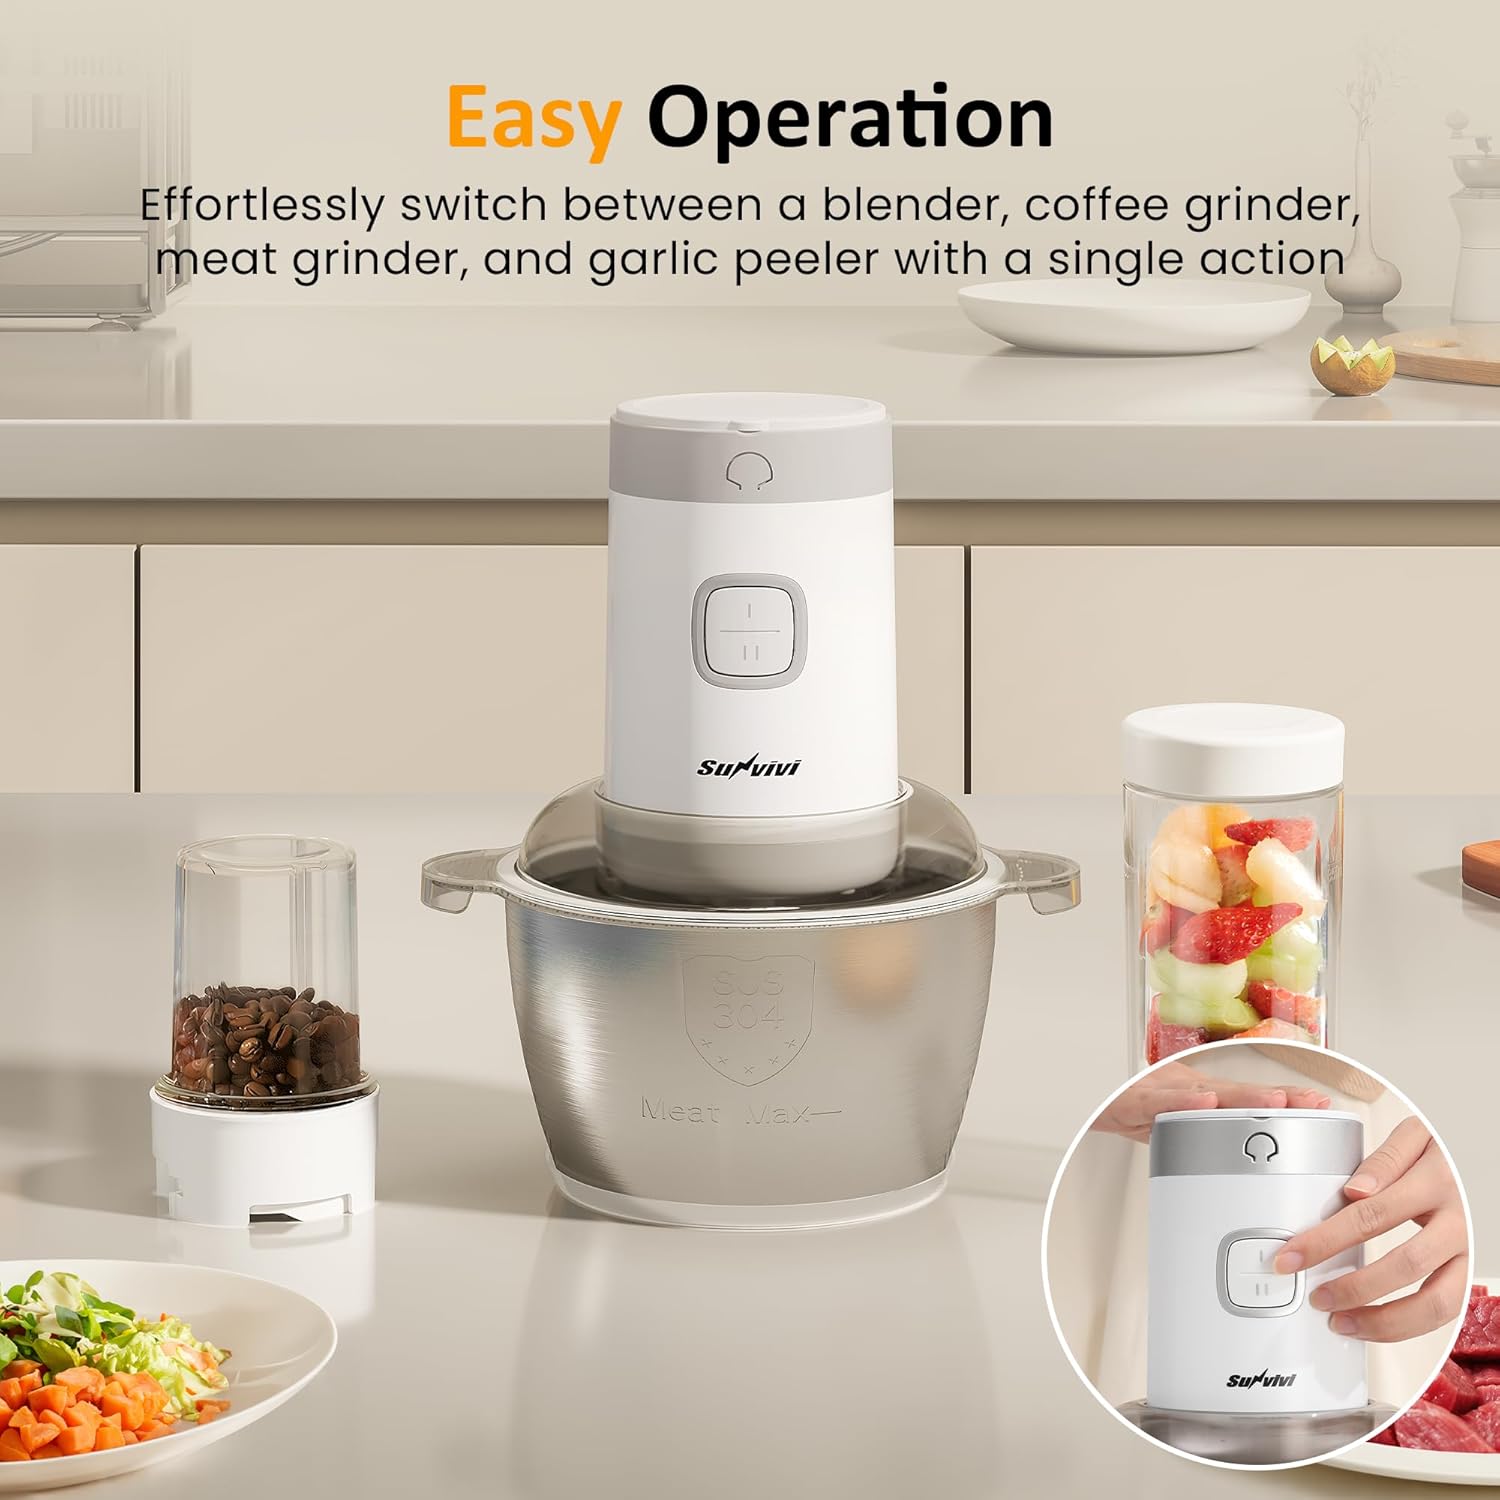
Image: The food processor demonstrating its easy one-touch operation for various functions like blending, grinding, and chopping.
Specific Functions:
Meat Grinding / Chopping:
- Place the 4-leaf short shaft blade into the 1.8L stainless steel bowl.
- Add pre-cut meat or vegetables into the bowl.
- Cover with the transparent lid and place the motor unit on top.
- Press Speed II for meat or Speed I/II depending on desired texture for vegetables.

Image: A step-by-step guide demonstrating the process of grinding meat using the food processor.
Juicing / Blending:
- Attach the blade set to the 350ml juice cup.
- Add fruit and liquid to the juice cup.
- Place the motor unit onto the juice cup.
- Press Speed I to blend until smooth.
- Remove the motor unit, replace the blade set with the travel lid, and take your juice on the go.

Image: A three-step illustration of using the portable juicer function, from adding fruit to enjoying the finished juice.
Coffee Grinding / Dry Grinding:
- Attach the grinding blade to the 150ml coffee grinder cup.
- Add coffee beans, nuts, or spices to the cup.
- Place the motor unit onto the coffee grinder cup.
- Press Speed II for grinding. Process in short bursts for desired consistency.
Garlic Peeling:
- Place the garlic peeler attachment into the 1.8L stainless steel bowl.
- Add garlic cloves (unpeeled) to the bowl.
- Cover with the transparent lid and place the motor unit on top.
- Press Speed I for a few seconds until garlic is peeled.
5. Maintenance and Cleaning
Proper cleaning and maintenance will extend the life of your appliance.
- Always unplug the appliance before cleaning.
- The stainless steel bowl, juice cup, coffee grinder cup, blades, and lids are dishwasher safe.
- For hand washing, use warm soapy water and a non-abrasive sponge. Be cautious when handling blades as they are sharp.
- The motor unit should never be immersed in water. Wipe it clean with a damp cloth and dry thoroughly.
- Ensure all parts are completely dry before storing.

Image: A visual guide demonstrating how to clean the food processor parts, including rinsing under a faucet and placing them in a dishwasher.
6. Troubleshooting
If you encounter issues with your food processor, please refer to the following common solutions:
| Problem | Possible Cause | Solution |
|---|---|---|
| Appliance does not start | Not properly assembled; Not plugged in; Overheating protection activated | Ensure motor unit is correctly locked onto the bowl/cup. Check power connection. Unplug and let cool for 30 minutes if overheated. |
| Motor runs but blades do not turn | Blade not properly installed; Food jammed | Unplug, check blade installation. Remove any jammed food. Reduce food quantity. |
| Excessive noise or vibration | Uneven load; Appliance not on a stable surface; Silicone pad misplaced | Distribute food evenly. Ensure appliance is on a flat, stable surface. Adjust silicone pad. |
| Food not processed evenly | Too much food; Insufficient liquid (for blending) | Process in smaller batches. Add more liquid if blending. Use the spatula to scrape down sides. |
If the problem persists after trying these solutions, please contact customer support.
7. Specifications
| Feature | Detail |
|---|---|
| Brand | SUNVIVI |
| Model Name | ZFC005 |
| Wattage | 350 watts |
| Voltage | 110 volts |
| Number of Speeds | 2 |
| Bowl Capacity | 1.8 liters (Stainless Steel Bowl) |
| Material | Plastic, Stainless Steel |
| Blade Material | Stainless Steel |
| Product Dimensions (D x W x H) | 7.09"D x 7.09"W x 11.81"H |
| Item Weight | 3.3 pounds |
| Special Features | Adjustable Speed Control, Built-In Grinder, Removable Parts, Reversible Blade |
| Recommended Uses | Blend, Chop, Grind, Liquefy |
| Care Instructions | Dishwasher Safe (removable parts), Hand Wash |
8. Warranty and Support
This SUNVIVI product comes with a 1-Year Warranty from the date of purchase. This warranty covers manufacturing defects under normal household use.
The warranty does not cover:
- Damage caused by misuse, abuse, or negligence.
- Damage caused by failure to follow operating instructions.
- Normal wear and tear.
- Damage caused by unauthorized repairs or modifications.
For warranty claims, technical support, or any questions regarding your SUNVIVI 4-IN-1 Food Processor, please contact SUNVIVI customer service. Please have your model number (ZFC005) and proof of purchase ready.
You can find contact information on the official SUNVIVI website or through your retailer.