1. Introduction
Thank you for choosing the AYJYZHIAG WS-6916 DVB-S2/S Satellite Signal Meter. This portable device is designed to assist in the installation and verification of digital satellite TV services. It is compatible with DVB-S/S2 and MPEG-2/4 H.265 (8-bit) standards, offering a comprehensive set of features in a compact and lightweight design. This manual provides detailed instructions for its operation and maintenance.
2. Product Overview
2.1 Device Components
The WS-6916 features a 3.5-inch High Definition TFT LCD screen for clear display of menus and signal information. It includes various ports for connectivity and a user-friendly button layout.

Figure 1: Front view of the WS-6916 Satellite Signal Meter with main menu displayed.
The main menu provides access to functions such as Satellite Find, Loop Search, Channel List, Angle Calculation, Multimedia, EPG, Sat Installation, and System Setting.

Figure 2: Front panel details including indicators and key buttons, along with HD OUT, AV OUT, and AN IN ports.
Key buttons include MENU, EXIT, numerical keys (0-9), INFO, MUTE, TTXT, SUBT, TV/R, AUDIO, and a directional pad with an OK button. Indicators for POWER, 22K, 13V/18V, LOCK, and CHARGE are also present.
2.2 Connectivity Ports
The device offers various input and output options for versatile use.

Figure 3: Top, bottom, and side views illustrating the device's ports.
Ports include:
- DVB-S2 LNB Input: For connecting to the satellite LNB.
- USB Port: For software updates and file transfers.
- 12V Power Supply Input: For charging and external power.
- Power Switch: To turn the device on/off.
- AV OUT: 3.5mm jack for video (CVBS) and audio output.
- HD OUT: For high-definition video output.
- AN IN: Analog input.

Figure 4: Rear view highlighting the LNB input, torch, speaker, and power connections.
2.3 Battery
The device is powered by a rechargeable Lithium-ion battery.
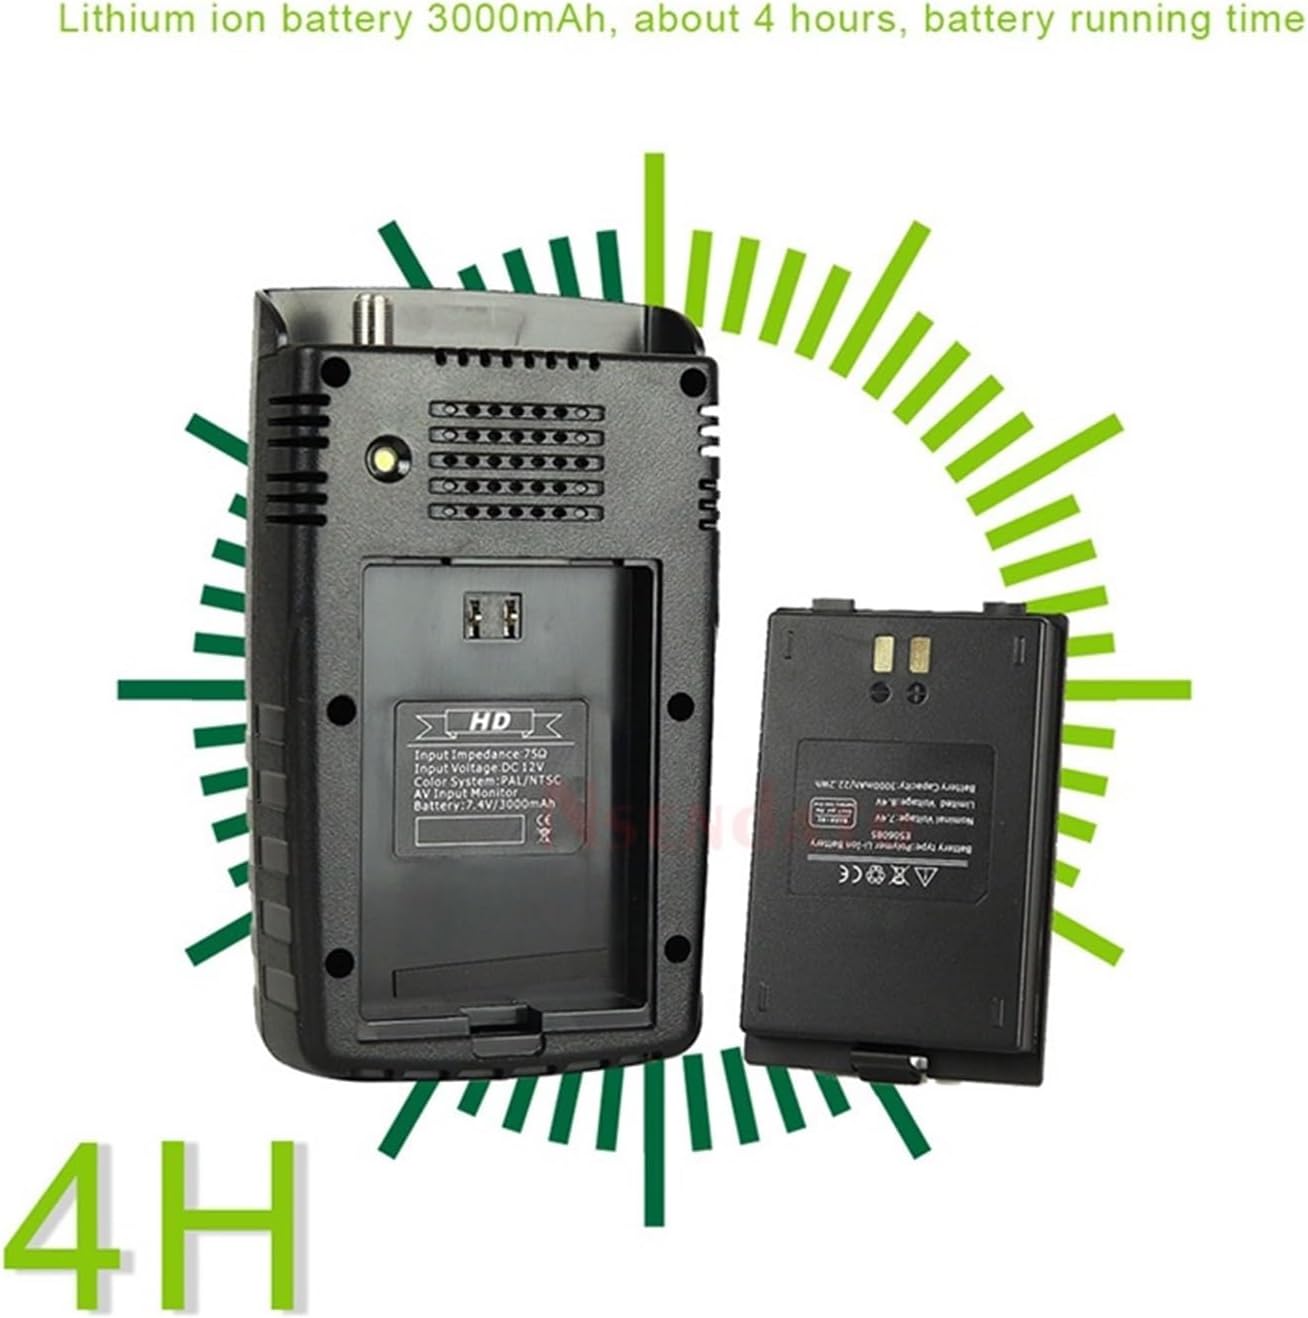
Figure 5: Battery compartment and Lithium-ion battery.
The WS-6916 includes a 3000mAh Lithium-ion battery, providing approximately 4 hours of operation on a full charge.
3. Setup
3.1 Charging the Device
- Connect the provided power adapter to the 12V power supply input on the device.
- Plug the adapter into a wall outlet. The CHARGE indicator LED will illuminate.
- Allow the device to charge fully before first use. A full charge typically takes several hours. The CHARGE indicator will change or turn off when charging is complete.
3.2 Initial Power On
- Ensure the device is sufficiently charged.
- Locate the power switch on the side/bottom of the device.
- Flip the power switch to the 'ON' position. The device will boot up and display the main menu on the LCD screen.
4. Operating Instructions
4.1 Navigating the Menu
Use the directional pad (up, down, left, right) to navigate through menu options. Press the OK button to select an option or confirm a setting. Press the EXIT button to go back to the previous menu or exit a function.
4.2 Satellite Find
This function helps you locate and align your satellite dish to receive the strongest signal.
- From the main menu, select "Satellite Find" and press OK.
- Choose the desired satellite from the list. If your satellite is not listed, you may need to add it in the "Sat Installation" menu.
- Connect the LNB cable from your satellite dish to the DVB-S2 LNB input on the meter.
- Adjust your satellite dish's azimuth and elevation while observing the signal strength and quality readings on the screen. The meter will provide visual and audible feedback.
- Aim for the highest possible signal strength and quality (BER, MER, S/N). The LOCK indicator LED will illuminate when a signal is acquired.
4.3 Channel List
View and manage channels found on a selected satellite.
- Select "Channel List" from the main menu.
- You can browse, edit, or delete channels.
4.4 Angle Calculation
This feature automatically calculates the azimuth and elevation angles for your location and selected satellite.
- Select "Angle Calculation" from the main menu.
- Enter your geographical coordinates (latitude and longitude) or allow the device to use its internal GPS (if available and enabled).
- Select the target satellite. The device will display the calculated angles.
4.5 Sat Installation
Configure satellite parameters, transponders, and LNB settings.
- Access "Sat Installation" from the main menu.
- Here you can add new satellites, edit existing ones, configure LNB type (Universal, C-Band, etc.), and set DiSEqC switch parameters (1.0, 1.1, 1.2).
- The device supports DiSEqC 1.0/1.1, 1.2, and 22KHz tone control.
4.6 System Setting
Adjust general device settings.
- Go to "System Setting" from the main menu.
- Options typically include language, time zone, display brightness, factory reset, and software information.
4.7 USB Functions
The USB port allows for software updates and multimedia file playback.
- Software Update: Download the latest firmware from the manufacturer's website, place it on a USB drive, and follow the on-screen instructions in the System Setting menu to update.
- Multimedia Playback: The device supports various file formats (wma, mp3, mp4, avi, jpg, jpeg, bmp, img). Insert a USB drive with media files and select "Multimedia" from the main menu to browse and play.
5. Maintenance
5.1 Cleaning
- Wipe the device with a soft, dry cloth.
- Do not use liquid cleaners or abrasive materials, as they may damage the screen or casing.
5.2 Battery Care
- To prolong battery life, avoid fully discharging the battery frequently.
- If storing the device for an extended period, charge it to about 50% and store in a cool, dry place. Recharge every few months.
5.3 Software Updates
Periodically check the manufacturer's website for software updates to ensure optimal performance and access to new features.
6. Troubleshooting
| Problem | Possible Cause | Solution |
|---|---|---|
| Device does not power on. | Low battery or power switch off. | Charge the device using the provided adapter. Ensure the power switch is in the 'ON' position. |
| No signal detected. | Incorrect LNB connection, wrong satellite selected, or dish misalignment. | Check LNB cable connection. Verify the correct satellite is selected in the "Satellite Find" menu. Re-align the satellite dish carefully. Check LNB power settings. |
| Poor signal quality. | Minor dish misalignment, LNB issue, or cable problem. | Fine-tune dish alignment. Inspect LNB for damage. Check cable for kinks or damage. |
| Screen is blank or frozen. | Software glitch. | Perform a soft reset by holding the power button until the device turns off, then restart. If persistent, consider a factory reset (data loss may occur) or software update. |
| USB drive not recognized. | Incorrect file system format or incompatible drive. | Ensure USB drive is formatted to NTFS, FAT32, or FAT16. Try a different USB drive. |
7. Specifications
- Transmission Standard: DVB-S/S2, MPEG-2, MPEG-4, H.265 (8-bit)
- Connector Type: F Type (LNB Input)
- Input Frequency: 950 to 2150 MHz
- Signal Input Level: -65 to -25 dBm
- LNB Power Supply: 13V/18V, IMax 400mA
- Band Change Control: 22 kHz
- Demodulation Type: QPSK, 8PSK, 16APSK, 32APSK
- LCD Type: TFT Transmissive
- LCD Resolution: 320 x 240 (RGB)
- Active Area (WxH): 70.02 x 52.58 mm²
- AV Output: CVBS (3.5mm Jack)
- Data Service Port: USB 2.0 interface
- File Management System: NTFS, FAT32, FAT16
- Supported File Formats: wma, mp3, mp4, avi, jpg, jpeg, bmp, img
- Battery: Lithium-ion 3000mAh, approx. 4 hours operation
- Item Weight: 800 Grams
8. Warranty and Support
For warranty information and technical support, please refer to the documentation provided with your purchase or contact the retailer/manufacturer directly. Keep your proof of purchase for warranty claims.


