
1. Introduction
This manual provides detailed instructions for the assembly, operation, and maintenance of your CDCASA 24x10x10 FT Greenhouse. Designed for outdoor use, this large, heavy-duty greenhouse features a thicker aluminum frame and durable polycarbonate panels, making it suitable for various gardening needs. Please read this manual thoroughly before beginning assembly or operation to ensure safe and efficient use of your greenhouse.
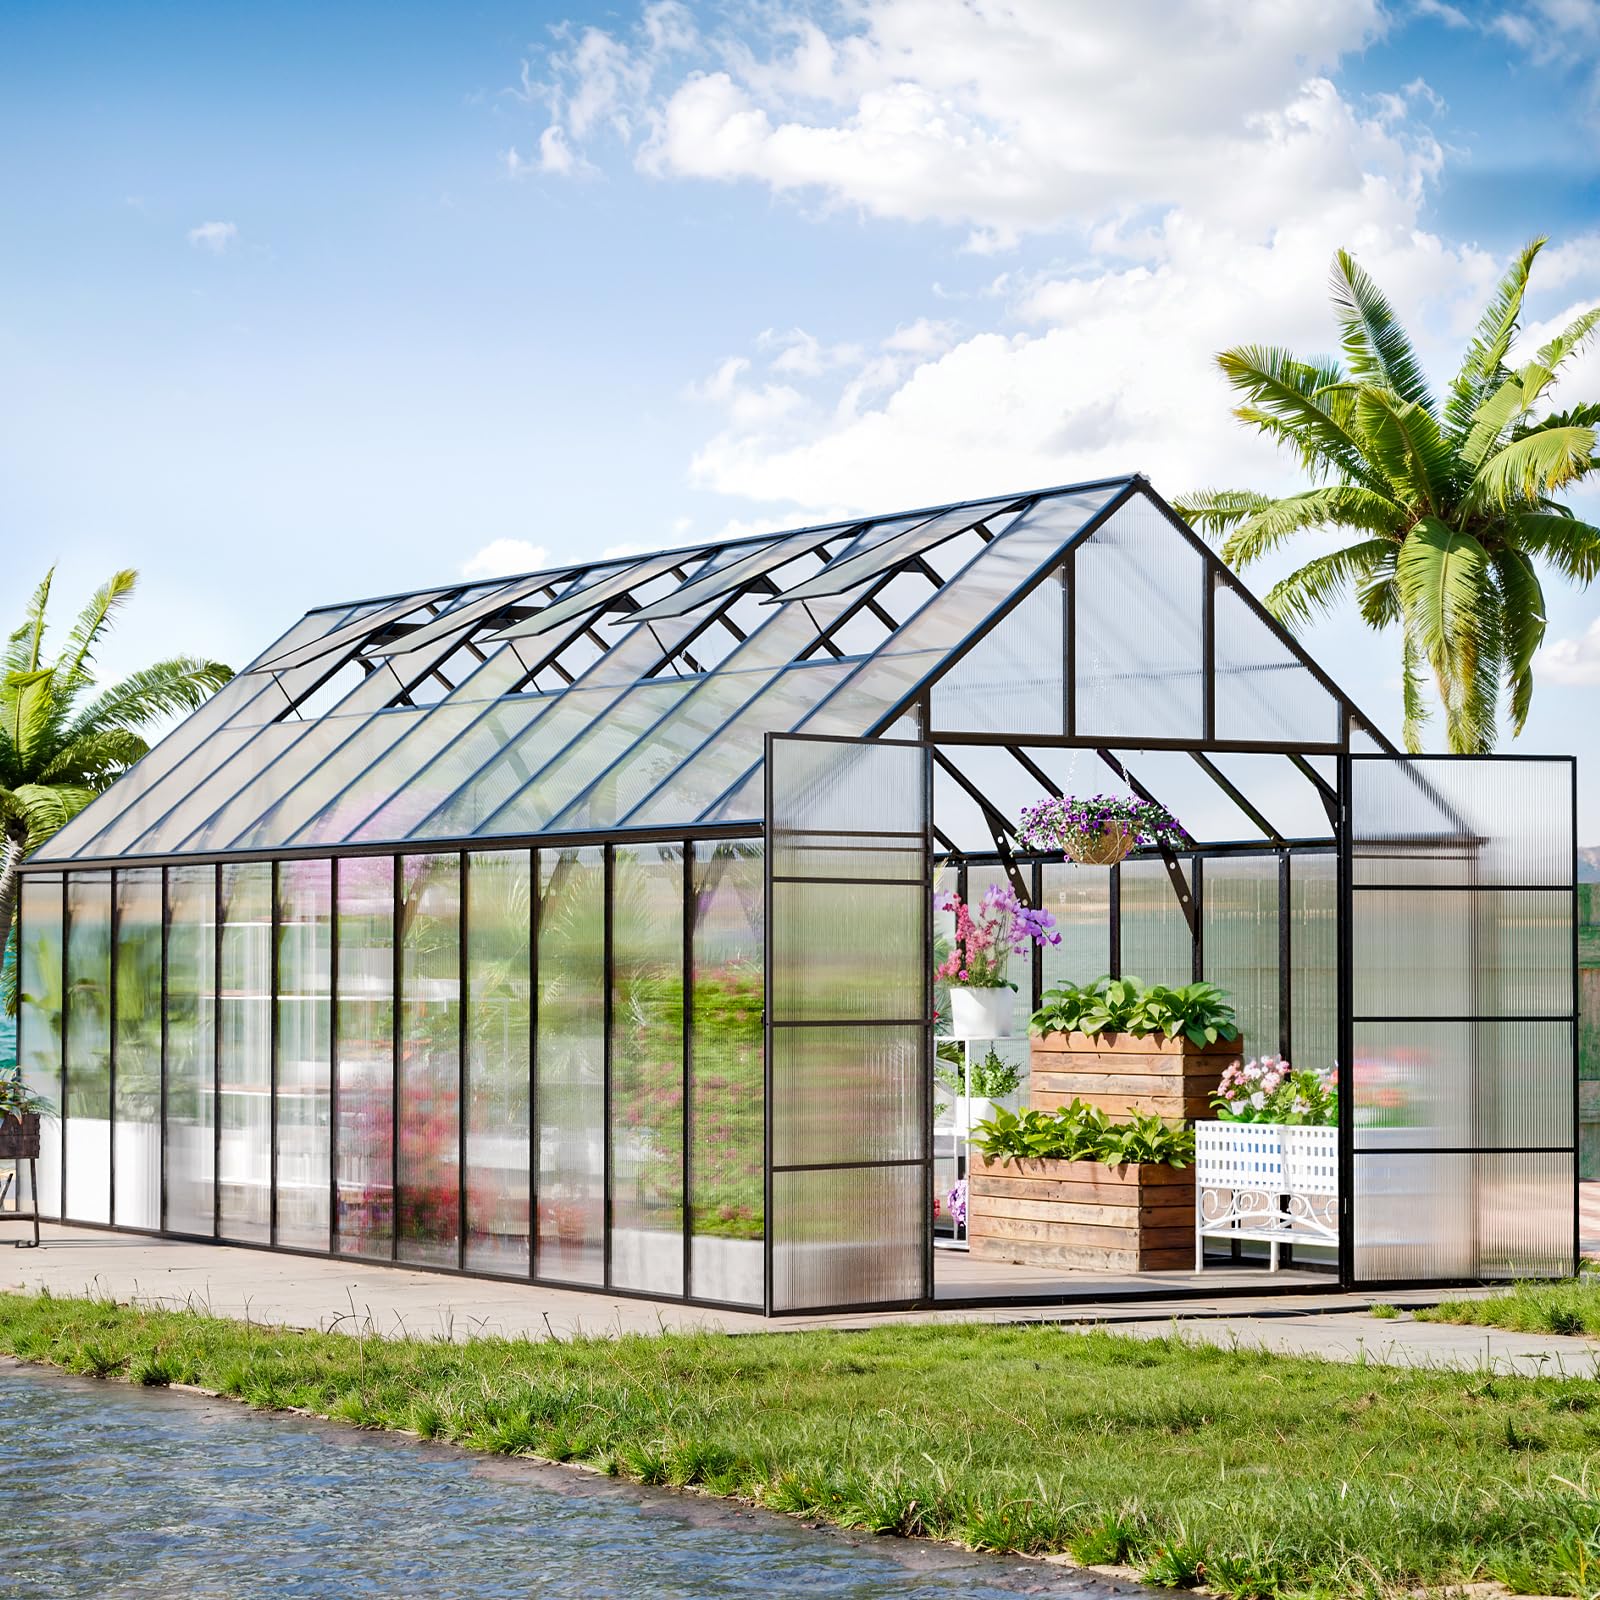
Figure 1.1: Exterior view of the CDCASA 24x10x10 FT Greenhouse.
2. Safety Information
Always wear appropriate safety gear when assembling, disassembling, or maintaining the greenhouse. Be cautious of sharp edges and heavy components. Ensure the greenhouse is properly anchored and ventilated to prevent damage or injury. Regularly inspect the greenhouse for any signs of wear or damage, and address any issues promptly. Keep the greenhouse clean and free of debris to prevent the buildup of harmful chemicals or mold. Always follow the manufacturer's instructions for proper assembly, use, and maintenance.
3. Product Overview
The CDCASA 24x10x10 FT Greenhouse is engineered for durability and optimal plant growth. Key features include:
- Durable Panels: Equipped with 4mm twin-wall polycarbonate panels that are nearly unbreakable. These panels allow 70% light transmission for optimal plant growth while blocking over 99.9% of harmful UV rays.
- Sturdy Frame: Features a robust, rust-resistant aluminum frame designed to withstand various weather conditions. The patented Quick Connect technology simplifies assembly, and the frame can support snow loads of up to 20PSF.
- Thoughtful Design: A modular design allows for straightforward assembly. Rain gutters on both sides effectively drain rain and snow. A swing door provides easy access, and snap-on door handles keep the doors securely closed.
- Ventilation: Includes 5 window vents with adjustable angles, ensuring a continuous supply of fresh air for your plants.
- Exceptional Stability: For enhanced stability, the base feet can be buried in soil or concrete, or secured to a board using matching screws. Both methods increase resistance to snow and wind.

Figure 3.1: Illustration of the Quick Connect system for easy assembly.
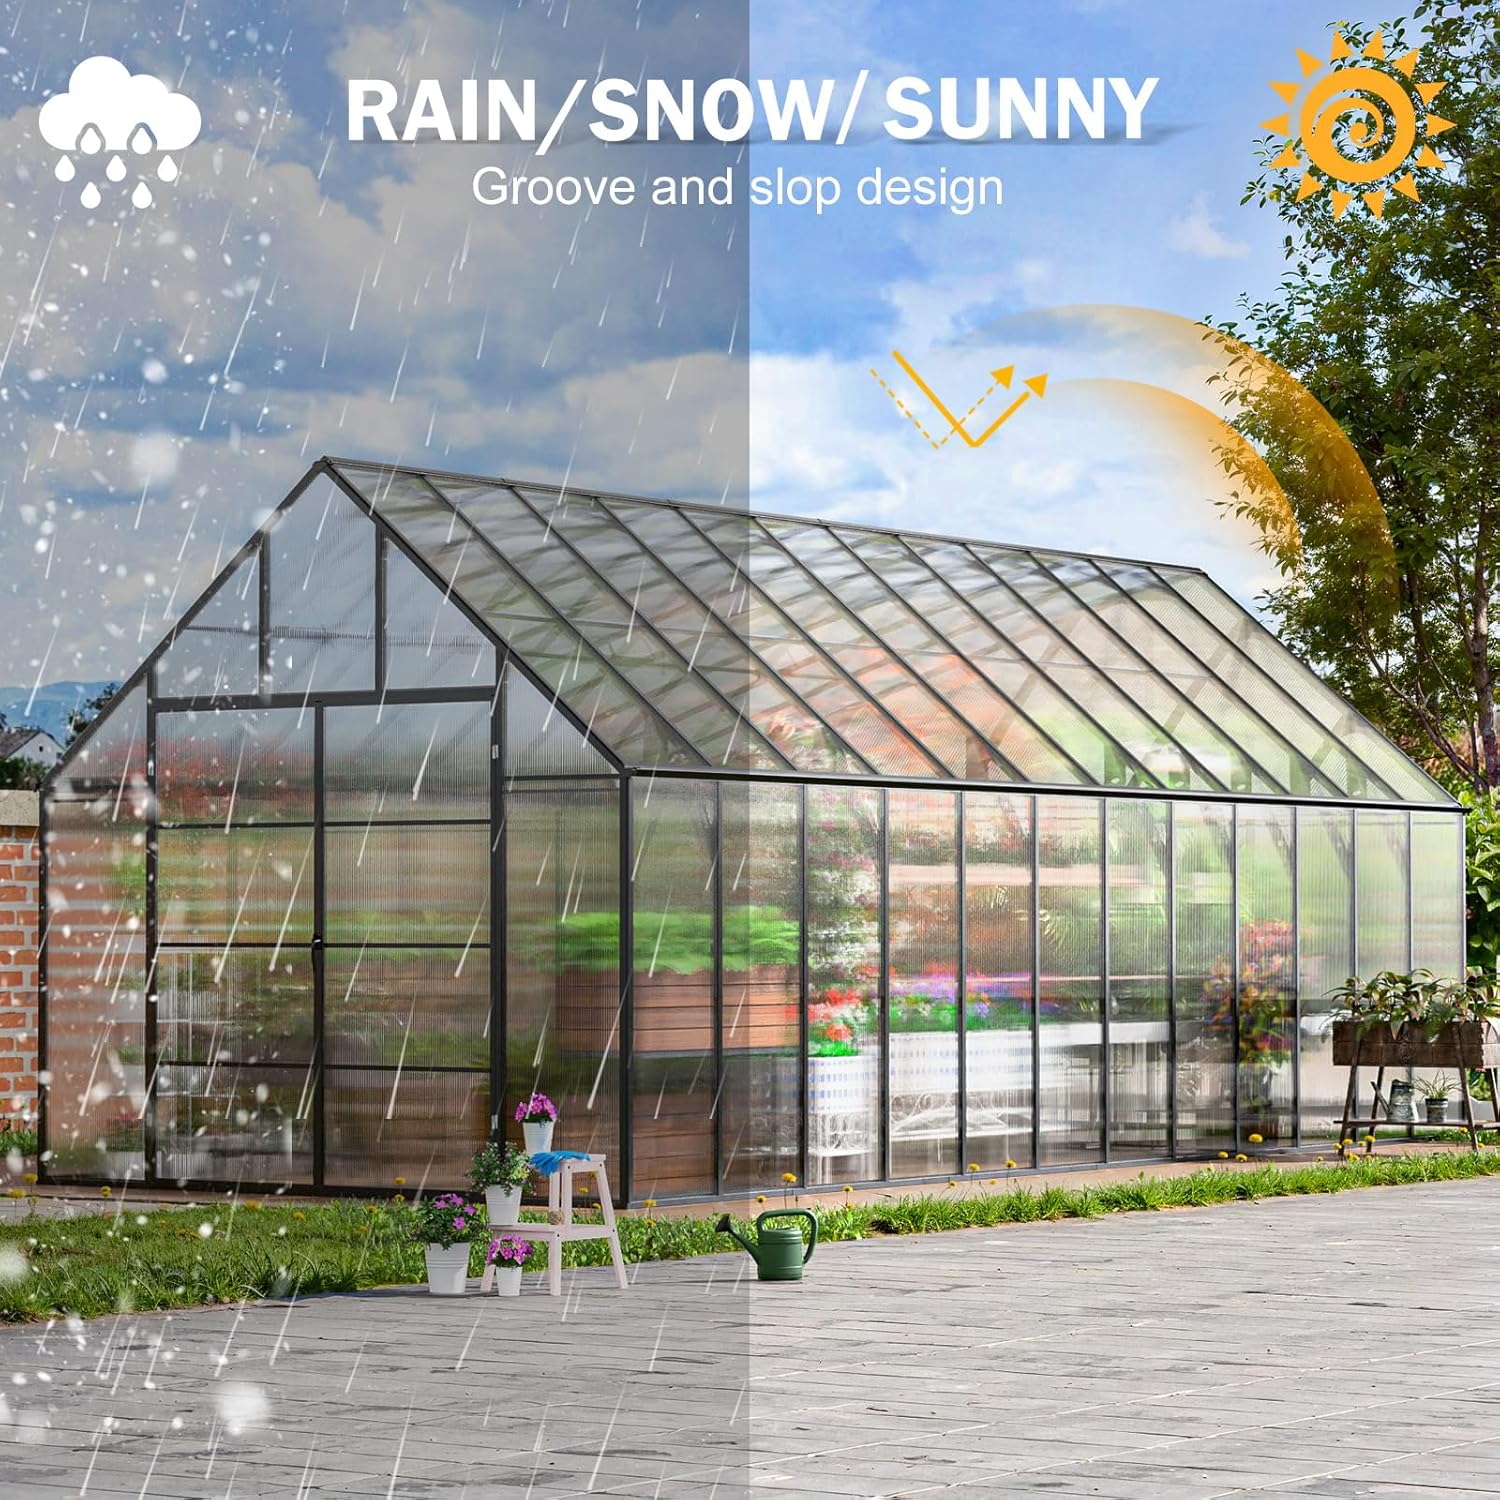
Figure 3.2: Greenhouse showing adjustable vent windows.
4. Setup & Assembly
The CDCASA Greenhouse is designed for easy assembly with its patented Quick Connect technology. The entire kit is delivered in 6 boxes. With the assistance of 3-4 skilled DIY enthusiasts, assembly can typically be completed within 4-6 hours.
4.1 Before You Begin
- Review Instructions: Thoroughly read the comprehensive instructions provided in your package.
- Identify Parts: Lay out and identify all parts before starting assembly. This helps in understanding the overall structure and prevents errors.
- Gather Tools: While an Allen key is included, investing in a ratcheting screwdriver with the proper Allen key bit can significantly ease the assembly process.
- Check Parts List: Verify that all nuts and bolts, as well as other components, are present according to the parts list.
4.2 Assembly Steps
Follow the step-by-step instructions provided in your manual. Pay close attention to the orientation of parts, especially when installing hardware. Some steps may require careful assessment to ensure correct placement.
4.2.1 General Assembly Overview
Video 4.1: General assembly guide for the CDCASA Polycarbonate Greenhouse. This video provides an overview of the construction process.
4.2.2 Installing Windows
Video 4.2: Detailed instructions for installing the greenhouse windows. This video demonstrates the correct procedure for window panel placement.
4.2.3 Installing Doors
Video 4.3: Step-by-step guide for installing the greenhouse doors. This video illustrates how to properly attach and align the swing door.
4.3 Post-Assembly Stability
After assembly, ensure the greenhouse is stable. You can bury the base feet in soil or concrete for maximum stability, or use the provided screws to secure the base to a sturdy board or foundation. This significantly enhances resistance to wind and snow.

Figure 4.1: Example of the greenhouse base secured for stability.
5. Operating Instructions
5.1 Ventilation
The greenhouse is equipped with 5 adjustable window vents. To provide continuous fresh air and regulate internal temperature, open the vents to one of the 5 available angles as needed. Adjustments should be made based on external weather conditions and the specific ventilation requirements of your plants.
5.2 Door Operation
The swing door allows for easy access. Use the snap-on door handles to securely close the door, maintaining the internal environment of the greenhouse. Ensure the door is fully closed during adverse weather conditions or when consistent internal temperature is desired.
6. Maintenance
Regular maintenance ensures the longevity and optimal performance of your greenhouse.
- Regular Inspection: Periodically inspect the entire structure for any signs of wear, damage, or loose connections. Tighten any loose screws or bolts.
- Cleaning: Keep the polycarbonate panels clean to maximize light transmission. Use mild soap and water with a soft cloth to avoid scratching the panels. Regularly clear debris from the rain gutters.
- Panel Sealing: For enhanced sturdiness and insulation, consider applying silicone sealant around the edges of the polycarbonate panels where they meet the frame.
- Anchoring Check: Verify that the greenhouse remains securely anchored, especially after strong winds or heavy precipitation.

Figure 6.1: Maintaining clean polycarbonate panels for optimal light.
7. Troubleshooting
This section addresses common issues you might encounter with your greenhouse.
- Vent Window Detachment: If the vent panel detaches in windy conditions, ensure it is properly secured. Consider adding an additional stop screw or latch mechanism to hold it firmly in place, especially in areas prone to strong winds.
- Door Alignment Issues: If the door does not close properly or appears misaligned, re-check the squareness of the overall frame during assembly. Minor adjustments to the frame or door hinges may be necessary. Ensure the header bar above the door is correctly positioned and secured.
- Missing or Insufficient Hardware: If you find that you are short on specific nuts or bolts during assembly, it is recommended to acquire additional hardware from a local store to complete the build securely.
- Difficulty with Instructions: If the pictorial instructions are unclear, refer to the provided video guides for visual assistance. Sometimes, understanding the function of a part (e.g., square screws sliding into grooves) requires careful observation or trial and error.
8. Specifications
| Feature | Detail |
|---|---|
| Model Number | Y8L046-1024-ST-LL0724 |
| Overall Dimensions (L x W x H) | 296.6" x 123" x 119.4" (24x10x10 FT) |
| Panel Material | 4mm Twin-Wall Polycarbonate |
| Frame Material | Thicker Aluminum, Rust-Resistant |
| Light Transmission | 70% |
| UV Protection | Blocks over 99.9% of harmful UV rays |
| Snow Load Capacity | Up to 20PSF |
| Vent Windows | 5, adjustable angles |
| Door Style | Swing Door with snap-on handles |
| Color | Black & Clear |
| Indoor/Outdoor Usage | Outdoor |
9. Warranty & Support
9.1 Warranty Information
Warranty information for the CDCASA 24x10x10 FT Greenhouse is not explicitly detailed in the provided product specifications. For specific warranty terms and conditions, please contact CDCASA customer support directly.
9.2 Customer Support
For any questions, concerns, or assistance with your greenhouse, please refer to the comprehensive instructions and video guide provided with your product. If further support is needed, contact CDCASA customer service through their official channels. You can often find contact information on the product packaging or the manufacturer's website.