
1. Introduction
This manual provides detailed instructions for the installation, operation, and maintenance of your PCCOOLER RT500 TC BK CPU Air Cooler. Please read this manual thoroughly before installation and use to ensure proper function and longevity of the product.
The PCCOOLER RT500 TC BK is a high-performance CPU air cooler designed for efficient heat dissipation. It features 5x6mm heat pipes, a 120mm ARGB fan with a hydraulic bearing, and a design optimized for wide CPU compatibility.
2. Package Contents
Verify that all components are present before proceeding with installation.
- CPU Cooler (Heatsink and 120mm ARGB Fan)
- Intel Backplate
- AMD Bracket
- Intel Bracket
- Universal Bolts for Intel & AMD
- Fan Clips
- Thermal Paste

Image: Included mounting hardware and accessories for the PCCOOLER RT500 TC BK CPU Air Cooler, showing Intel backplate, AMD and Intel brackets, universal bolts, fan clips, and thermal paste.
3. Setup and Installation
This section outlines the general steps for installing the CPU air cooler. Specific steps may vary slightly depending on your motherboard and CPU socket type. Refer to your motherboard manual for additional guidance.
3.1 Prepare the CPU and Motherboard
- Ensure your system is powered off and disconnected from the power source.
- Remove any existing CPU cooler and clean off old thermal paste from the CPU surface using an appropriate cleaner.
- For Intel platforms, install the provided backplate onto the motherboard from the rear. For AMD platforms, use the existing motherboard backplate if available, or the provided AMD backplate if necessary.
3.2 Install Mounting Brackets
- Attach the appropriate Intel or AMD mounting brackets to the cooler's base using the universal bolts. Ensure they are securely fastened.
- Apply a small amount of thermal paste (included) to the center of the CPU's integrated heat spreader (IHS). Spread it evenly into a thin layer.

Image: Close-up view of the heatpipe composite base, demonstrating its direct contact with both Intel and AMD CPUs for efficient heat transfer.
3.3 Mount the Cooler
- Carefully place the heatsink assembly onto the CPU, aligning the mounting screws with the holes on the backplate/standoffs.
- Tighten the screws in a diagonal pattern (e.g., top-left, bottom-right, top-right, bottom-left) until snug. Do not overtighten.
- Attach the 120mm ARGB fan to the heatsink using the provided fan clips. Ensure the fan is oriented to blow air through the heatsink towards the rear or top of your PC case.

Image: The PCCOOLER RT500 TC BK CPU Air Cooler mounted on a motherboard, showcasing its compact design and heatpipe configuration.
3.4 Connect Fan Cables
- Connect the 4-pin PWM fan cable to the CPU_FAN header on your motherboard.
- If your fan has ARGB lighting, connect the ARGB cable to a compatible 3-pin 5V ARGB header on your motherboard. Refer to your motherboard manual for ARGB header locations.
4. Operating Instructions
Once installed, the PCCOOLER RT500 TC BK operates automatically to cool your CPU. The 120mm ARGB fan's speed is controlled by the motherboard's PWM signal, adjusting based on CPU temperature to maintain optimal cooling and noise levels.
- Fan Speed: The fan operates within a speed range of 500-2200 RPM (±10%), dynamically adjusting to CPU load.
- Airflow: The 7-blade pressure-boosting design delivers up to 73.32 CFM of airflow for effective heat dissipation.
- Noise Level: The hydraulic bearing fan is designed for quiet operation, with a maximum noise level of 34.9 dBA.
- ARGB Lighting: If connected to an ARGB header, the fan's lighting can be customized via your motherboard's software or a dedicated ARGB controller (not included).
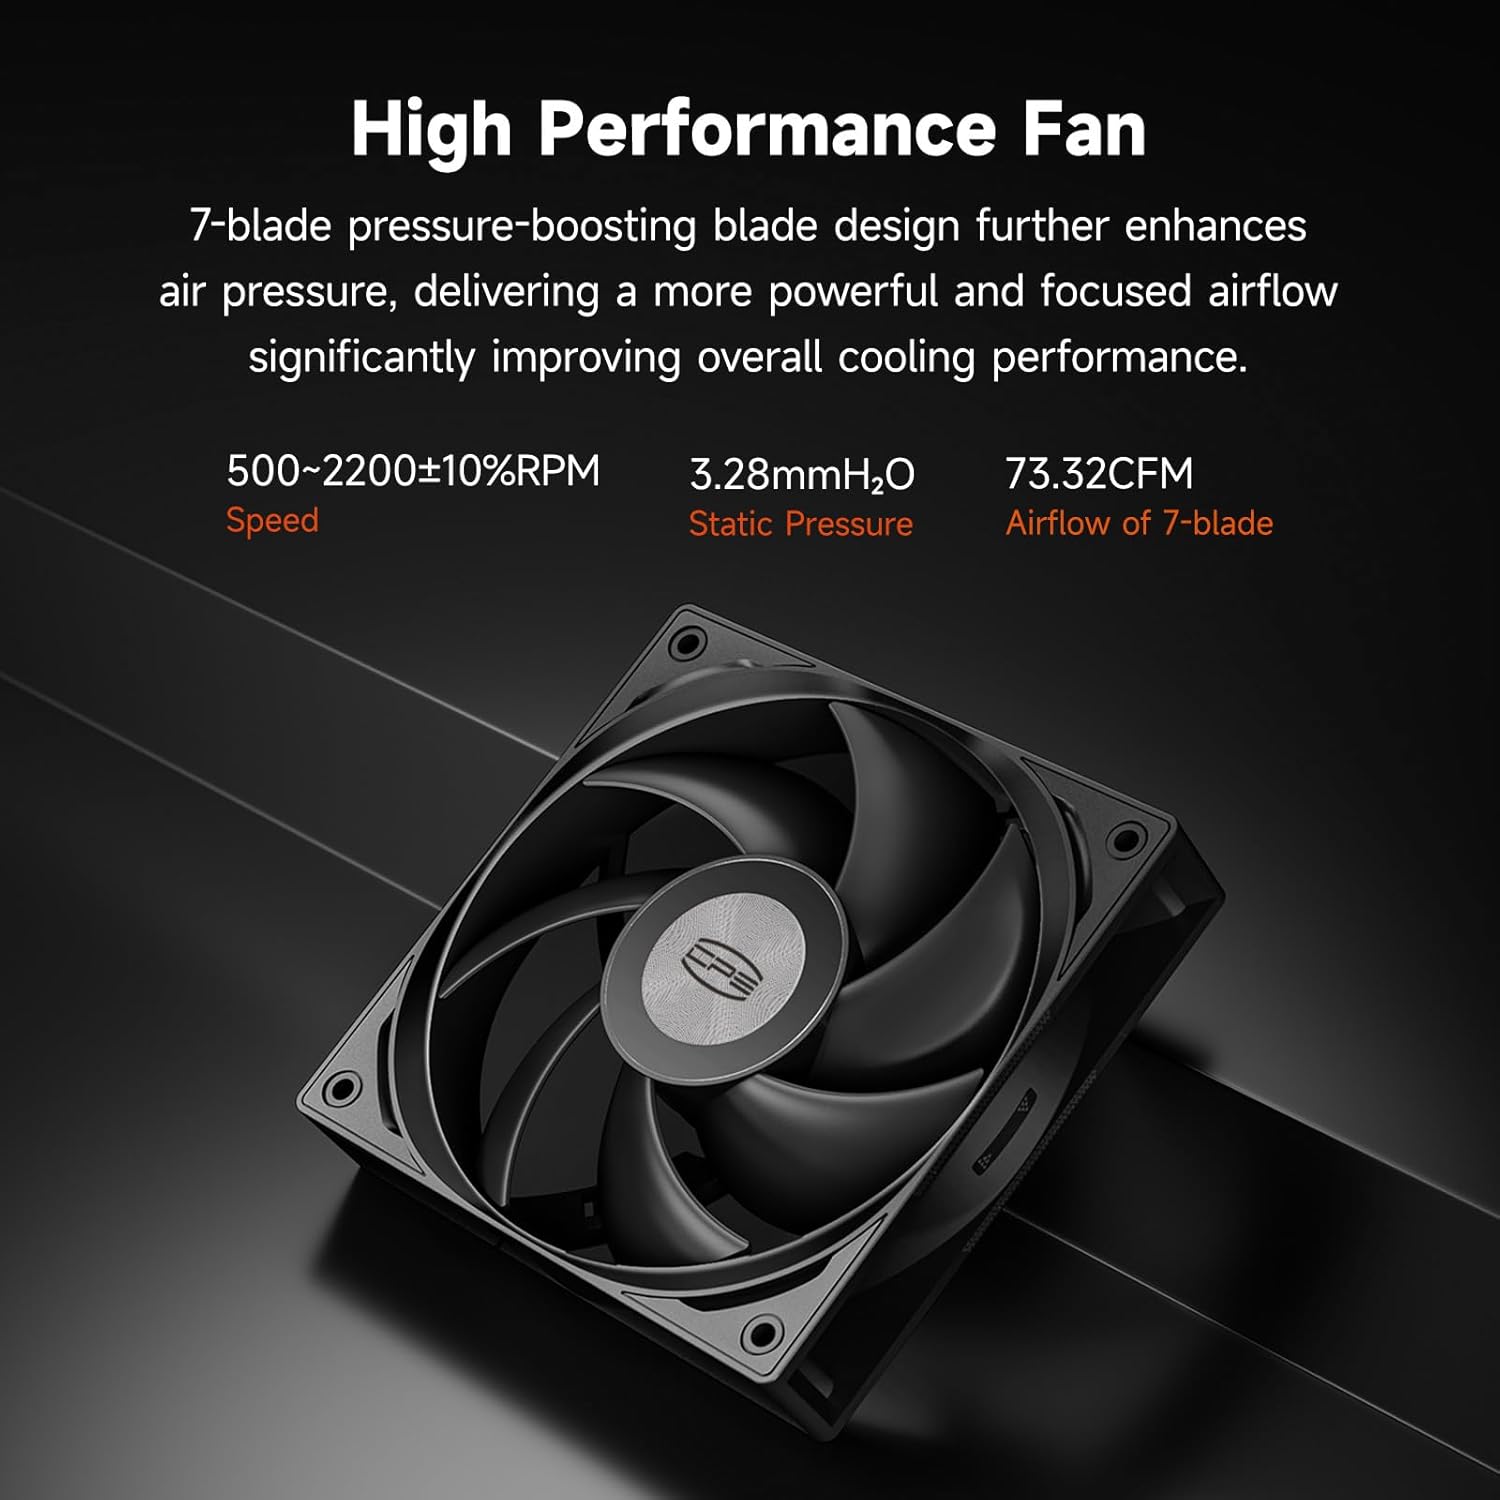
Image: The 120mm ARGB fan of the PCCOOLER RT500 TC BK, highlighting its 7-blade design for high performance and quiet operation.
5. Maintenance
Regular maintenance helps ensure optimal cooling performance and extends the lifespan of your CPU cooler.
- Dust Removal: Periodically clean dust from the heatsink fins and fan blades using compressed air or a soft brush. Ensure the system is powered off before cleaning.
- Thermal Paste: Over time, thermal paste can dry out and lose effectiveness. Consider reapplying thermal paste every 2-3 years, or if you notice a significant increase in CPU temperatures. This requires removing the cooler, cleaning old paste, and applying new paste.
- Fan Inspection: Check the fan for any obstructions or unusual noises. Ensure fan cables are securely connected.
6. Troubleshooting
If you encounter issues with your PCCOOLER RT500 TC BK, refer to the following common problems and solutions:
| Problem | Possible Cause | Solution |
|---|---|---|
| High CPU Temperatures |
|
|
| Fan Not Spinning / ARGB Not Lighting Up |
|
|
| Excessive Noise |
|
|
7. Specifications
| Feature | Detail |
|---|---|
| Model | RT500 TC BK |
| Product Dimensions (L x W x H) | 4.92" x 5.31" x 6.1" (125mm x 135mm x 155mm approx.) |
| Heat Pipes | 5 x Φ6mm |
| Fan Size | 120mm |
| Fan Type | ARGB, Hydraulic Bearing |
| Fan Speed | 500-2200 RPM (±10%) |
| Air Flow Capacity | 73.32 CFM |
| Noise Level | Max 34.9 dBA |
| Power Connector | 4-Pin PWM |
| Voltage | 12 Volts |
| Wattage | 265 watts (TDP rating) |
| Cooling Method | Air |
| Material | Aluminum |
| Compatible CPU Sockets | Intel LGA115X/1200/1700/1851, AMD AM4/AM5 |
| Item Weight | 2 Pounds |

Image: Dimensional drawing of the PCCOOLER RT500 TC BK CPU Air Cooler, showing its height (152mm), width (120mm), and depth (70mm).
8. Warranty and Support
PCCOOLER products are backed by a manufacturer's warranty to ensure customer satisfaction and product reliability.
- Warranty Period: This product comes with a 2-year manufacturer warranty.
- Contact Support: For technical assistance, warranty claims, or any product-related inquiries, please visit the official PCCOOLER website or contact your retailer.

