
Smart Frog
Generic Portable 2-in-1 Electric Clothes and Shoe Dryer User Manual
Model: Smart Frog
1. Introduction
Thank you for choosing the Generic Portable 2-in-1 Electric Clothes and Shoe Dryer. This compact and efficient appliance is designed to quickly dry your clothes and shoes, making it an ideal companion for travel, business trips, or daily use. Its lightweight and portable design ensures convenience, while its powerful performance delivers effective drying results.
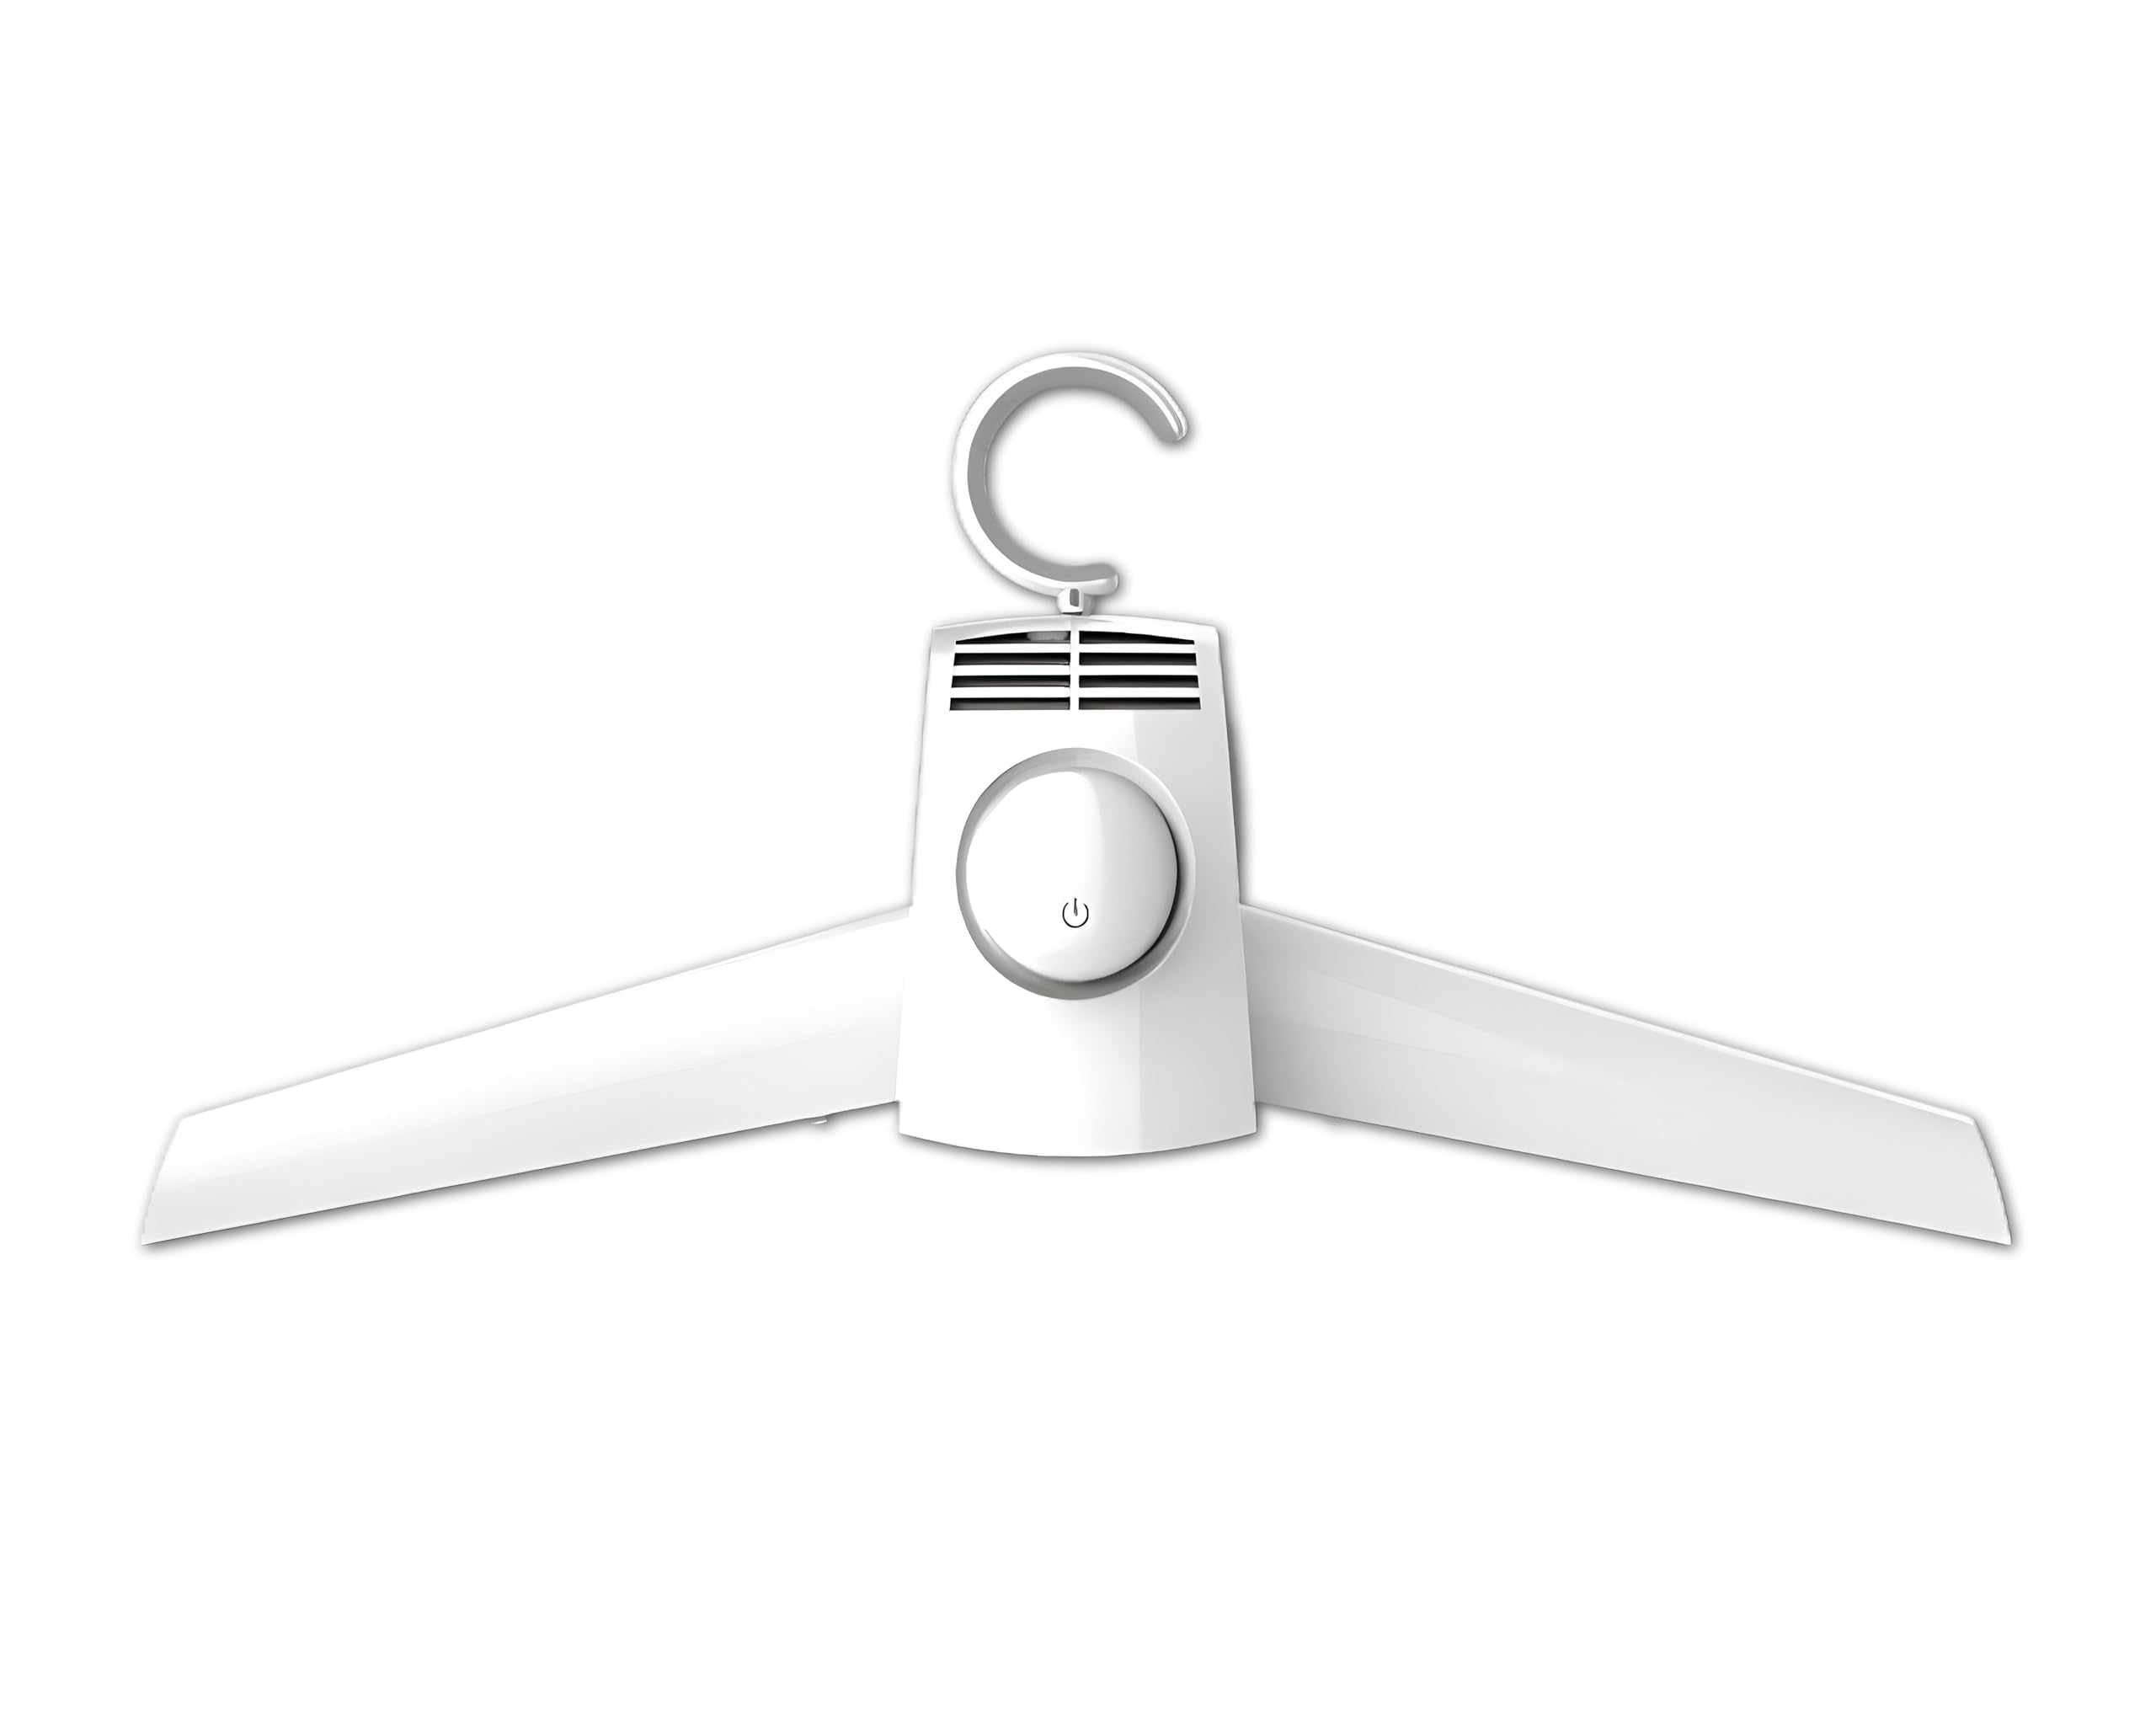
Image 1.1: The Generic Portable 2-in-1 Electric Clothes and Shoe Dryer.
The dryer features an elegant white finish and compact dimensions (42 cm D x 9.6 cm W x 20 cm H), allowing it to fit seamlessly into various spaces. Constructed from durable coated steel, it is built for longevity and reliable performance.

Image 1.2: The portable dryer is compact enough to be easily packed in luggage for travel.
2. Important Safety Instructions
Please read all instructions carefully before using the appliance and retain them for future reference. Failure to follow these instructions may result in electric shock, fire, or serious injury.
- Always ensure the power supply matches the voltage specified on the appliance (220V).
- Do not immerse the appliance, cord, or plug in water or other liquids.
- Keep the appliance away from children and pets.
- Do not operate the appliance with a damaged cord or plug. Contact qualified service personnel for repair.
- Ensure adequate ventilation around the dryer during operation. Do not cover air vents.
- Do not use the dryer near flammable materials or in wet environments.
- Unplug the appliance from the outlet when not in use and before cleaning.
- Do not overload the dryer. Follow recommended load sizes for optimal performance and safety.
- Avoid touching hot surfaces during and immediately after operation.
3. Product Components
The package includes the following items:
- Portable Drying Unit (Main Body)
- Hanging Hook
- Dual Drying Tubes (for shoes)
- Power Cord (compatible with 220V outlets)

Image 3.1: The dryer comes with a power cord suitable for 220V outlets.

Image 3.2: The internal heating element, designed for efficient drying.
4. Setup Instructions
- Unpack: Carefully remove all components from the packaging.
- Attach Hanging Hook: Insert the hanging hook into the designated slot on top of the portable drying unit until it clicks securely into place.
- Choose Drying Mode:
- For Clothes: Ensure the side wings of the drying unit are extended.
- For Shoes: Attach the dual drying tubes to the air outlets on the main unit.
- Placement: Hang the dryer in a well-ventilated area, ensuring there is enough space around the item to be dried.
- Power Connection: Plug the power cord into a standard 220V electrical outlet.
5. Operating Instructions
5.1 Drying Clothes
- Hang the garment on the portable drying unit, ensuring it is evenly distributed over the extended wings. The top-loading design simplifies this process.
- Press the power button on the unit to start the drying cycle.
- The dryer offers both hot and cold air options. Select the desired mode based on the fabric type and drying needs. The unit can operate for 3 or 6 hours.
- Allow the garment to dry completely. Drying times may vary depending on fabric thickness and moisture content.
- Once drying is complete, press the power button again to turn off the unit and unplug it from the outlet.

Image 5.1: Drying a shirt using the portable dryer.

Image 5.2: The dryer supports both hot and cold air drying modes.
5.2 Drying Shoes
- Attach the dual drying tubes to the air outlets on the main unit.
- Insert each tube into a shoe, ensuring the air can circulate freely within the shoe.
- Press the power button to start the drying cycle.
- Select the appropriate drying mode (hot or cold air).
- Monitor the drying process. Drying times for shoes can vary significantly.
- Once shoes are dry, turn off the unit and unplug it.

Image 5.3: Using the dual drying tubes to dry shoes.

Image 5.4: Airflow diagram illustrating how air is distributed for drying.

Image 5.5: Side view of the airflow path within the dryer.
6. Maintenance and Care
- Cleaning: Before cleaning, always unplug the dryer from the power outlet. Wipe the exterior with a soft, damp cloth. Do not use abrasive cleaners or solvents.
- Storage: When not in use, store the dryer in a cool, dry place, away from direct sunlight and moisture.
- Inspection: Periodically check the power cord and plug for any signs of damage. If damage is found, discontinue use and seek professional repair.
7. Troubleshooting
| Problem | Possible Cause | Solution |
|---|---|---|
| Dryer does not turn on. | No power supply; power cord not properly plugged in; power outlet malfunction. | Check if the power cord is securely plugged into a working 220V outlet. Test the outlet with another appliance. |
| Drying is slow or ineffective. | Overloaded; poor ventilation; item too wet; incorrect mode selected. | Reduce the load. Ensure adequate space around the item. Pre-wring items if excessively wet. Select hot air mode for faster drying. |
| Unusual noise during operation. | Obstruction in the fan; unit not stable. | Unplug the unit and check for any obstructions. Ensure the unit is hanging stably. If noise persists, contact support. |
8. Specifications
- Brand: Generic
- Model Name: Smart Frog
- Form Factor: Portable
- Color: White
- Material: Coated Steel
- Product Dimensions (D x W x H): 42 cm x 9.6 cm x 20 cm
- Voltage: 220V
- Weight: 0.9 kg
- Compliant Standards: CE, RoHS
- Door Orientation: Top Load
- Included Components: Dual drying tubes, hanging hook, portable drying unit
- Country of Origin: China
9. Warranty Information
Warranty information for this product is not explicitly specified. Please refer to your purchase receipt or contact the retailer for details regarding warranty coverage and return policies.
Amazon.eg offers a 15-day return policy for this item.
10. Customer Support
For any questions, concerns, or technical assistance, please contact your retailer or the manufacturer's customer service department.
You may also visit the product page on Amazon.eg for additional information.
Related documentsSmart Frog


Ask a question about this manual
Ask about setup, troubleshooting, compatibility, parts, safety, or missing instructions. Manuals+ will review the question and use this page’s manual context to help answer it.