1. Product Overview
The CHUBORY A68 is a foldable quadcopter designed for both adults and beginners, equipped with a 2K HD camera and brushless motors for stable and high-quality aerial photography. Its compact design and intelligent flight features make it suitable for various flight experiences.

Figure 1: CHUBORY A68 Drone, Controller, and Batteries
2. Setup
2.1 Unboxing and Components
Upon unboxing, verify that all components are present. The package typically includes the CHUBORY A68 drone, remote controller, two Lithium Ion batteries, spare propellers, a screwdriver, and charging cables.
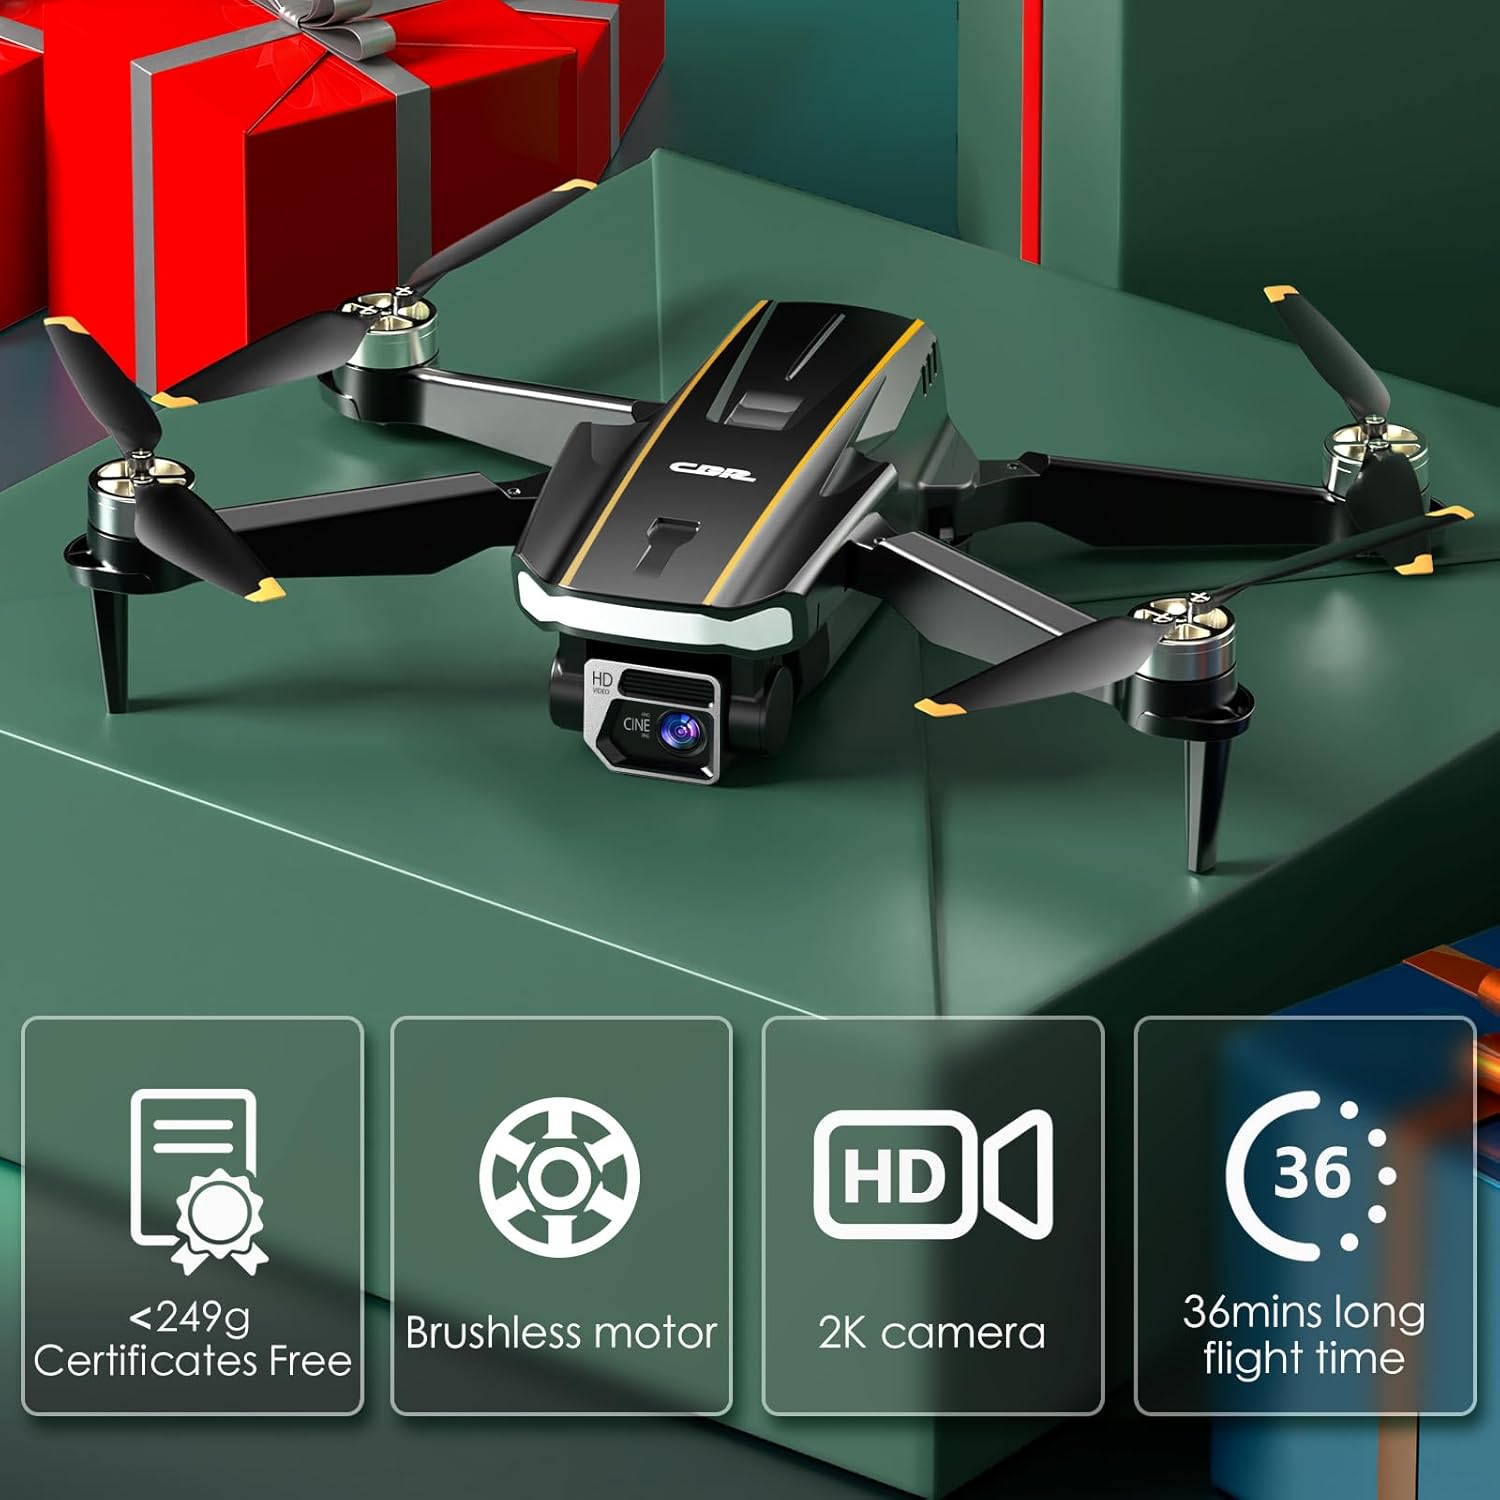
Figure 2: All components included in the CHUBORY A68 package.
2.2 Charging the Batteries
Ensure both drone batteries are fully charged before flight. Use the provided USB-C charging cables. The red indicator light on the battery will turn off when fully charged. Charging time is approximately 180 minutes per battery. Avoid overcharging.

Figure 3: Illustration of drone batteries and secure charging process.
2.3 Drone Assembly
Unfold the drone arms until they lock into place. Insert a charged battery into the designated compartment at the rear of the drone. If flying indoors or for added protection, attach the propeller guards.
2.4 Controller Setup
The remote controller features a built-in screen for direct FPV viewing. It also includes a phone holder for an alternative display. Ensure the controller is charged. The controller has various buttons for flight control, camera adjustments, and special features.

Figure 4: CHUBORY A68 Drone controller with a smartphone attached for FPV.
2.5 App Installation and Connection
Download the companion app (refer to the user manual for specific app name and QR codes) on your smartphone. Connect your phone to the drone's Wi-Fi network. Once connected, open the app and select flight mode to begin.
2.6 Calibration
Before the first flight, or if flight stability is affected, calibrate the drone. Place the drone on a level surface. Follow the calibration instructions in the app or controller manual to ensure accurate flight performance.
3. Operating Instructions
3.1 Basic Flight Controls
The remote controller features two joysticks for flight control. The left joystick typically controls altitude and rotation, while the right joystick controls forward/backward and left/right movement. Familiarize yourself with these controls before flight.
3.2 One Key Start/Landing
The drone features a One Key Start/Landing function for simplified operation. Press the designated button on the controller or within the app to automatically take off or land the drone.

Figure 5: Visual representation of One Key Start/Landing and other flight modes.
3.3 Altitude Hold and Optical Flow Positioning
The Altitude Hold feature allows the drone to maintain a stable height, making it easier to control and capture steady footage. Optical Flow Positioning further enhances stability, especially in indoor environments or areas with good ground texture.
3.4 Headless Mode
In Headless Mode, the drone's orientation is irrelevant to the control inputs. This simplifies flight for beginners, as the drone will always move relative to the pilot's position, regardless of which way the drone's front is facing.
3.5 3D Flips and Trajectory Flight
Perform impressive aerial maneuvers with the 3D Flip function. For automated flight paths, use Trajectory Flight by drawing a route on your smartphone screen within the app; the drone will follow the specified path.
3.6 Gesture Selfie and Speed Adjustment
Capture photos or videos with simple hand gestures using the Gesture Selfie feature. Adjust the drone's speed settings (e.g., low, medium, high) to match your skill level and flight environment.
3.7 Camera Operation
The 2K HD camera can be tilted up to 90 degrees remotely via the controller or app. The dual-lens system allows for versatile capture of aerial views. Use the app to switch between lenses, record videos, or take photos.
Figure 6: Dual camera system with 90-degree remote adjustable camera for varied perspectives.
3.8 First Person View (FPV)
Experience real-time video transmission from the drone's camera to your smartphone or the controller's built-in screen, providing an immersive first-person view during flight.
Video 1: CHUBORY A68 Drone Operation Video. This video demonstrates the basic operation and FPV capabilities of the A68 drone.
Video 2: CHUBORY A68 Flight Test. This video showcases the drone's flight stability and maneuverability during a test flight.
4. Maintenance
4.1 Propeller Replacement
If a propeller is damaged or deformed, replace it promptly using the provided screwdriver and spare propellers. Ensure correct propeller (A or B) is installed on the corresponding arm.
4.2 Protective Guards
For indoor flights or to enhance durability against impacts, install the protective guards around the propellers. If guards become deformed, they will typically return to their original shape after a few days.
Video 3: CHUBORY A68 Durable Brushless Motor Drone with Camera. This video highlights the drone's durable construction and brushless motors.
5. Troubleshooting
For common issues such as unstable flight or connection problems, refer to the detailed troubleshooting section in the full user manual. Ensure all batteries are charged, the drone is calibrated, and the app is updated.
6. Specifications
- Brand: CHUBORY
- Model Name: A68
- Video Capture Resolution: 2K (1440p)
- Connectivity Technology: Wi-Fi
- Item Weight: 150 Grams (5.3 ounces)
- Control Type: App Control
- Material: Composite Material
- Battery Cell Composition: Lithium Ion
- Product Dimensions: 9.44"L x 7.08"W x 2.95"H
7. Warranty and Support
The CHUBORY A68 drone is supported by a one-year warranty and ongoing assistance. For any inquiries or support needs, please refer to the contact information provided in the full user manual or visit the official CHUBORY website.


