
Introduction
The OLIGHT PL X is an advanced tactical flashlight designed for reliability and versatility. Featuring innovative dual-beam technology, it offers both a powerful spotlight and a wide floodlight, adaptable to various situations. Its robust metal construction, broad rail compatibility, and convenient USB-C charging make it an essential tool for tactical applications.
Package Contents
Upon unboxing your OLIGHT PL X, please ensure all the following items are present:
- OLIGHT PL X x 1
- USB-C Charging Cable x 1
- KM2.5×5 Screw x 1
- Multi Tool x 1
- Retaining Clip x 1

Image: The OLIGHT PL X flashlight, USB-C charging cable, KM2.5x5 screw, multi-tool, and retaining clip are shown neatly arranged next to the product box.
Product Features
- Innovative Dual Beams: Seamlessly switch between a powerful 1,200 lumens wide floodlight for area illumination and a focused 22,500 candela spotlight with a throw of up to 300 meters.
- Robust Construction: Crafted from high-strength 6061 aluminum with a Type III hard anodized finish, ensuring durability. It is IPX7 waterproof and rigorously tested to withstand impacts from drops up to 1.5 meters.
- Broad Compatible Rail Mount: Features a patented anti-loosening ratchet mounting system for a wobble-free fit on various rails, including 1913 and GL rails (1913 insert pre-installed).
- USB-C Rechargeable: Equipped with a USB-C charging port for convenient and rapid recharging from multiple power sources, ensuring the light is always ready.
- Easy Operation: Supports both forward-push and downward-press activation for immediate response, designed for ambidextrous use.
- Holster Compatibility: Designed with support from major holster manufacturers for secure retention and quick access.
Setup
Mounting the Flashlight
The OLIGHT PL X features a patented anti-loosening ratchet mounting system for secure attachment to your rail. It is compatible with both 1913 (Picatinny) and GL (Glock) rails. The 1913 insert comes pre-installed.

Image: A detailed view of the OLIGHT PL X with dimensions and illustrations of the GL and 1913 rail adapters.
Changing Rail Adapters
The rail adapters feature a 180° reversible design to fit multiple models. Use the included multi-tool and KM2.5x5 screw to change between the 1913 and GL rail adapters as needed. An additional anti-loosening mechanism with a screw-clamp mount ensures rock-solid retention and consistent alignment under recoil.
Video: This video demonstrates how to install and uninstall the rail adapters and utilize the screw-clamp mount for secure attachment.
Charging
The OLIGHT PL X is equipped with a USB-C charging port for convenient recharging. Use the provided USB-C charging cable to connect the flashlight to any standard USB-C charger, vehicle outlet, or portable power bank.
A battery indicator light on the device provides real-time battery status:
- Green: Battery level > 60%
- Yellow: Battery level 10% - 60%
- Red: Battery level < 10% (Recharge soon)
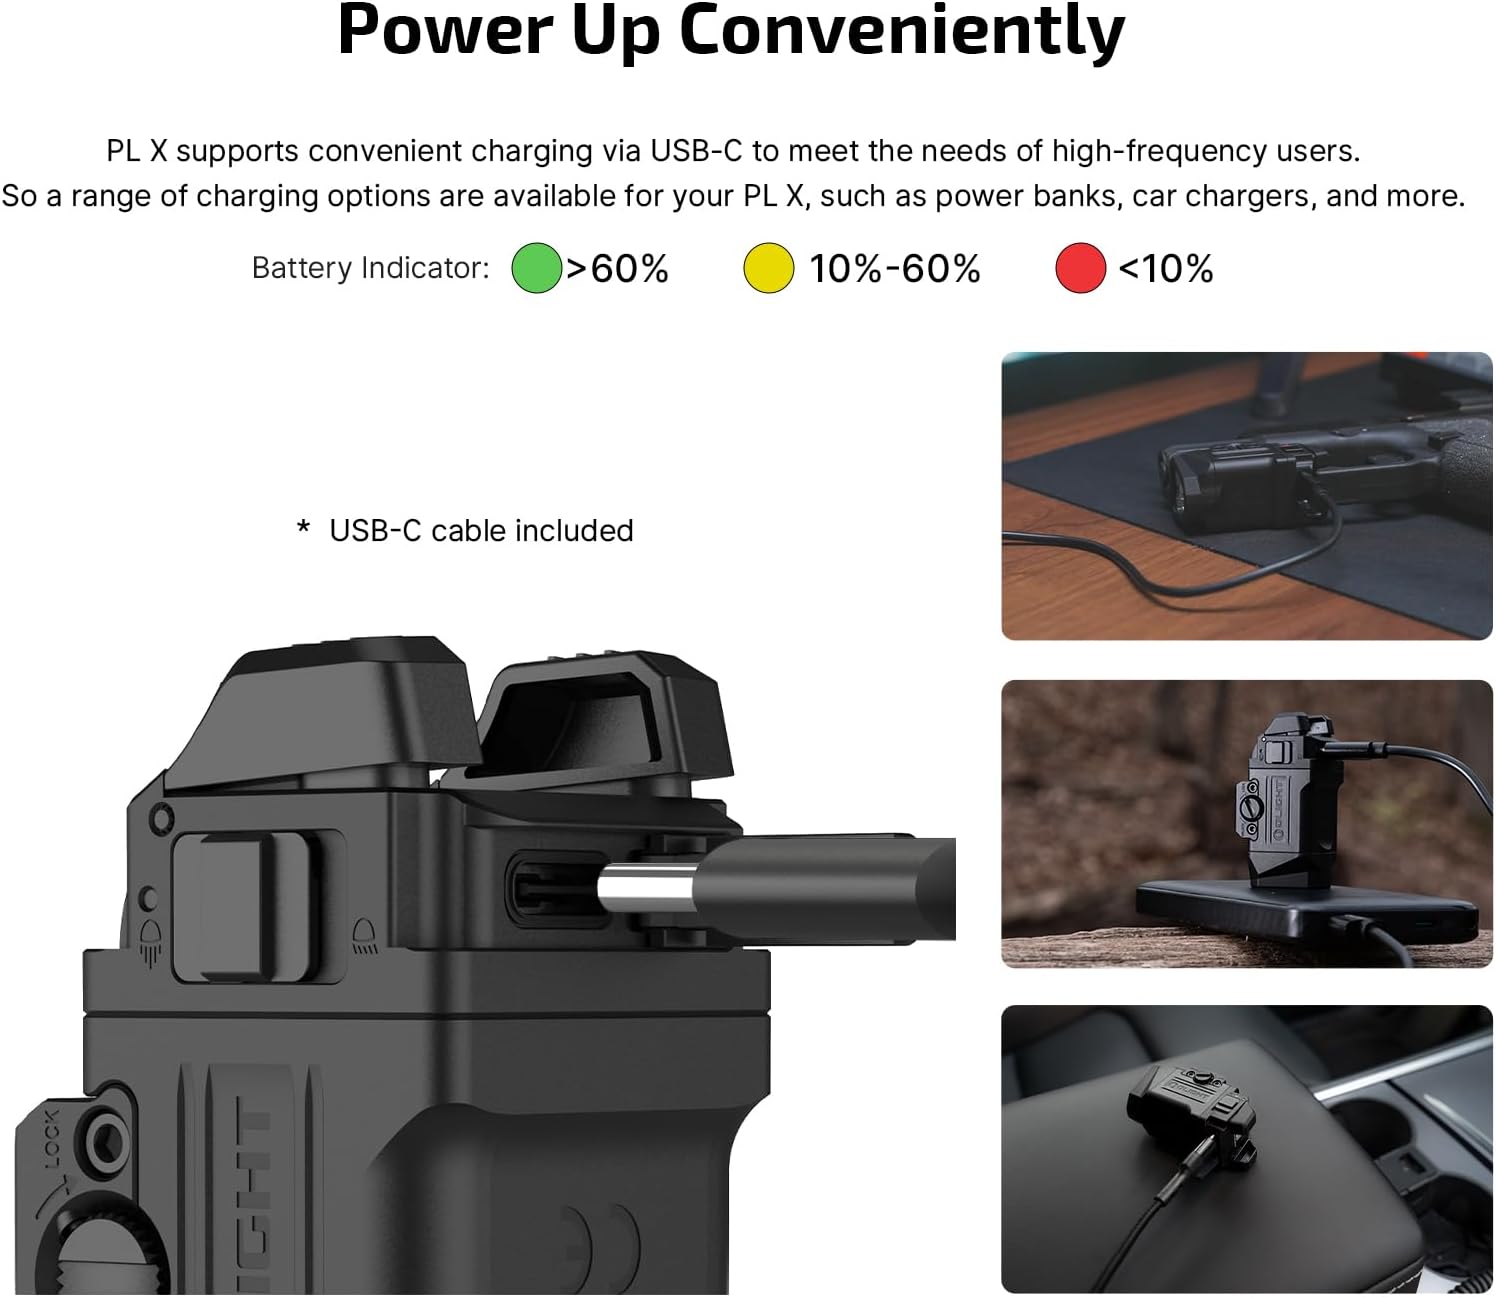
Image: The flashlight's USB-C port is highlighted, with illustrations of the battery indicator and different charging scenarios.
Operating Instructions
The PL X features ambidextrous controls for intuitive operation.
Power On/Off
- Momentary On: Press and hold either activation button. The light will remain on as long as the button is held and turn off upon release.
- Constant On/Off: Quickly press and release either activation button. The light will turn on and stay on. Press and release again to turn it off.
Mode Switching (Spotlight / Floodlight)
The PL X allows for seamless switching between spotlight and floodlight modes using the dedicated toggle switch located on the side of the unit. Slide the toggle up for spotlight mode and down for floodlight mode.

Image: A visual comparison of the wide area illumination provided by the floodlight and the concentrated beam of the spotlight.
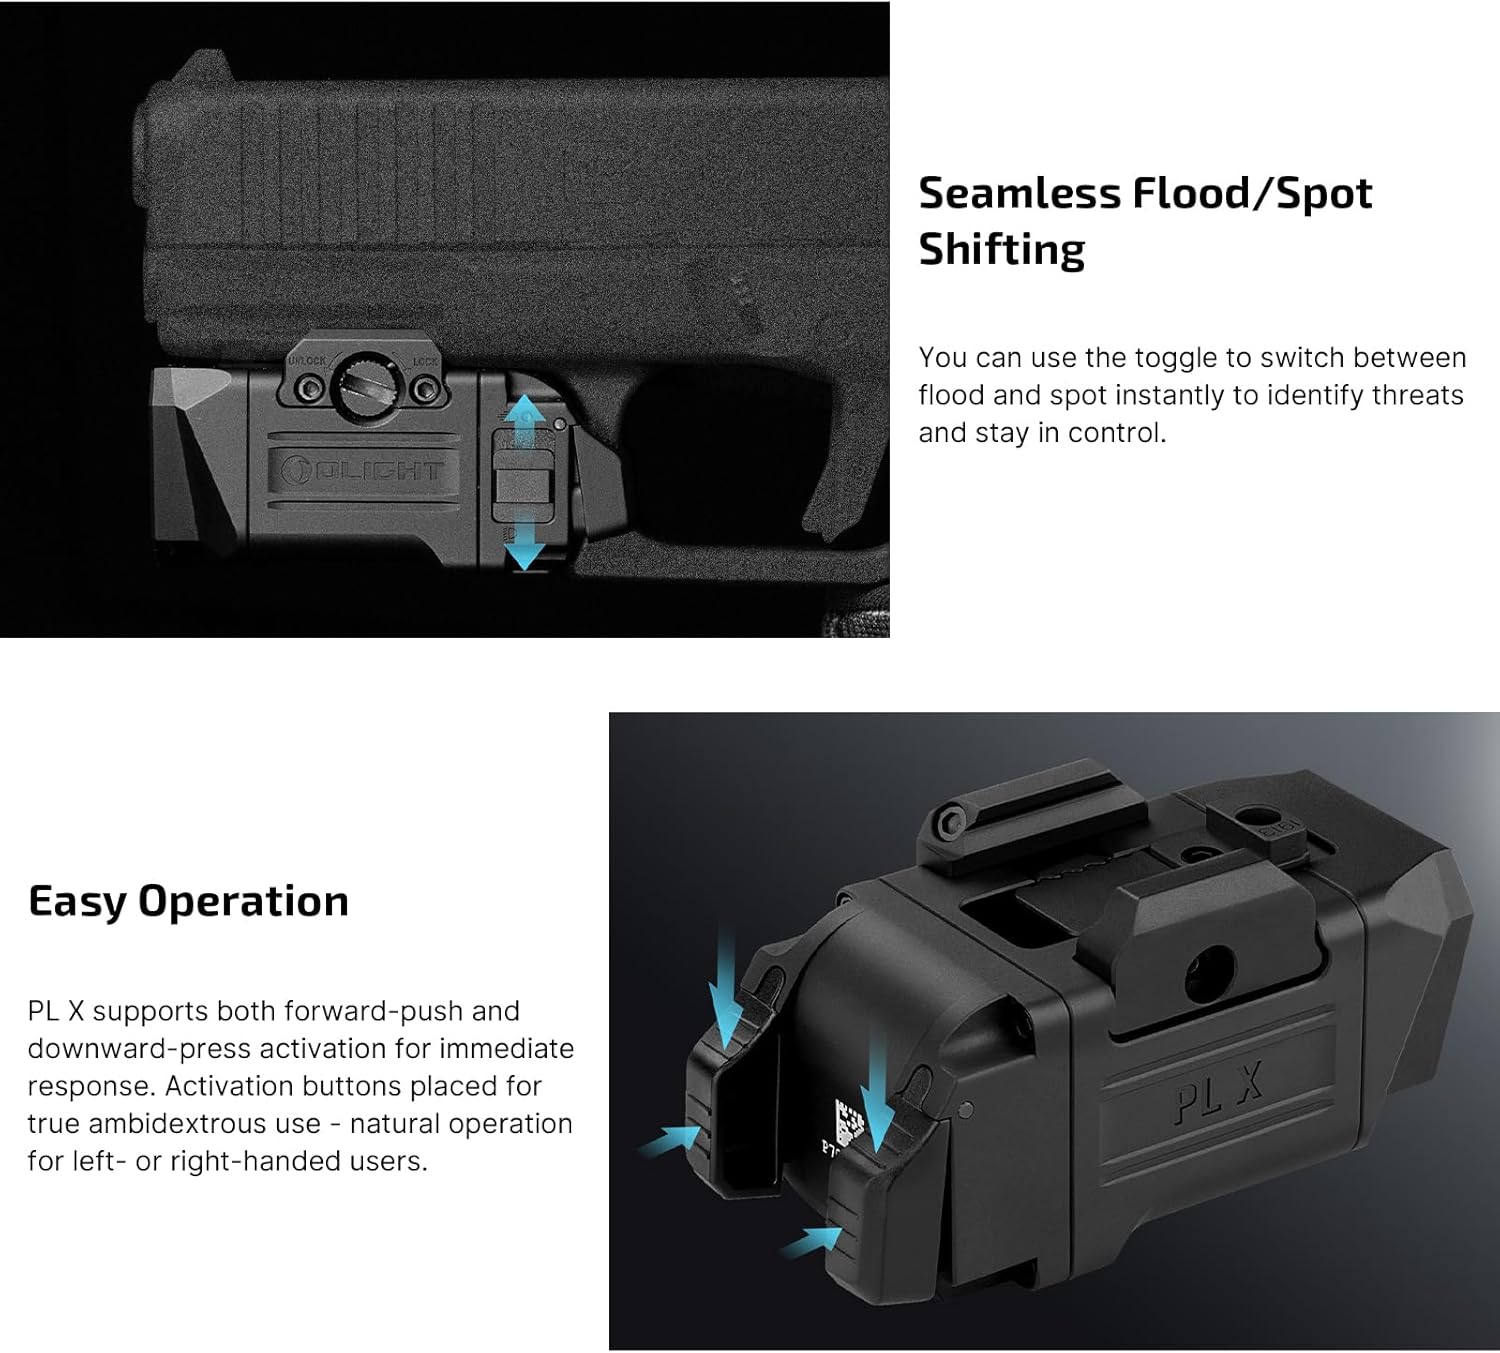
Image: The flashlight mounted on a firearm, highlighting the toggle switch for beam selection and the forward/downward press activation buttons.
Brightness Adjustment
While the light is on in either mode (spotlight or floodlight), quickly double-tap either activation button to cycle between high and low brightness settings.
Strobe Function
To activate the strobe mode, quickly triple-press either activation button. Alternatively, press both activation buttons simultaneously. A single press of either button will turn off the strobe.
Maintenance
- Cleaning: Regularly clean the lens with a soft, clean cloth to maintain optimal light output. For the body, use a damp cloth and mild soap if necessary.
- Battery Care: Recharge the flashlight when the battery indicator shows yellow or red to ensure readiness. Avoid fully depleting the battery for extended periods.
- Storage: Store the flashlight in a cool, dry place away from direct sunlight and extreme temperatures.
Troubleshooting
- Light Not Turning On:
- Ensure the battery is charged. Connect to a USB-C power source and check the indicator light.
- Verify the activation buttons are pressed correctly (momentary hold or quick press for constant on).
- Dim Light Output:
- The battery might be low. Recharge the device.
- The lens might be dirty. Clean it gently with a soft cloth.
- Ensure the correct brightness mode is selected (double-tap to cycle).
- Loose Mount:
- Tighten the screw-clamp mount using the provided multi-tool to ensure a secure fit on the rail.
Specifications
| Feature | Value |
|---|---|
| Max Lumens (Floodlight) | 1,200 lm |
| Max Candela (Spotlight) | 22,500 cd |
| Max Throw | 300 meters |
| Battery Capacity | 960 mAh |
| Charging Type | USB-C |
| Waterproof Rating | IPX7 |
| Drop Test | 1.5 m |
| Body Material | 6061 Aluminum |
| Weight | 3.07 oz (87g) |
| Product Dimensions | 2.48"D x 1.18"W x 1.24"H |
| Color Temperature | 6500 Kelvin |

Image: A visual representation of the key specifications of the OLIGHT PL X flashlight.
Compatibility
Compatible Models (for reference purposes only)
The OLIGHT PL X is designed for broad compatibility with various firearm models. Below is a list of compatible models. For detailed information, please refer to the safety documents and user guide included with your product.

Image: A table showing compatible firearm models for the PL X, including specific variants for Sig Sauer, Smith & Wesson, Glock, and Beretta.
Compatible Holster Brands (for reference purposes only)
The PL X is backed by support from major holster manufacturers, ensuring users can easily find matching holsters for secure retention and quick access.

Image: A table listing various holster brands that offer compatibility with the OLIGHT PL X.
Warranty and Support
The OLIGHT PL X Tactical Flashlight comes with a Lifetime Warranty, reflecting our commitment to quality and durability. For any support inquiries, technical assistance, or warranty claims, please visit the official OLIGHT website or contact our customer service team.
For additional resources and product information, please visit the OLIGHT Store on Amazon.


