
1. Introduction
This manual provides detailed instructions for the PUSOKEI 4K WiFi Action Camera, Model PUSOKEIpikyuhgfs0. Please read this manual carefully before using the product to ensure proper operation and to maximize its features. Keep this manual for future reference.
2. Product Overview
Key Features
- 4K Ultra HD Recording: Capture clear, high-definition video with a 135° ultra-wide viewing angle.
- 40MP Photo Resolution: Take detailed still images.
- 1.3-inch HD IPS Screen: Provides clear display for easy framing and playback.
- 180° Rotating Lens: Allows flexible recording angles for various scenarios.
- WiFi Connectivity & App Control: Connect to your smartphone for real-time viewing, playback, and video downloads.
- Loop Recording: Automatically overwrites the oldest footage when the memory card is full.
- Night Vision Mode: Records clear video in low-light conditions.
- Built-in Clip: Offers versatile mounting options for portability.
- Supports up to 256GB Micro SD Card: Secure and ample storage for your recordings.
Camera Components
Familiarize yourself with the main parts of your PUSOKEI Action Camera:

- Rotating Lens: The main camera lens, capable of 180° rotation.
- 1.3-inch HD IPS Screen: Located on the front of the camera for live view and menu navigation.
- Power/Mode Button: Used to turn the camera on/off and switch between modes.
- Record/OK Button: Initiates/stops recording or confirms selections.
- Up/Down Navigation Buttons: Used for menu navigation and digital zoom.
- Microphone: Captures audio during video recording.
- Speaker: For audio playback.
- TF Card Slot: For inserting the Micro SD memory card.
- Type-C Port: For charging and data transfer.
- Back Clip: Integrated clip for attaching the camera to clothing or mounts.
3. Setup
3.1 Charging the Battery
Before first use, fully charge the camera's built-in battery.
- Connect the provided USB Type-C cable to the camera's Type-C port.
- Connect the other end of the cable to a USB power adapter (not included) or a computer's USB port.
- The charging indicator light will illuminate. Once fully charged, the light will change or turn off.

3.2 Inserting a Memory Card
A Micro SD card (up to 256GB, Class 10 or higher recommended) is required for recording. The card is not included.
- Locate the TF card slot on the side of the camera.
- Insert the Micro SD card with the gold contacts facing the back of the camera until it clicks into place.
- To remove, gently push the card in until it springs out.

3.3 Powering On/Off
- To Power On: Press and hold the Power/Mode button for a few seconds until the screen illuminates.
- To Power Off: Press and hold the Power/Mode button for a few seconds until the screen turns off.
4. Operating Instructions
4.1 Basic Operation
- Switching Modes: Briefly press the Power/Mode button to cycle through video recording, photo mode, and playback mode.
- Navigating Menus: Use the Up/Down navigation buttons to scroll through menu options. Press the Record/OK button to select an option.
4.2 Recording Video
- Ensure the camera is in video recording mode (indicated by a video icon on the screen).
- Press the Record/OK button once to start recording. A red dot or timer will appear on the screen.
- Press the Record/OK button again to stop recording. The video file will be saved to the Micro SD card.
4.3 Taking Photos
- Switch the camera to photo mode (indicated by a camera icon).
- Press the Record/OK button once to take a photo. The screen may flash briefly, and the image will be saved.
4.4 Using the 180° Rotating Lens
The camera's lens can be manually rotated 180 degrees to adjust your shooting angle without repositioning the entire camera.

4.5 WiFi Connectivity and App Control
Connect your camera to a smartphone via WiFi for advanced control and real-time viewing.
- Download the dedicated app (refer to the camera's on-screen instructions or packaging for app name).
- On the camera, navigate to the WiFi settings and enable WiFi. The camera's WiFi network name (SSID) and password will be displayed.
- On your smartphone, go to WiFi settings, find the camera's SSID, and connect using the provided password.
- Open the app on your smartphone. You should now see a live view from the camera and be able to control recording, playback, and download files.

4.6 Loop Recording
When enabled, loop recording allows the camera to continuously record by overwriting the oldest files when the memory card is full. This feature is useful for continuous monitoring.
- Access the camera's settings menu.
- Locate the 'Loop Recording' option and set your desired loop duration (e.g., 1 minute, 3 minutes, 5 minutes) or turn it off.

4.7 Night Vision Mode
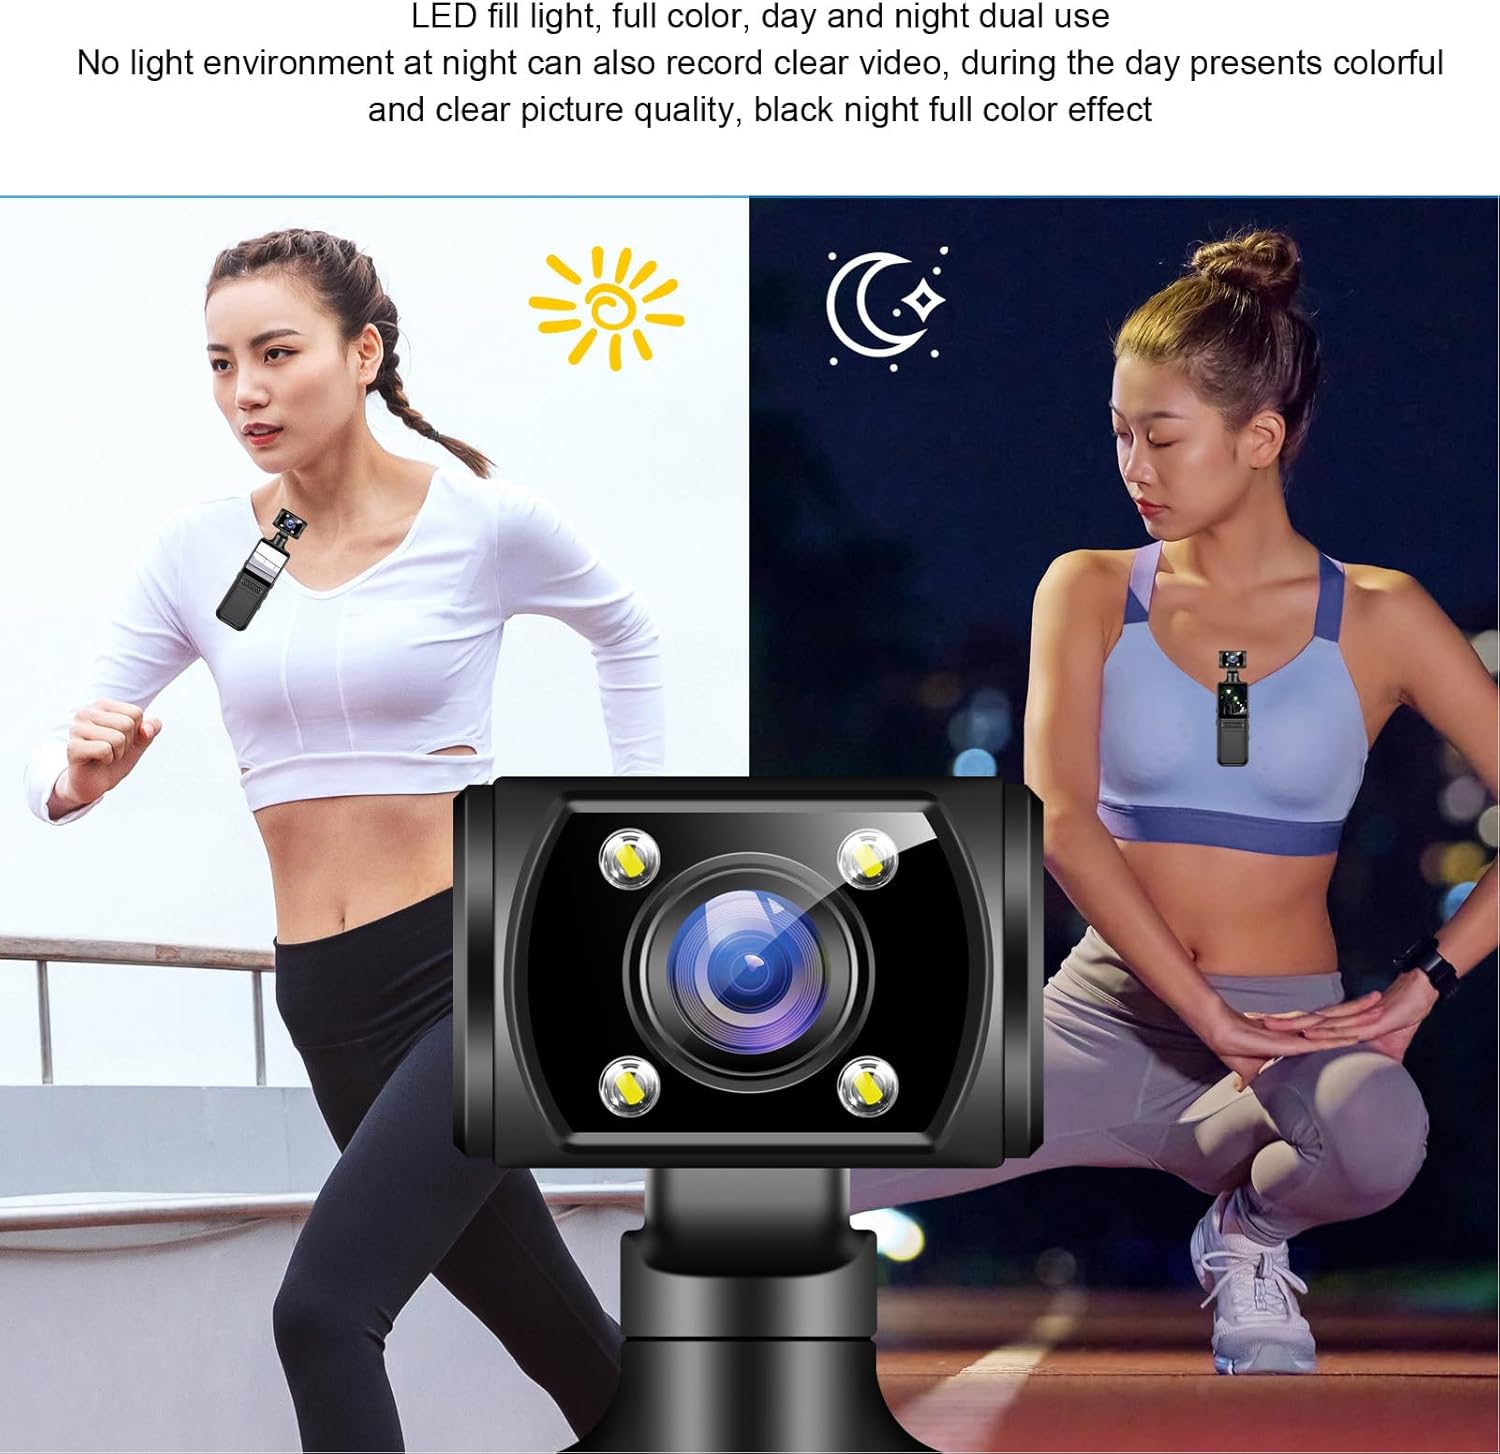
The camera is equipped with LED fill lights to enhance recording quality in low-light or night environments.
- The camera automatically adjusts to low light conditions or can be manually set in the menu.
- Ensure the LED fill lights are not obstructed for optimal performance.
4.8 Mounting Options
The integrated back clip allows for versatile attachment to various accessories and surfaces.
5. Maintenance
5.1 Cleaning the Camera
- Use a soft, lint-free cloth to clean the camera body.
- For the lens, use a specialized lens cleaning cloth and solution. Avoid harsh chemicals.
- Ensure the camera is powered off and disconnected from any power source before cleaning.
5.2 Storage
- Store the camera in a cool, dry place away from direct sunlight and extreme temperatures.
- If storing for extended periods, ensure the battery is partially charged (around 50%) to prolong its lifespan.
5.3 Battery Care
- Avoid fully discharging the battery frequently.
- Do not expose the battery to high temperatures or puncture it.
- If the battery performance significantly degrades, contact customer support for assistance.
6. Troubleshooting
If you encounter issues with your camera, refer to the following common problems and solutions:
| Problem | Possible Cause | Solution |
|---|---|---|
| Camera does not power on. | Low battery; faulty battery; power button issue. | Charge the battery fully. Ensure the power button is pressed correctly. If problem persists, contact support. |
| Cannot record video/take photos. | No Micro SD card; card full; card error; incorrect mode. | Insert a Micro SD card. Format or replace the card. Ensure camera is in correct mode. |
| WiFi connection issues. | Incorrect password; app not installed; camera WiFi off. | Verify WiFi password. Install the correct app. Enable WiFi on the camera. |
| Poor image/video quality. | Dirty lens; low light; incorrect settings. | Clean the lens. Use night vision mode in low light. Adjust resolution settings. |
| Camera freezes or becomes unresponsive. | Software glitch; memory card issue. | Press and hold the power button to force a restart. Remove and reinsert the Micro SD card. |
7. Specifications
| Feature | Detail |
|---|---|
| Brand | PUSOKEI |
| Model | PUSOKEIpikyuhgfs0 |
| Video Resolution | 4K Ultra HD |
| Photo Resolution | 40MP |
| Screen | 1.3-inch HD IPS |
| Lens Rotation | 180° |
| Viewing Angle | 135° Ultra Wide |
| Storage | Supports up to 256GB Micro SD card (not included) |
| Connectivity | WiFi, USB Type-C |
| Package Dimensions | 16 x 8 x 5 cm |
| Package Weight | 182 Grams |
| Manufacturer | PUSOKEI |
| Country of Origin | China |
8. Warranty and Support
8.1 Manufacturer Warranty
This PUSOKEI product comes with a 2-year manufacturer's warranty from the date of purchase. This warranty covers defects in materials and workmanship under normal use. It does not cover damage caused by misuse, accidents, unauthorized modifications, or normal wear and tear.
8.2 Customer Support
For technical assistance, warranty claims, or any questions regarding your PUSOKEI 4K WiFi Action Camera, please contact the retailer or visit the official PUSOKEI support website. Please have your model number (PUSOKEIpikyuhgfs0) and proof of purchase ready when contacting support.