
Introduction
Thank you for purchasing the ACTIVA Heat Max 2000W Fan Room Heater. This manual provides important information regarding the safe operation, installation, maintenance, and troubleshooting of your new appliance. Please read this manual thoroughly before use and retain it for future reference.
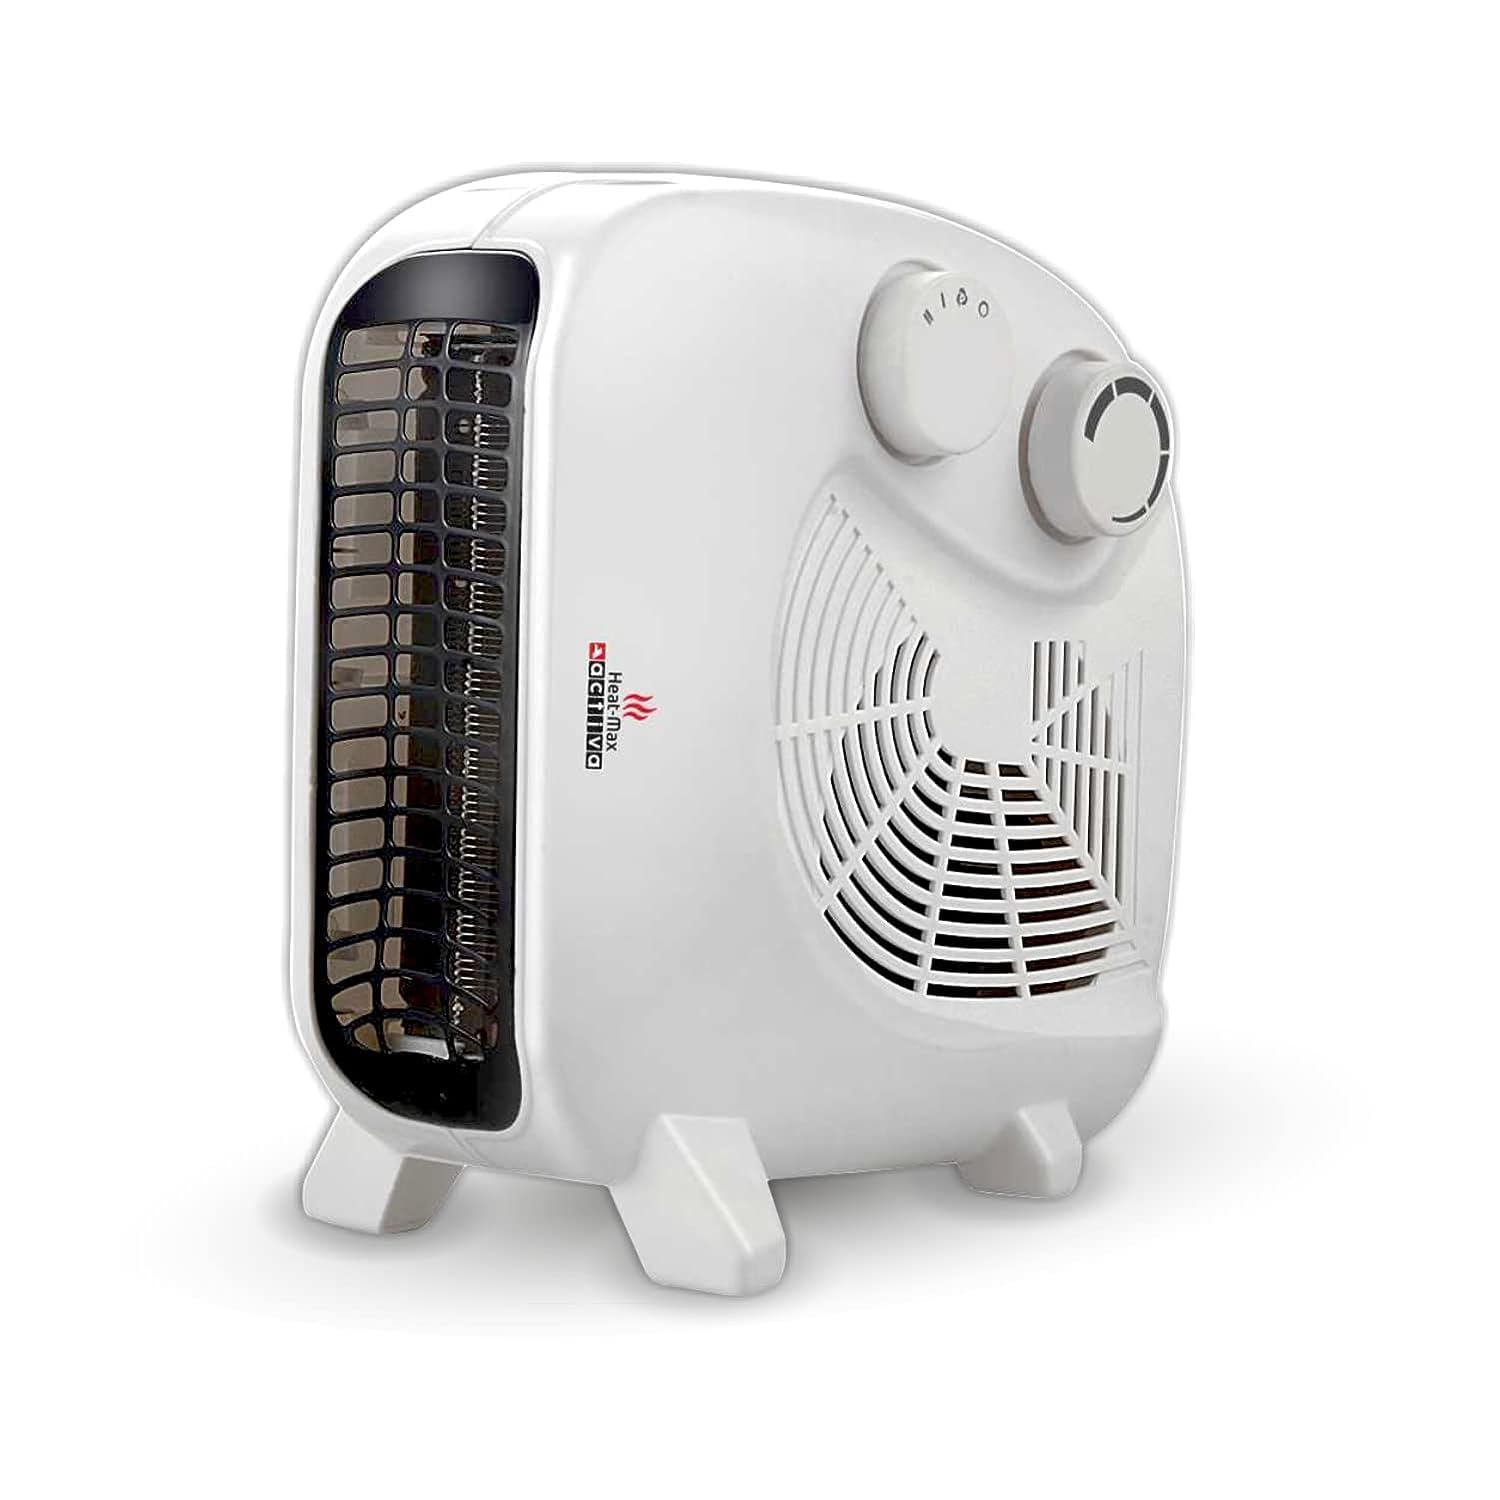
Image: The ACTIVA Heat Max 2000W Fan Room Heater, showcasing its compact design.
Important Safety Instructions
To reduce the risk of fire, electric shock, or injury, always follow these basic precautions:
- Read all instructions before using this heater.
- Plug the room heater directly into a wall socket. Do not use extension cords or power strips.
- Keep flammable materials such as furniture, pillows, bedding, papers, clothes, and curtains at least 3 feet (0.9 meters) from the front of the heater and away from the sides and rear.
- Close supervision is necessary when any appliance is used by or near children or individuals with reduced physical, sensory, or mental capabilities.
- Always unplug the heater when not in use.
- Do not cover the heater during operation or immediately after use, as this can cause overheating.
- To prevent drying out of air during prolonged usage, consider placing a bowl of water in the room to add moisture.
- Do not operate any heater with a damaged cord or plug, or after the heater malfunctions or has been dropped or damaged in any manner.
- Do not use outdoors.
- Avoid placing the heater in areas where it may be exposed to water or high humidity.

Image: Recommended usage directions for safe operation, including warnings about flammable items, children, and covering the heater.

Image: Key safety and design features of the heater, such as overheat protection and durable construction.
Product Components
Familiarize yourself with the different parts of your ACTIVA Heat Max Fan Room Heater:

Image: Labeled diagram illustrating the key components of the heater, including the safety mesh grill, control knobs, hot air outlet, and fan.
- Safety Mesh Grill: Protects the heating element and prevents direct contact.
- Temperature Control Knob: Adjusts the desired room temperature.
- Heat Setting Knob: Selects between different heating modes (Fan, Low Heat, High Heat).
- Hot Air Outlet: Where the heated air is expelled.
- Fan: Circulates air for heating or cooling.
Setup
Unpacking
- Carefully remove the heater from its packaging.
- Check for any signs of damage. If damaged, do not use and contact customer support.
- Ensure all components listed in the "What's in the Box" section are present.
Placement
The ACTIVA Heat Max heater can be used in both vertical and horizontal positions.
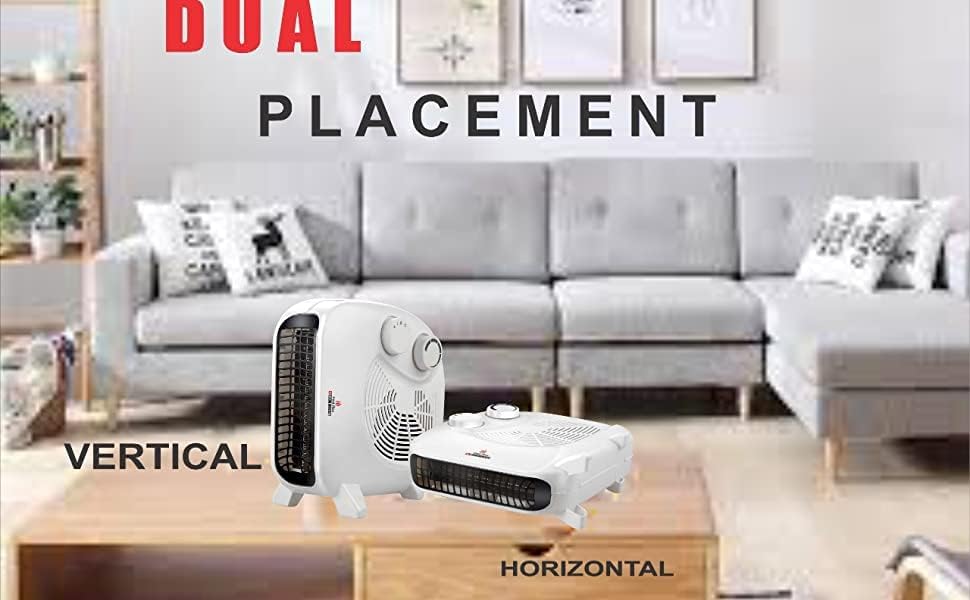
Image: The heater displayed in both vertical and horizontal positions, demonstrating its versatile placement options.
- Place the heater on a firm, level surface.
- Ensure there is adequate clearance around the heater (at least 3 feet from walls, furniture, and other objects).
- Do not place the heater directly below a power outlet.
Power Connection
- Ensure the heater is switched off before plugging it in.
- Plug the power cord directly into a suitable 230V AC wall socket. This heater may require a 15 Amp socket.
- Do not overload the circuit. Avoid plugging other high-wattage appliances into the same circuit.
Operating Instructions
Power On/Off
- Plug the heater into a suitable power outlet.
- Turn the Heat Setting Knob to the desired mode (Fan, Low Heat, or High Heat). The power indicator light will illuminate.
- To turn off the heater, turn the Heat Setting Knob to the "OFF" position and unplug the unit from the wall socket.
Heat Settings
The heater offers multiple settings for your comfort:
- Fan Only: Provides cool air circulation without heating.
- Low Heat (1000W): For gentle warmth or smaller rooms.
- High Heat (2000W): For rapid heating of medium to large rooms.
Adjustable Thermostat
The Temperature Control Knob allows you to set your desired room temperature.
- Turn the Temperature Control Knob clockwise to increase the desired temperature, or counter-clockwise to decrease it.
- The heater will cycle on and off to maintain the set temperature.
Maintenance
Regular maintenance ensures optimal performance and longevity of your heater.
Cleaning
- Always unplug the heater and allow it to cool completely before cleaning.
- Wipe the exterior surfaces with a soft, damp cloth. Do not use abrasive cleaners or solvents.
- Do not immerse the heater in water or spray water directly onto it.
- Use a vacuum cleaner with a brush attachment to gently remove dust from the air inlets and outlets.
Storage
- When not in use, store the heater in a cool, dry place.
- Wrap the power cord neatly to prevent damage.
Troubleshooting
If you encounter issues with your heater, refer to the following common problems and solutions:
| Problem | Possible Cause | Solution |
|---|---|---|
| Heater does not turn on. |
|
|
| Heater produces cool air only. |
|
|
| Heater shuts off unexpectedly. |
|
|
If the problem persists after trying these solutions, please contact customer support or a qualified service technician. Do not attempt to repair the heater yourself.
Specifications
| Brand | ACTIVA |
| Model Number | Heat Max |
| Power Output | 2000W |
| Heating Modes | 2 (1000W / 2000W) + Fan Only |
| Special Features | Adjustable Speed, Lightweight, Noiseless, Overheat Protection, Portable |
| Colour | White |
| Form Factor | Cabinet |
| Indoor/Outdoor Usage | Indoor |
| Product Dimensions | 29D x 17W x 30H Centimeters |
| Item Weight | 1 kg 500 g |
| Voltage | 230 Volts (AC) |
| Heating Coverage | Up to 162 Square Feet (approx.) |
| Included Components | Main Unit (Fan Room Heater), Warranty Card |
Warranty and Support
Warranty Information
Your ACTIVA Heat Max 2000W Fan Room Heater comes with a 1-Year Warranty from the date of purchase. This warranty covers manufacturing defects under normal use.
Warranty Type: Product installation is to be done by the customer. For repairs, the customer must send the product to an authorized service center. Repairs will only be performed at the service center.
Customer Support
For any queries, assistance, or to locate an authorized service center, please refer to the contact information provided on your warranty card or visit the official ACTIVA website.
Manufacturer: TECHVISION INTERNATIONAL PVT. LTD. INDIA