
Miele Miele Guard L1
Miele Guard L1 AllFloor Bagged Canister Vacuum Cleaner
User Instruction Manual
Product Overview
The Miele Guard L1 AllFloor is a high-performance bagged canister vacuum cleaner engineered for effective cleaning across various floor types, including hard floors and low-to-medium pile carpets. It features a powerful German-engineered motor and an intuitive LED display panel for easy operation. This manual provides essential information for the safe and efficient use, maintenance, and care of your Miele Guard L1 vacuum cleaner.
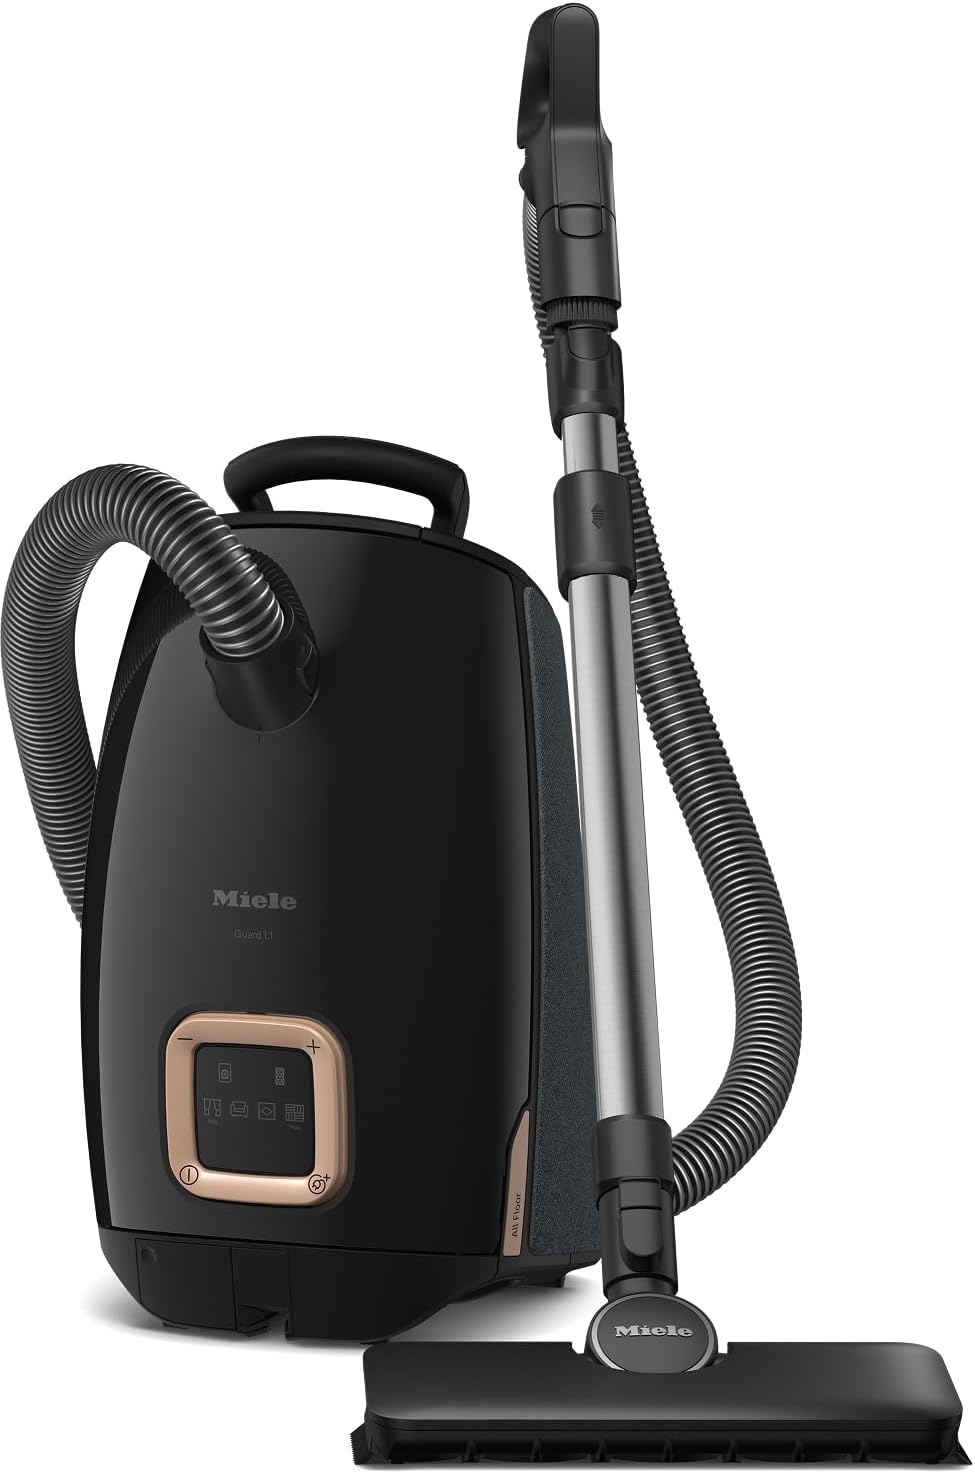
Figure 1: Miele Guard L1 AllFloor Bagged Canister Vacuum Cleaner.
Included Components
Before beginning assembly or operation, ensure all components are present in the packaging. The Miele Guard L1 AllFloor includes the following:
- Miele Guard L1 Canister Vacuum Cleaner Unit
- Integrated AirClean Plus Filter
- HyClean Pure TU Vacuum Bag (pre-installed)
- AllTeQ Universal Floorhead
- AllFloor Floorbrush
- 2-in-1 Upholstery and Crevice Nozzle (integrated into Comfort handle)
- Integrated Dusting Brush (integrated into Comfort handle)
- Telescopic Wand
- Hose

Figure 2: All components included in the box.
Setup and Assembly
- Unpacking: Carefully remove all components from the packaging. Retain packaging for future storage or transport.
- Attaching the Hose: Insert the hose end into the suction inlet on the vacuum cleaner unit until it clicks securely into place.
- Connecting the Telescopic Wand: Attach the handle end of the hose to the telescopic wand. Adjust the wand length by pressing the release button and extending or retracting it to a comfortable height.
- Attaching the Floorhead: Select either the AllTeQ Universal Floorhead or the AllFloor Floorbrush. Attach the chosen floorhead to the end of the telescopic wand until it clicks into place.
- Power Connection: Extend the power cord from the rear of the unit and plug it into a suitable electrical outlet.
Operating Instructions
Power On/Off
To turn the vacuum cleaner on or off, press the main power button located on the canister unit. The LED display panel will illuminate upon activation.
Adjusting Suction Power
The Miele Guard L1 features an LED display panel with four distinct power levels, easily adjustable via foot-controlled settings. This allows for optimal cleaning performance on various surfaces without bending down.
- Min. (Curtains/Light Fabrics): For delicate items and light dusting.
- Upholstery: Ideal for furniture, cushions, and upholstery.
- Carpet: Suitable for low-to-medium pile carpets and rugs.
- Max. (Hard Floors/Heavy Dirt): Provides maximum suction for hard floors and heavily soiled areas.

Figure 3: LED display panel for adjusting suction power.
Using Floorheads
- AllFloor Floorbrush: This versatile, slim attachment is designed for effortless use on both hard floors and low-to-medium pile carpets. It automatically adjusts to the surface.
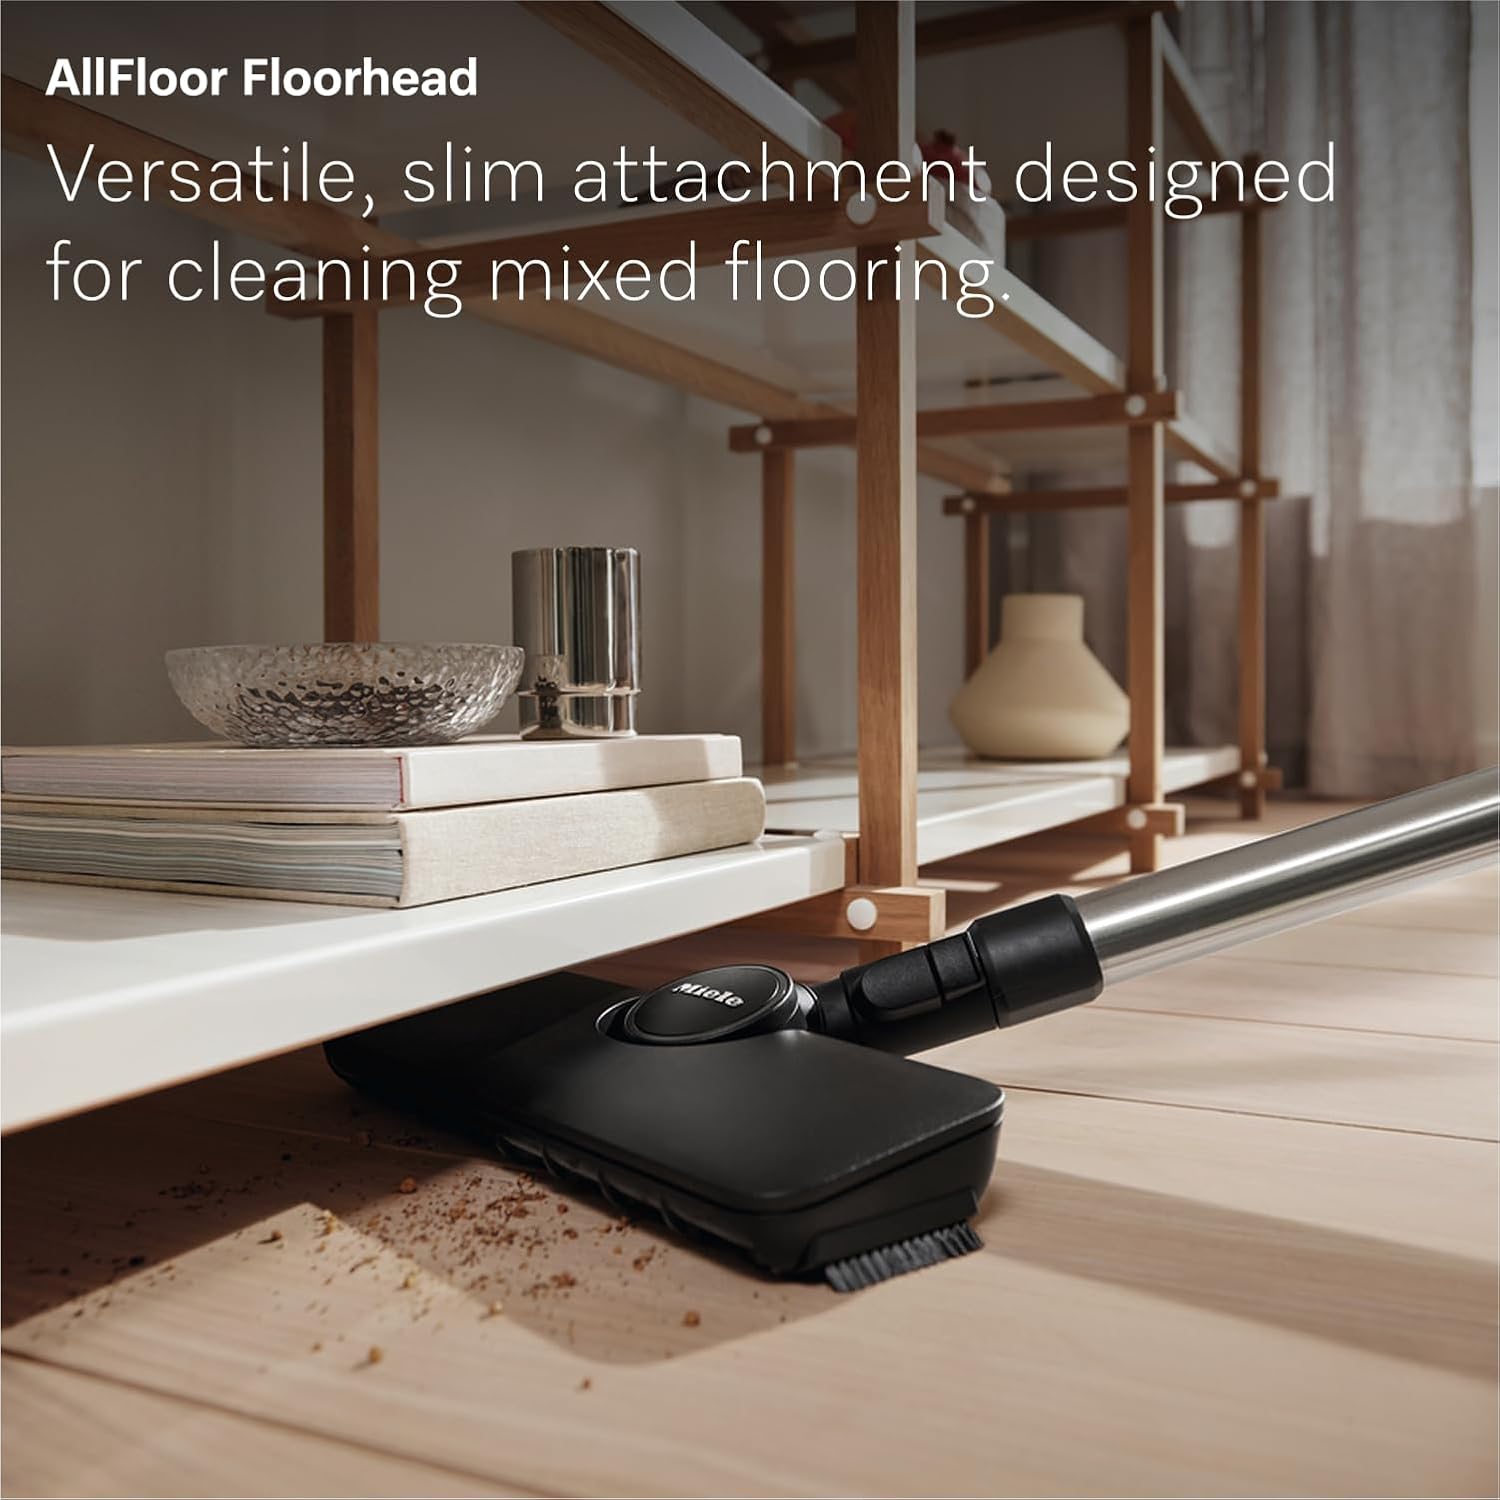
Figure 4: AllFloor Floorbrush in use.
- AllTeQ Universal Floorhead: This floorhead offers convenient footswitch control for switching between hard floors and low-pile carpet. Press the footswitch to engage or retract the bristles.
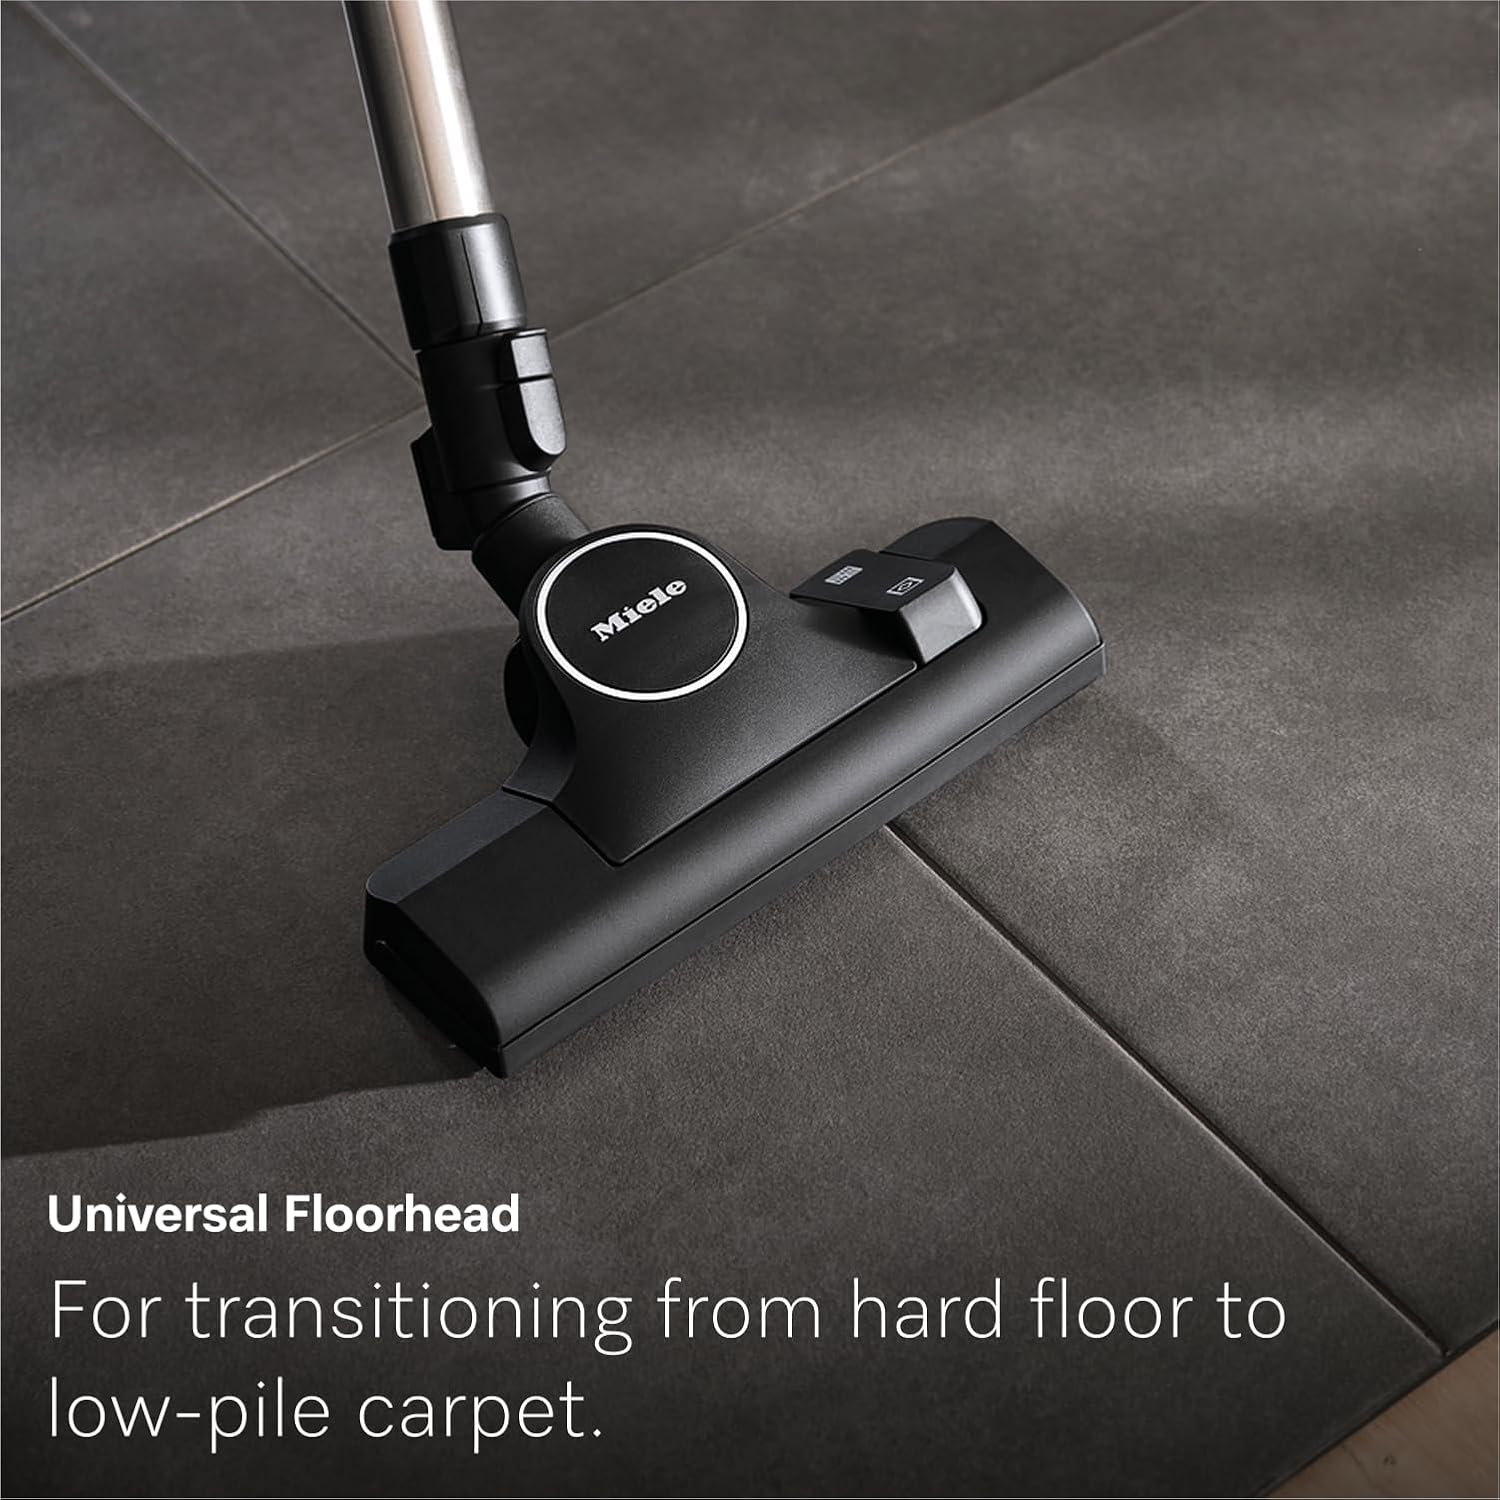
Figure 5: AllTeQ Universal Floorhead.
Using Accessories
The 2-in-1 Upholstery and Crevice Nozzle, along with the integrated Dusting Brush, are conveniently stored on the Comfort handle, ensuring they are always within reach and dust-free.
- 2-in-1 Upholstery and Crevice Nozzle: Use the crevice tool for narrow gaps and edges, and the upholstery tool for cleaning fabric surfaces.
- Integrated Dusting Brush: Ideal for dusting delicate surfaces, shelves, and electronics.

Figure 6: Versatile 2-in-1 tool for upholstery and crevices.
Maneuverability and Storage
The Miele Guard L1 is designed for ease of use and storage.
- DynamicDrive Caster Wheels: Enjoy smooth maneuverability thanks to the 360° DynamicDrive caster wheels, allowing the vacuum to glide effortlessly in any direction.
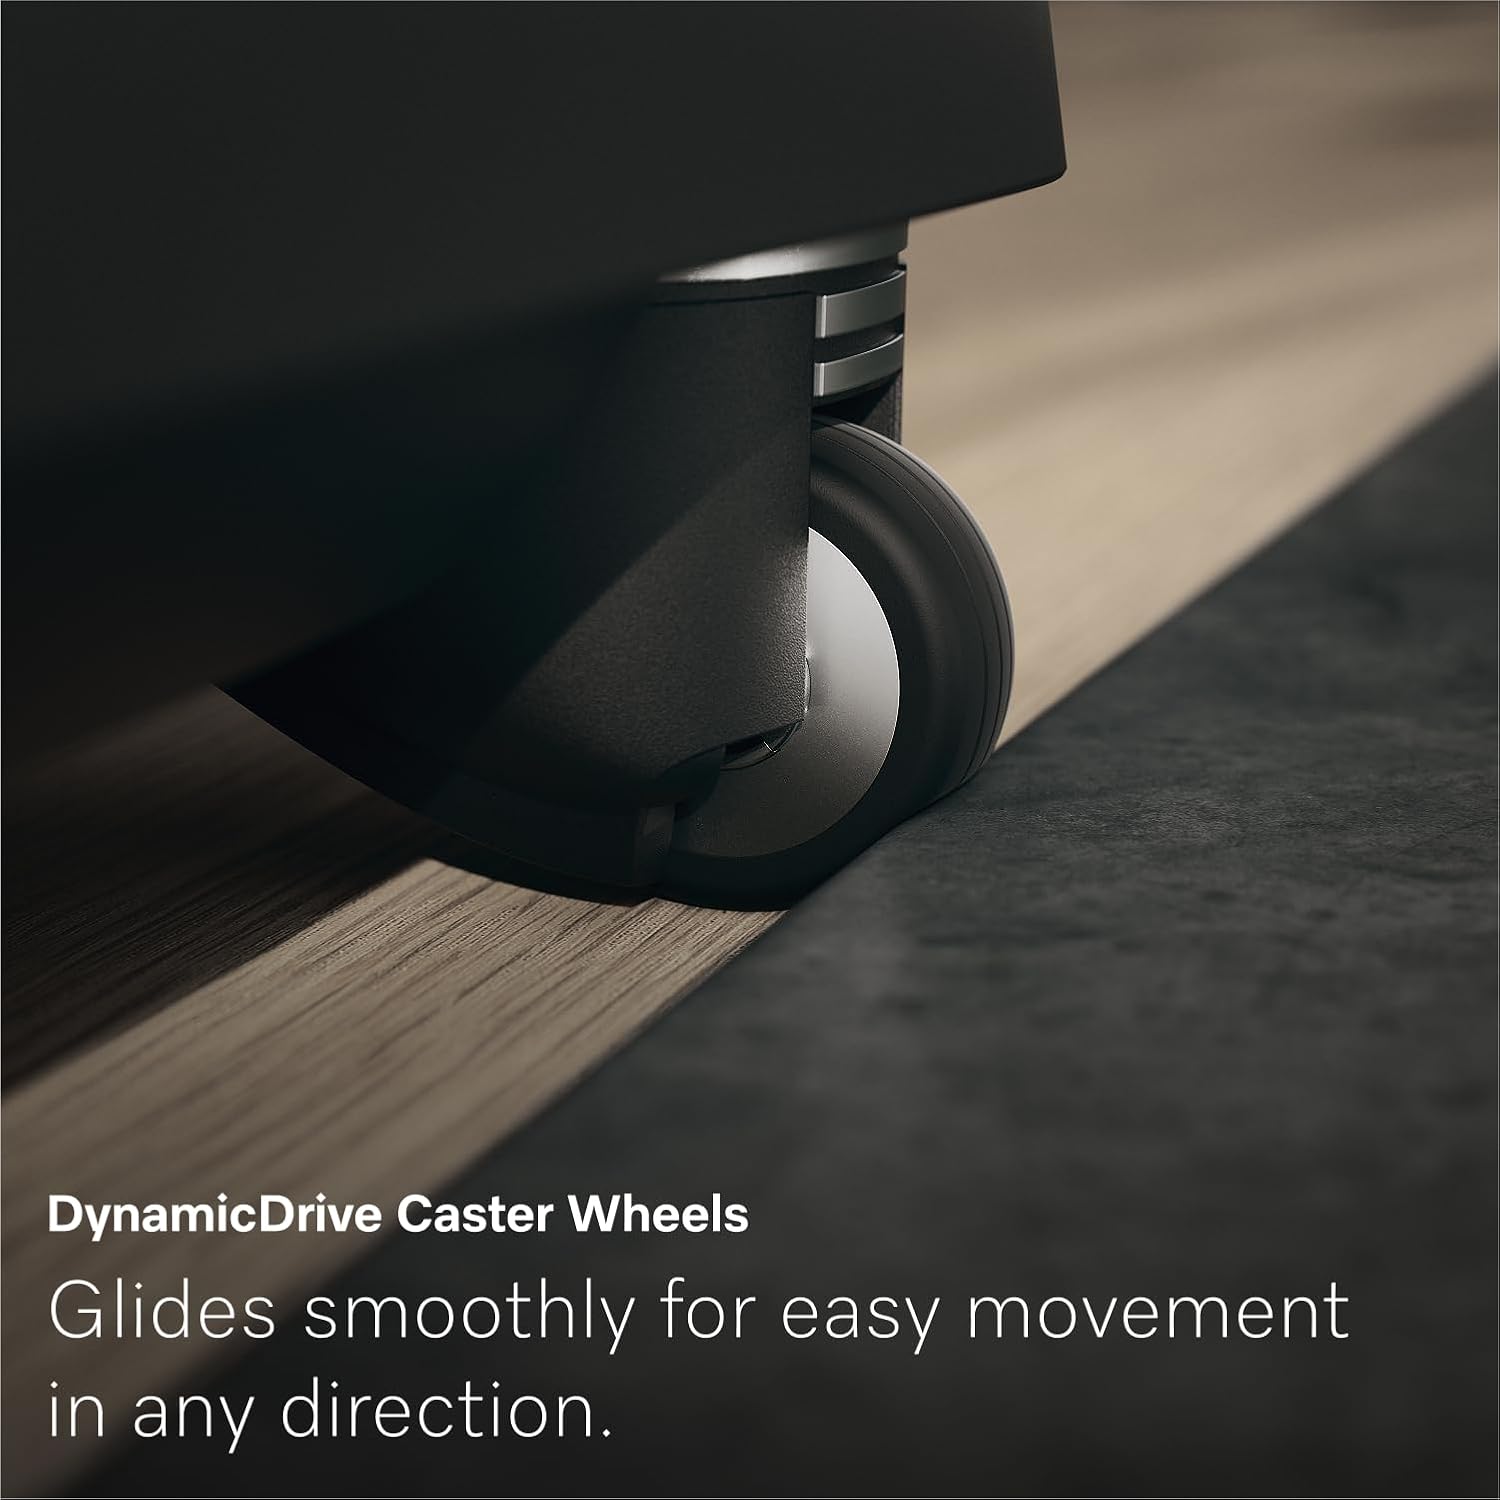
Figure 7: DynamicDrive Caster Wheels for smooth movement.
- Comfort Cord Rewind: To retract the power cord, simply press the dedicated foot or touch control button. This eliminates the need to bend down after vacuuming.
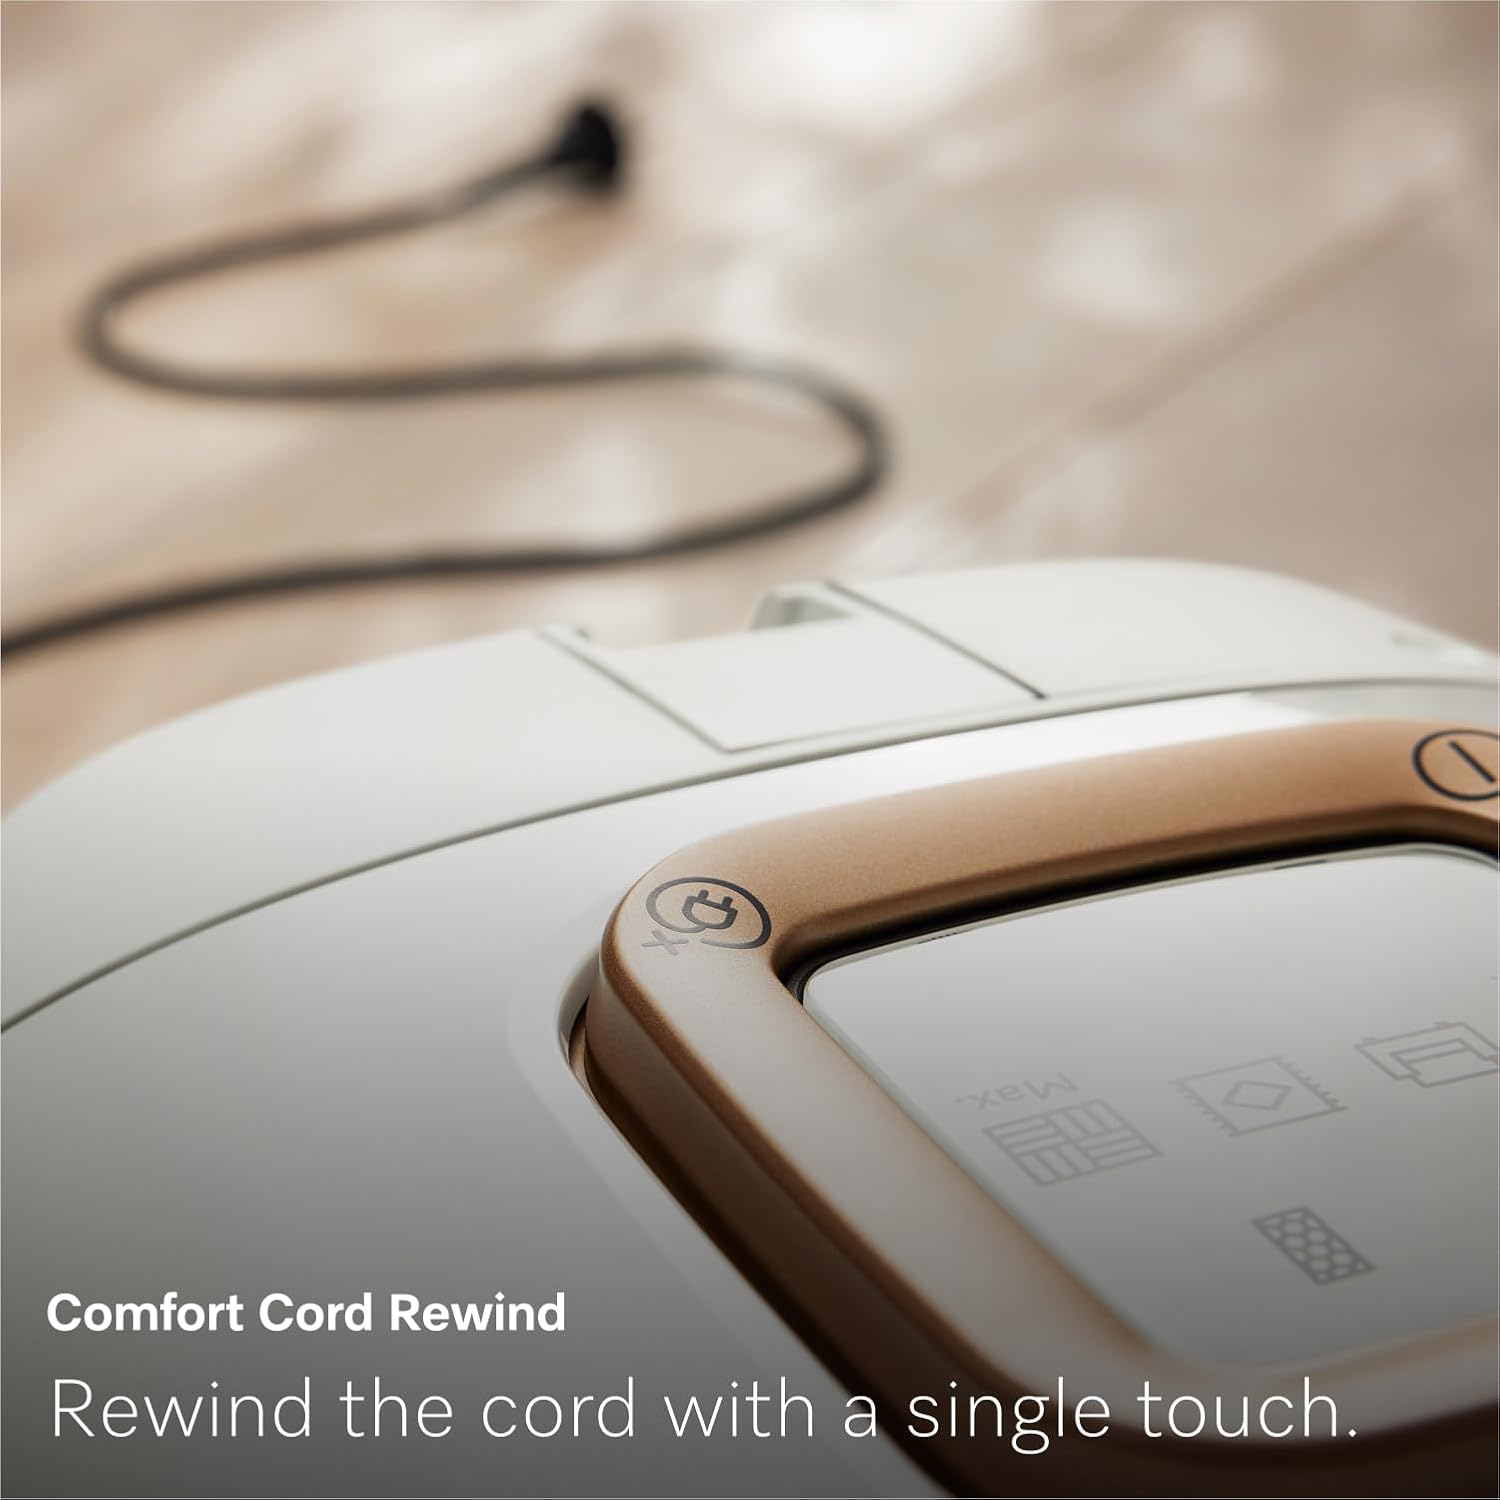
Figure 8: Comfort Cord Rewind button.
- Parking System: For convenient storage or during short breaks, utilize the Parking System by hooking the floorhead onto the rear or underside of the vacuum cleaner.
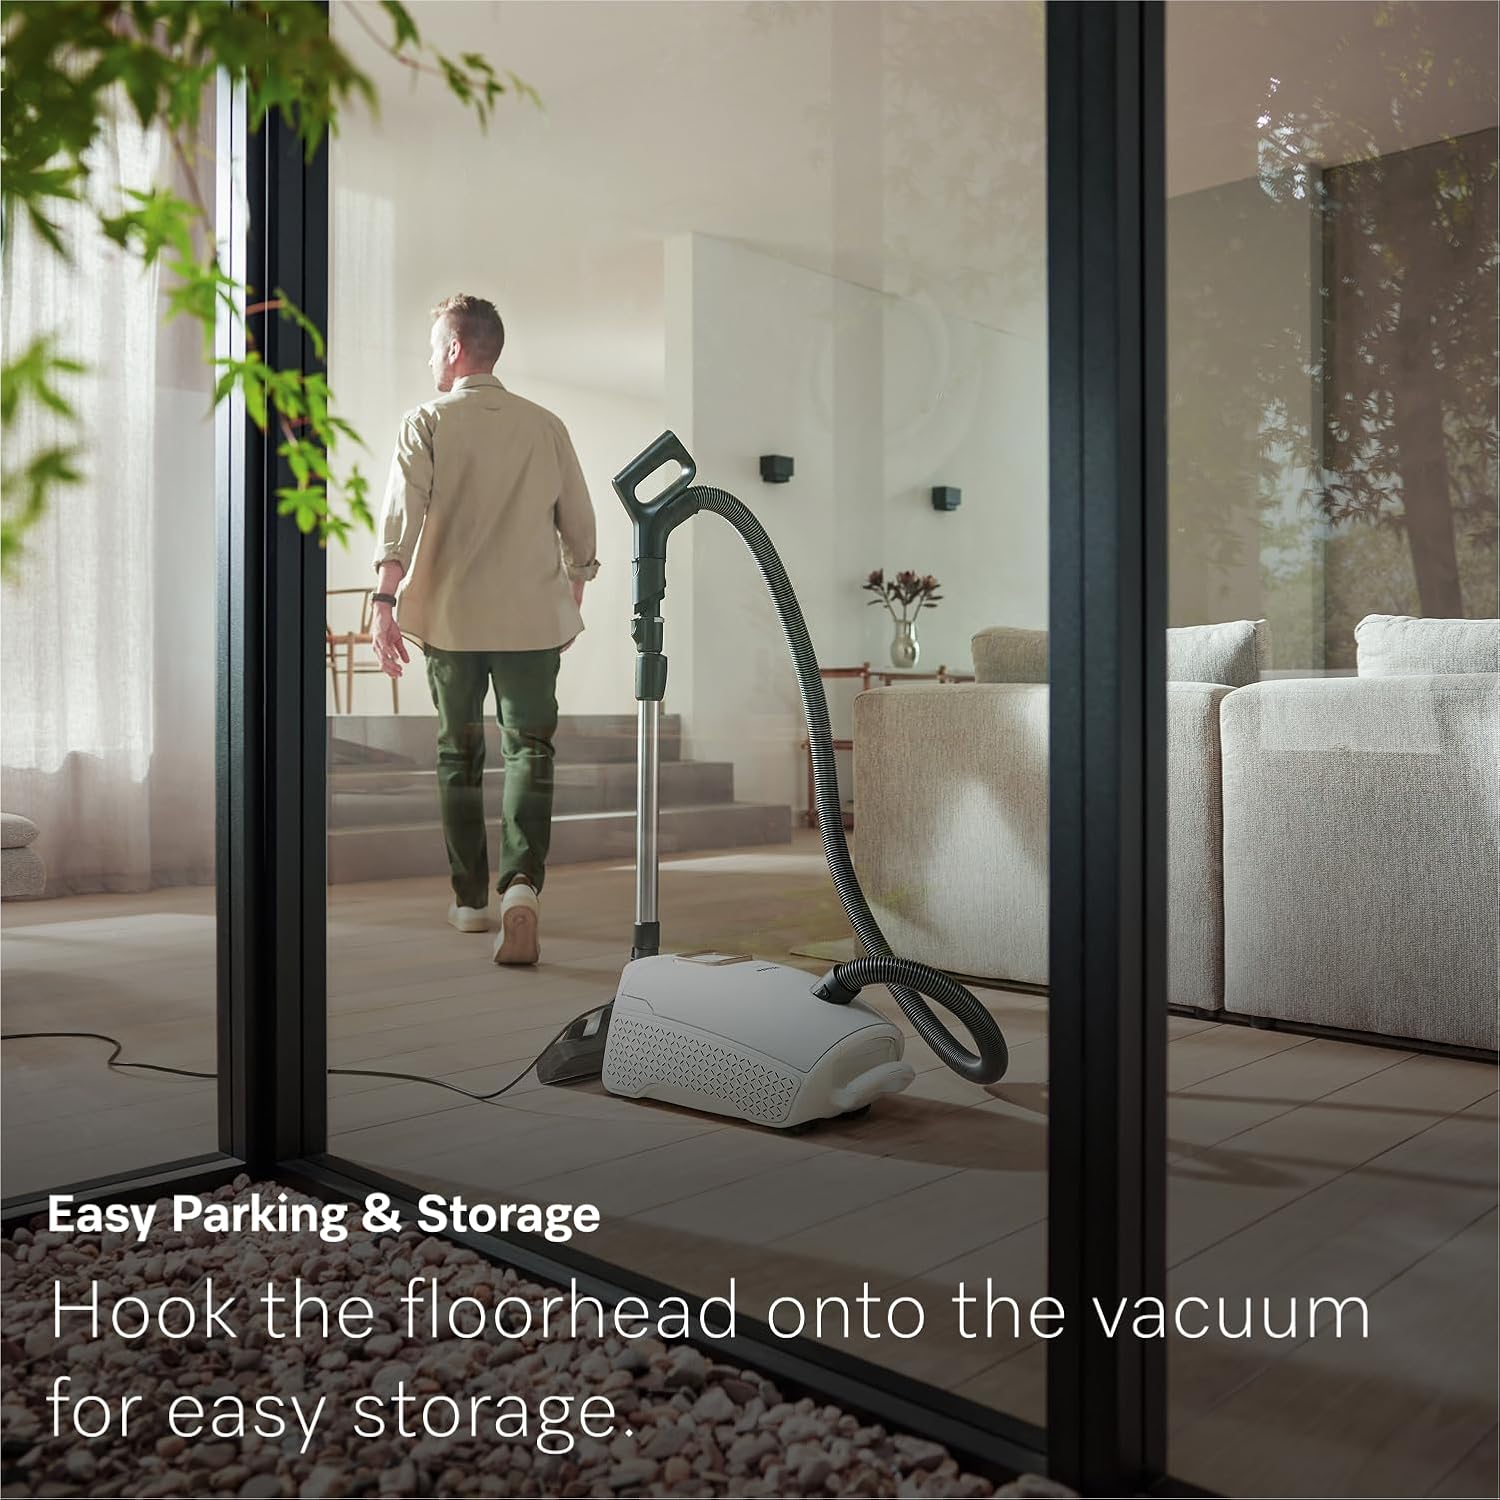
Figure 9: Vacuum cleaner in parking position.
Maintenance
Replacing the HyClean Air TU Vacuum Bag
The HyClean Air TU vacuum bags are designed for hygienic, dust-free disposal. Replace the bag when the bag indicator on the canister unit signals it is full, or when suction power noticeably decreases.
- Ensure the vacuum cleaner is unplugged from the power outlet.
- Open the dust compartment lid.
- Carefully remove the full vacuum bag. The ComfortFit technology ensures the bag opening automatically seals to prevent dust escape.
- Insert a new HyClean Pure TU Vacuum Bag, ensuring it is correctly seated in the holder.
- Close the dust compartment lid securely.

Figure 10: Hygienic vacuum bag replacement.
Cleaning/Replacing the AirClean Plus Filter
The integrated AirClean Plus Filter effectively traps dust and allergens, contributing to cleaner room air. This filter should be checked regularly and replaced as needed, typically after every 4-5 vacuum bag changes, or if it appears visibly dirty.
- Unplug the vacuum cleaner.
- Locate the filter compartment, usually near the dust bag.
- Remove the old AirClean Plus Filter.
- Insert a new AirClean Plus Filter, ensuring it fits snugly.
- Close the filter compartment.

Figure 11: AirClean Plus Filter for cleaner air.
Troubleshooting
| Problem | Possible Cause | Solution |
|---|---|---|
| No power | Vacuum unplugged; power outlet faulty; circuit breaker tripped. | Check power cord connection; try a different outlet; reset circuit breaker. |
| Reduced suction | Full dust bag; clogged hose/floorhead; dirty filter. | Replace dust bag; check for and remove blockages; replace AirClean Plus Filter. |
| Unusual noise | Foreign object in brush roll (if applicable); motor issue. | Inspect brush roll for obstructions; if noise persists, contact Miele service. |
| Vacuum overheats and shuts off | Blocked airflow (full bag, clogged filter/hose); prolonged use. | Turn off and unplug; check/replace bag and filter; clear blockages; allow to cool for 30-60 minutes before restarting. |
Specifications
| Feature | Detail |
|---|---|
| Brand | Miele |
| Model Name | Miele Guard L1 AllFloor Bagged Canister Vacuum Cleaner |
| Model Number | 12704590 |
| Type | Bagged Canister Vacuum Cleaner |
| Motor Wattage | 1200 watts |
| Filter Type | AirClean Plus Filter |
| Dust Bag Capacity | 4.5 Liters |
| Operating Radius | 36 ft. |
| Noise Level | 75 dB |
| Dimensions (L x W x H) | 19.69"L x 11.34"W x 9.41"H |
| Item Weight | 14.8 pounds |
| Color | Obsidian Black |
| Control Method | Push Button (foot-controlled settings) |
| Special Features | Bagged, Corded, High Power, Low Noise, Spotless Cleaning, DynamicDrive caster wheels, Parking System |
Warranty and Support
Miele products are known for their quality and durability. For detailed warranty information specific to your Miele Guard L1 AllFloor vacuum cleaner, please refer to the warranty card included with your product or visit the official Miele website. For technical support, spare parts, or service inquiries, please contact Miele Customer Service through their official channels.
You can find more information and contact details on the Miele website: www.mieleusa.com
Related documentsMiele Guard L1


Ask a question about this manual
Ask about setup, troubleshooting, compatibility, parts, safety, or missing instructions. Manuals+ will review the question and use this page’s manual context to help answer it.