
1. Introduction
This manual provides detailed instructions for the installation, operation, and maintenance of your Loddery 9.7 Inch Android 14 Car Radio Stereo. This unit is designed for specific Jeep Wrangler JK Rubicon models from 2007 to 2018, offering advanced features such as wireless and wired Carplay, Android Auto, GPS navigation, and a high-resolution IPS touch screen. Please read this manual thoroughly before installation and use to ensure proper functionality and safety.
2. Specifications
| Feature | Detail |
|---|---|
| System | Android 14 |
| Chipset | 8227L-DEMO |
| Screen Size | 9.7 inches |
| Memory | 2GB RAM + 32GB ROM |
| Screen Resolution | 1024x768 |
| Radio Chip | MT6625 |
| Power Output | 4x45W |
| Work Temperature | -20℃ to 75℃ |
| Steering Wheel Control | Supported |
| Power Amplifier Chip | TDA7388 |
| Radio Band | FM/RDS |
| Video Output | Supported |
| Reversing Input | CVBS |
| External Microphone | Supported |
| Split Screen | Supported |
| Maps | Built-in offline maps (requires internet for data download) |
| WIFI | Supported |
| USB | Double USB interface |
| Audio Format | APE/FLAC/WAV/MP3/WMA etc. |
| Video Format | MKV/RMVB/AVI/MP4/MDV etc. |
| Picture Format | PNG/JPEG/JPG/GIF/WBMP/BNP etc. |
| Factory Setting Keyword | 8888 or 3368 |
| Languages | Chinese/English/French/Italian/Korean/Japanese/Arabic/Spanish/Portuguese/Russian/Turkish/Vietnamese/Hebrew/Polish/German |
Compatibility: This unit is designed to fit Jeep Wrangler JK Rubicon models from 2007-2018. It also lists compatibility for Dodge RAM 2009-2012, Jeep Wrangler Unlimited 2011-2017, Jeep Compass 2009-2016, Dodge Charger 2008-2010, Dodge Grand Caravan 2011-2020, and Chrysler Town&Country 2012-2016.
3. Package Contents
Before beginning installation, please verify that all components are present in the package:
- Loddery 9.7 Inch Android Car Radio Stereo Unit
- Power Cable
- RCA Input/Output Cables
- 2x USB Cables
- Camera Input Cable
- Radio Adapter Cable
- GPS Antenna
- Instruction Manual
- Canbus Box (if applicable for your vehicle model)
- External Microphone
- Rear View Camera

Image: Overview of the components included in the Loddery car stereo package. This includes the main head unit, various wiring harnesses (power, RCA, USB, camera input, radio adapter), a GPS antenna, an external microphone, a rear view camera, and a Canbus box.
4. Installation
Important: Professional installation is recommended. Disconnect the vehicle's battery before starting any electrical work. Refer to your vehicle's service manual for specific dashboard disassembly instructions.
4.1 Vehicle Compatibility Check
Ensure your vehicle's dashboard matches the compatible configurations. This unit is specifically designed for Jeep Wrangler JK Rubicon models from 2007-2018. Verify your current radio setup against the images provided.

Image: Visual guide for checking vehicle compatibility. Displays different dashboard layouts for Jeep Wrangler JK Rubicon (2007-2018) with indicators for compatible and incompatible factory radio setups.
4.2 General Installation Steps
- Disconnect Battery: Always disconnect the negative terminal of your vehicle's battery before beginning installation to prevent electrical shorts.
- Remove Factory Radio: Carefully remove the trim panels and screws securing your existing factory radio. Use appropriate trim removal tools to avoid damage.
- Connect Wiring Harnesses:
- Connect the main power cable harness from the new unit to the vehicle's wiring.
- Connect the RCA input/output cables as needed for external amplifiers or video displays.
- Attach the USB cables for external USB devices.
- Connect the GPS antenna and position it in a location with a clear view of the sky (e.g., on the dashboard).
- If installing a rear view camera, route the camera input cable to the rear of the vehicle and connect the camera.
- Connect the external microphone and route it to a suitable location for clear voice pickup (e.g., near the rearview mirror or steering column).
- If your vehicle requires a Canbus box for steering wheel controls or other vehicle data, connect it according to the wiring diagram.
- Mount the Unit: Secure the Loddery car radio stereo into the dashboard opening. Ensure all connections are firm and wires are not pinched.
- Reassemble Dashboard: Reinstall all trim panels and screws removed earlier.
- Reconnect Battery: Reconnect the negative terminal of the vehicle's battery.
- Initial Power On and Test: Turn on the vehicle's ignition and power on the unit. Test all functions, including radio, audio, touch screen, GPS, Carplay/Android Auto, and any installed cameras.

Image: The Loddery 9.7-inch Android car stereo unit fully installed in the dashboard of a Jeep Wrangler JK. The image highlights the large vertical touchscreen display and its integration with the vehicle's interior.
5. Operating Instructions
5.1 Basic Operation
- Power On/Off: Press and hold the power button (usually on the side bezel) to turn the unit on or off. A short press typically mutes/unmutes audio.
- Volume Control: Use the physical volume knobs or on-screen controls to adjust audio levels.
- Touch Screen: Navigate the Android interface by tapping, swiping, and pinching on the 9.7-inch IPS touch screen.
- Home Screen: The main screen displays various app icons for navigation, media, phone, and settings.
5.2 Wireless & Wired Carplay / Android Auto
This unit supports both wireless and wired Apple Carplay and Android Auto, allowing seamless integration of your smartphone's features.
- For Wireless Connection:
- Ensure Bluetooth and Wi-Fi are enabled on your smartphone.
- On the car stereo, open the Carplay or Android Auto application.
- Pair your phone via Bluetooth with the car stereo.
- Follow the on-screen prompts to establish the wireless Carplay/Android Auto connection.
- For Wired Connection:
- Connect your smartphone to one of the unit's USB ports using a high-quality USB cable.
- The unit should automatically detect your phone and launch Carplay or Android Auto.
- Voice Control: Once connected, use voice commands (e.g., "Hey Siri" or "Ok Google") to navigate, make calls, send messages, and play music.
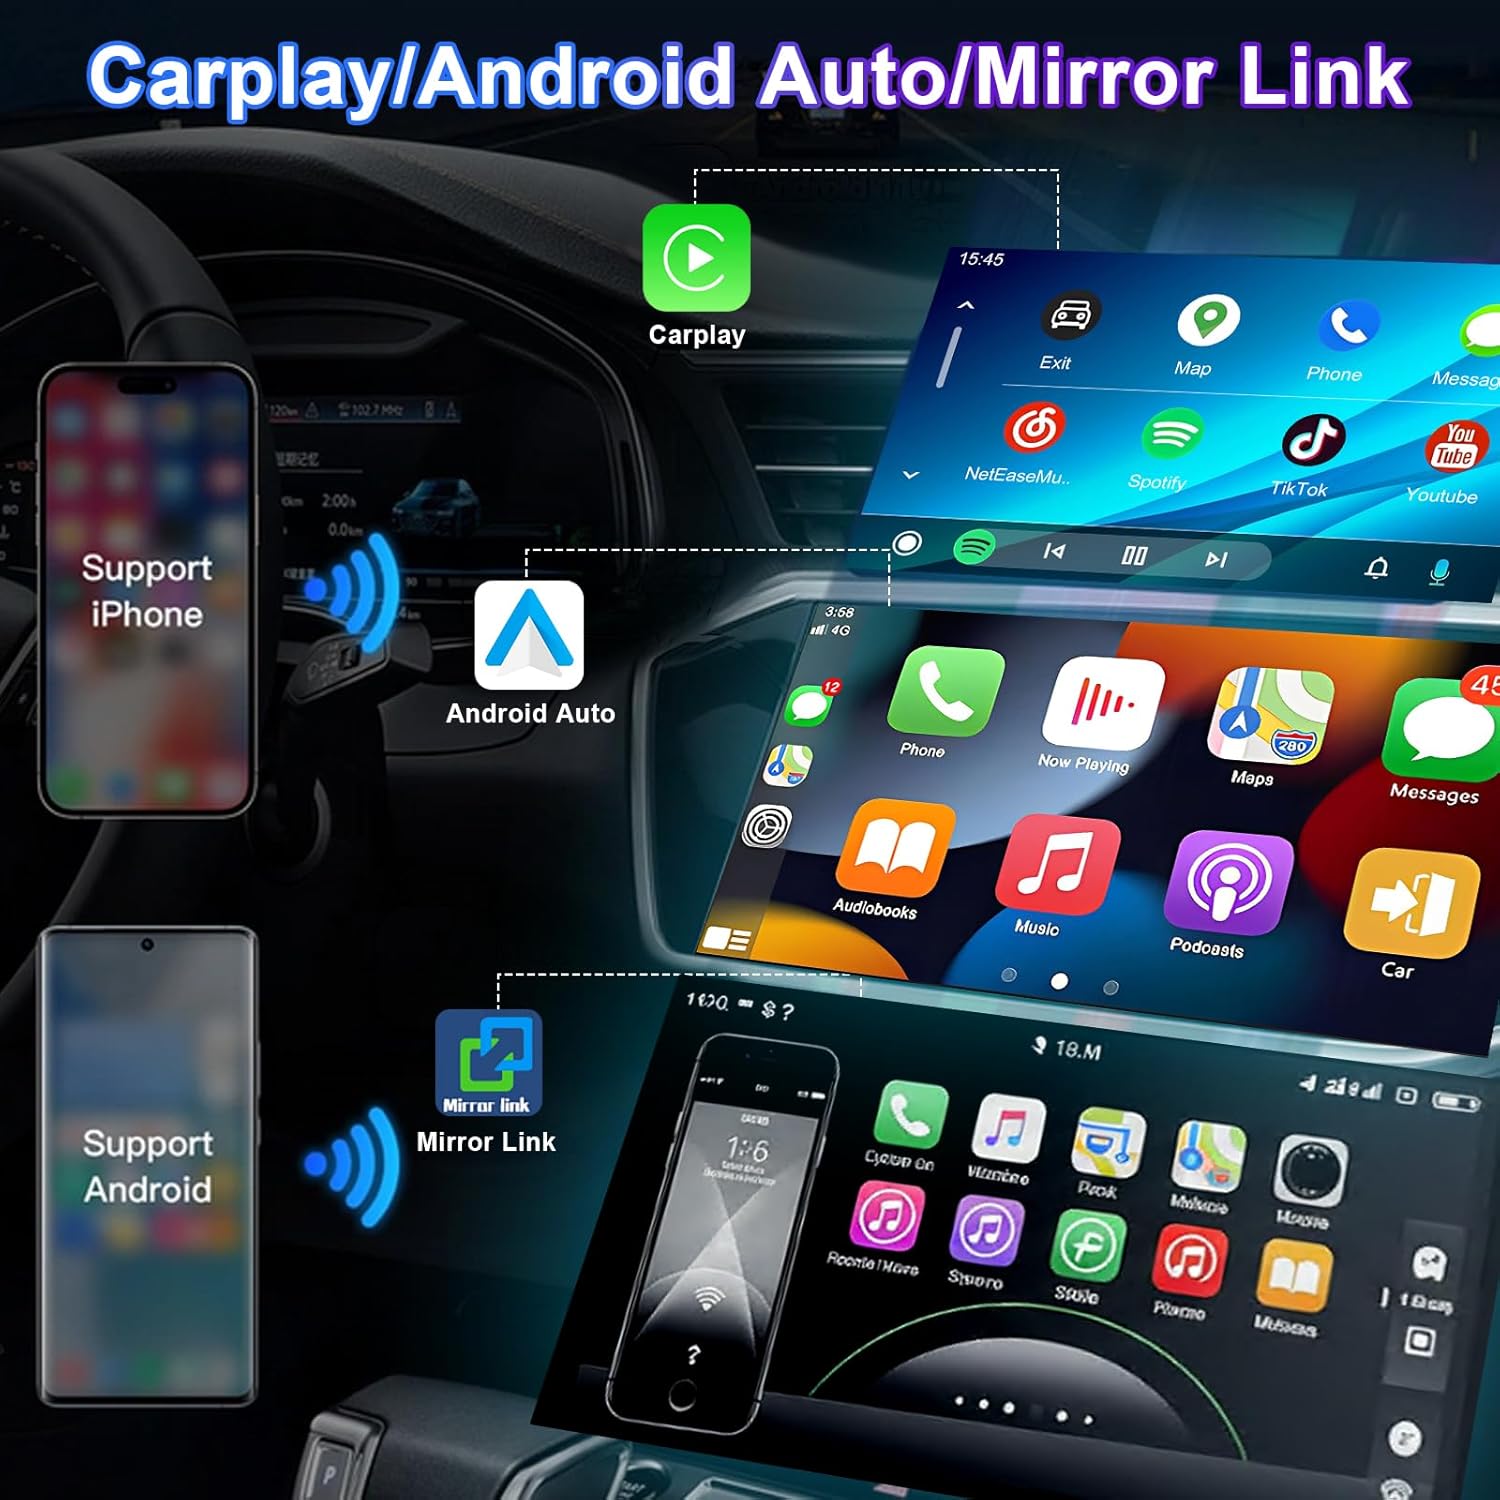
Image: A visual representation of Carplay, Android Auto, and Mirror Link features. It shows how iPhones connect for Carplay and Android phones for Android Auto or Mirror Link, displaying their respective interfaces on the car stereo screen.
5.3 GPS Navigation
The unit comes with built-in offline maps and supports online navigation applications.
- Offline Maps: The unit includes pre-installed offline maps. For initial data download or updates, connect the unit to Wi-Fi.
- Online Navigation: Connect the unit to Wi-Fi or a mobile hotspot to use online navigation apps like Google Maps, Waze, etc. Download these apps from the Google Play Store.
- GPS Module: Ensure the external GPS module is properly connected and positioned for optimal signal reception.
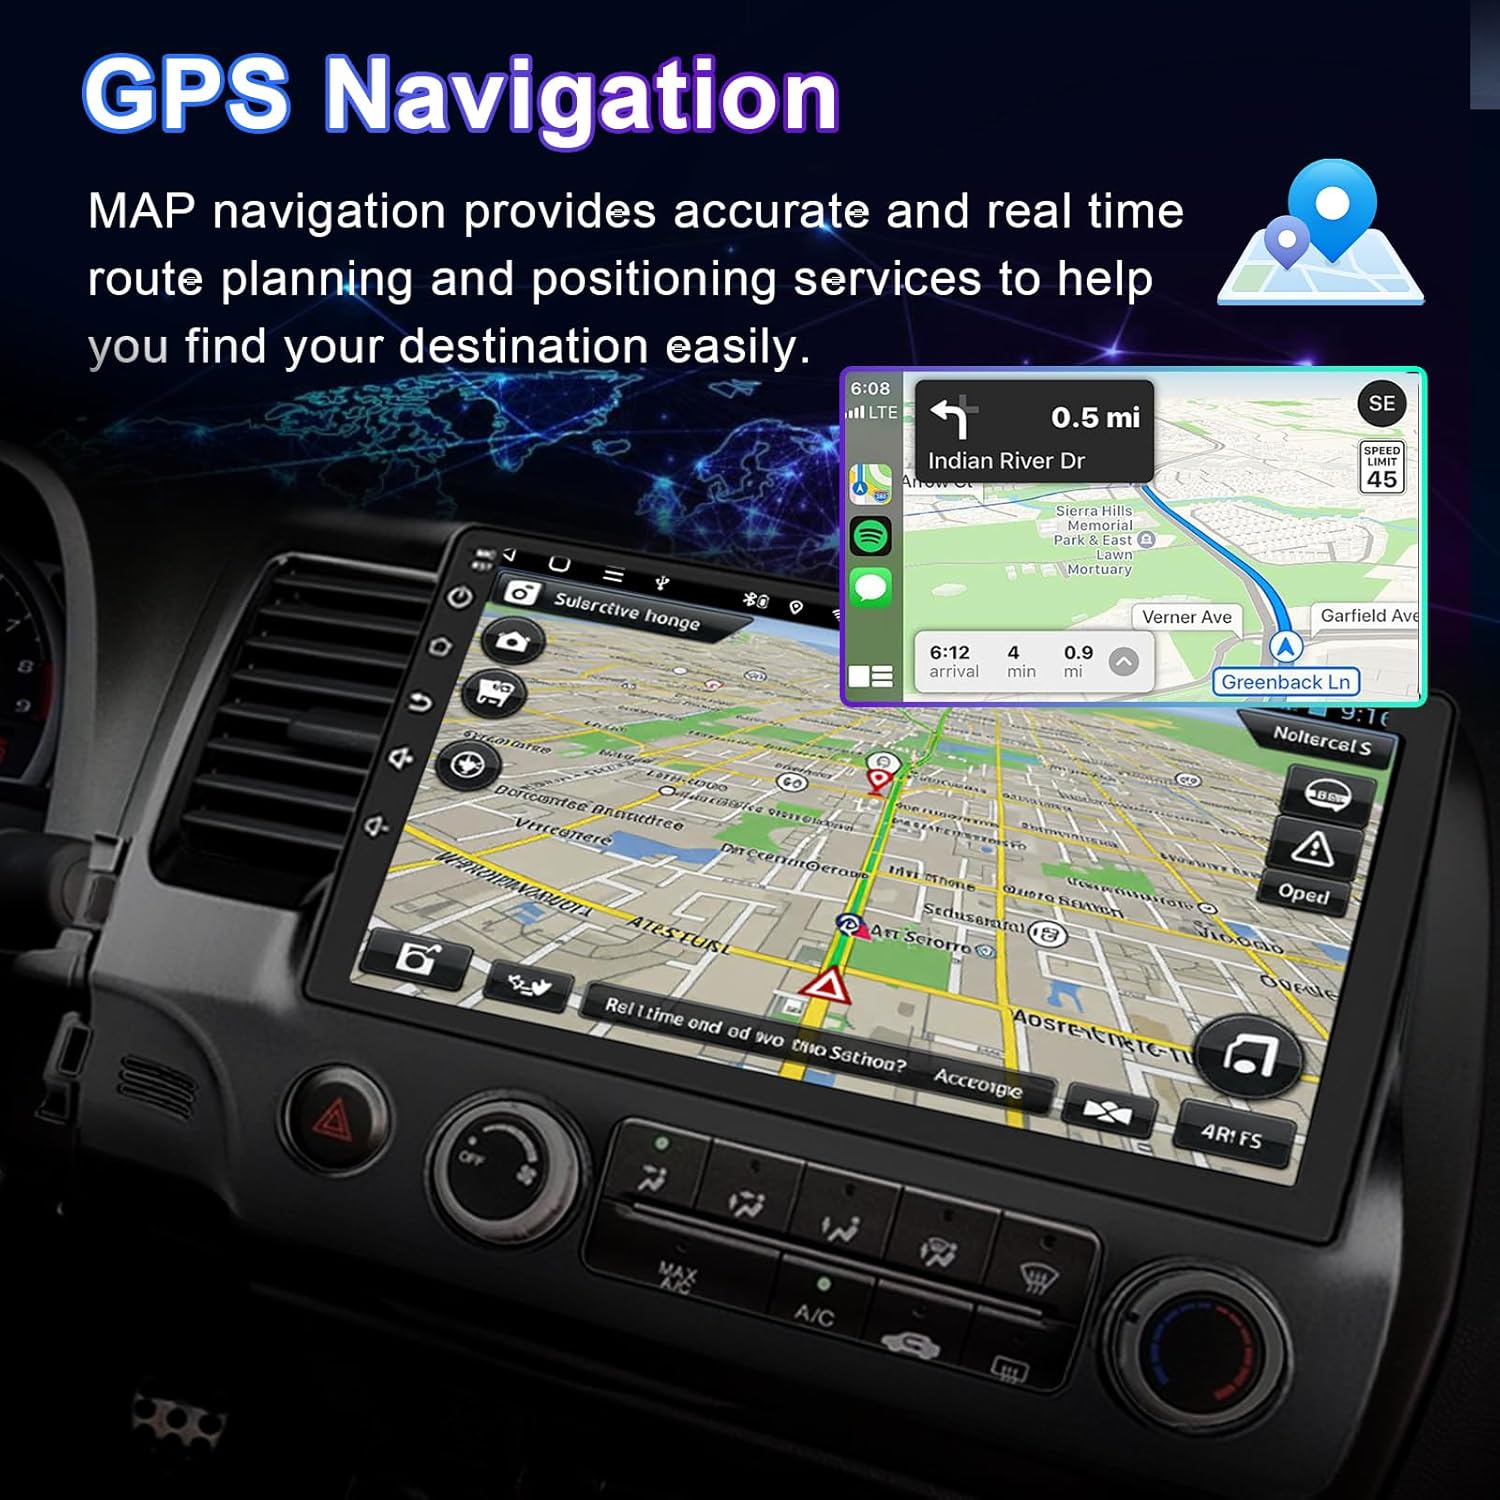
Image: The car stereo screen displaying a GPS navigation interface. It shows a detailed map with a highlighted route, current location, destination, and estimated travel time and distance.
5.4 Steering Wheel Control (SWC)
If your vehicle is equipped with steering wheel controls, this unit supports integration, allowing you to manage audio and calls without taking your hands off the wheel.
- Configuration: Access the "Steering Wheel Control" settings in the unit's menu to program the buttons according to your preference.
- Functions: Typically, you can control volume, track skipping, mode switching, and answer/end calls.
5.5 Reversing Display (Rear View Camera)
When a compatible rear view camera is connected, the unit will automatically display the camera feed when the vehicle is shifted into reverse gear.
- Automatic Activation: The display switches to the camera view automatically.
- Guidelines: Some cameras or the unit's software may provide parking guidelines on the screen.
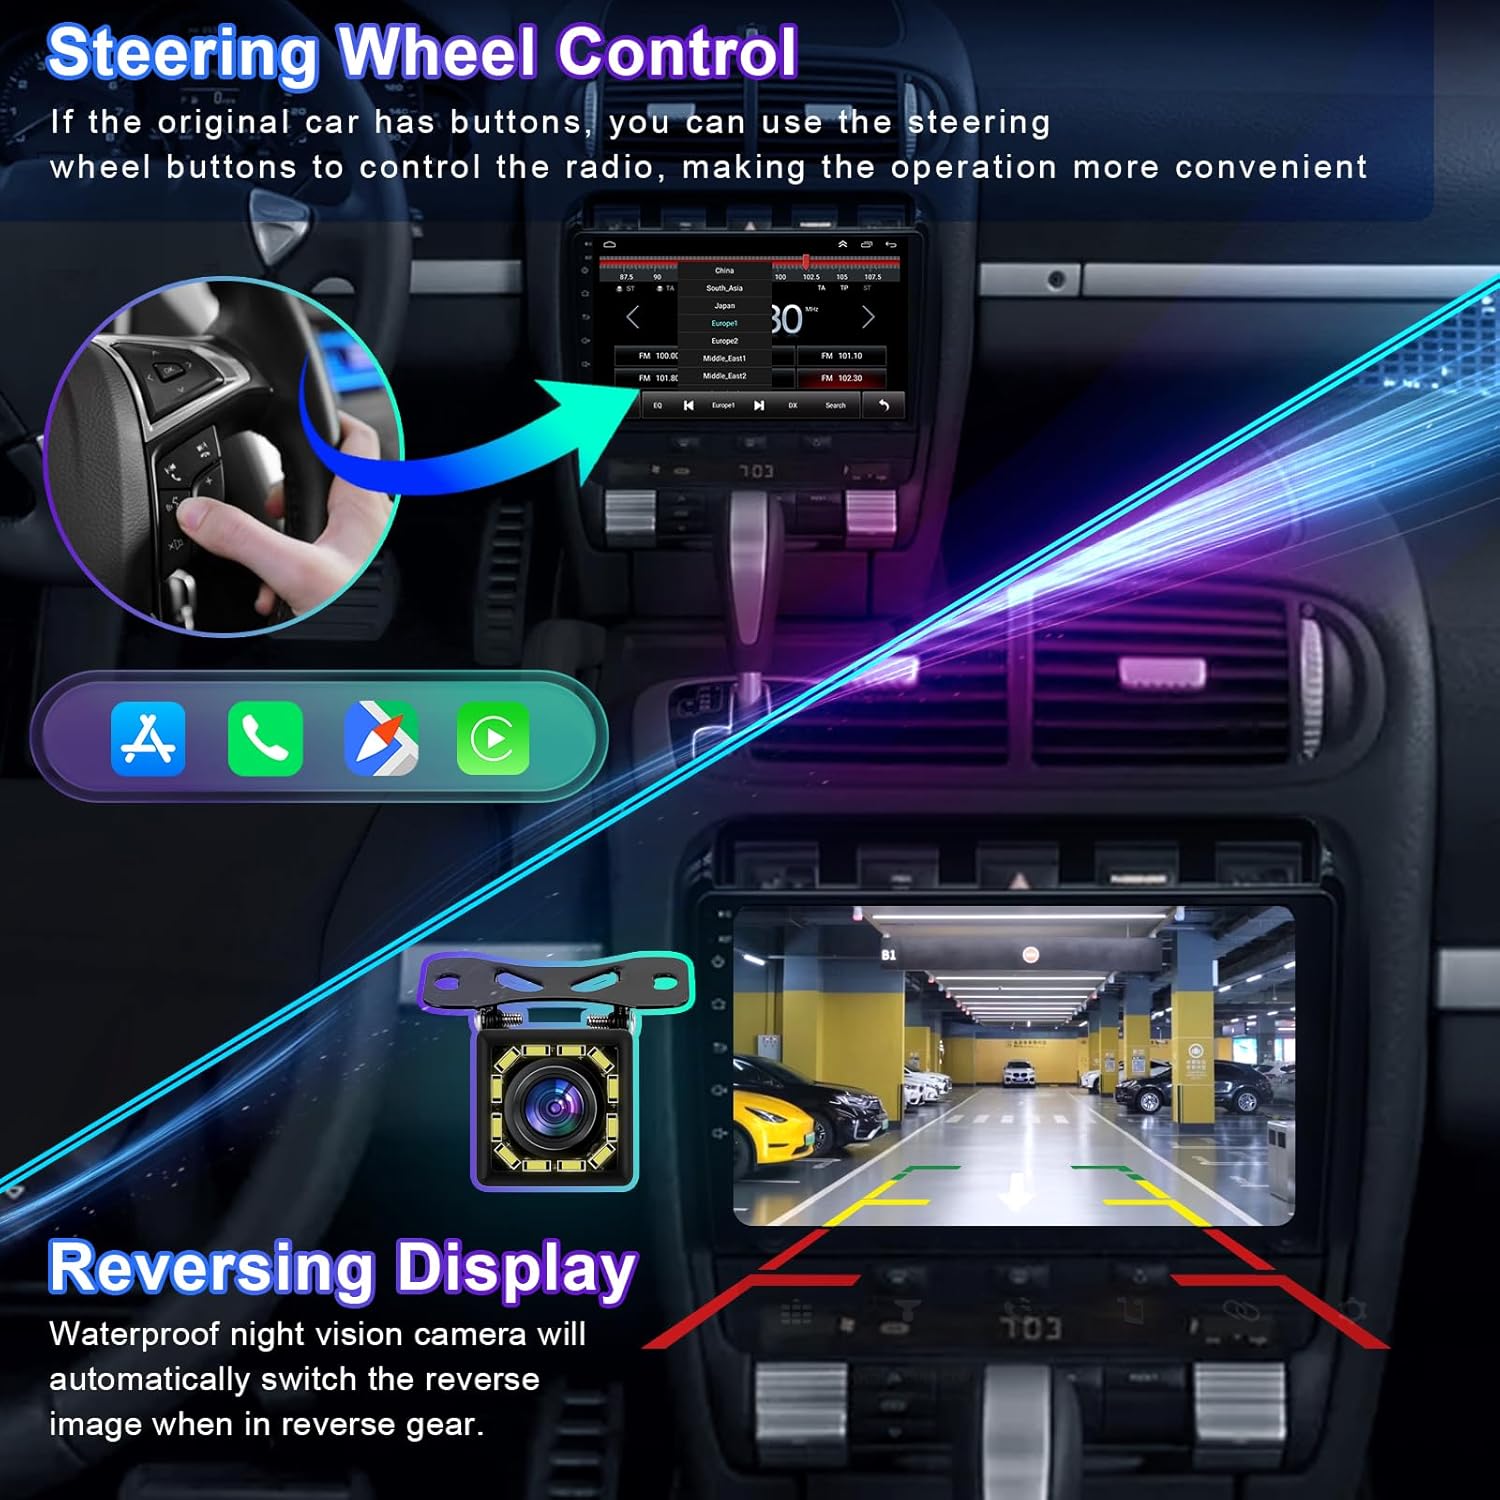
Image: This image demonstrates two key features: on the left, a hand operating steering wheel controls, indicating the unit's compatibility with vehicle controls. On the right, a clear display of a rear view camera feed, showing the automatic activation when reversing.
5.6 Split Screen Function
The split screen feature allows you to run two applications simultaneously on the display, such as navigation and music playback.
- Activation: Typically, long-press the recent apps button or drag an app to one side of the screen to activate split screen mode.
- Usage: Adjust the size of each app window as needed.
5.7 Bluetooth Call & Audio
Connect your smartphone via Bluetooth for hands-free calling and audio streaming.
- Pairing: Go to the Bluetooth settings on the unit and your phone. Search for and select the unit's Bluetooth name to pair.
- Hands-Free Calling: Make and receive calls directly from the unit's screen or via steering wheel controls. The external microphone ensures clear audio.
- Audio Streaming: Play music from your phone through the car stereo system.
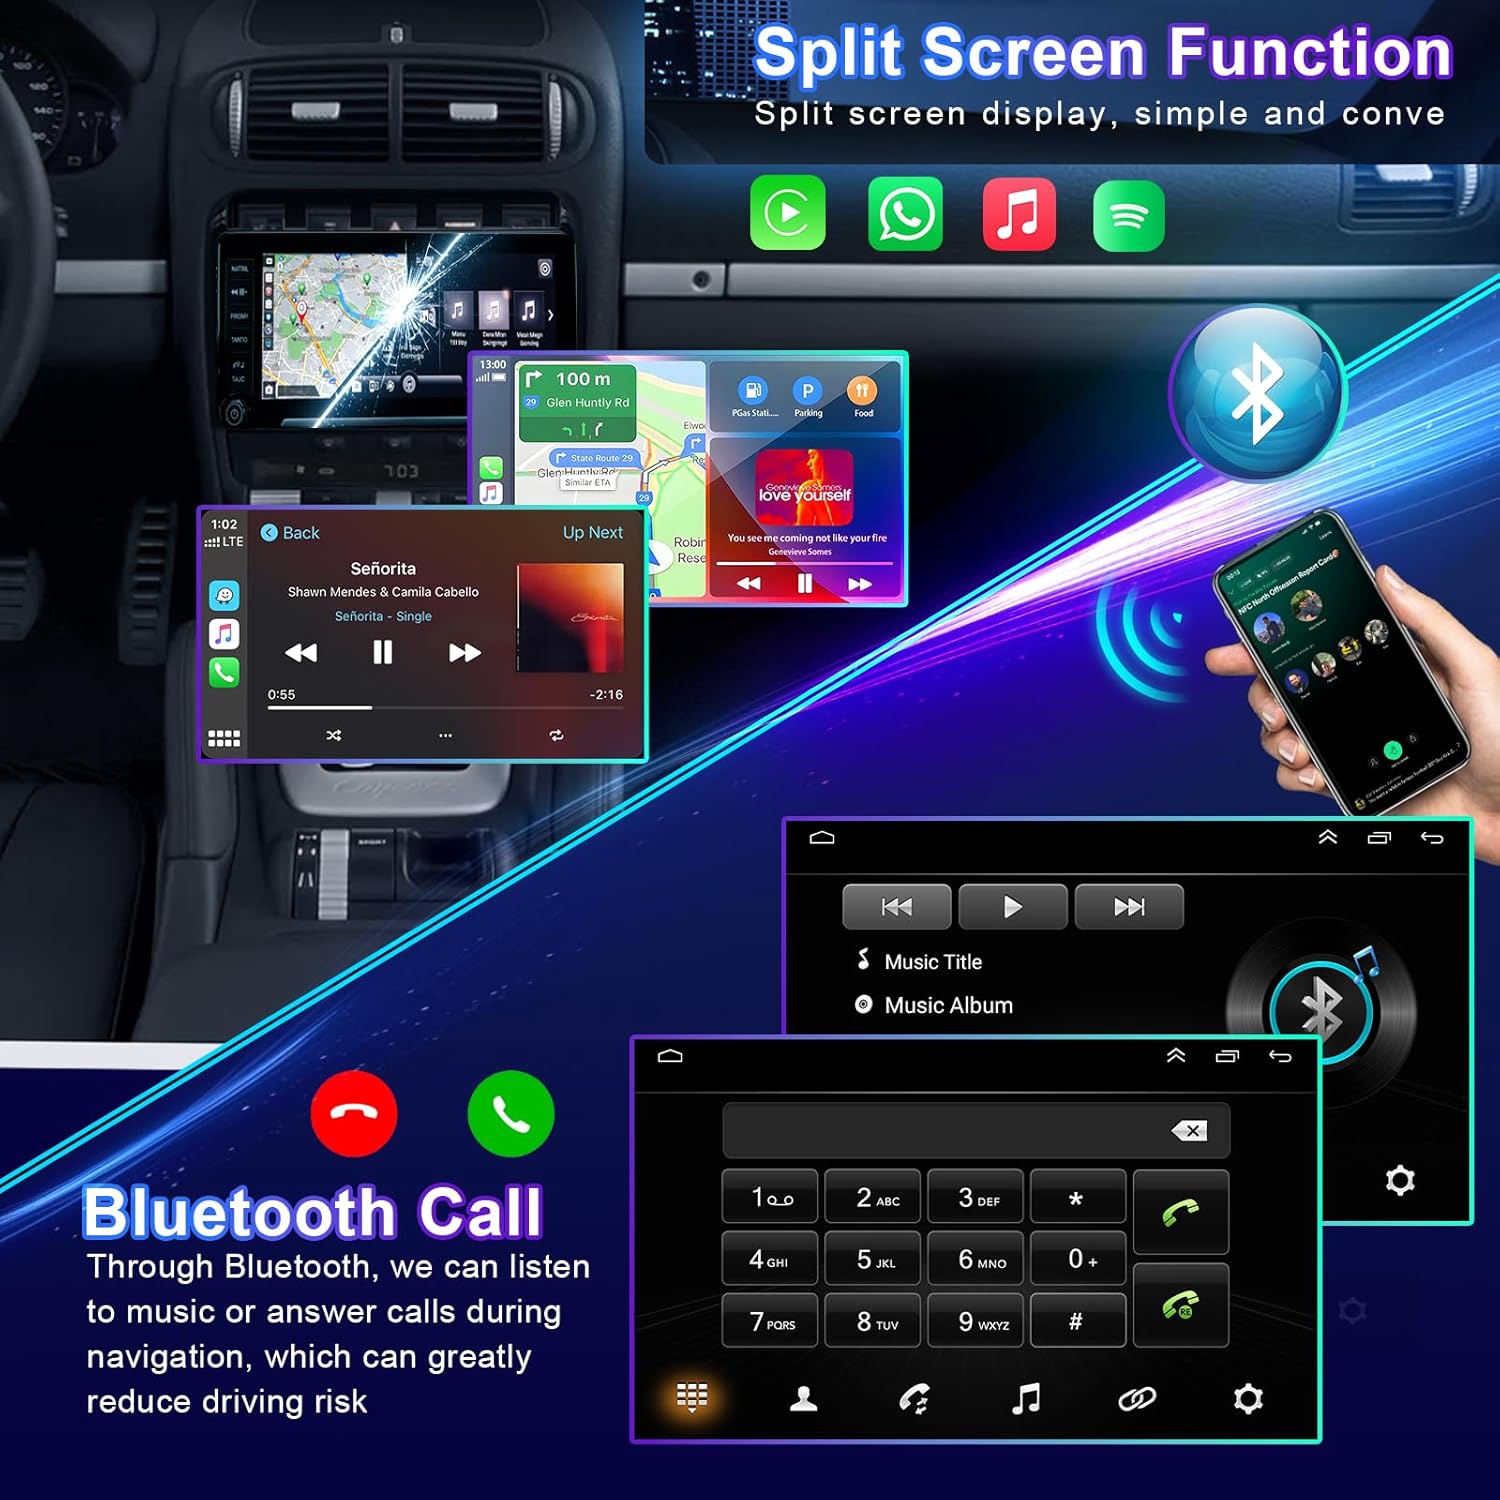
Image: This composite image illustrates the split screen functionality, showing a navigation app and a music player running concurrently. Below, it displays the Bluetooth calling interface with a dial pad, emphasizing hands-free communication.
5.8 FM/RDS Radio
Access local radio stations with FM/RDS functionality.
- Scanning: Use the auto-scan feature to find and save available radio stations.
- RDS: Radio Data System (RDS) displays station information, song titles, and other data where available.
- Equalizer: Adjust sound effects through the built-in DSP (Digital Signal Processor) for personalized audio quality.
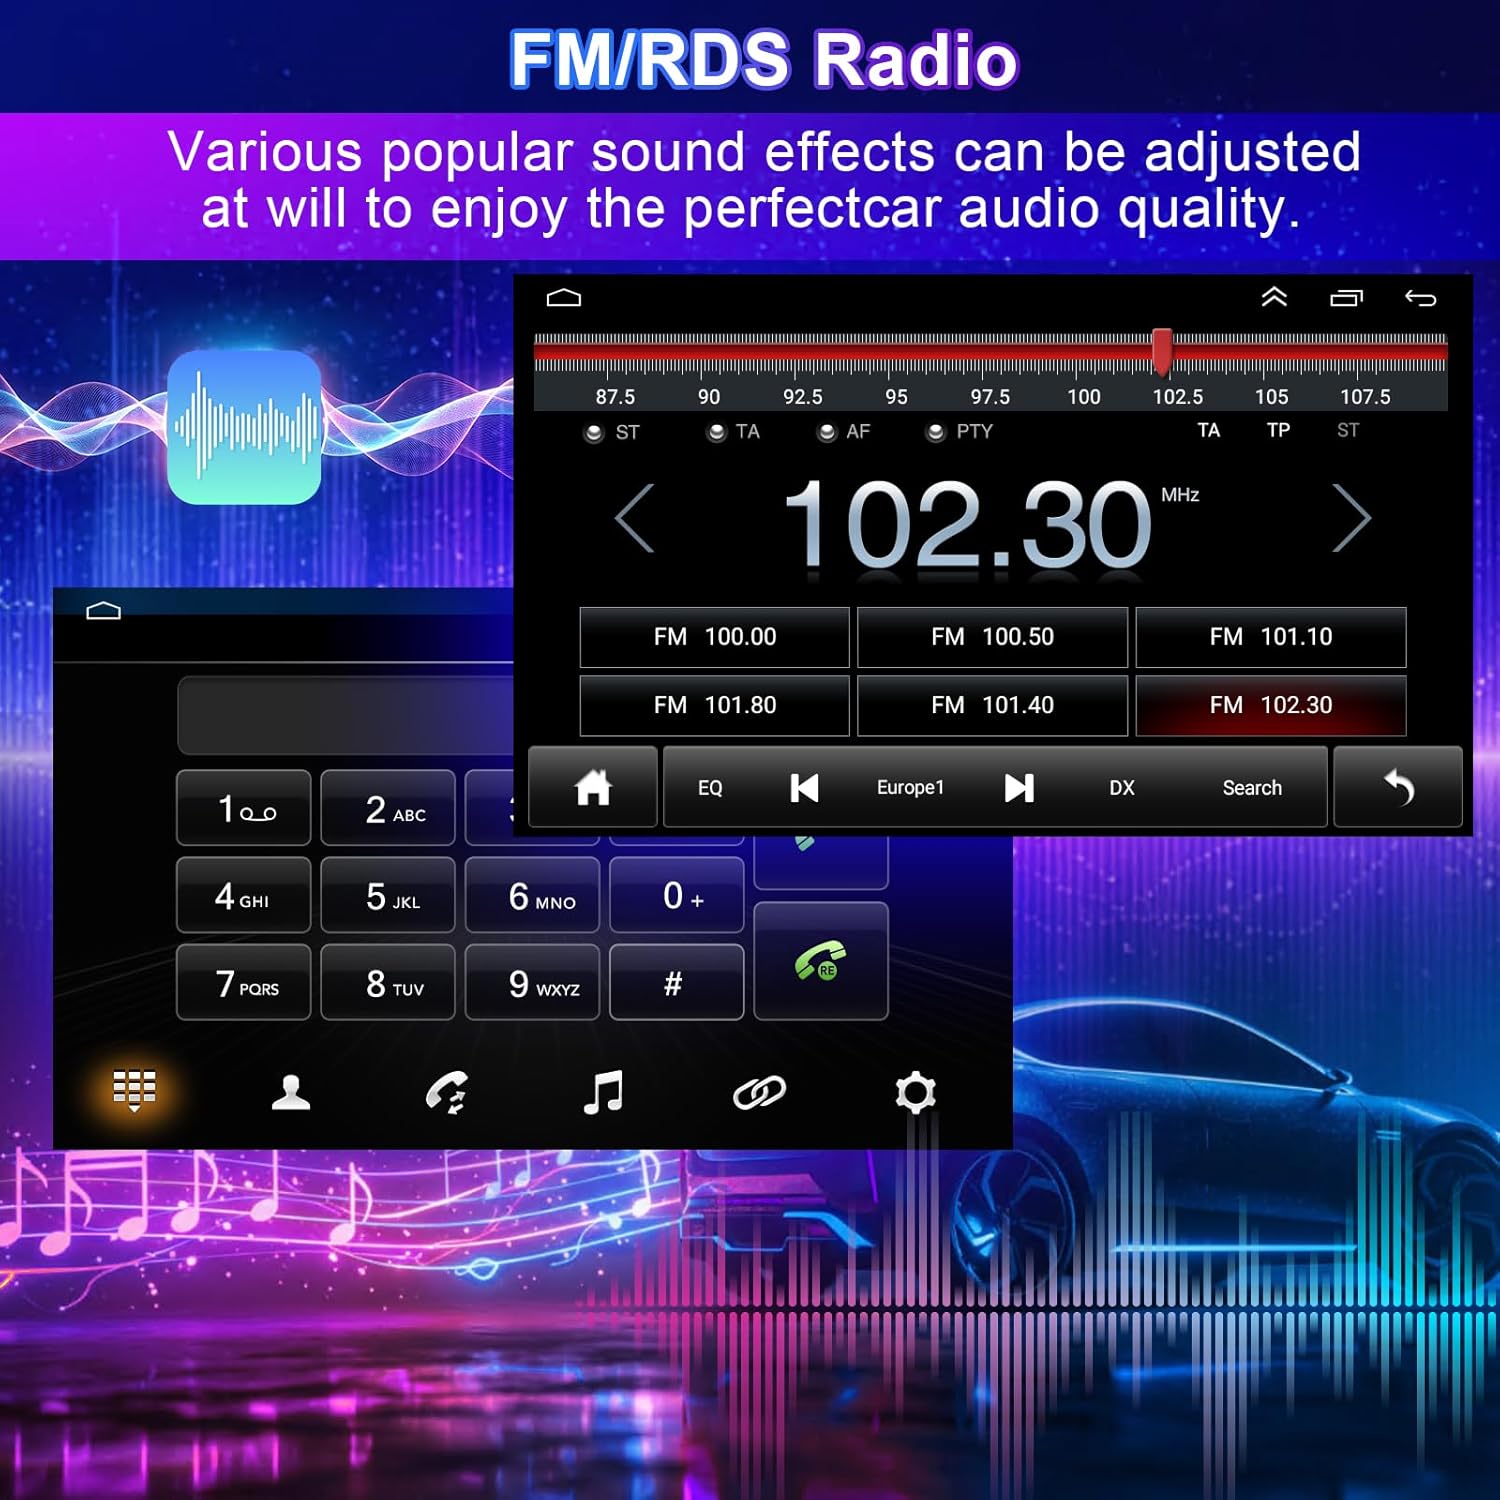
Image: The car stereo screen displaying the FM/RDS radio interface. It shows the current frequency, station presets, and options for adjusting sound settings and equalizer.
5.9 Media Playback
The unit supports various audio and video formats for playback from USB drives or internal storage.
- Supported Formats:
- Audio: APE, FLAC, WAV, MP3, WMA, etc.
- Video: MKV, RMVB, AVI, MP4, MDV, etc.
- Picture: PNG, JPEG, JPG, GIF, WBMP, BNP, etc.
- USB Playback: Insert a USB drive into one of the USB ports to access media files.
6. Maintenance
- Screen Cleaning: Use a soft, lint-free cloth to clean the touch screen. For stubborn smudges, lightly dampen the cloth with water or a screen-safe cleaner. Avoid harsh chemicals.
- Software Updates: Periodically check for software updates through the unit's settings menu (requires Wi-Fi connection) to ensure optimal performance and access to new features.
- General Care: Avoid exposing the unit to extreme temperatures, direct sunlight for prolonged periods, or excessive moisture.
7. Troubleshooting
| Problem | Possible Cause | Solution |
|---|---|---|
| Unit does not power on. | No power connection, blown fuse, incorrect wiring. | Check power cable connections. Inspect vehicle's fuse box and the unit's inline fuse. Verify wiring according to the installation guide. |
| No sound from speakers. | Volume too low, mute activated, speaker wires disconnected, incorrect audio settings. | Increase volume. Check if mute is active. Verify speaker wire connections. Adjust audio output settings in the unit's menu. |
| GPS signal is weak or inaccurate. | GPS antenna improperly placed or disconnected. | Ensure the GPS antenna is securely connected and placed in a location with a clear view of the sky, away from obstructions. |
| Carplay/Android Auto not connecting. | Bluetooth/Wi-Fi off, incorrect pairing, faulty USB cable, phone software issue. | Ensure Bluetooth and Wi-Fi are on for wireless. Try a different USB cable for wired. Re-pair Bluetooth. Restart phone and unit. |
| Steering Wheel Controls not working. | Incorrect wiring, Canbus box issue, not configured. | Verify SWC wiring. Ensure Canbus box is correctly installed if required. Go to SWC settings in the unit and perform calibration/configuration. |
| Rear view camera not displaying. | Camera not connected, faulty camera, reverse trigger wire not connected. | Check camera input cable connection. Ensure the reverse trigger wire is correctly connected to the vehicle's reverse light circuit. Test camera functionality. |
If problems persist, please contact customer support.
8. Warranty and Support
Warranty: The manufacturer provides a warranty for this product. For specific warranty terms and conditions, please refer to the documentation included with your purchase or contact the seller directly. The product specifications mention: "If you have any questions please feel free to contact me."
Customer Support: For technical assistance, troubleshooting, or warranty claims, please contact the seller, Yinian-us, through the Amazon platform or via the contact information provided with your purchase. When contacting support, please have your product model number (B0FJ2GGQWL) and purchase date available.