
1. Introduction
Thank you for choosing NIORSUN Solar Fence Lights. These outdoor lights are designed to provide efficient and versatile illumination for your fences, patios, backyards, pools, railings, and walls. Featuring up and down lighting, multiple color options including warm white, cool white, and RGB, and a durable waterproof design, these lights offer an enhanced outdoor lighting experience.
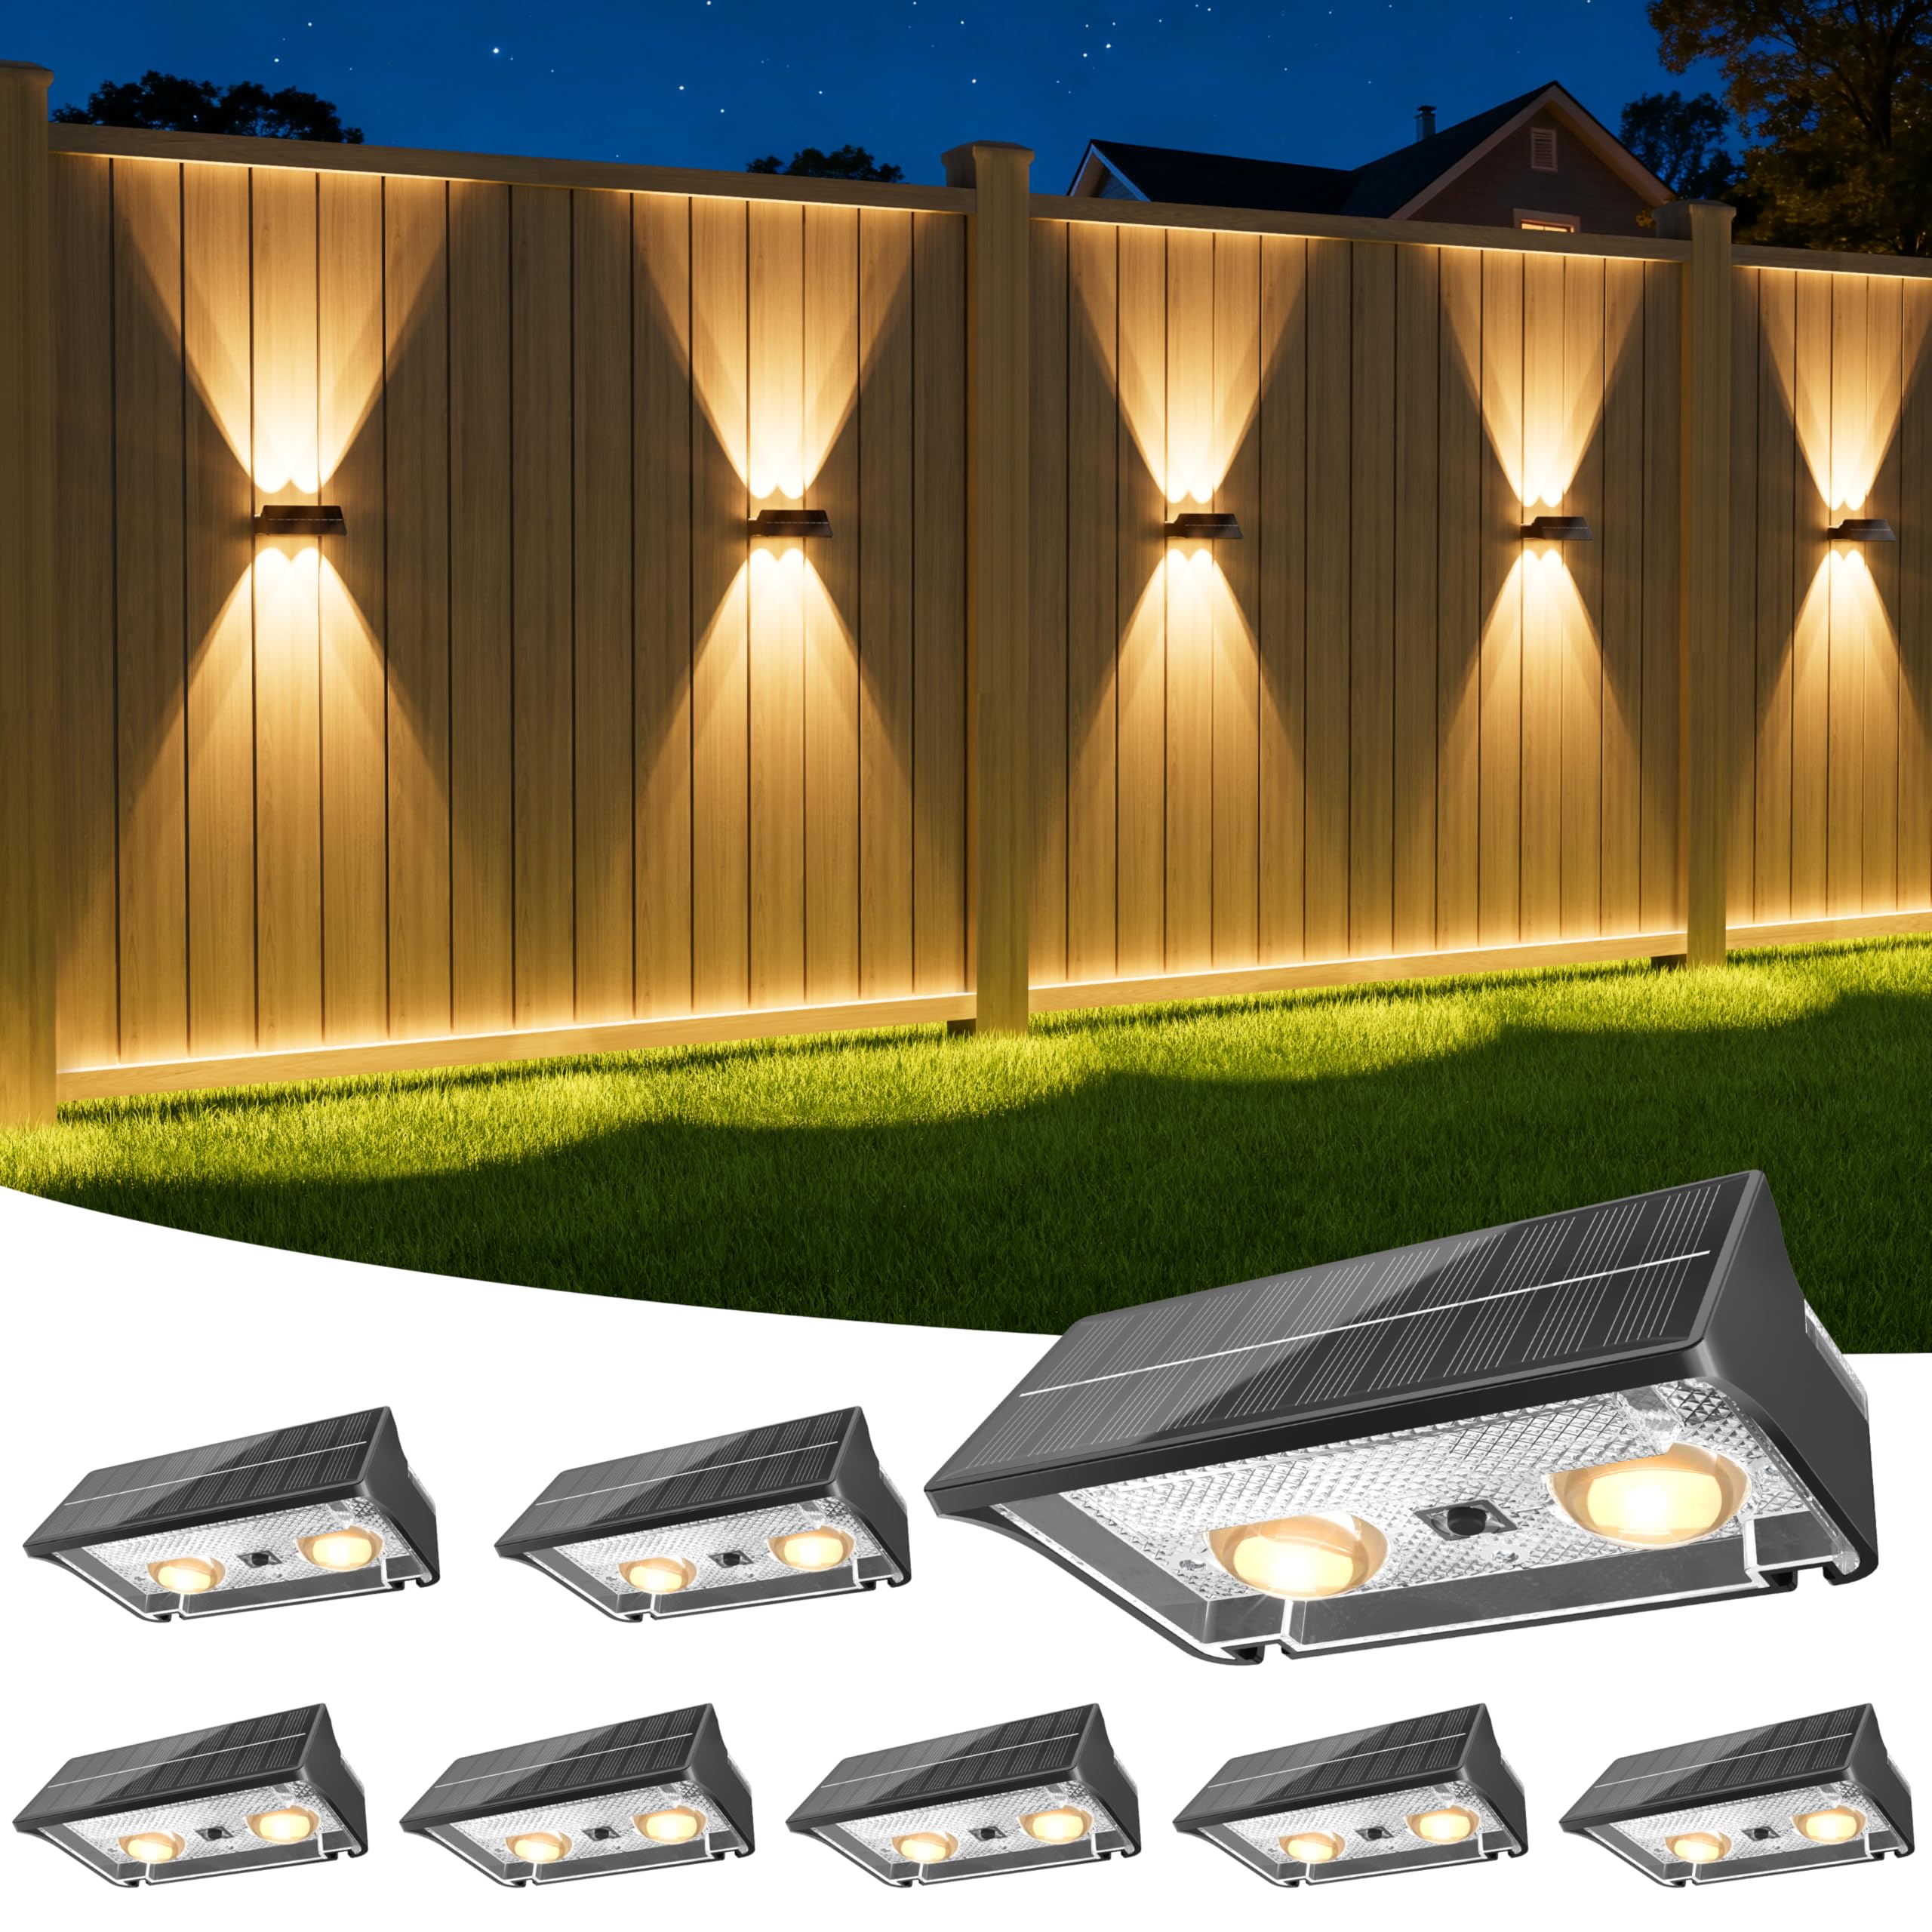
Figure 1: NIORSUN Solar Fence Lights showcasing multiple color modes on a fence.
2. Safety Information
- Ensure the solar panel receives at least 6-7 hours of direct sunlight daily for optimal performance.
- Do not attempt to disassemble or modify the product. This may void the warranty and cause damage.
- Keep the solar panel clean from dust, dirt, and debris to maintain charging efficiency.
- While the product is IP65 waterproof, avoid submerging it in water.
- Store the lights in a dry place during prolonged periods of non-use or extreme winter conditions if removal is preferred.
3. Setup
3.1. Package Contents
Each 8-pack of NIORSUN Solar Fence Lights includes:
- 8 x Solar Fence Lights
- Mounting Screws and Wall Anchors
- Drill Template (for precise installation)
3.2. Choosing an Installation Location
Select a location where the solar panel can receive direct sunlight for at least 6-7 hours per day. Avoid areas shaded by trees, buildings, or other obstructions, as this will reduce charging efficiency and lighting duration.
3.3. Installation Steps
- Mark Position: Use the provided drill template to mark the desired position for the two screw holes on your fence, wall, or other surface.
- Drill Holes: Drill two holes at the marked positions. For wooden surfaces, pre-drilling pilot holes can prevent cracking. For masonry, insert the provided expansion anchors into the drilled holes.
- Insert Screws: Screw in the mounting screws, leaving approximately 3-5mm protruding from the surface. This allows the light to hang securely.
- Hang the Light: Align the mounting slots on the back of the solar light with the protruding screws and slide the light downwards to secure it. Ensure a snug fit.
- Remove Protective Film: Peel off the protective film from the solar panel before first use to ensure proper charging.

Figure 2: Visual guide for installing the solar fence lights.
For a visual demonstration of the installation process, please refer to the official product video below:
Video 1: Official product video demonstrating the installation and features of the NIORSUN Solar Fence Lights.
4. Operating Instructions
4.1. Automatic Dusk to Dawn Operation
The NIORSUN Solar Fence Lights are equipped with a light sensor. They will automatically charge during the day when exposed to sunlight and turn on automatically at dusk, providing over 12 hours of illumination on a full charge.

Figure 3: Lights automatically charging during the day and lighting up at night.
4.2. Changing Lighting Modes and Colors
Each light features a button on the bottom for controlling the lighting modes and colors. Press the button to cycle through the available options:
- Warm White: A soft, inviting glow.
- Cool White: A brighter, more modern illumination.
- 7 RGB Colors: Red, Green, Blue, Yellow, Cyan, Ice Blue, Purple.
- Smooth Mode: Colors transition smoothly.
- Flash Mode: Colors change rapidly.
- Single Color Mode: Stays on a selected color.
To turn the light completely off, press and hold the button until the light extinguishes. To reactivate, press the button again.

Figure 4: Illustration of the 9 colors and 11 lighting modes available.
5. Maintenance
- Cleaning: Regularly wipe the solar panel with a soft, damp cloth to remove dust, dirt, and snow. A clean panel ensures maximum charging efficiency.
- Winter Care: While designed for all-weather use (IP65 waterproof), consider removing the lights and storing them indoors during harsh winter months with heavy snow or prolonged periods of freezing temperatures to extend their lifespan.
6. Troubleshooting
| Problem | Possible Cause | Solution |
|---|---|---|
| Light does not turn on at night. | Insufficient sunlight exposure. | Relocate the light to an area that receives 6-7 hours of direct sunlight daily. Ensure the solar panel is clean. |
| Light duration is shorter than expected. | Partial charging due to shade or cloudy weather. | Verify the solar panel is clean and free from obstructions. Allow for several sunny days to fully charge the battery. |
| Light flickers or is dim. | Low battery charge or dirty solar panel. | Clean the solar panel. Ensure adequate sunlight exposure for charging. |
| Cannot change light color/mode. | Button not pressed correctly or unit is off. | Ensure the unit is powered on. Press the button firmly to cycle through modes. If unresponsive, allow to charge fully. |
7. Specifications
- Brand: NIORSUN
- Model Name: Solar Fence Lights
- Model Number: KF04I-S4
- Color: Black
- Material: Acrylonitrile Butadiene Styrene (ABS)
- Product Dimensions: 4.4"L x 2.9"W x 1.9"H
- Power Source: Solar Powered
- Light Source Type: LED
- Number of Light Sources: 4 (Up and Down Lighting)
- Brightness: 100 Lumens
- Battery Capacity: 1200mAh (rechargeable)
- Charging Time: 6-7 hours (direct sunlight)
- Illumination Time: 12+ hours (on full charge)
- Light Colors: Warm White, Cool White, 7 RGB Colors (Red, Green, Blue, Yellow, Cyan, Ice Blue, Purple)
- Lighting Modes: Smooth, Flash, Single Color
- Water Resistance Level: IP65 Waterproof
- Installation Type: Wall Mount / Fence Mount
- Included Components: Solar Fence Lights, Mounting Screws, Wall Anchors
8. Warranty and Support
For warranty information or technical support, please contact NIORSUN customer service through the retailer where the product was purchased or visit the official NIORSUN website. Please have your model number (KF04I-S4) and purchase date ready when contacting support.